Well hi welcome to my little blog. Just my little corner of craftiness, sewing, and refashioning. I am also a newly gluten free eater so you have a little bit of recipes mixed in here.
Showing posts with label wool coat. Show all posts

Monday, February 24, 2014

Iron craft: baby shoes, refashion #14

So remember that red wool coat I just refashioned? Come on.... I just refashioned it!

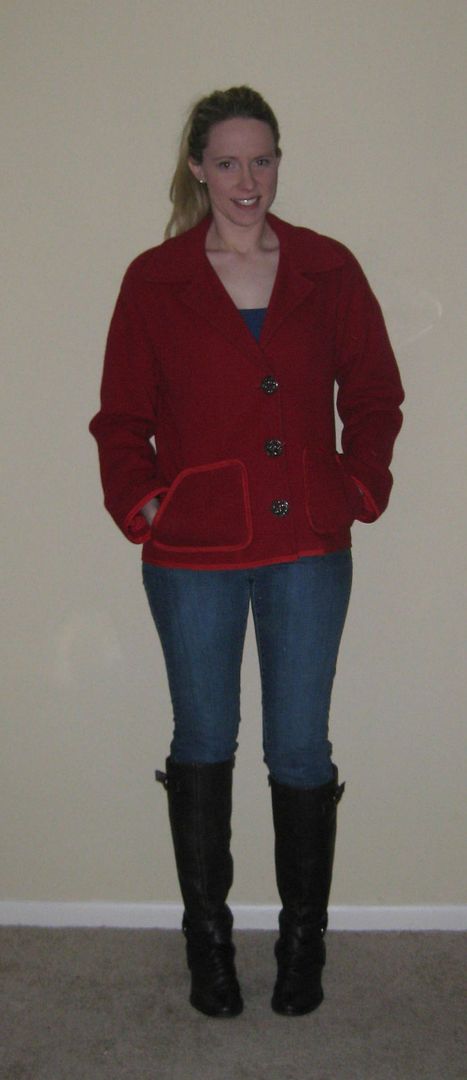
So I had leftover wool. I washed it and cleaned it up. It didn't really felt. But all good.

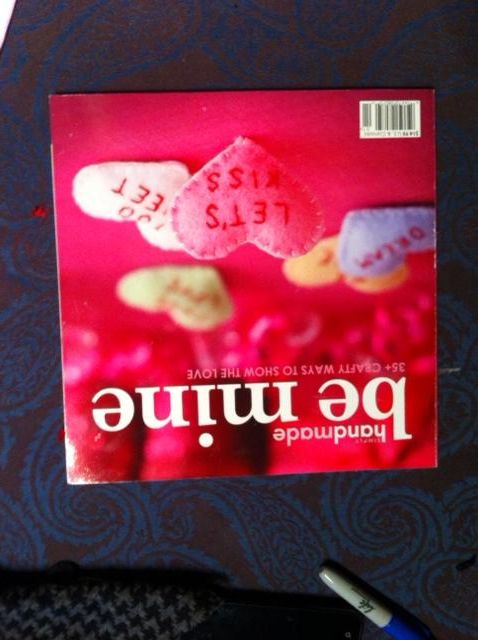
The next Iron Craft challenge was hearts and flowers. We could do something with either of the two. I wanted to do a refashion to keep attacking my 99 refashion challenge. I was looking through this book the other night and then I cam across these baby shoes.


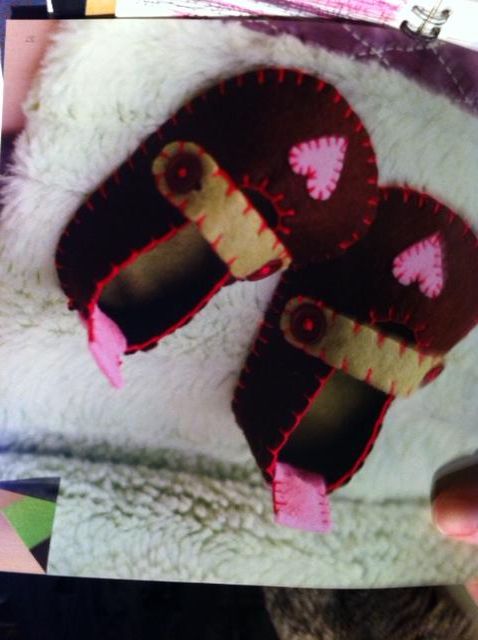
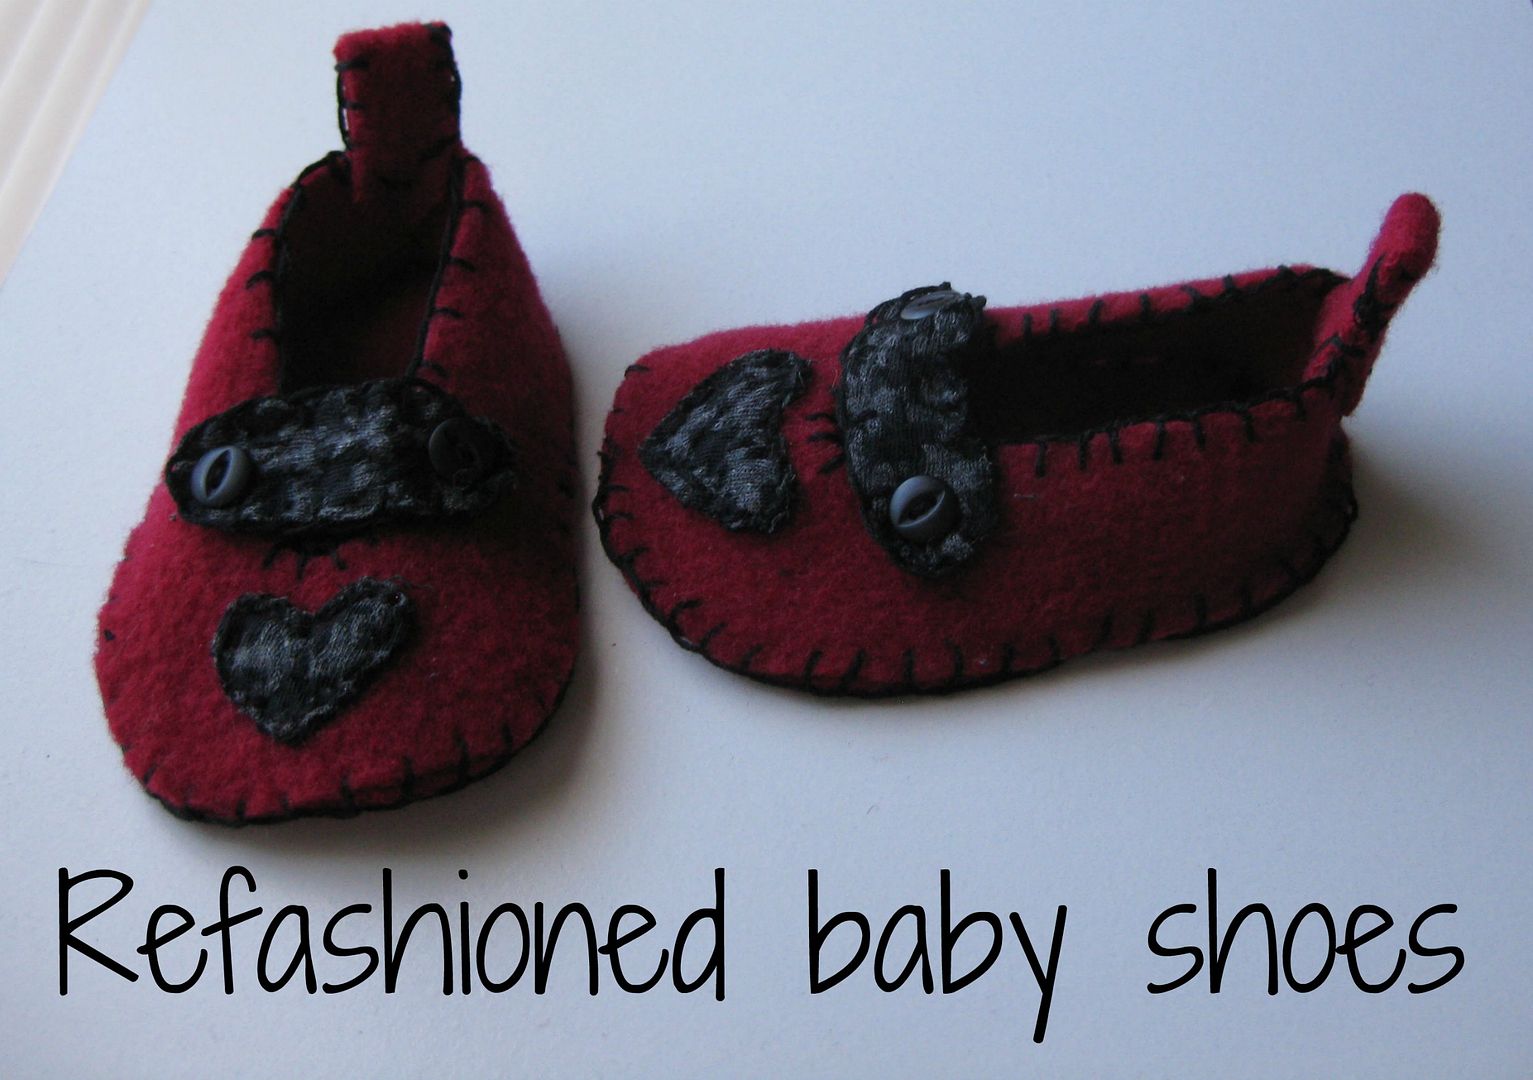
OMG they were just adorable. And I had everything on hand to do these shoes!

So I cut out my pieces from the pattern they provided.

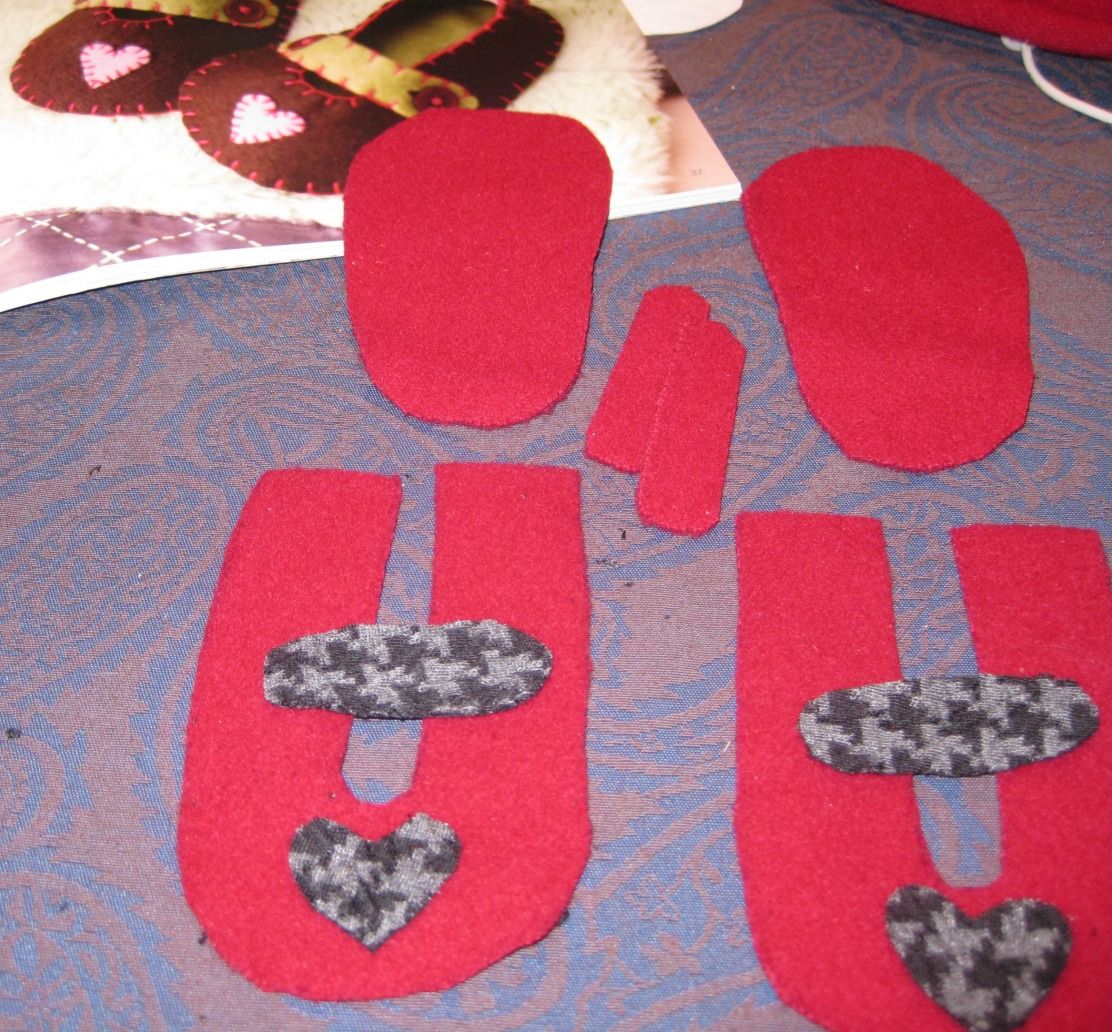
And googled how to blanket stitch, this site here made life really easy and clear. Grabbed some embroidery floss. Changed up the pattern using some scrap of my houndstooth fabric that literally was still on my table. And away I went to stitching.The directions were a bit wordy for me but I understood what I had to do- once I got the hang of it, it went fast! And hey I used up some of my floss! Made it my own. There was no way I wanted to add tiny button holes in wool. The houndstooth is a knit so it does stretch. Yeah! Done!!


OMG these are just too precious. I have more of the red wool leftover that I can probably make more.

Here's to using up things I have in my place! Yay! Hopefully I'll get more done in a few weeks and I'll post more!

Cheers,
Lauren

85 left to go!

Wednesday, February 19, 2014

Book Review: Day The red wool coat, refashion 13

I mean sometimes you can not beat when things fall into place.... I found this red wool coat


OMG remember this company? Spiegel they were everywhere, way back when. 


And in the book I wanted to do this refashion which had a red wool coat... but things did work out. So I did it my way.

After realizing the coat had side gaps, which are worth NOTHING during the winter with wind. I needed to cut them off. Which meant I had to remove the pockets... OMG it was so dirty and gross.


I removed the lining to then tailor in the jacket. Both sides. 


Time to remake the pockets. Old ones were too big. And you also put your hands in via the top. I hate those kind of pockets. I wanted side pockets. I free handed what I wanted to do. I used my hand as a guide. 
I used red bias tape to finish the sides of the pockets. This wool was way to hard to try and get it to fold over. Big problem. So I used bias tape. Which look orange in pictures! I put then in the right place, pin, and sew-leaving the side open for my hands. I also used the bias tape for the bottom of the coat too. Then it might be hard to tell but I also took the top button off and placed it in the middle of the jacket. The buttons were really far apart. It is actually not functional. You can't tell, I added it in the right spot. ;) 

Done. Well sort of.... I tried to add the bias to the collar, I did. But it was too much.It overwhelmed the jacket. But I did go back and forth about adding it. I did add bias tape to the sleeves, to pull it together. 


Recap: Much less bulky! And I love the pockets. 

I still go back and forth about the bias tape but in all actually, I do like the new coat. Monday I'll show you my next refashion I did with the leftover wool. OMG they are precious! :)

Cheers,
Lauren

LinkWithin

Related Posts Plugin for WordPress, Blogger...