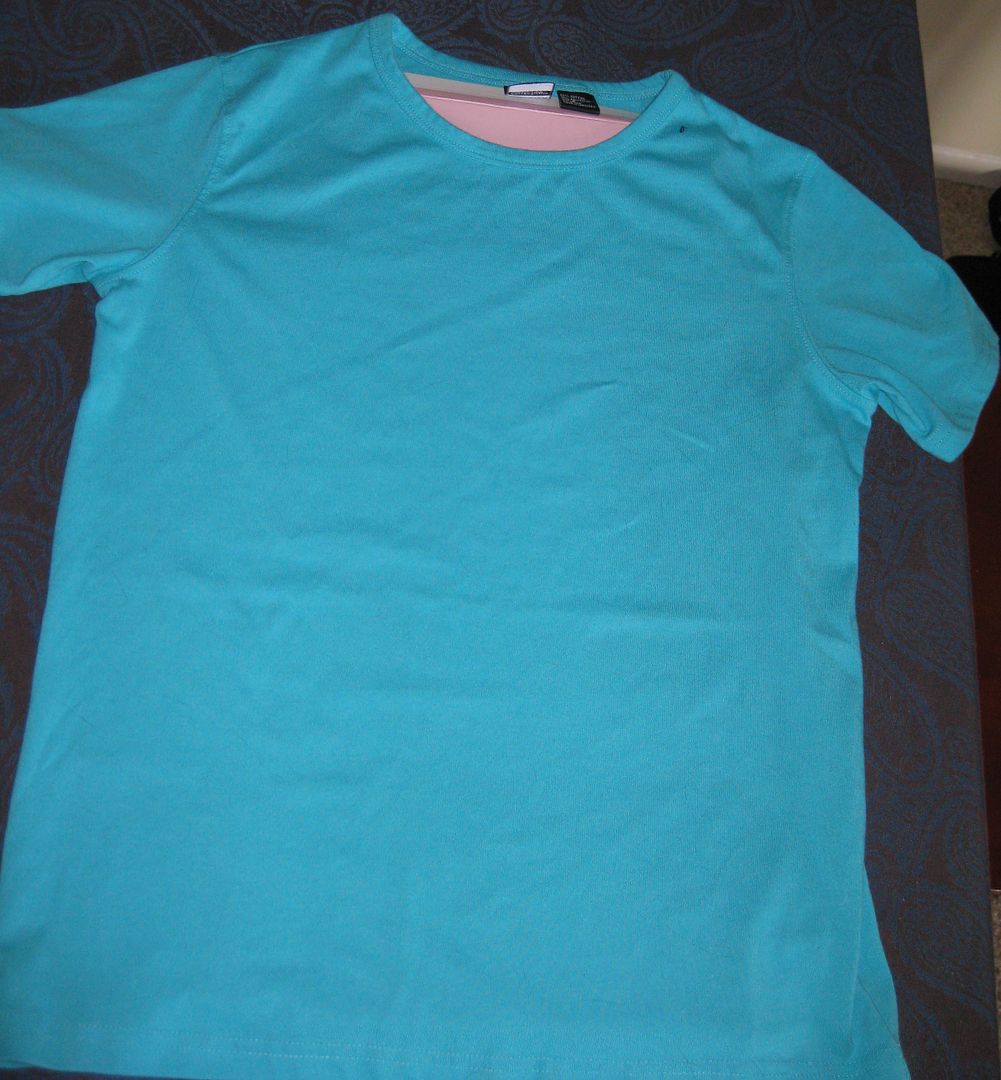
Here is my attempt at dyeing with using the blue elmer's glue to draw patterns on clothing and then dye. I have seen them on pinterest and thought I would try it out. First I started out with a top that was big on me and the color I wanted subdued some
I inserted a piece of cardboard between the layers and grabbed the blue elmer's glue. This is a MUST!
Also here's a hint on finding the blue glue. I went to many stores trying to find this here in D.C. Office supplies, general stores, etc. I found it at Joann Fabrics. By accident after trying 5 stores prior!!!
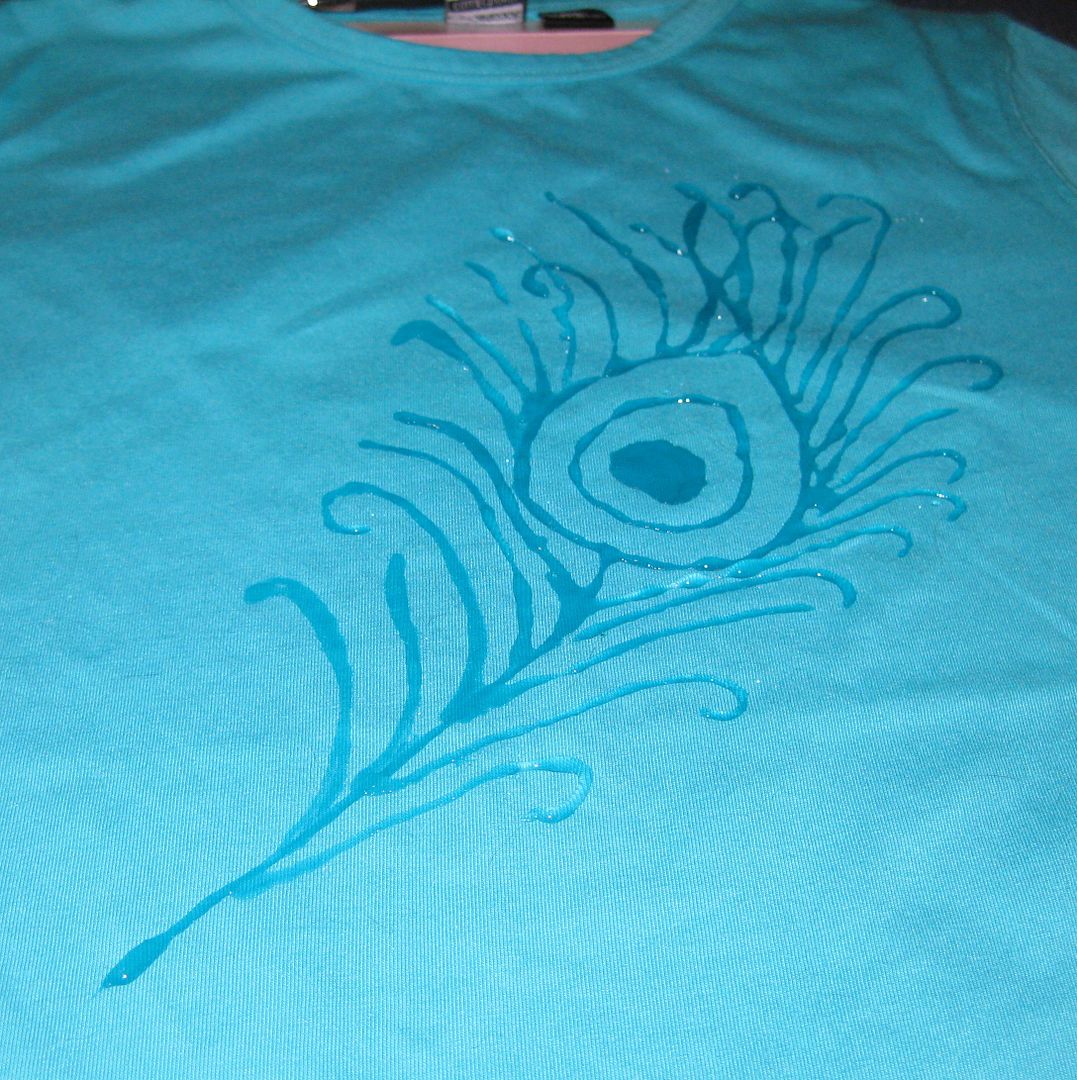
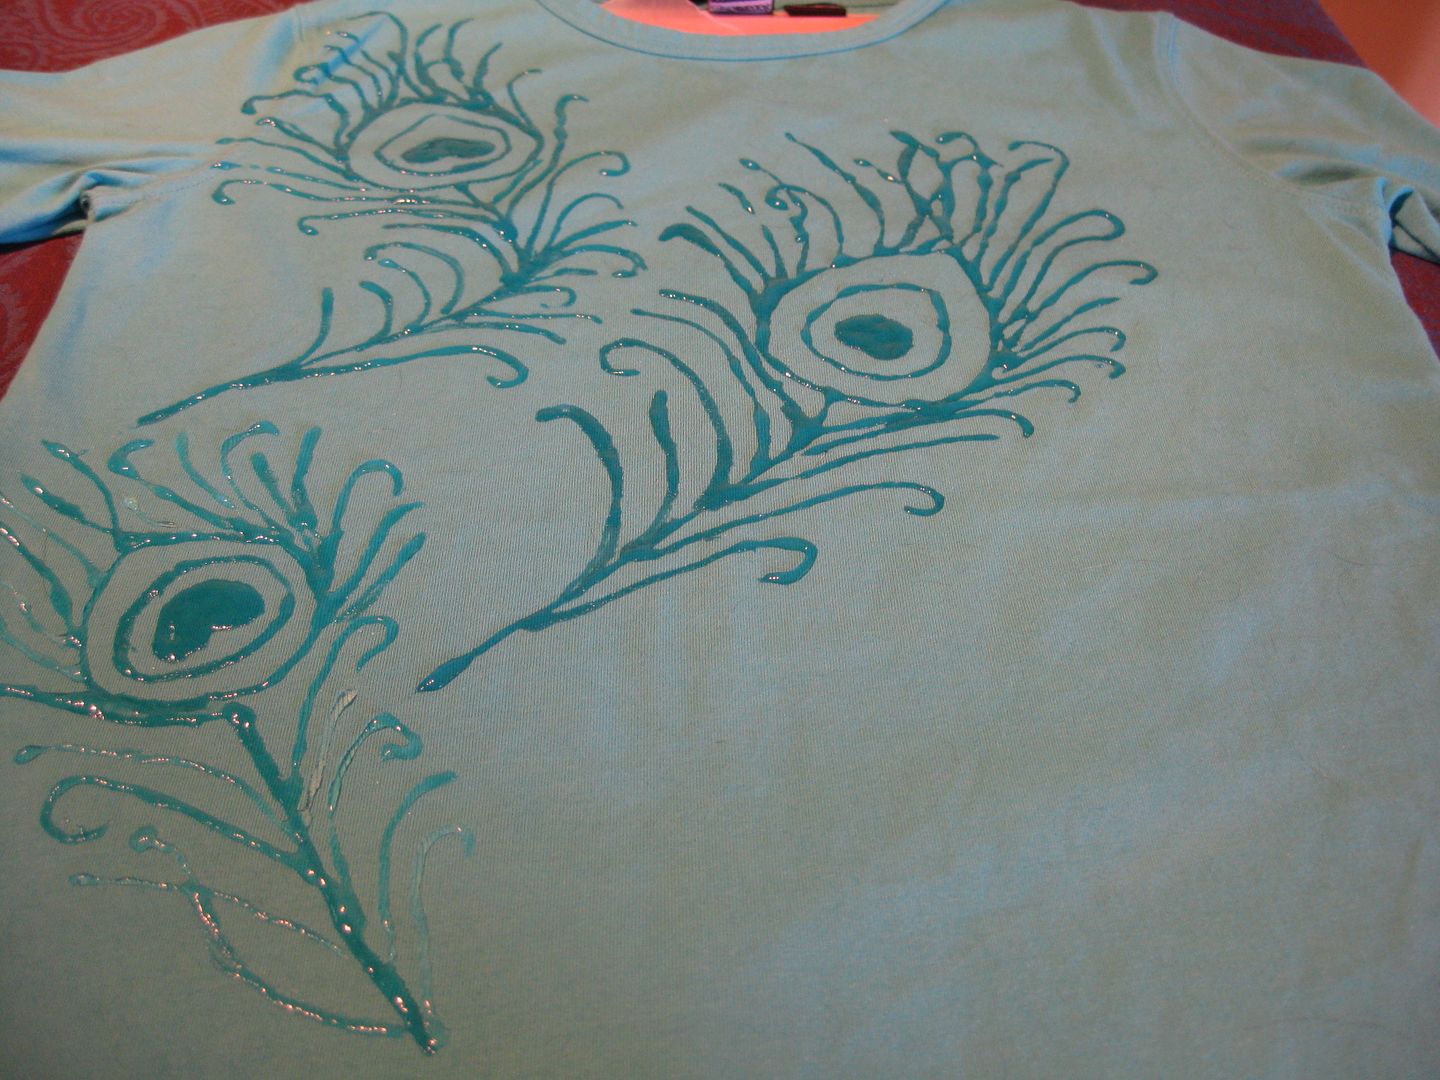
Now I decided I wanted to draw peacock feathers on this shirt. Here is an easy way I figured out how to draw them. First, draw an upside down heart where you want the eye of the feather to be.
draw a circle or a tear drop around that heart. Then draw another circle around that.
Now to draw the thin parts of the feathers. I drew a stem from the eye part of the feather. Really I just had fun with it. And then kept drawing lines that curved off the eye and off the stem. It doesn't have to be perfect.
My first feather. Now to repeat adding more feathers! Here is the second. Notice again I start with an upside down heart, then tear drop, tear drop...
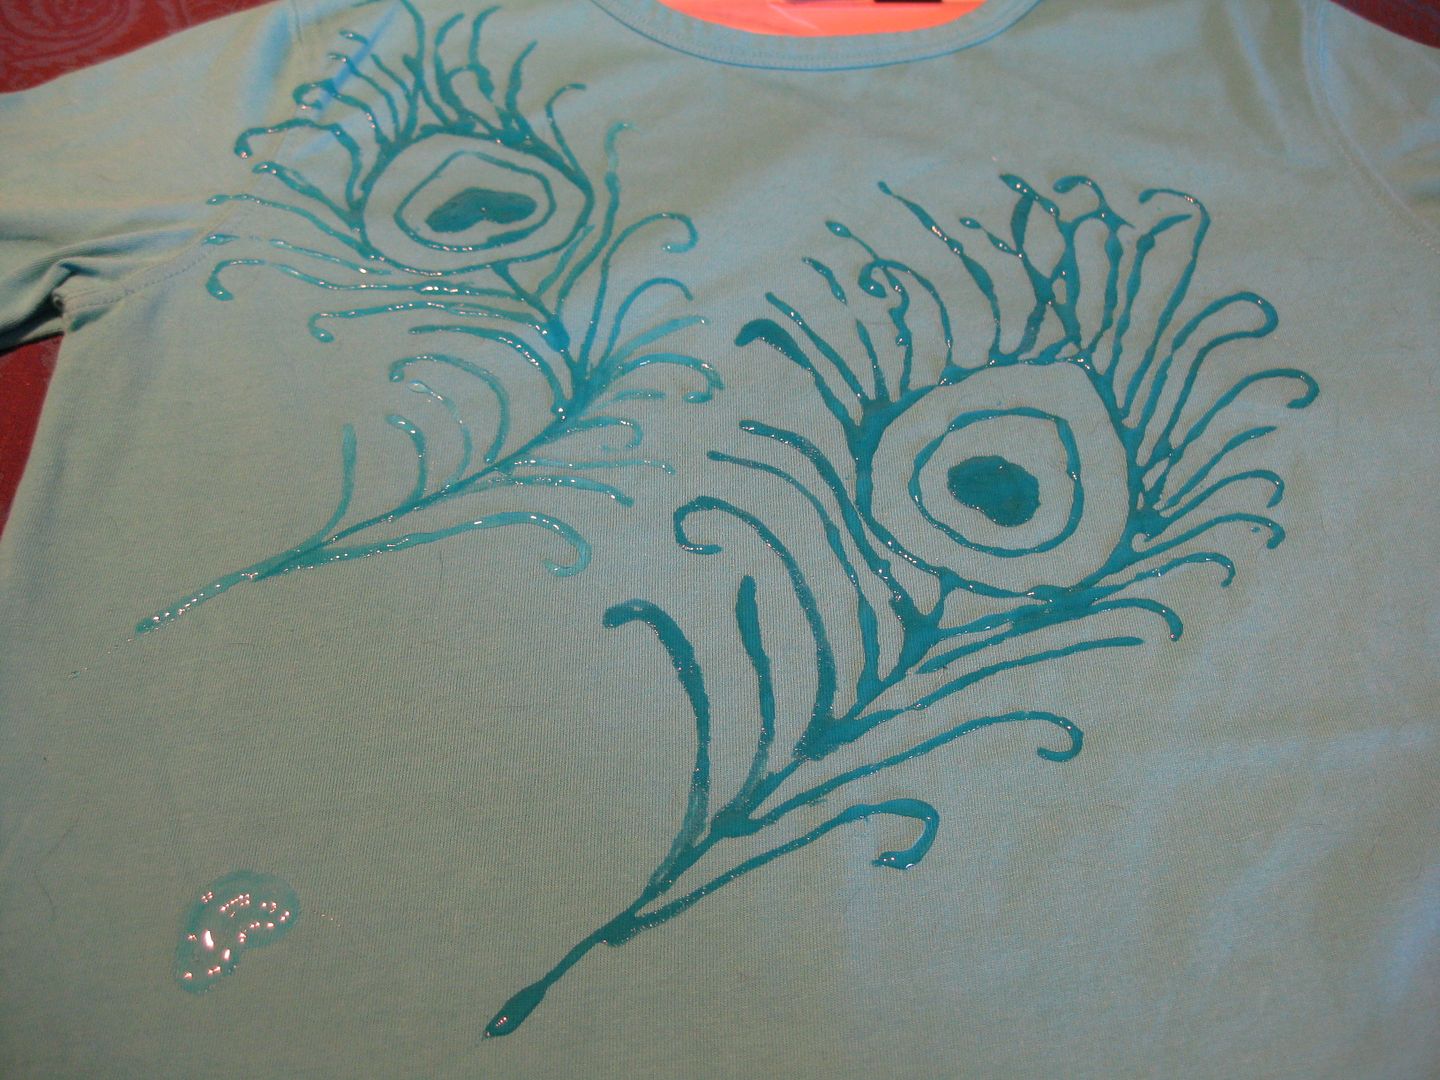
My third...
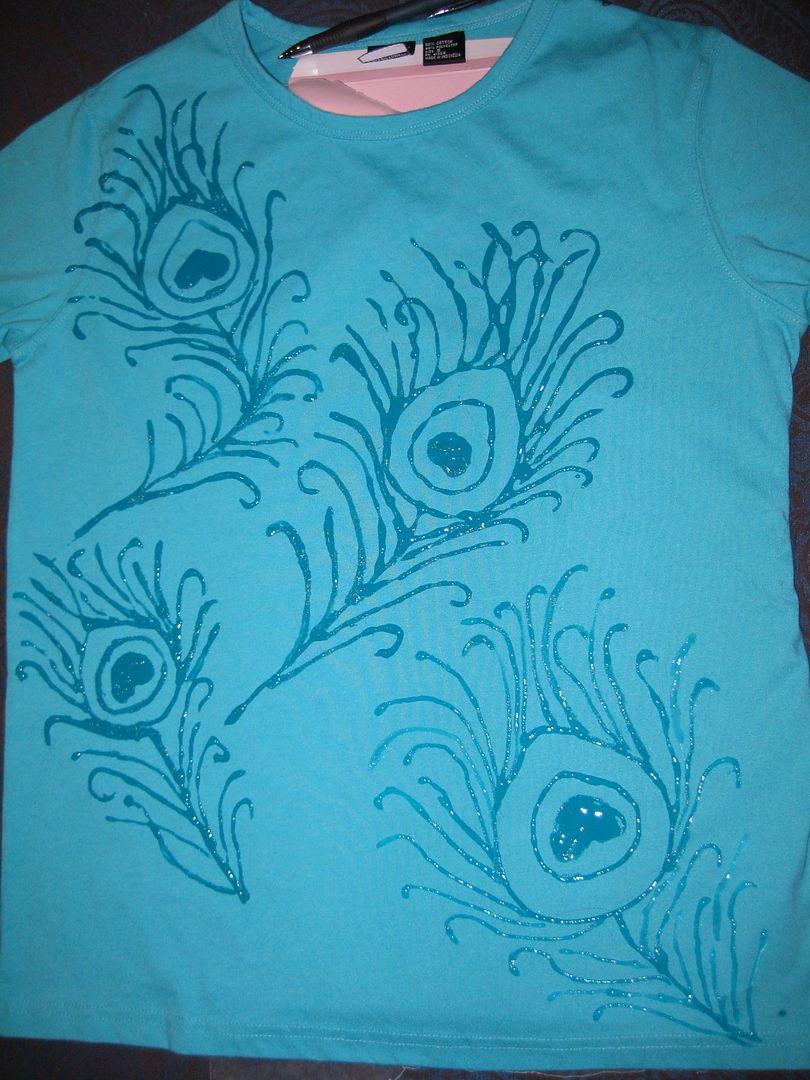
And then the forth. I had a lot of fun drawing these and excited at how simple it was to draw them!
I actually drew some dots and squilly lines on the top b/c I don't like empty space. Yes I am weird like that! Now let the glue dry. Overnight is fine but I went 2 nights b/c that was when my free time on the weekend was coming up. This is what the shirt looked like... this is NORMAL to shrivel up.
Ok on to the dye bath. I choose RIT dye in blue.
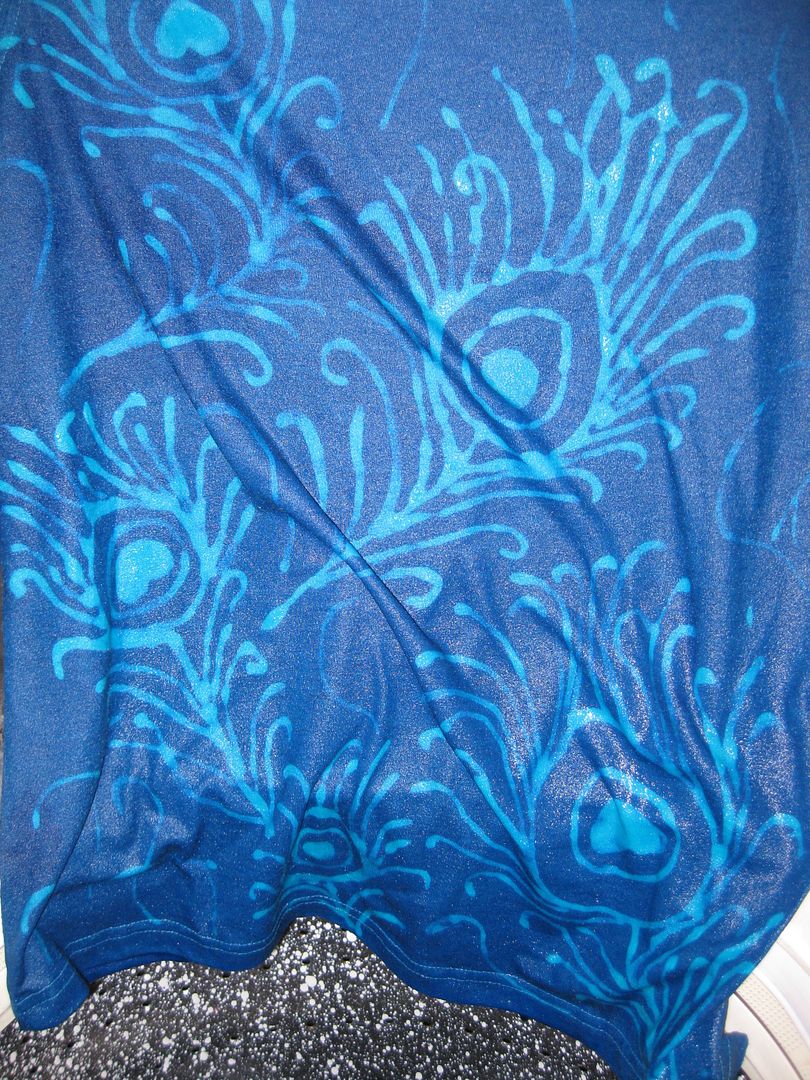
Now I made the mistake of adding salt later. Which greatly helps increase the darkness of your dye bath. Also this is cold water. It has to be cold water. I also should have did longer than 30 mins in a cold bath. But I was super excited when I first pulled it out
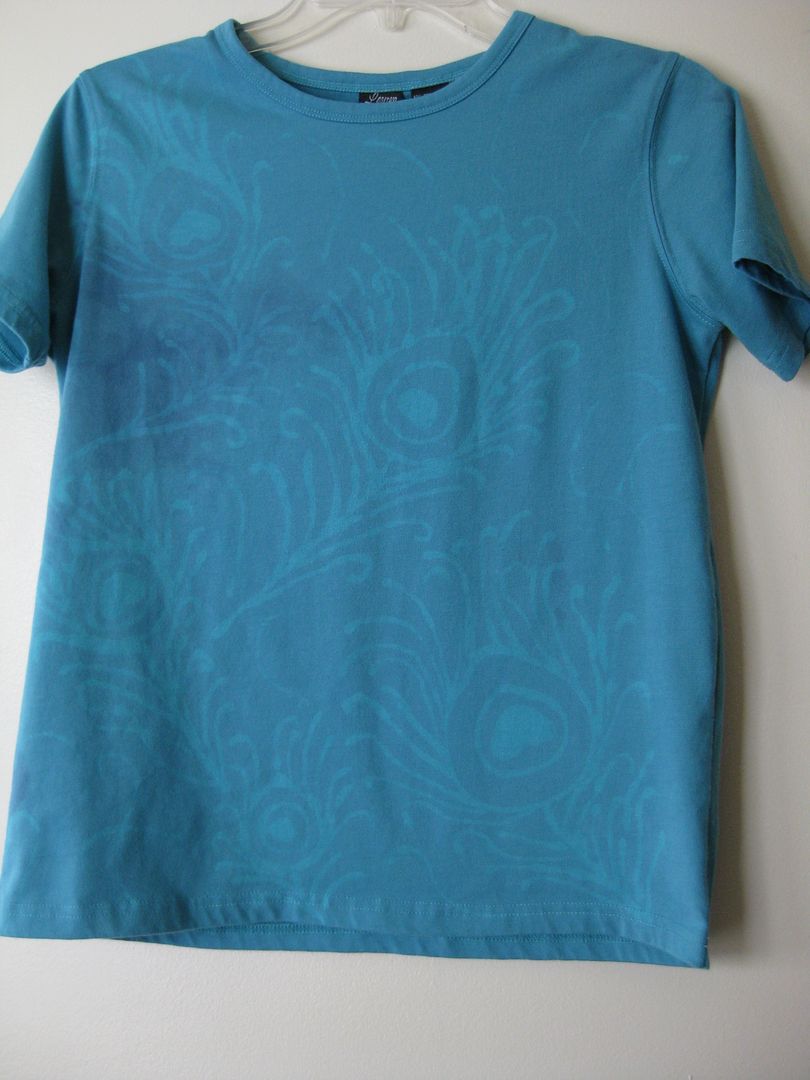
My jaw dropped and I was excited. Tho what I should have done next was rinse it prior to washing b/c I lost some of the distinct colors. So I went into the wash with HOT water to dissolve the glue and wash out the excess dye. Here is my final shirt.
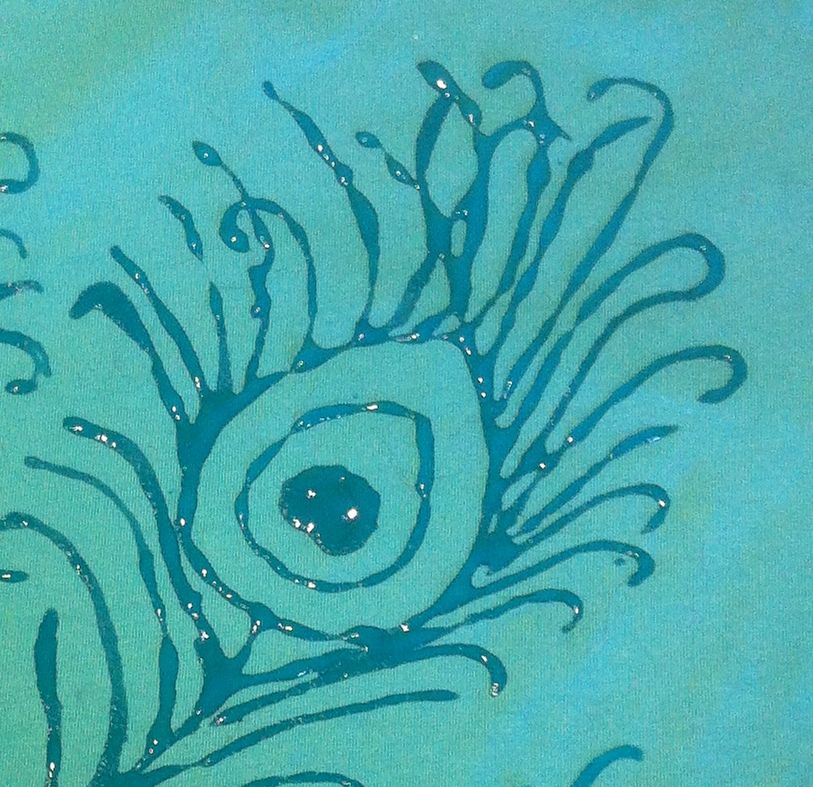
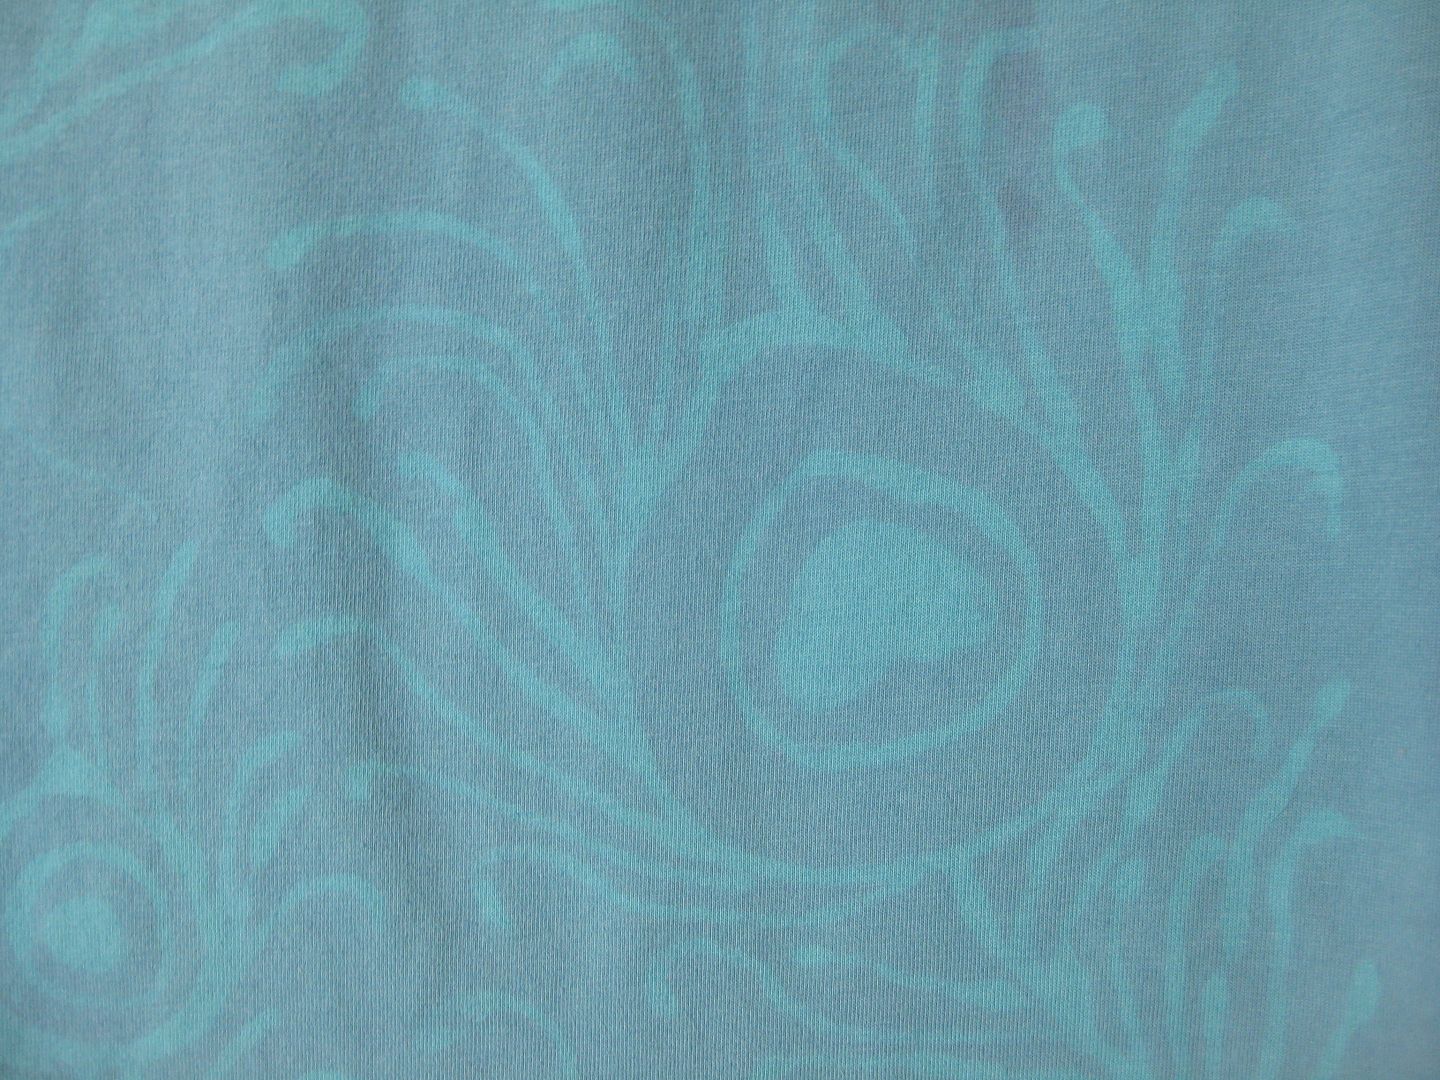
Up close..
It isn't bad, I have also now read somewhere that I should have let the wet shirt dry overnight with the dye before I washed it. Makes sense. It is a subtle detail. I like the feathers. And now the hot water wash shrunk the tee and it fits much nicer now.
Next time this is what I would do...
- draw my designs
- set up the water with salt, let cool
- add shirt
- dye for at least an hour
- let dry
- do initial rinse in cold water
- wash in hot water
I think I would get a darker dye. But it worked! This is so much fun!
xoxoxo,
Lauren


2 comments:
I love it. As I said over at refashion coop. Thanks for sharing your technique and learning curve.
Kathy
I too love playing with dye and seeing what I get. Thanks for sharing your process as well as the results and your analysis of what you would do differently next time - this is what makes such experiments really useful. We get to learn from each others experiences. Love the result too.
Post a Comment