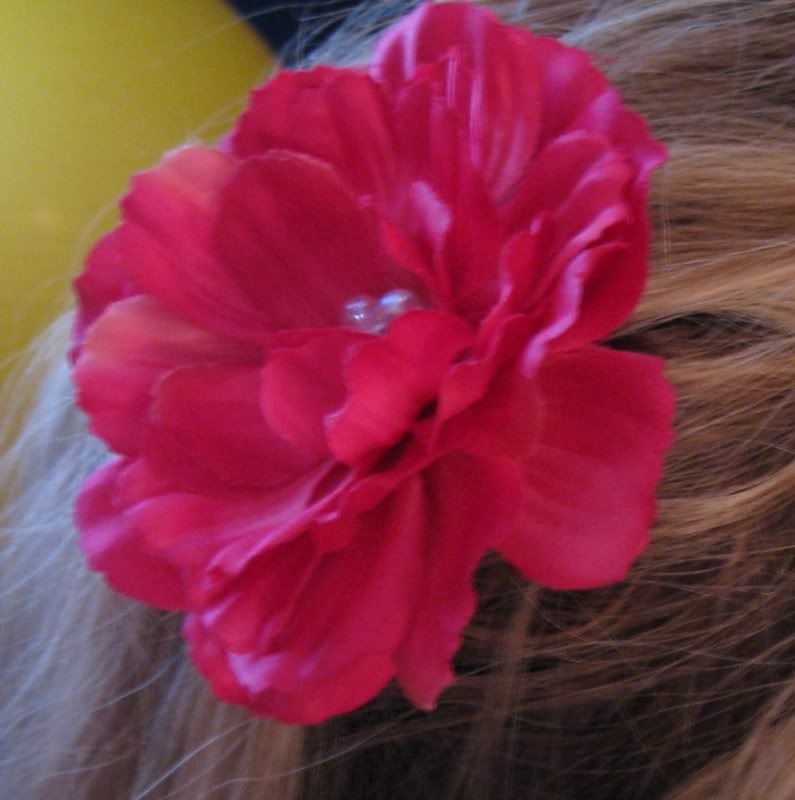
Well hi welcome to my little blog. Just my little corner of craftiness, sewing, and refashioning. I am also a newly gluten free eater so you have a little bit of recipes mixed in here.
Showing posts with label Hair flower. Show all posts

Wednesday, September 18, 2013

DIY brown hair flowers

I made some flowers for my dance students. They really stepped up to the plate, we learned a dance in the round. Which is confusing. I made them some flowers for their new costumes. Here is how I made them....

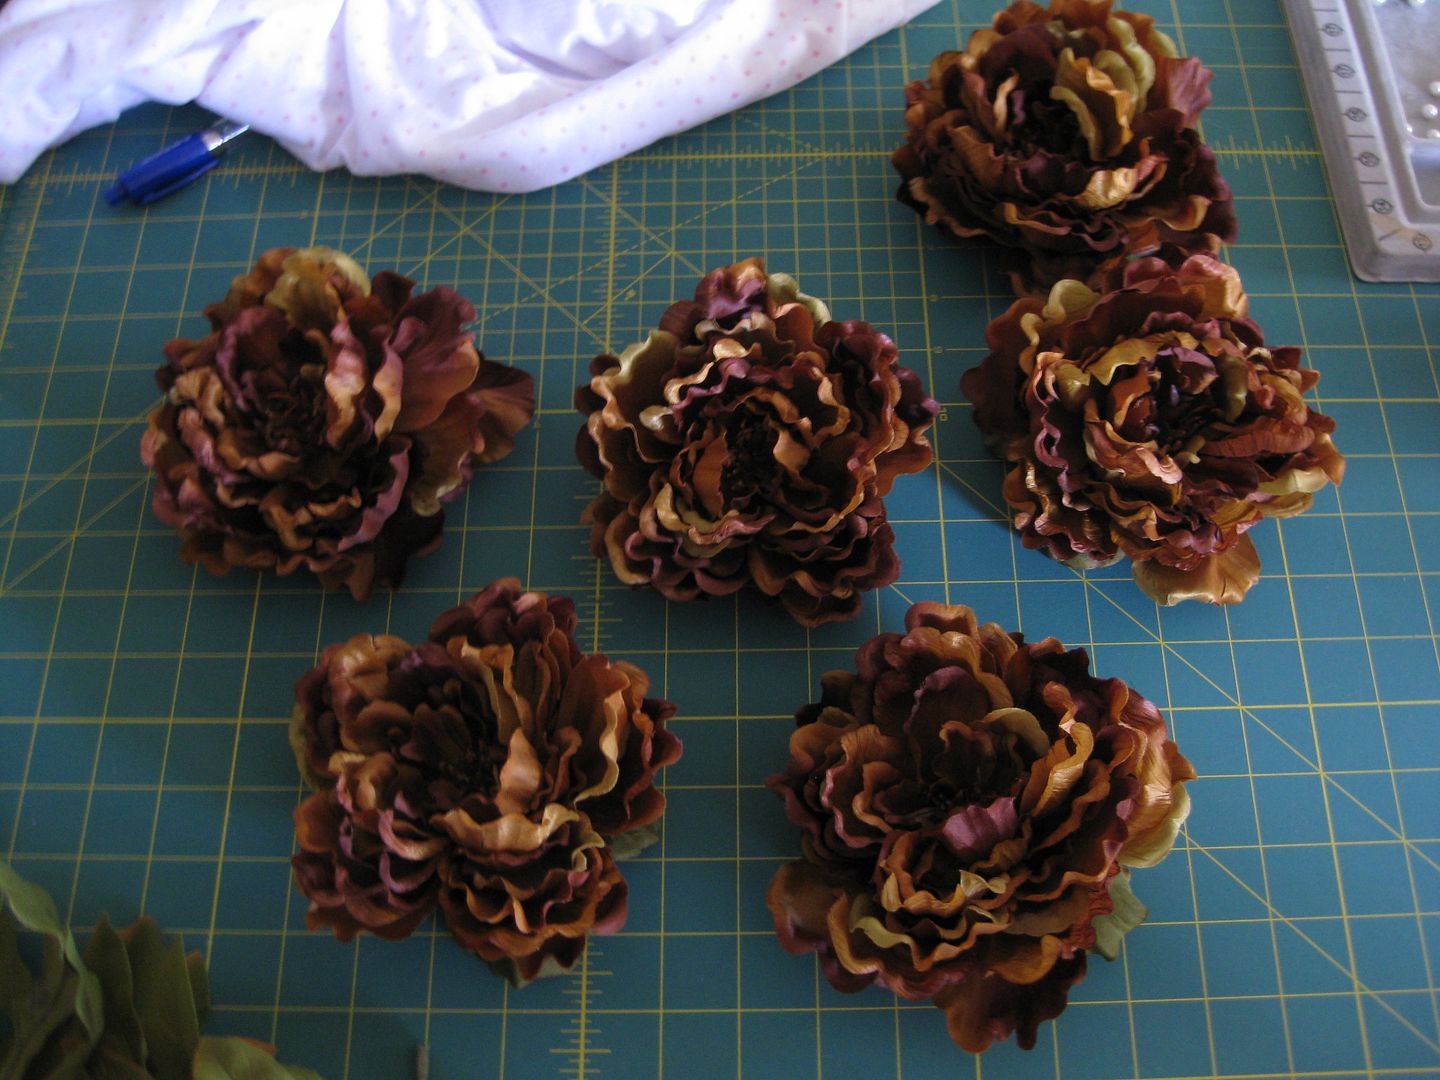
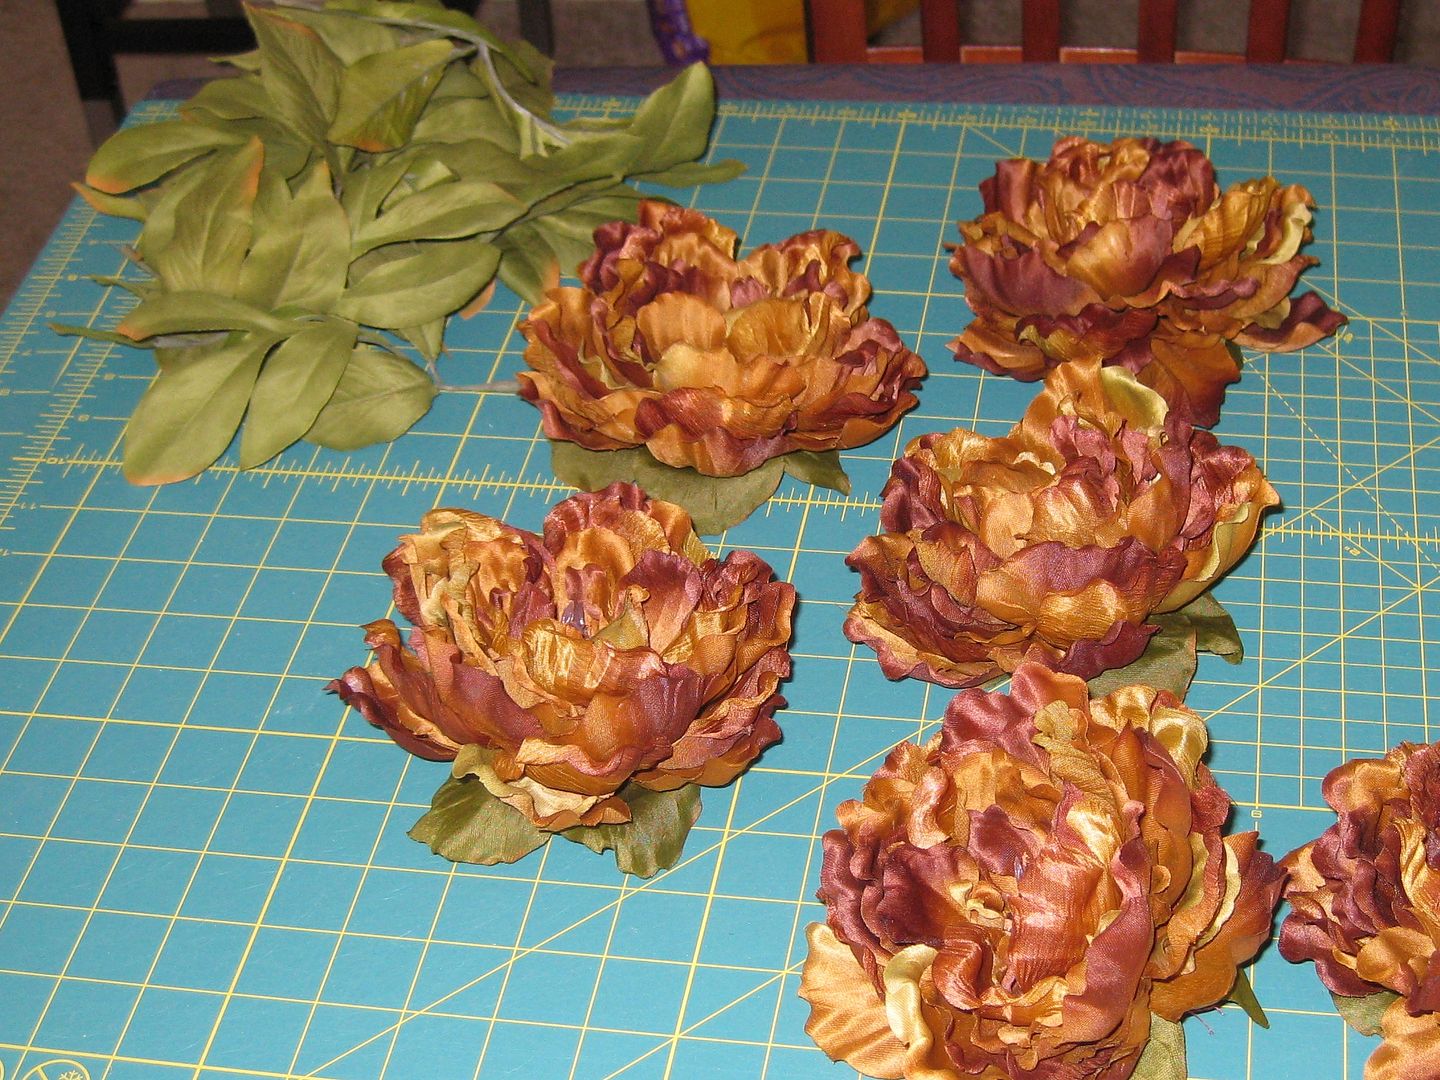
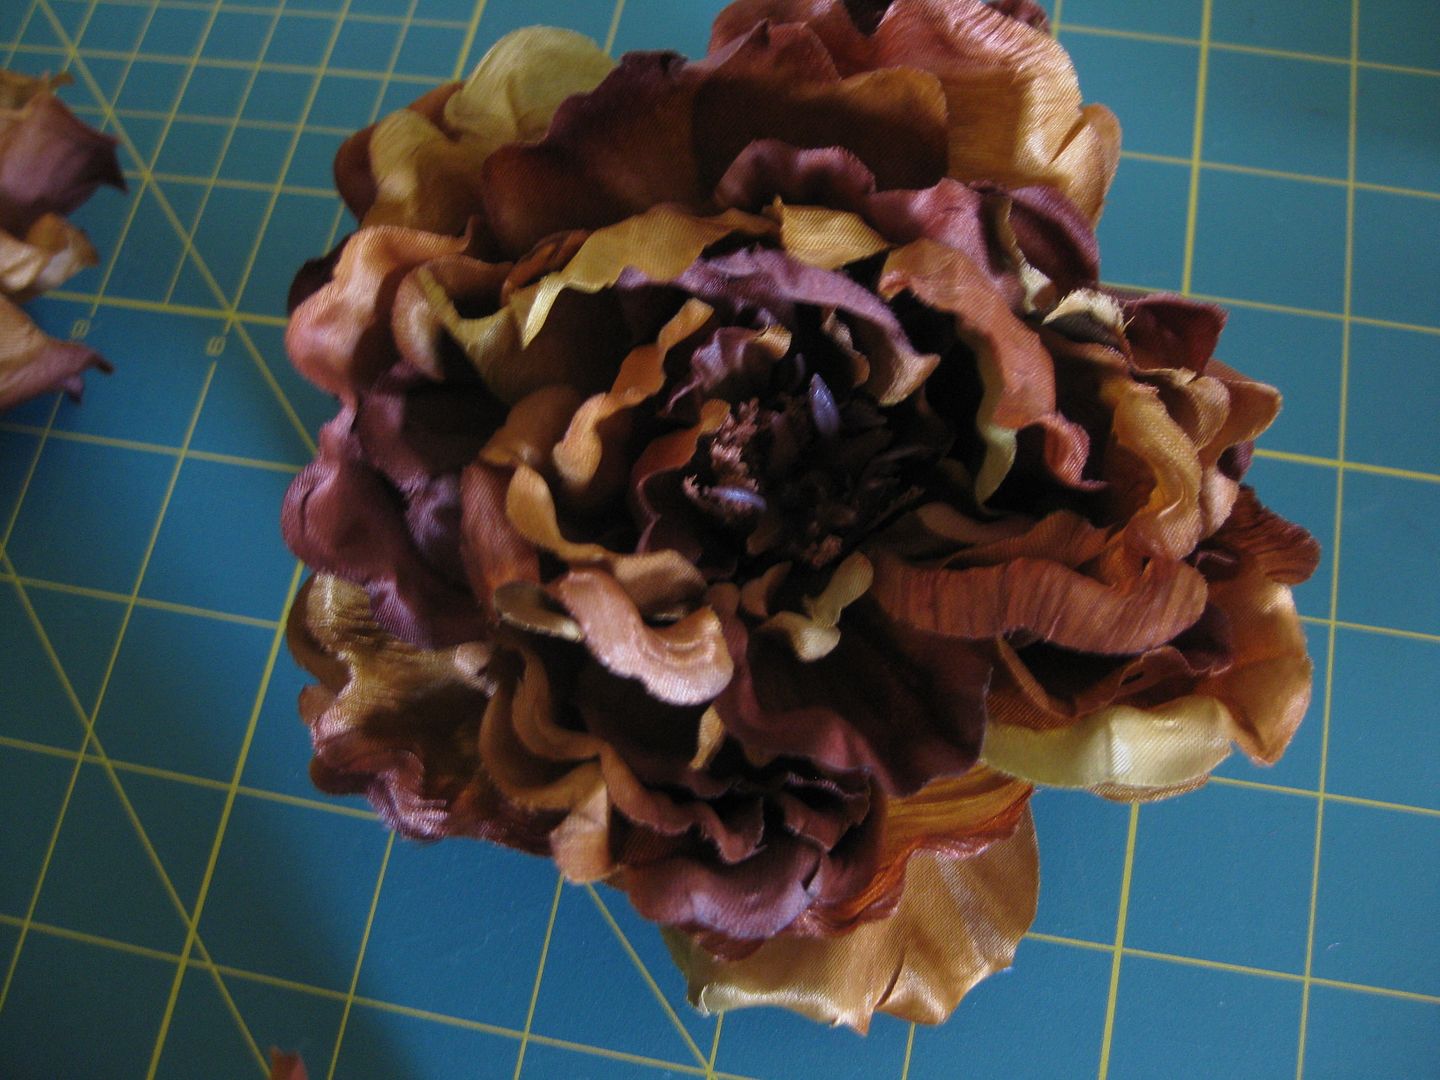
First I found some fabulous flowers at Michael's. They are brown and yellow just like their costumes. Now to make them sparkle!


they were easy to pull off the stems. Now we need to deconstruct them. 


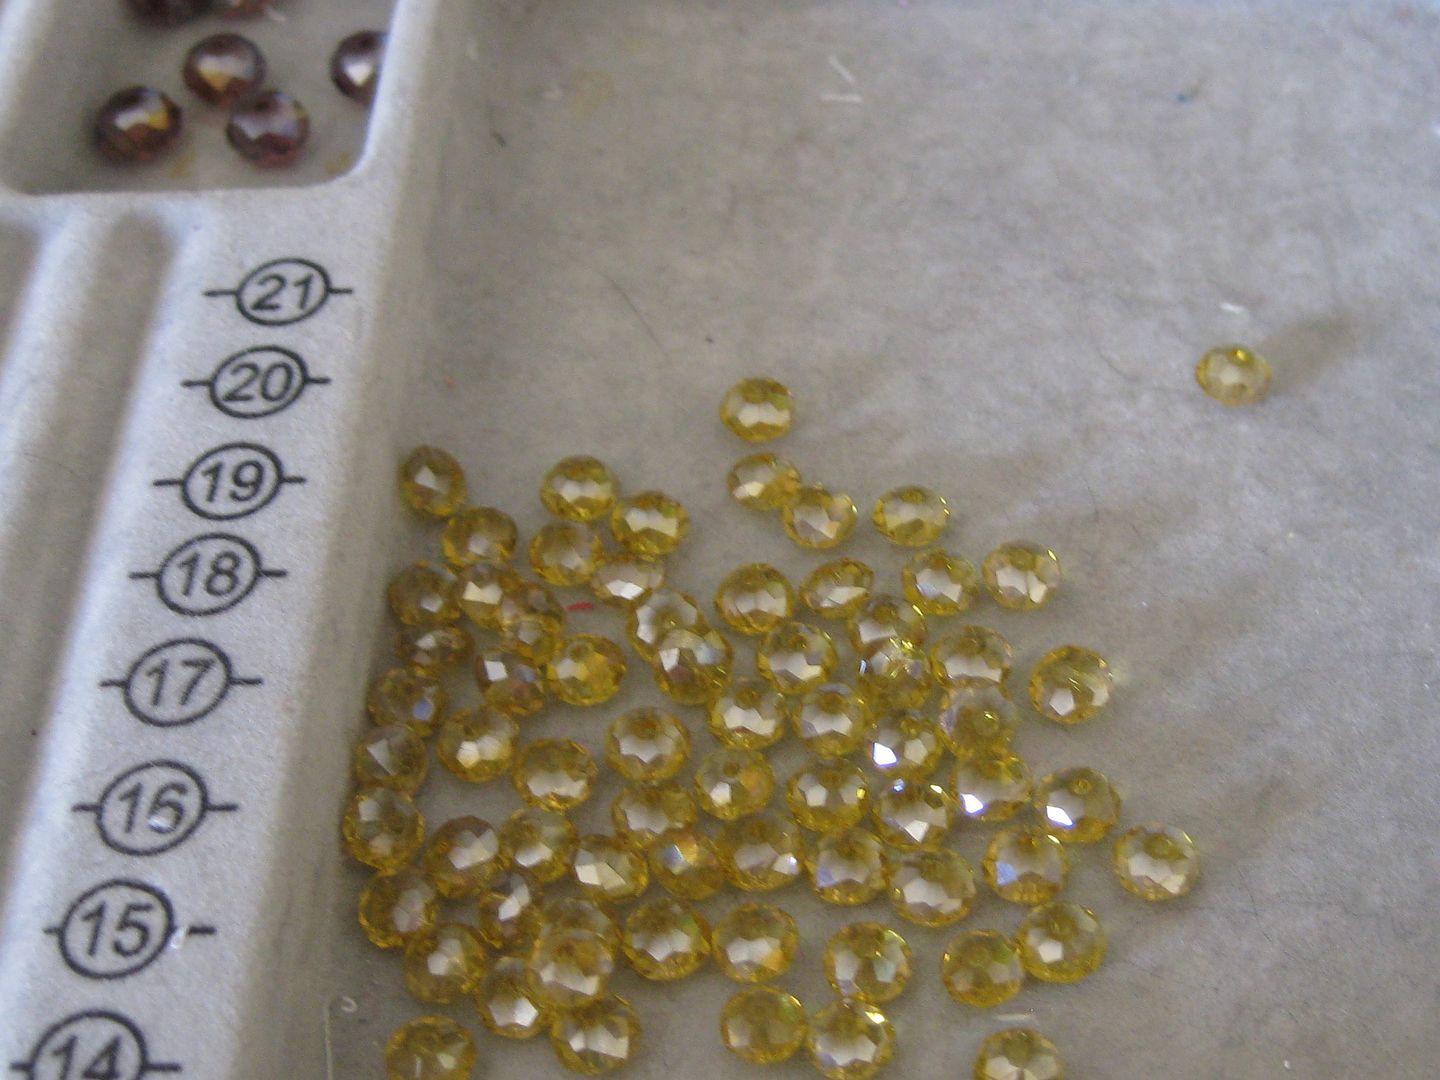
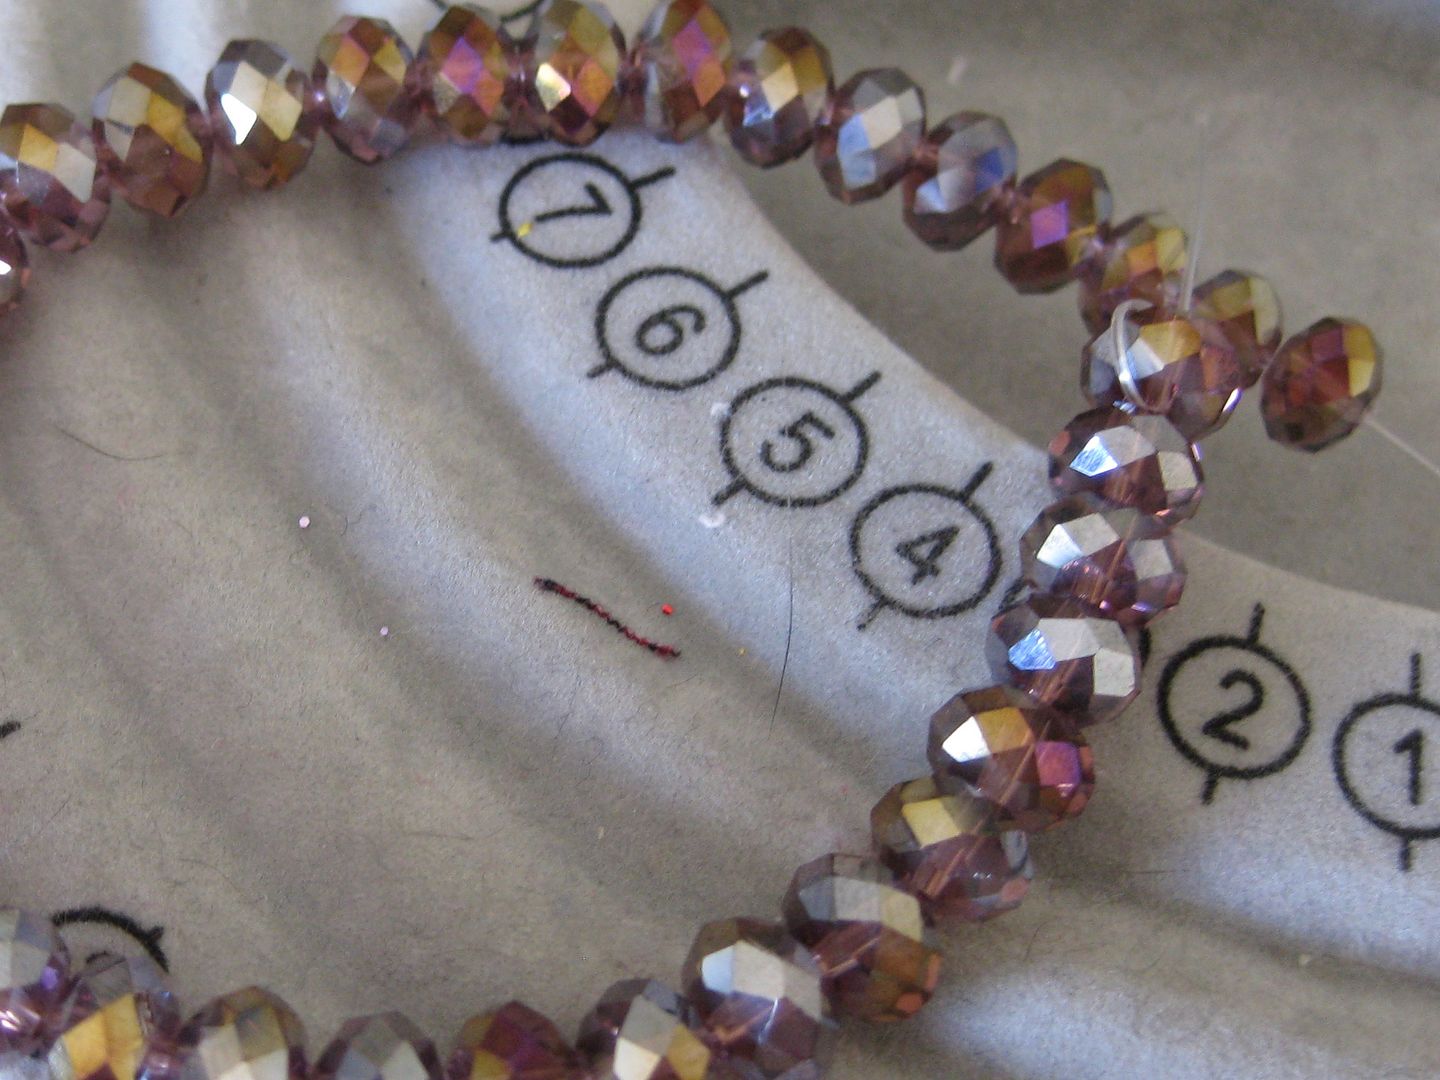
Then I found these beads in my stash. I had no plan just yet. 
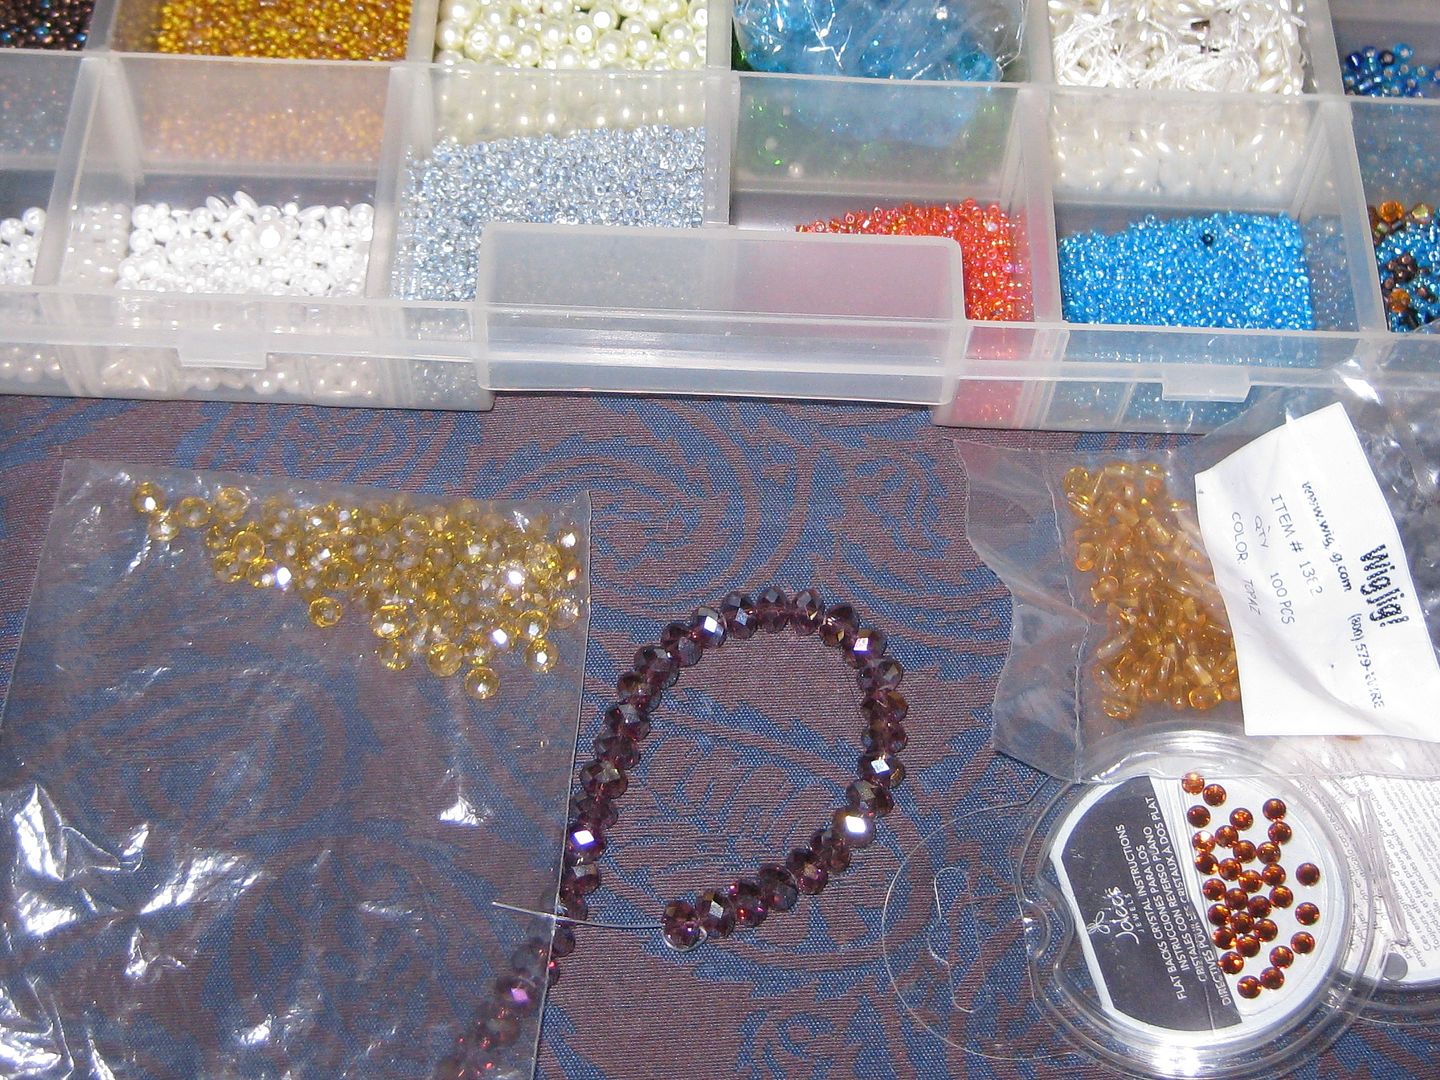
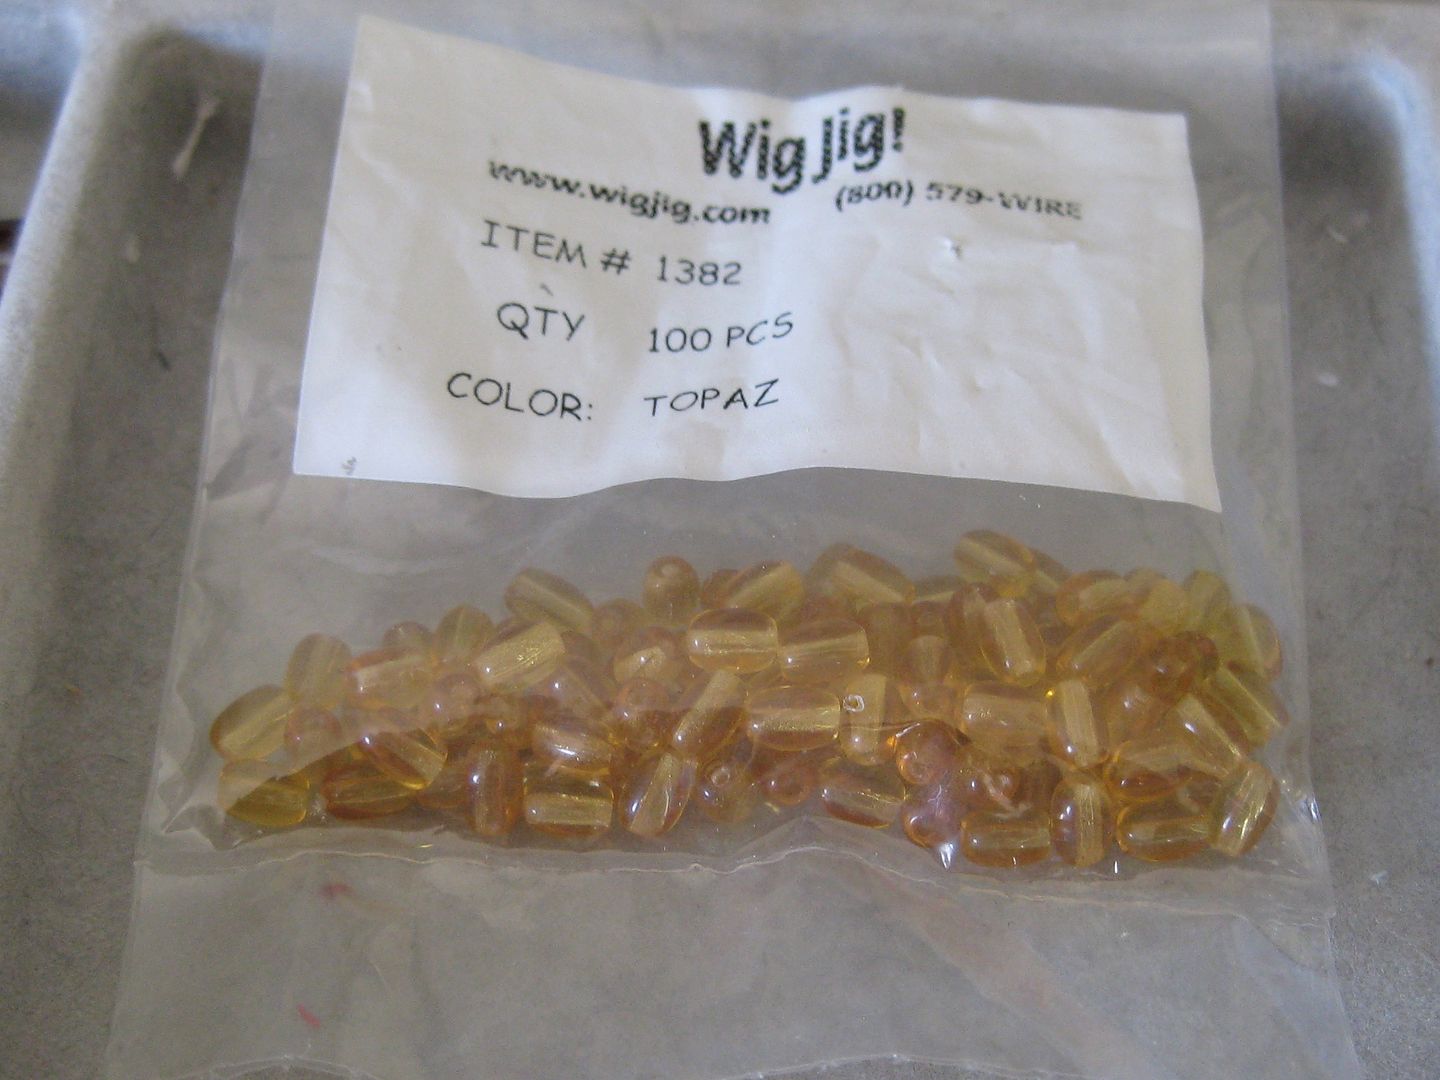
yeah even topaz!!
how about these rose ab crystals?

Time to remove the plastic middle part. This is the part that keeps it all together. 

Oh look more plastic!
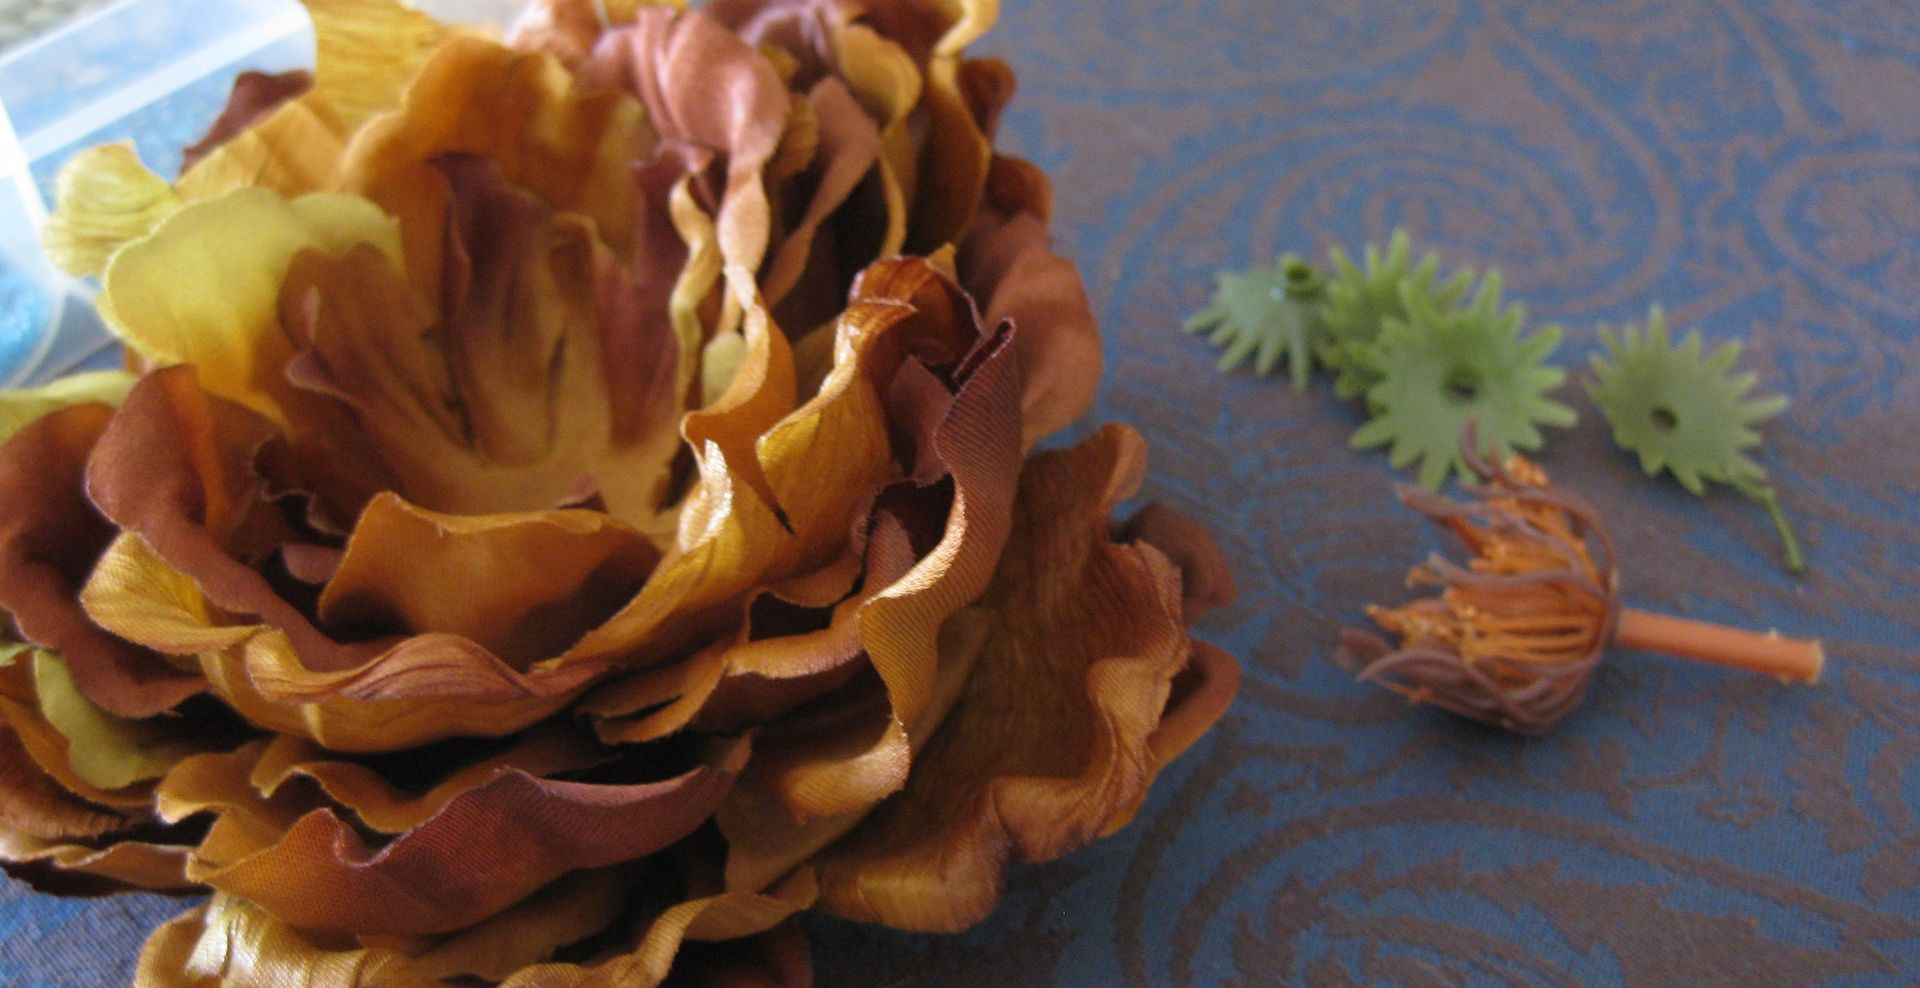
After everything this is all the plastic I have, just from one flower. 
Now I need to put it all together. This is just simply sewing it back together. And not glue. It was going to make it too stiff. And I still had to add beads
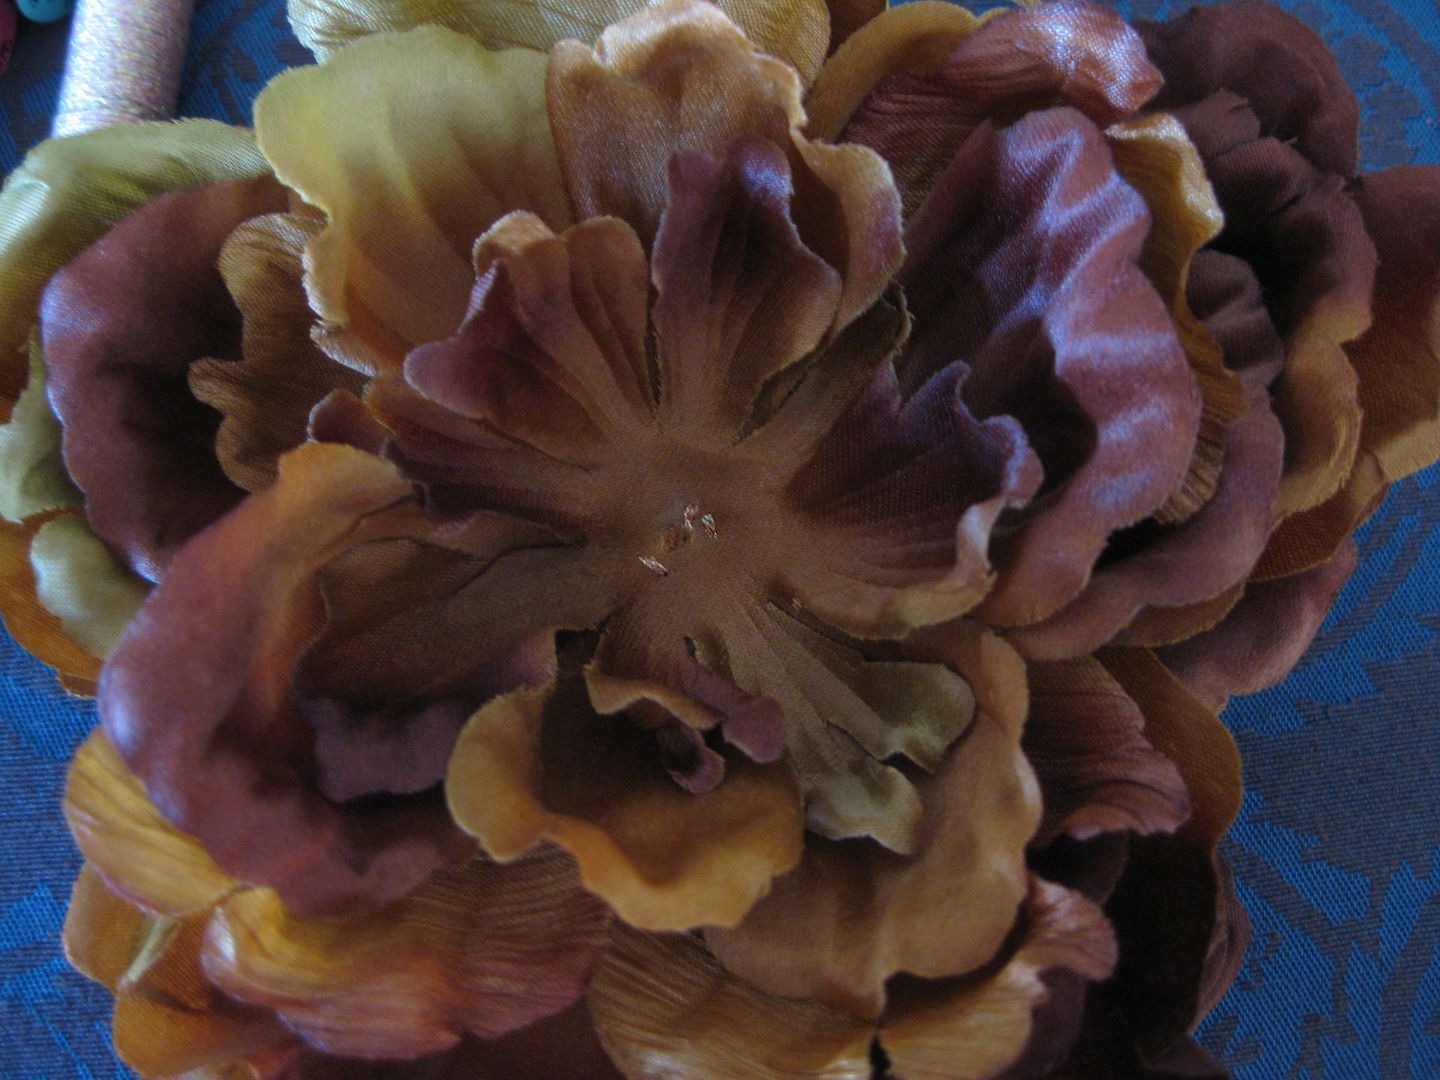
This is what I did. A circle of crystals. And fill in with the bright yellow ones. 
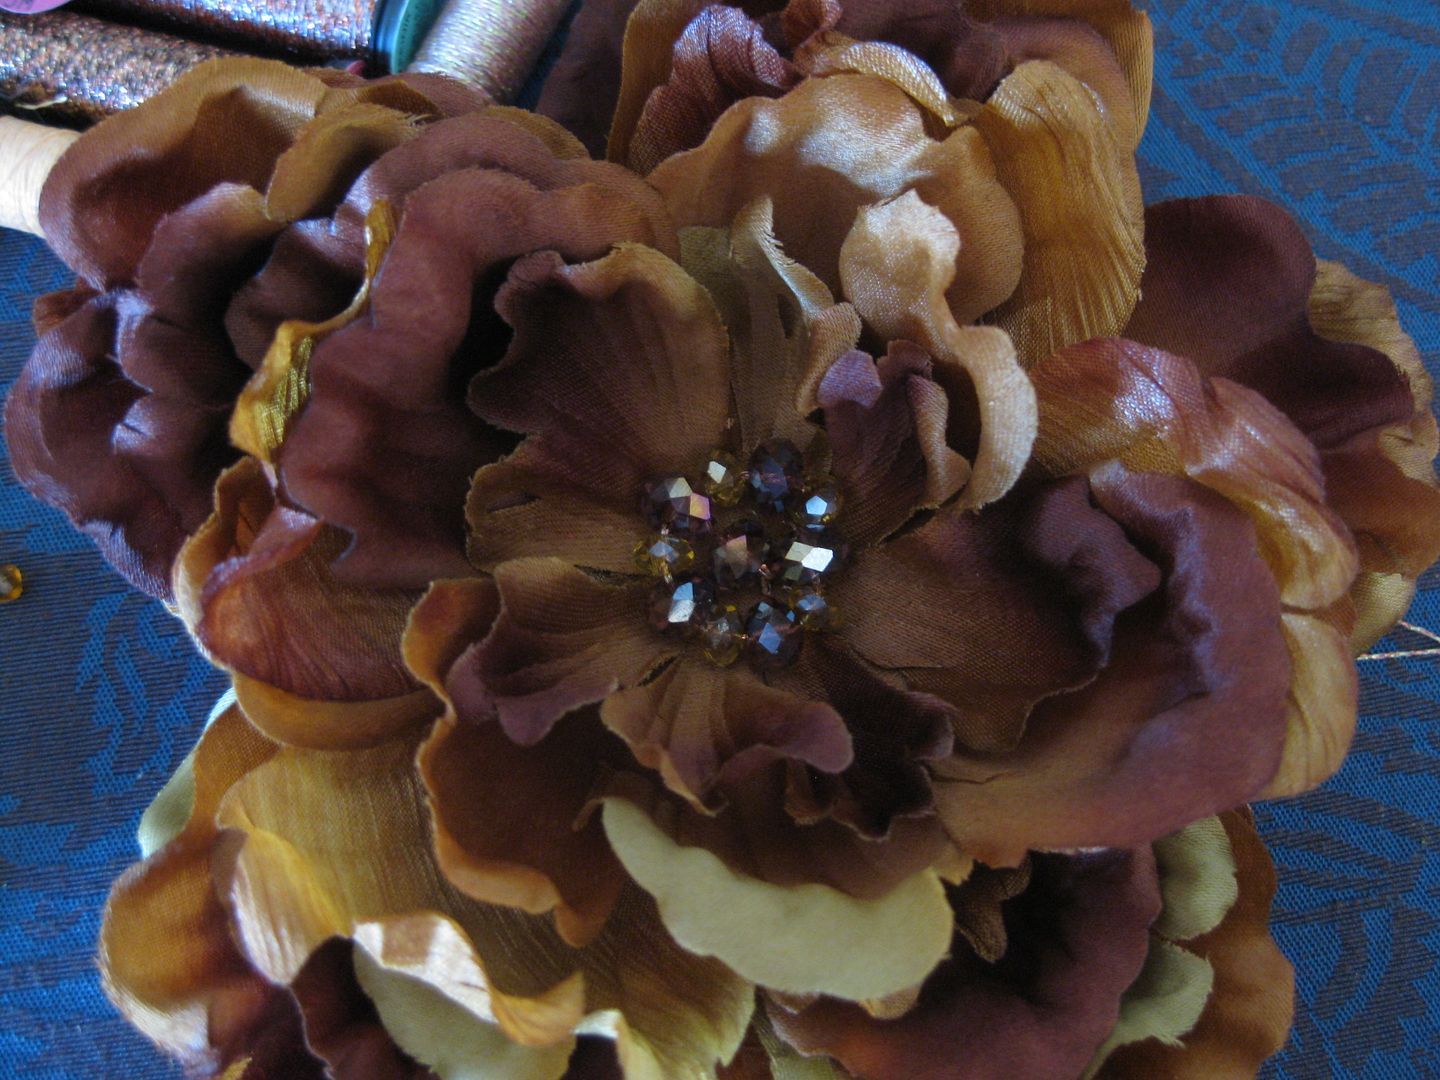

After everything was done I needed to add a clip. I grabbed some glue, a clip, and a round piece of felt. 
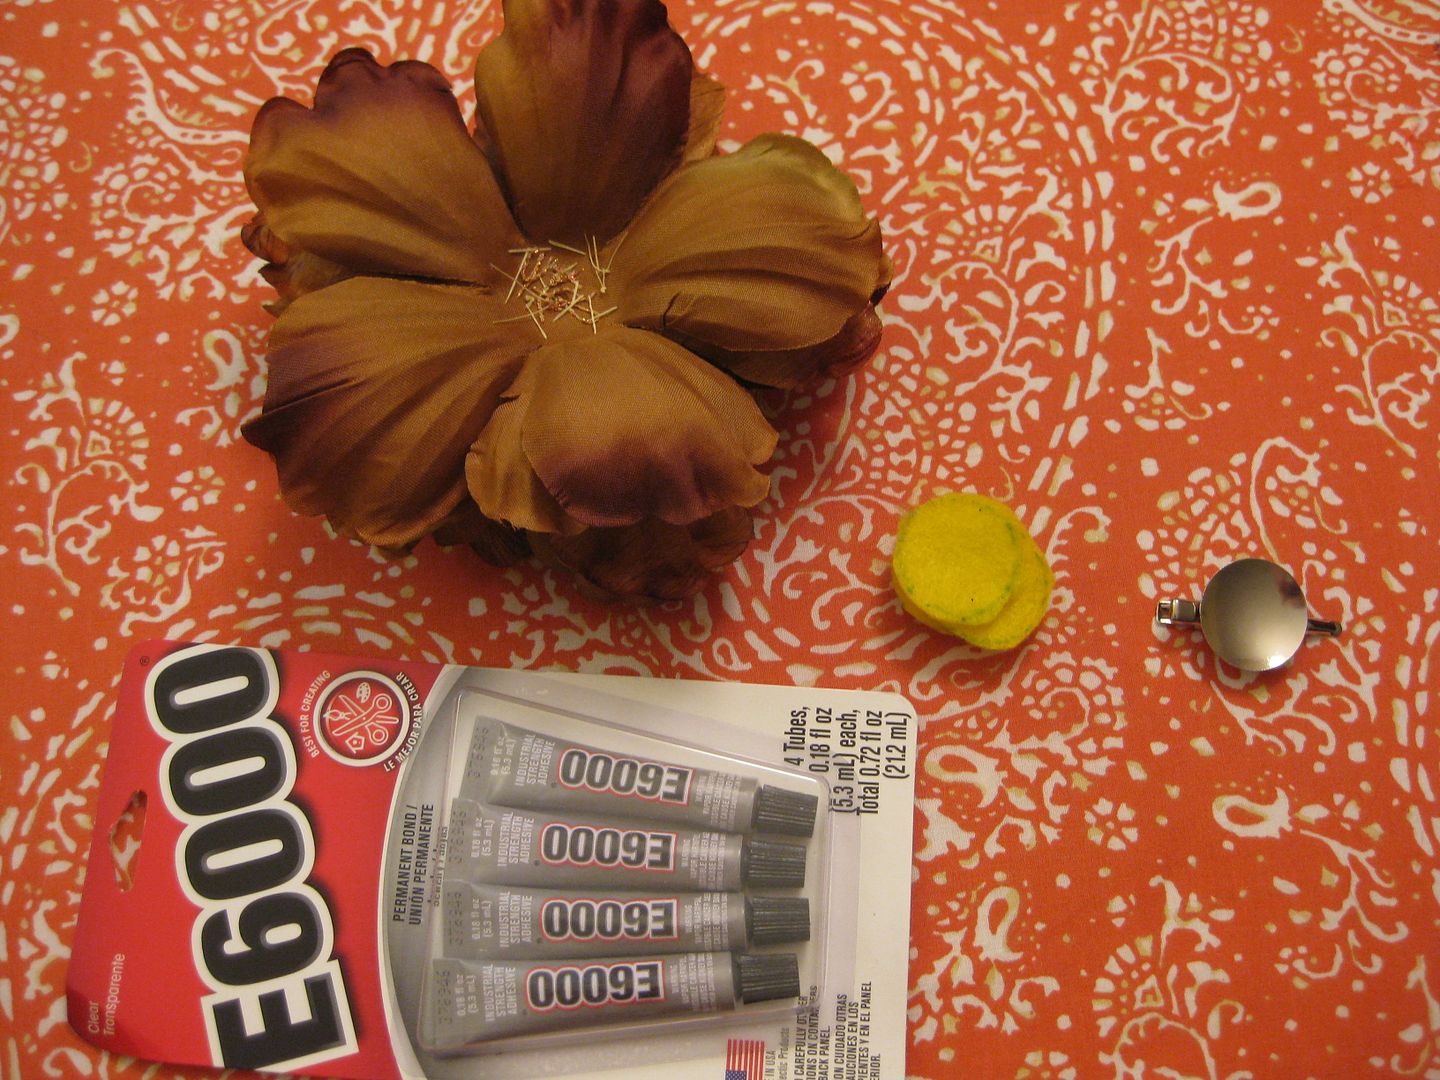

First glue the felt over the stitches. 

Then glue clip! I let it set overnight. 
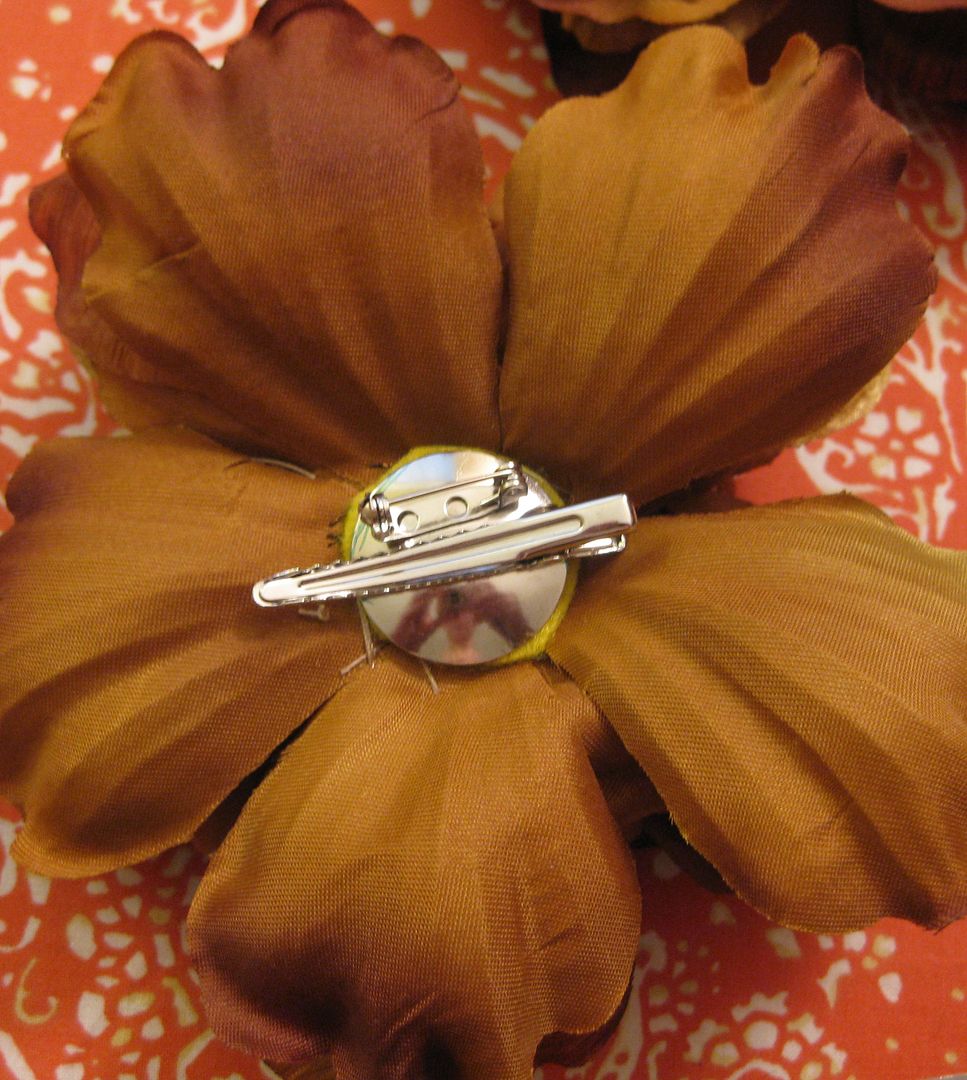
Done! Yay. Pretty easy. Will post when the students wear them. :)

cheers,
Lauren

Monday, September 3, 2012

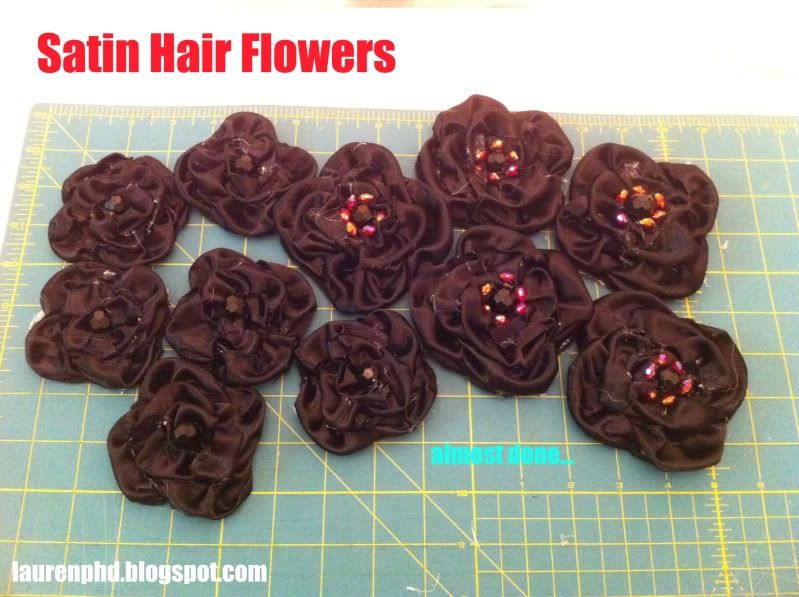
Day 34: Modified Krissy Hair Flowers

Hope everyone had a fabulous labor day weekend! Today's post is a craft. For my dance students, they earn flowers. I was looking for flower patterns b/c the fake flowers that were available were hideous and I found nothing I actually liked.

I found the Krissy tutorial on Fancy Schmancy Boutique and fell in love with them. :) I decided this would be a good start to make flowers for my dance students. I purchased the pattern. 

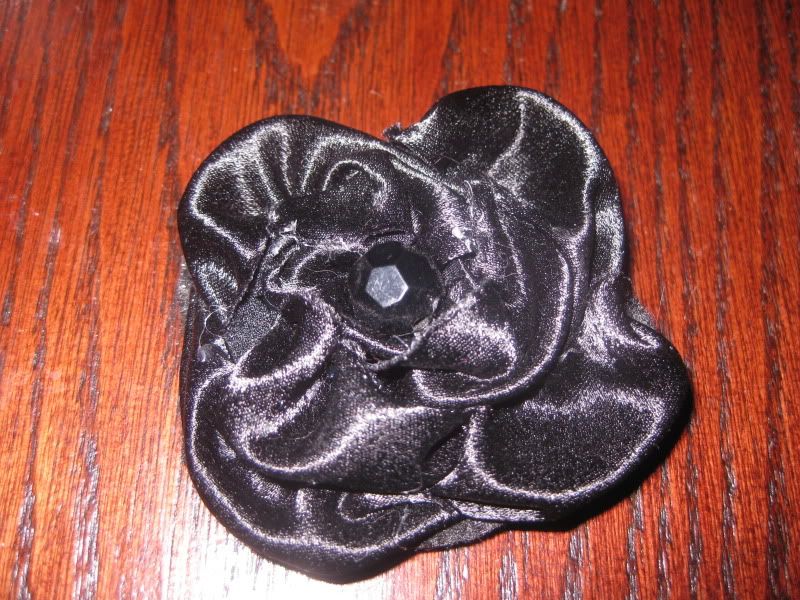
I do not have any during photos, because this is a pattern I bought and it is copyrighted.... but also my fingers were covered in hot glue like it was no body's business. I slightly modified the pattern for the petals to fold over, mostly b/c I should not have used hot glue and I had it everywhere. EVERYWHERE!! So I had to hide it! But I also thought that having them glued down may help during times with a veil. The less you have available to grab, the better it is to dance with a veil. :) As you can see in the lower picture here is what I made.


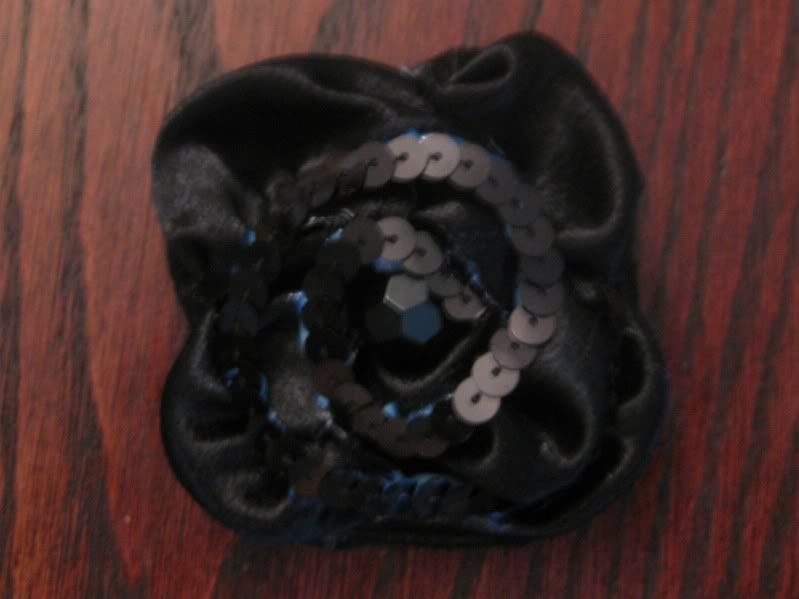
I made 2 versions. The medium and the large. The large one I added red beads to match their costumes. The medium ones I just kept simple black. Because of the hot glue that got everywhere, I tried to pick it off but not everything came off. My deadline didn't help. I added some sequins to help cover up the glue, which for the stage lights will make them glow and sparkle that much more. 

Here are more pictures. I so far have none with them in my student's hair. I will pin them down have a photo shoot soon and repost.


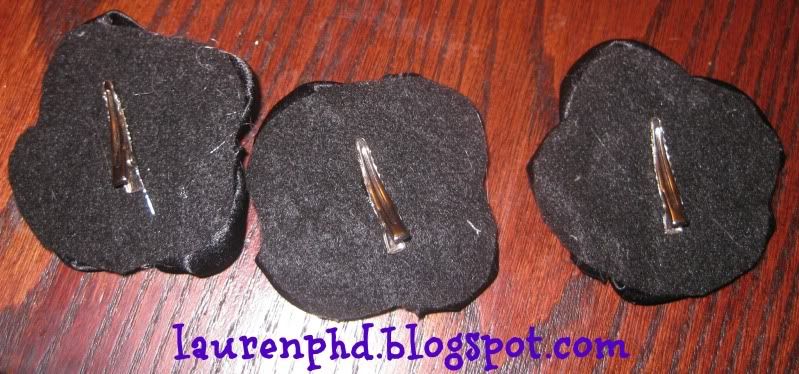
The back of the flowers.


If you are interested in the Krissy tutorial click here. I definitely want to do this again when I have more time and I am not making 12 of them with a time crunch! ! If you want to see more (and trust me she has some fabulous flower patterns that make me drool!) click here! I am eyeing the Enchanted for decorations in the new apartment when we move to DC next month. The apartment could use a pick-me up!

I would like to Thank Fancy Schmancy for allowing me to use her photos and for the wonderful tutorial. I promise to try again and make it the right way! 

Day 34 done! 26 More days to go! Wahoo! For more of my 60 days of blogging adventure click here.

xoxoxo,
Lauren

Saturday, September 1, 2012

Day 32: Hair flower #2

Happy Labor day weekend! Today is a craft day. It is for a hair flower for my dance students. This one I really didn't have a "plan" but things worked out!  I found metal flowers on clearance at Michael's.  And there were 5! Wahoo! Just enough for each dancer.

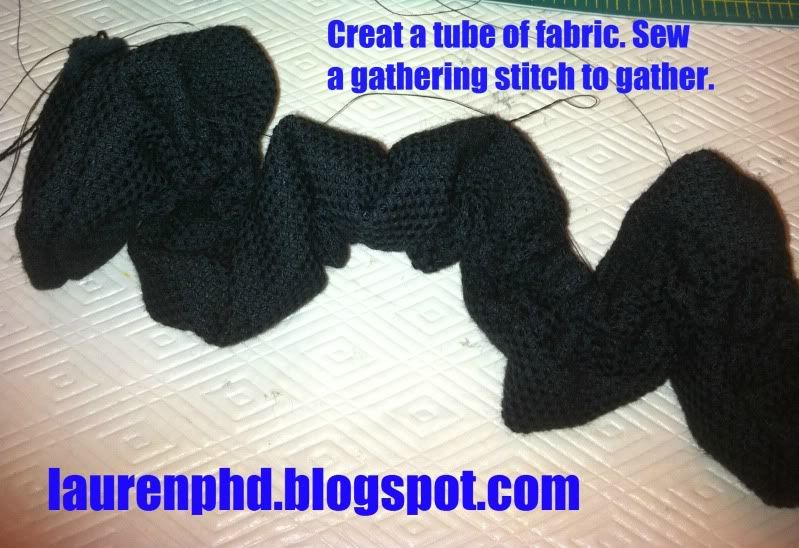
I wanted to make bigger ones and use up some of my scrap fabric too. First I decided I was going to add a ruffle to cushion the metal and fluff it up! So I made a tube... sewed a gathering stitch....


Next I pulled off the backs of the flowers. They were meant to be jewelry or pins

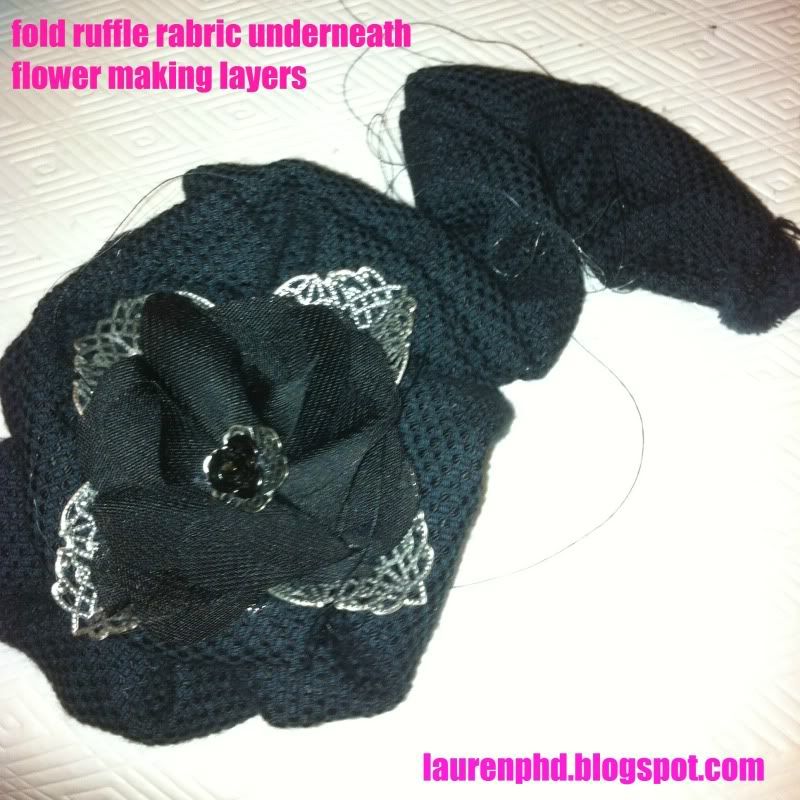
Next I circled the metal casing with the ruffle.

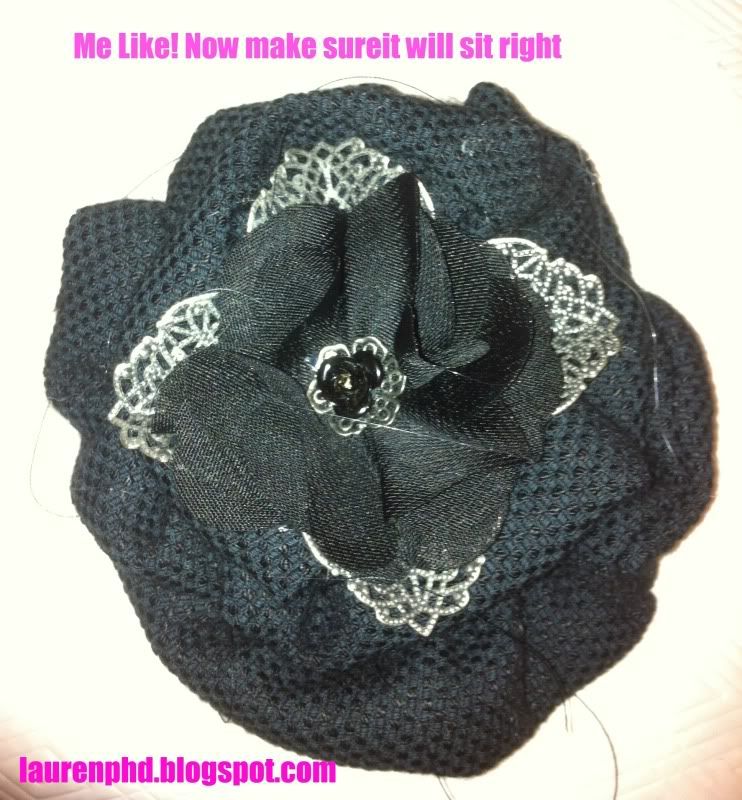
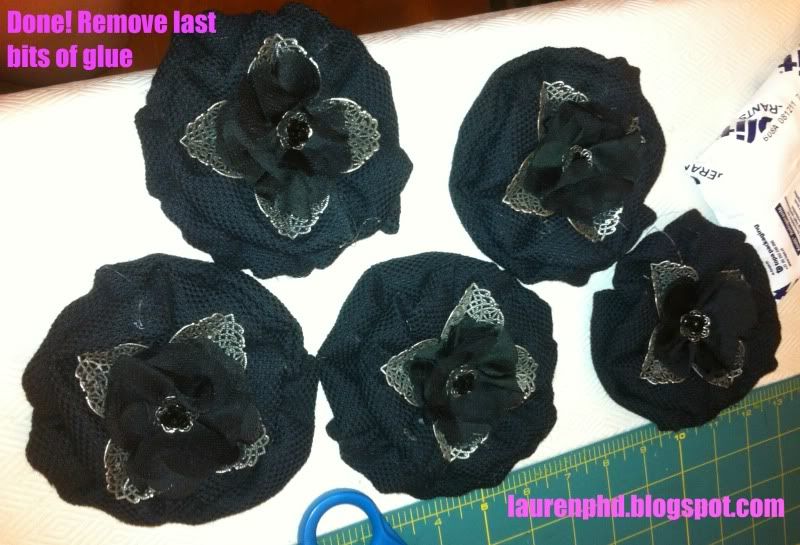
Here it is done. I used good old hot glue!

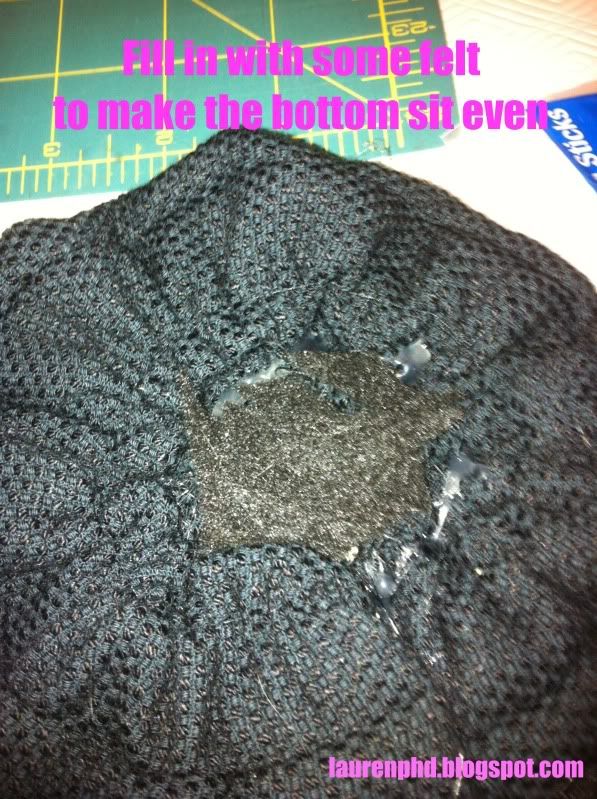
We had a hole in the back of the flower. So I stuffed it with the scraps of the felt I had.

Then I added a circle of black felt to cover everything up and make a base for the pin and clip.

Done! BTW the ice pack was for my poor fingers that I had burned making all these flowers. 
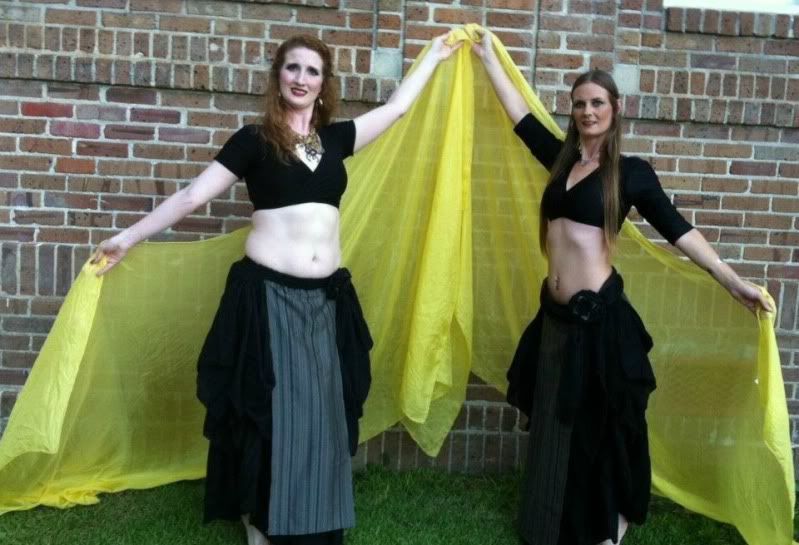
Some of my students wore them on their hips with their costumes as you can see here.

Not bad huh? And again very inexpensive to make since I got them on clearance! :)

For more of my 60 blogs to DC click here.


xoxoxo,
Lauren

Thursday, August 11, 2011

Hair Flower Tutorial

A few people know that I made a ton of these once and wanted to know how I did it, so here is the tutorial!

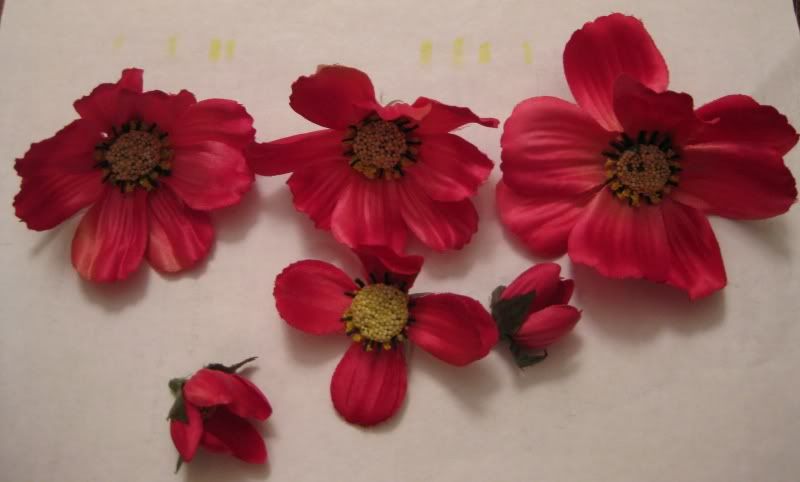
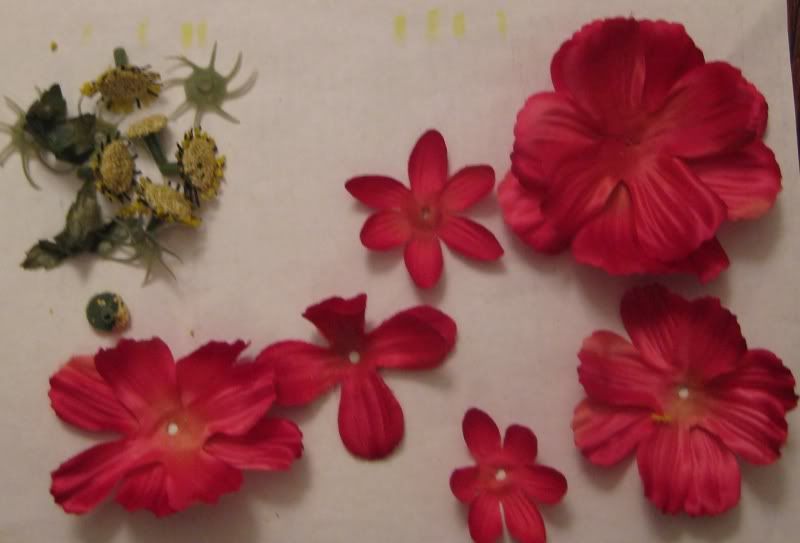
First, I started off with 1 bunch of flowers that I pulled off the stems.

Next, I removed the stems of each. We will use all flowers to make a nice flower.

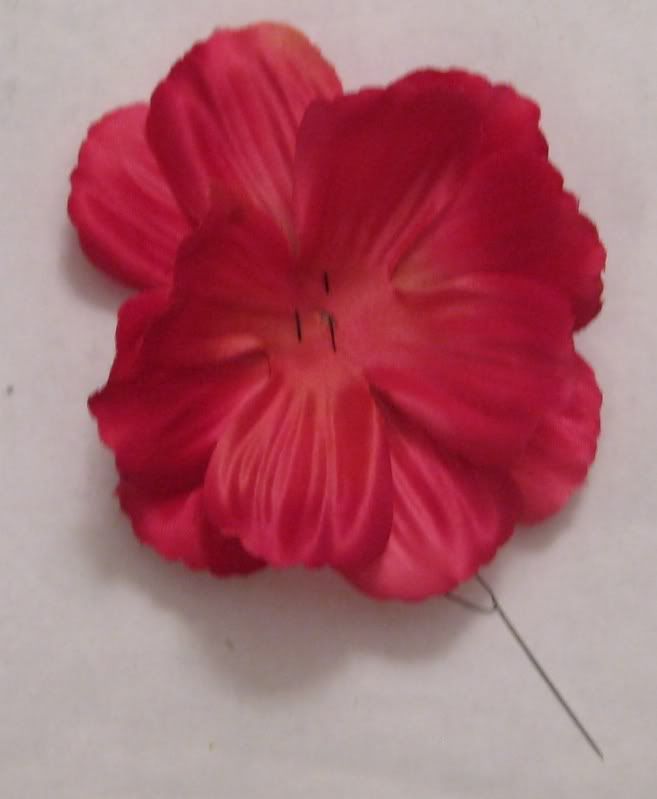
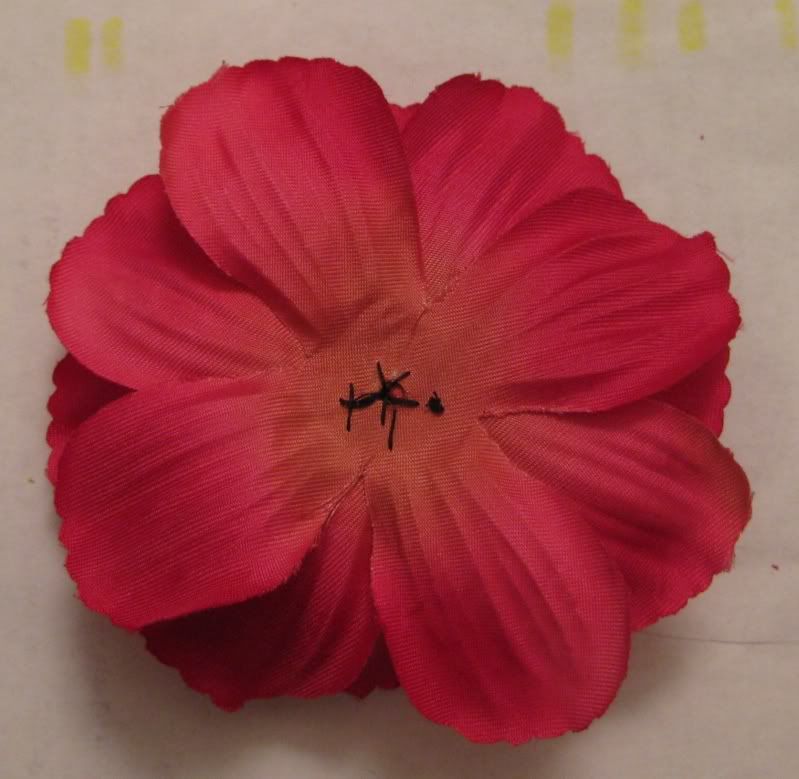
Put the biggest flower parts together make sure there are no gaps. Tack down with a stitch (shown with black thread- no worries about the color we will hide it later).

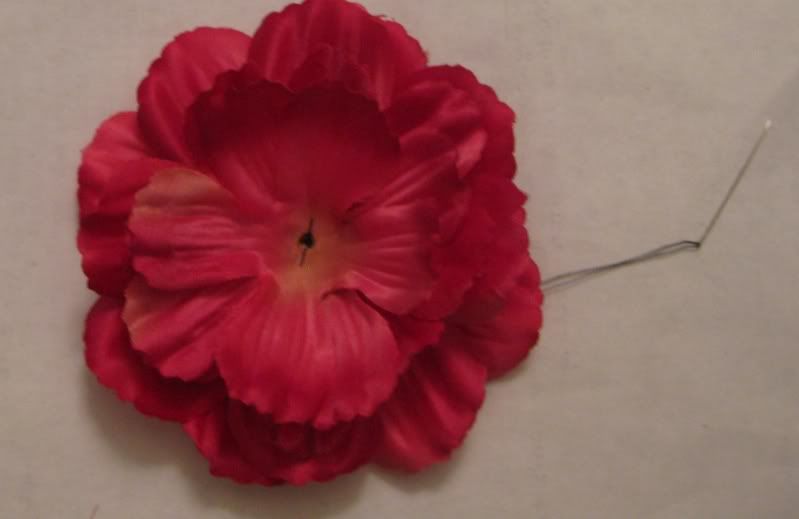
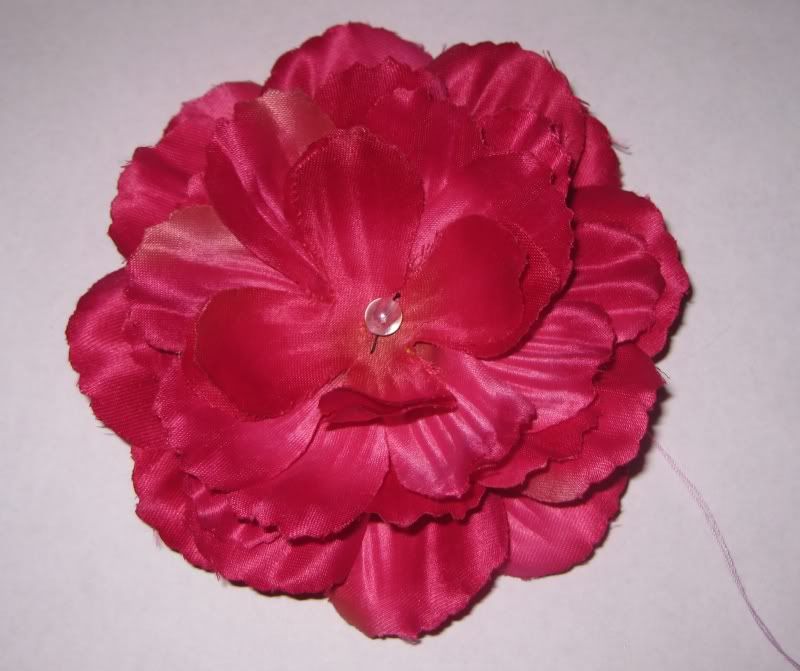
Add the next size flower to the bigger ones and tack down.

Add the next size...

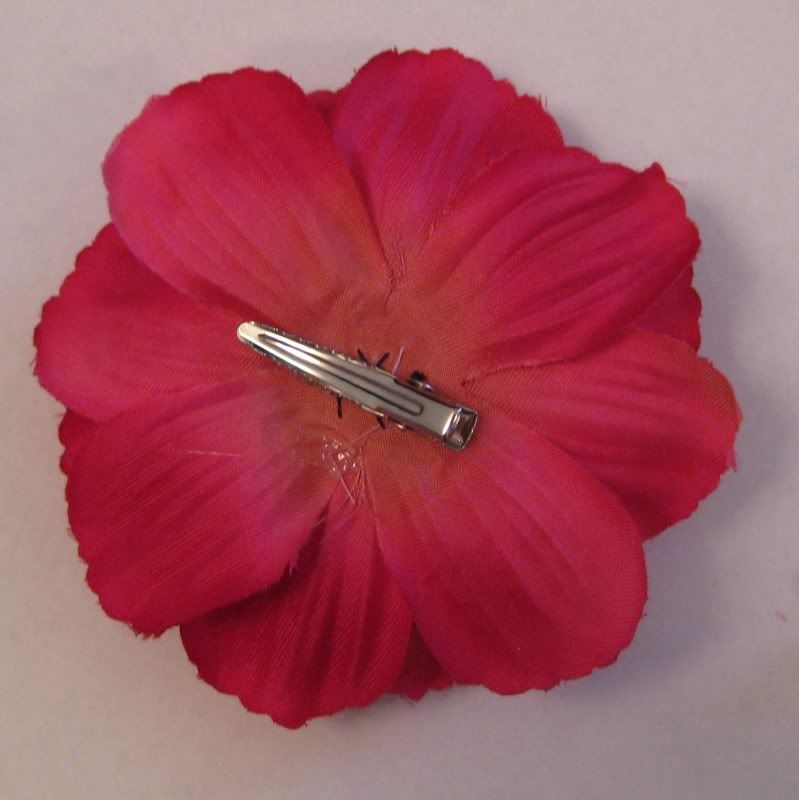
Here is what the back looks like. I tend to go up the center with the needle and down the side.

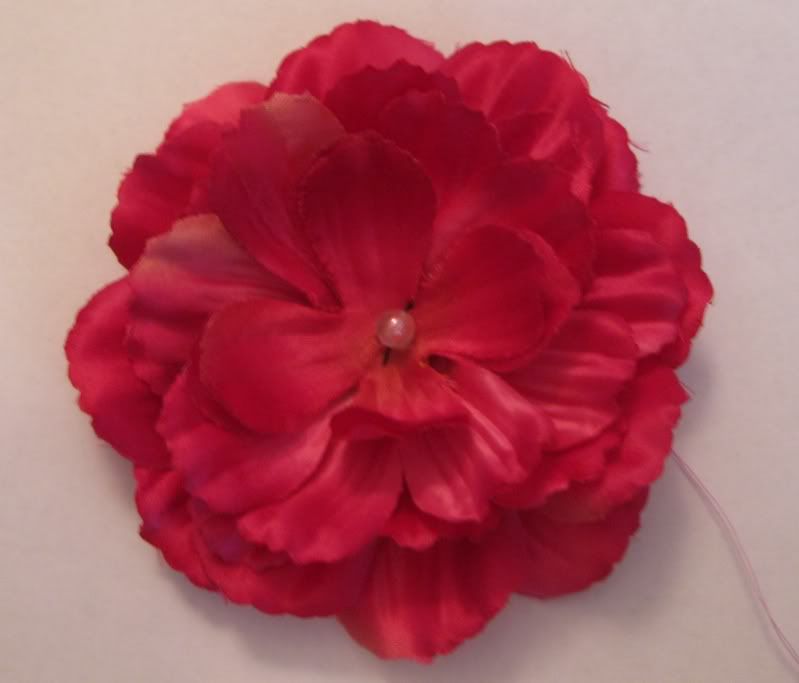
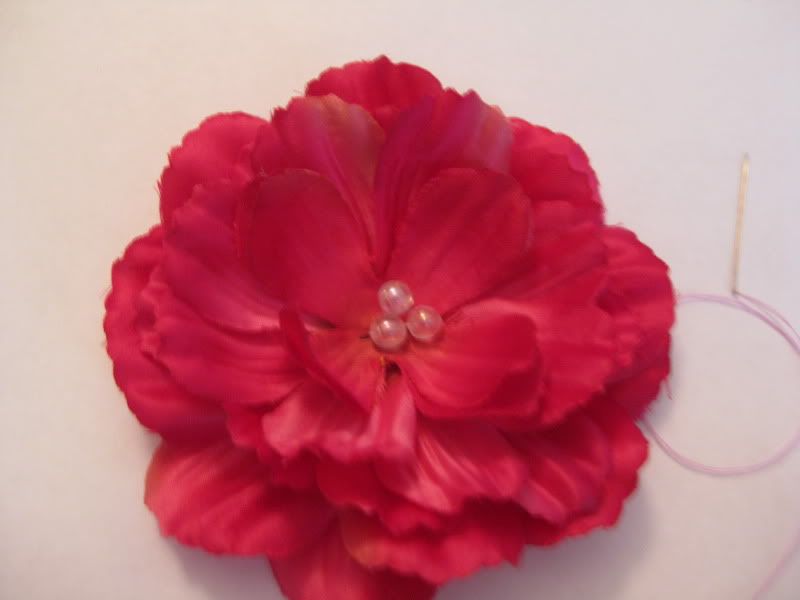
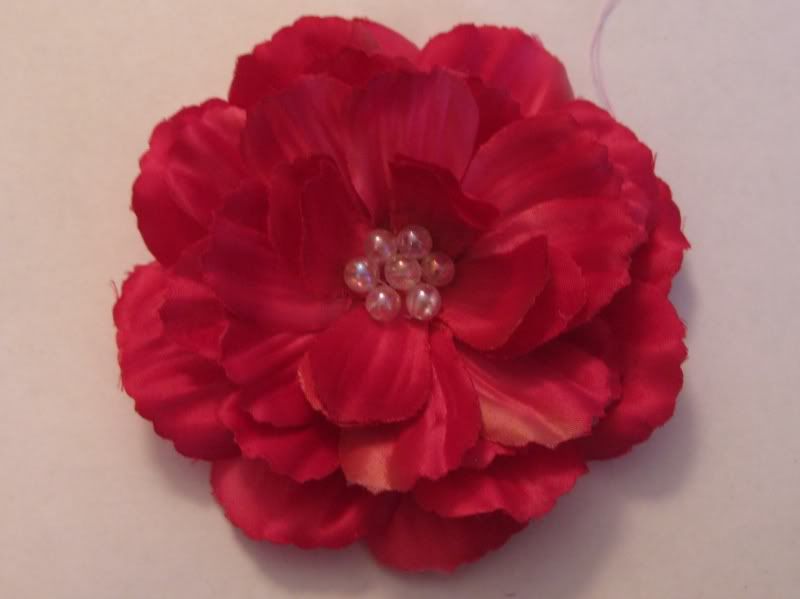
Now we will start adding beads...

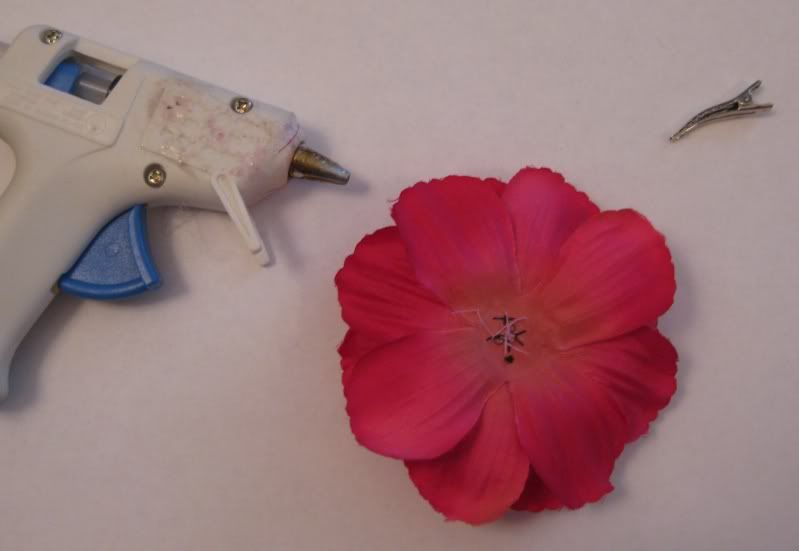
Glue Time. I just used simple hot glue and a gator clip.

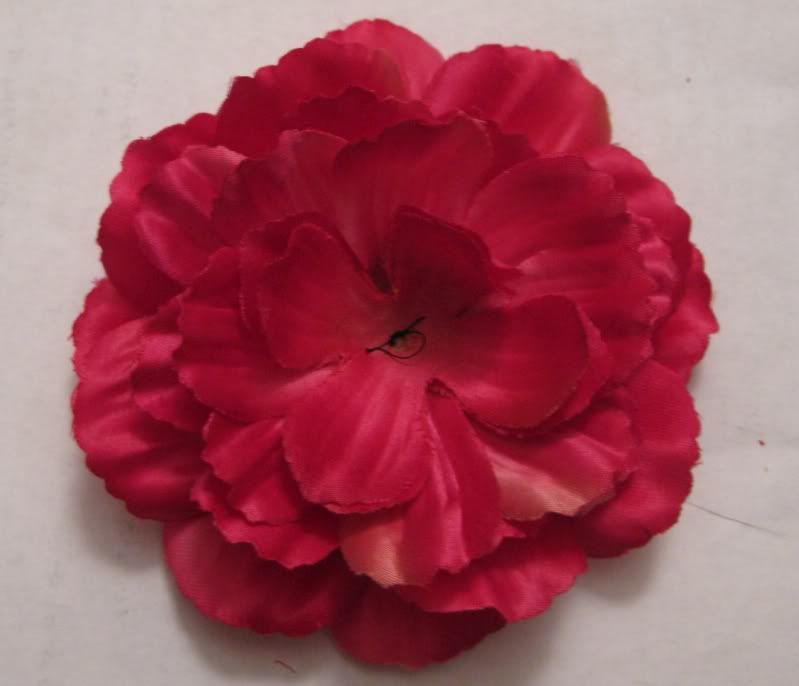
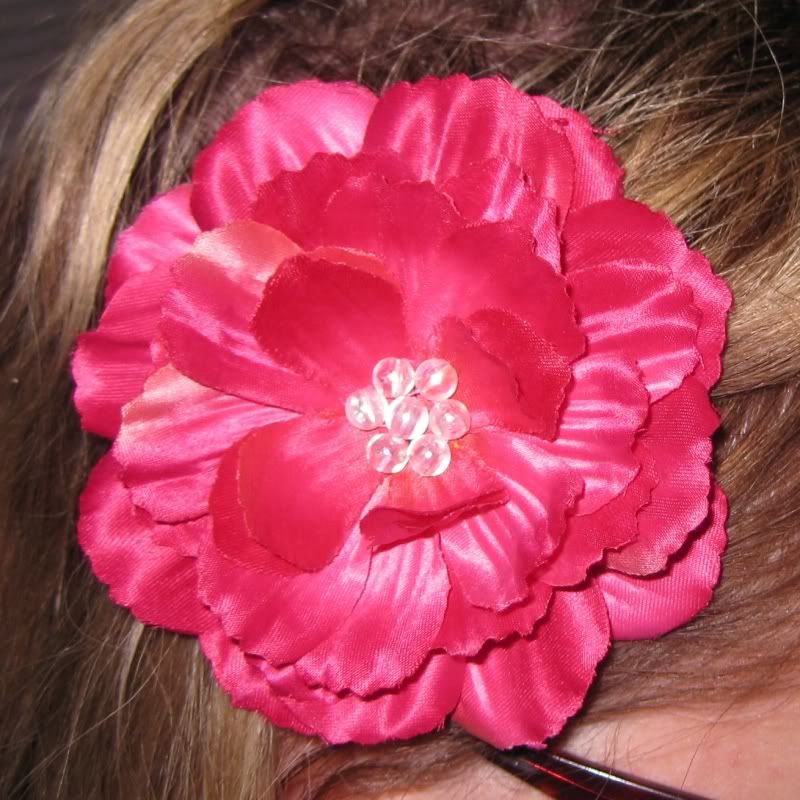
Finished product

Pretty easy and fast project. I wear them alot for performances and they stay great!

XOXOXO,
Lauren

LinkWithin

Related Posts Plugin for WordPress, Blogger...