Well hi welcome to my little blog. Just my little corner of craftiness, sewing, and refashioning. I am also a newly gluten free eater so you have a little bit of recipes mixed in here.

Wednesday, February 13, 2013

Black Blingy Necklace from wooden beads.


Well the before picture has disappeared. I blame the move. Seriously I do. I spray painted some wooden beads with black spray paint I had leftover. I just didn't like the color of wood. Now what to do with them??


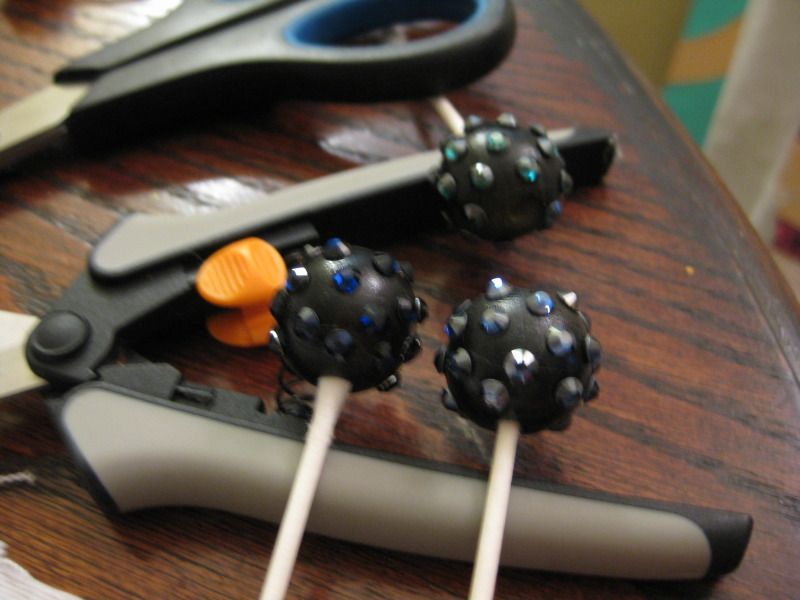
I had these crystals I got on clearance and decided I wanted to glue them on to some of the big round ones. I used GS Hypo cement. Stuff is awesome!

I kept them on Q-tips b/c it was easy to manipulate the beads. They fit perfectly Let dry. 

Repeat with other colors. 

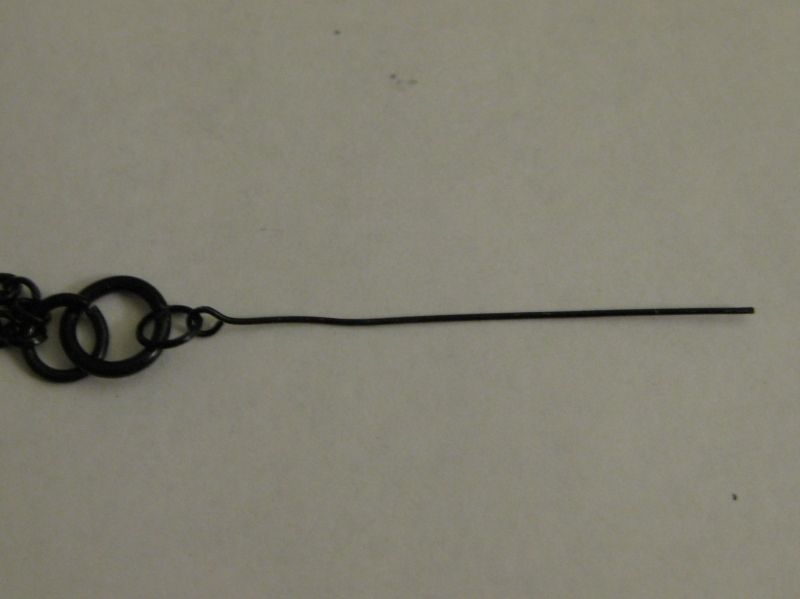
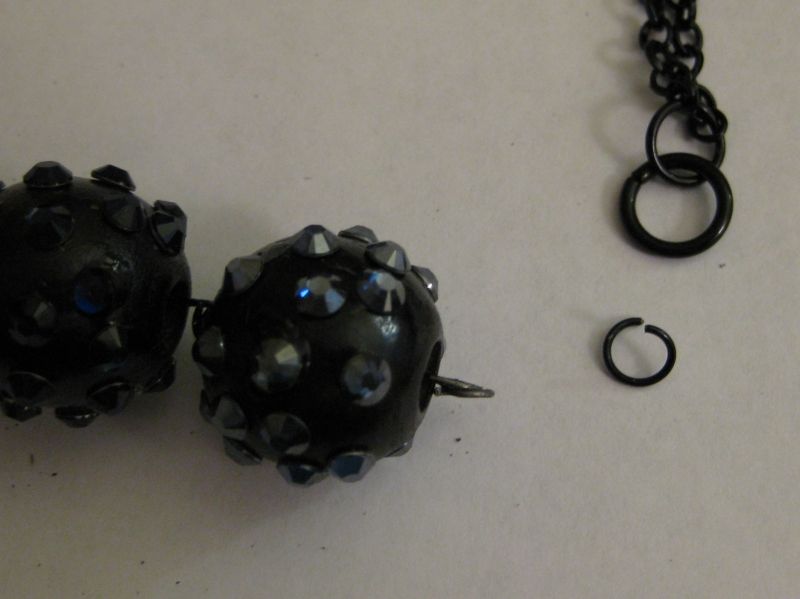
Now time to make a necklace. I cheated and found a ready made necklace so all I had to do was add my beads. Many I love easy! Then I used a kit I already had for the black jump rings and those long connector things... whatever they are called.

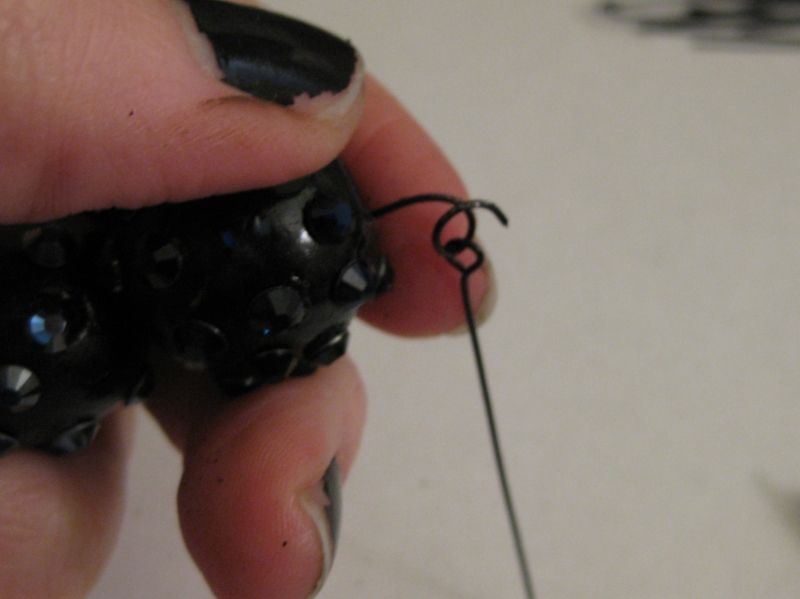
Hmm This one needs straightening. I messed up :(

Done! Wahoo. Yay for straightening pliers

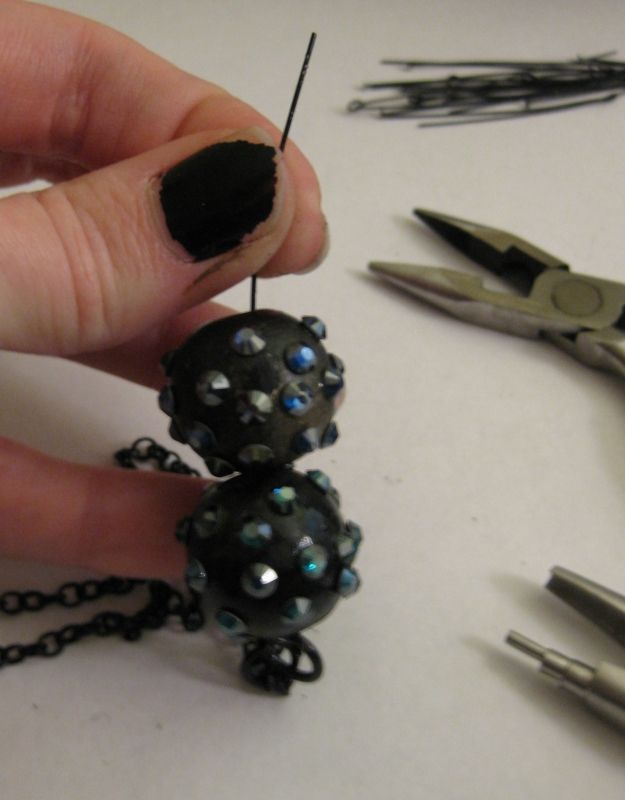
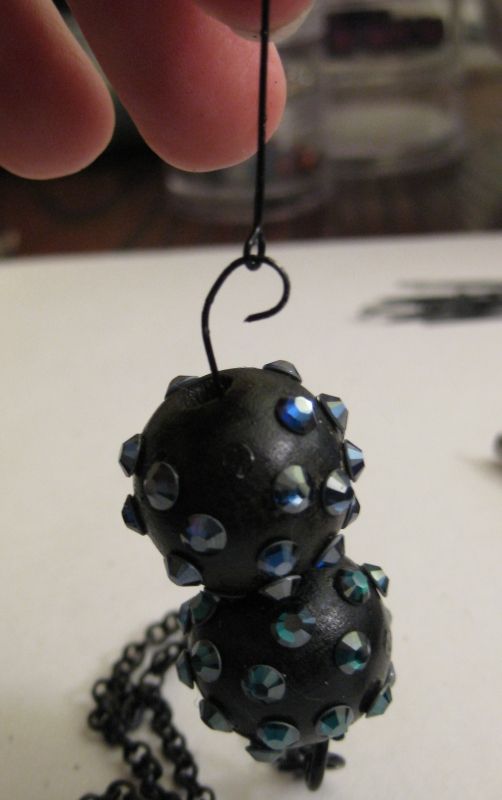
Basically all I am doing is connecting each bead. 


Almost done! Connect via jump ring. 

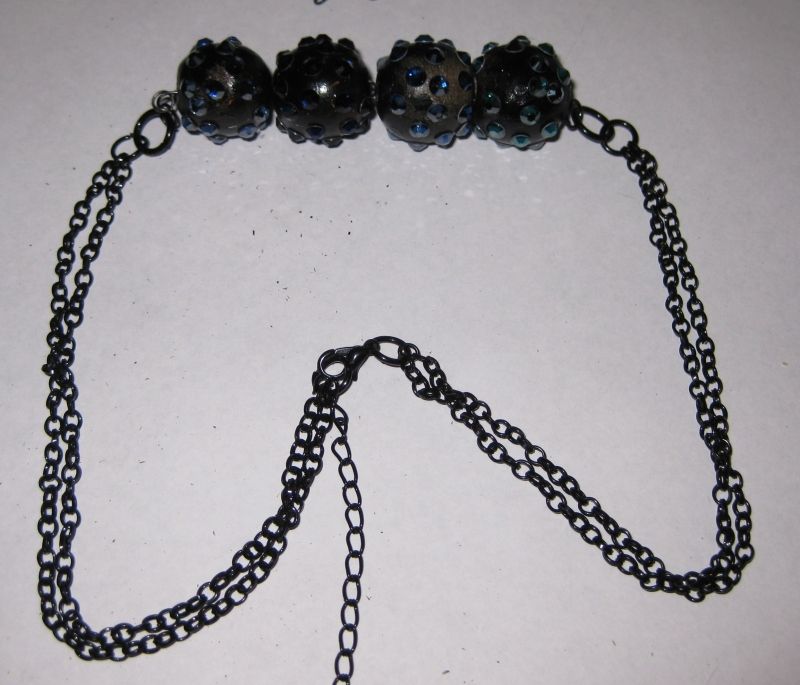
Here is how it is before I put it on.

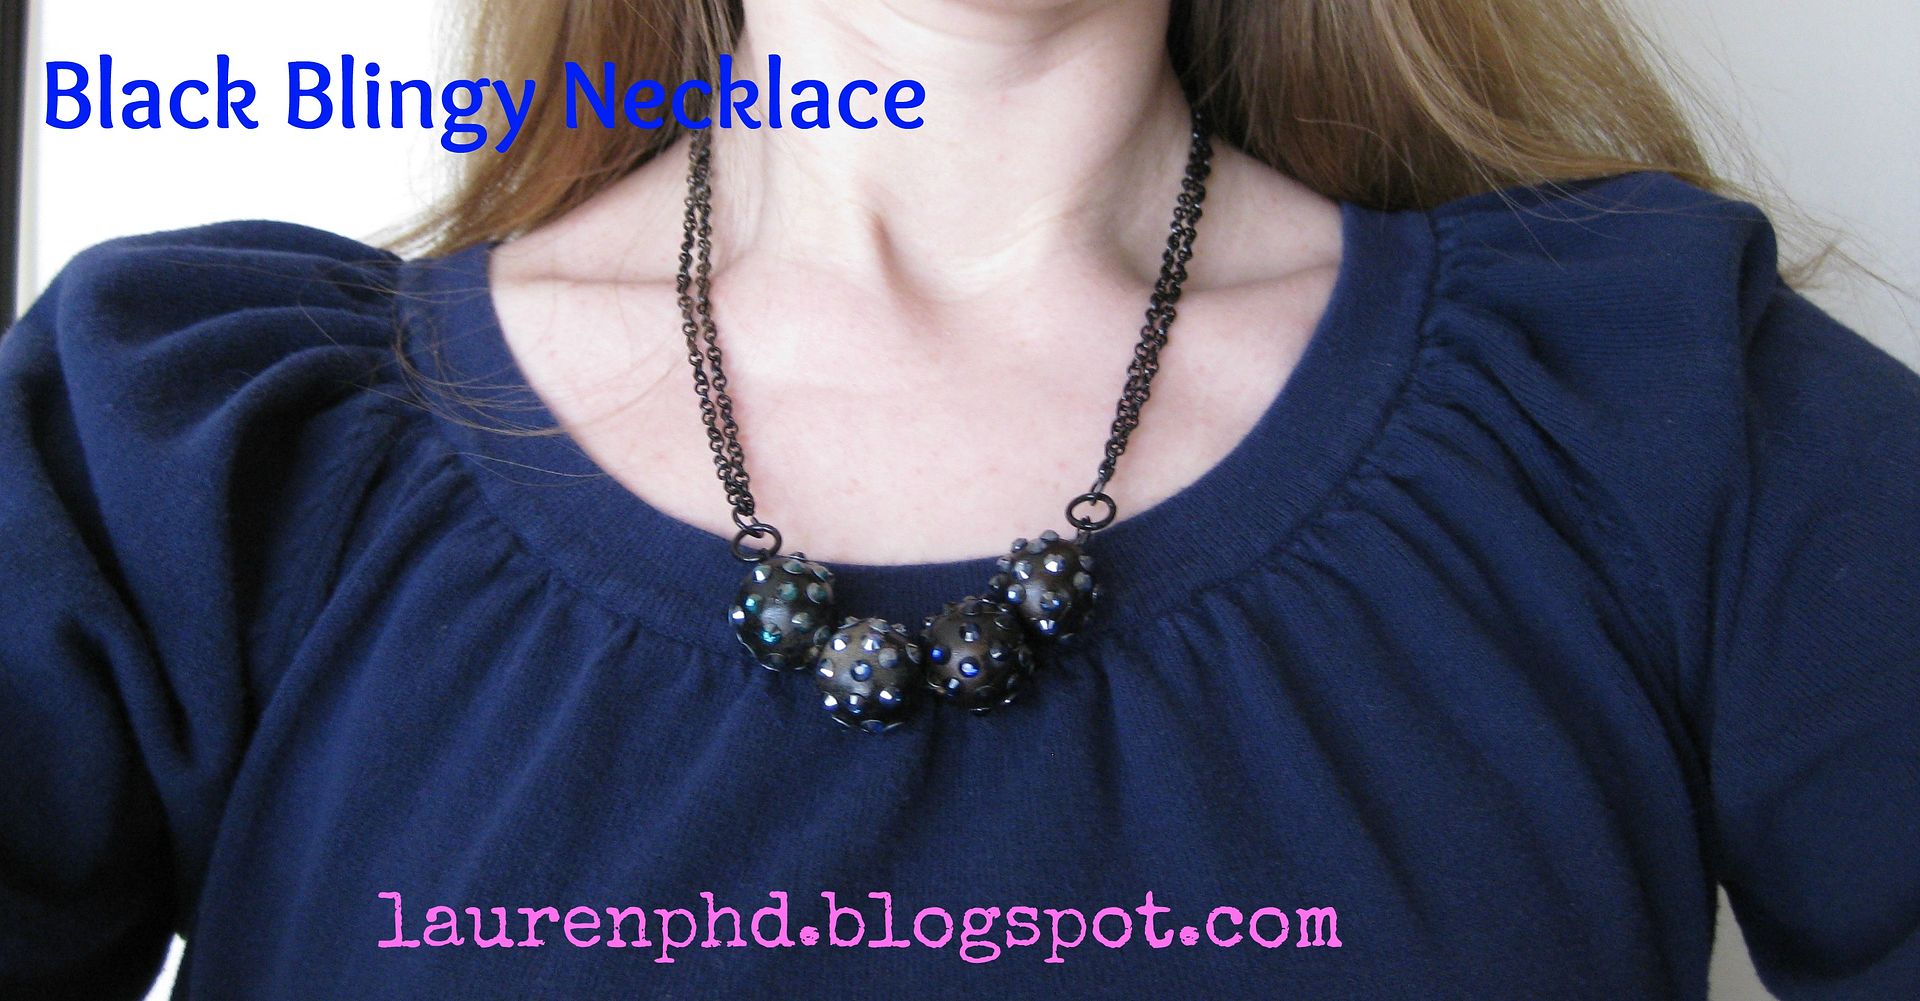
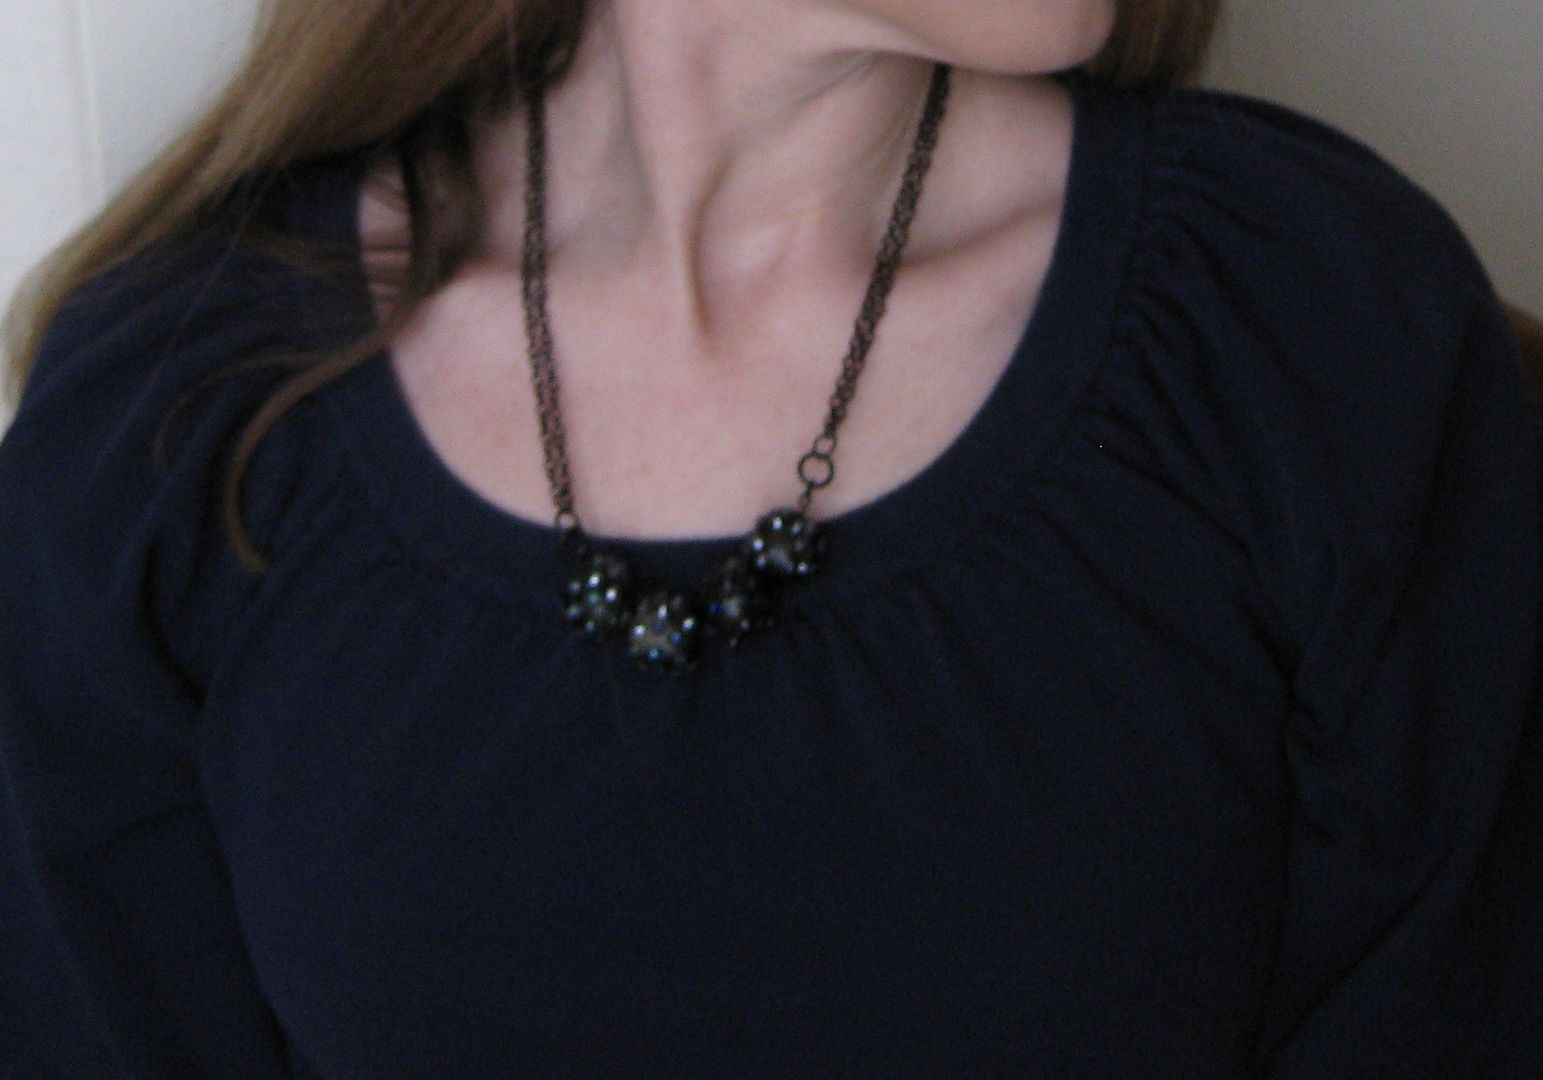
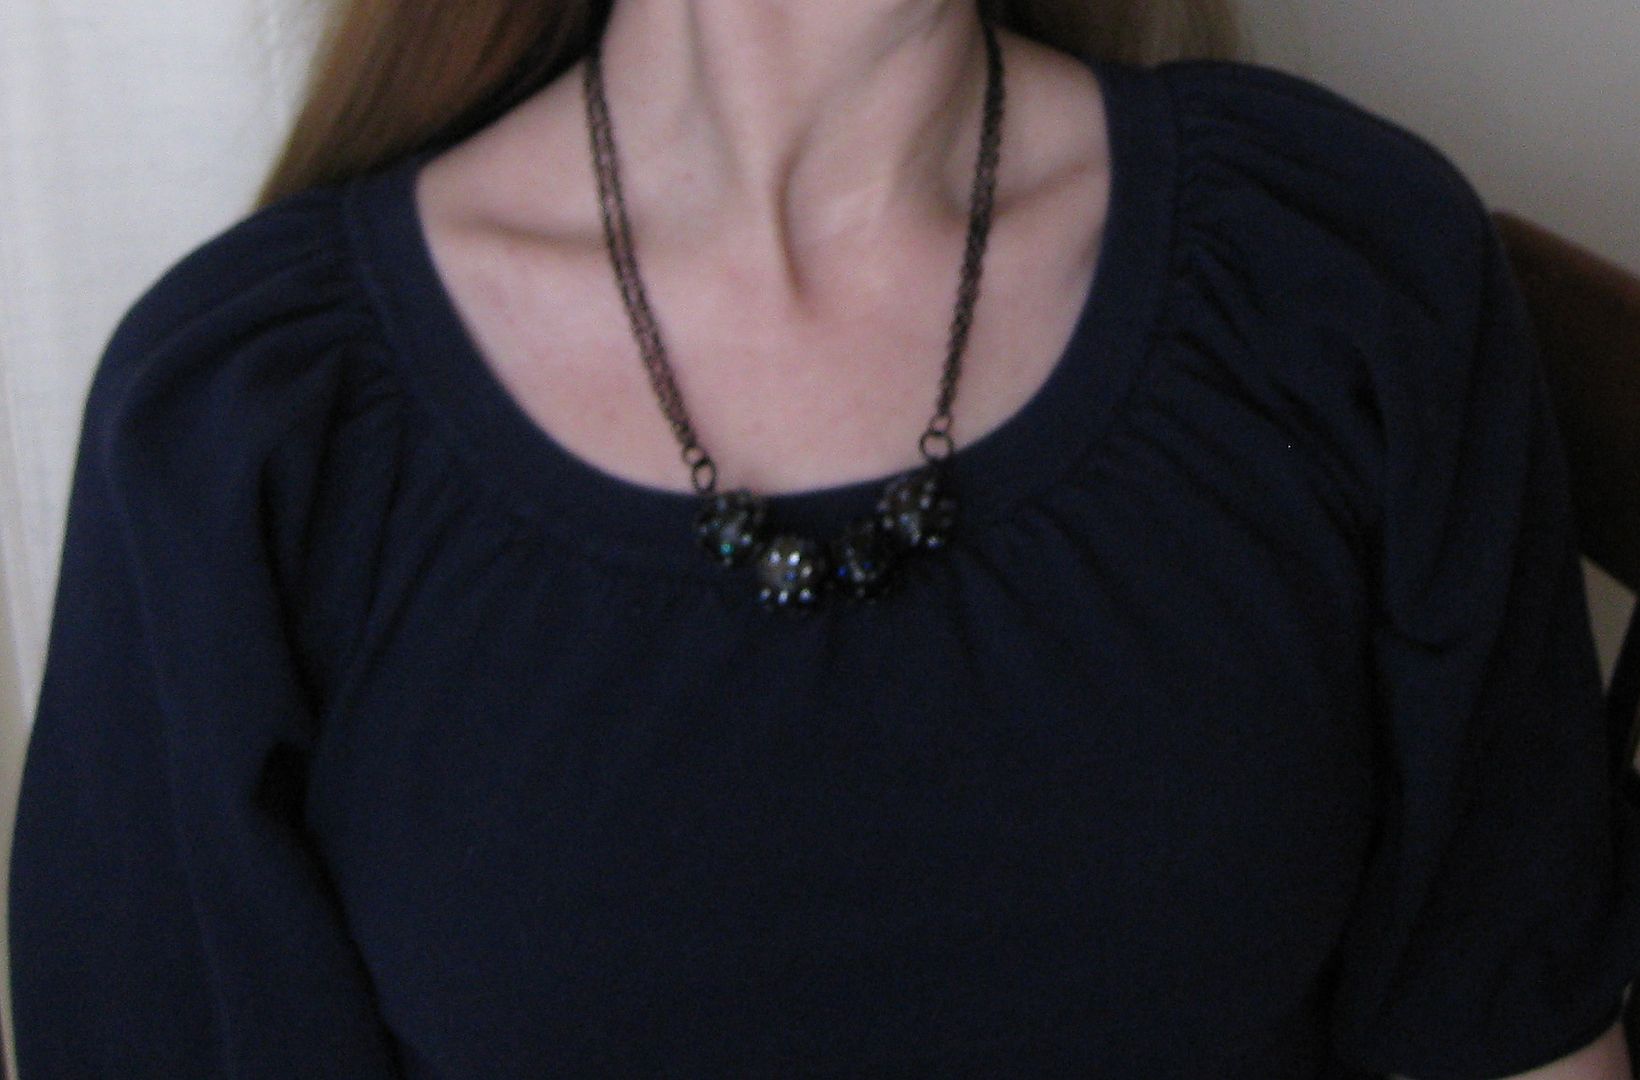
And here is me modeling it. The pictures do NOT do the crystals justice. 


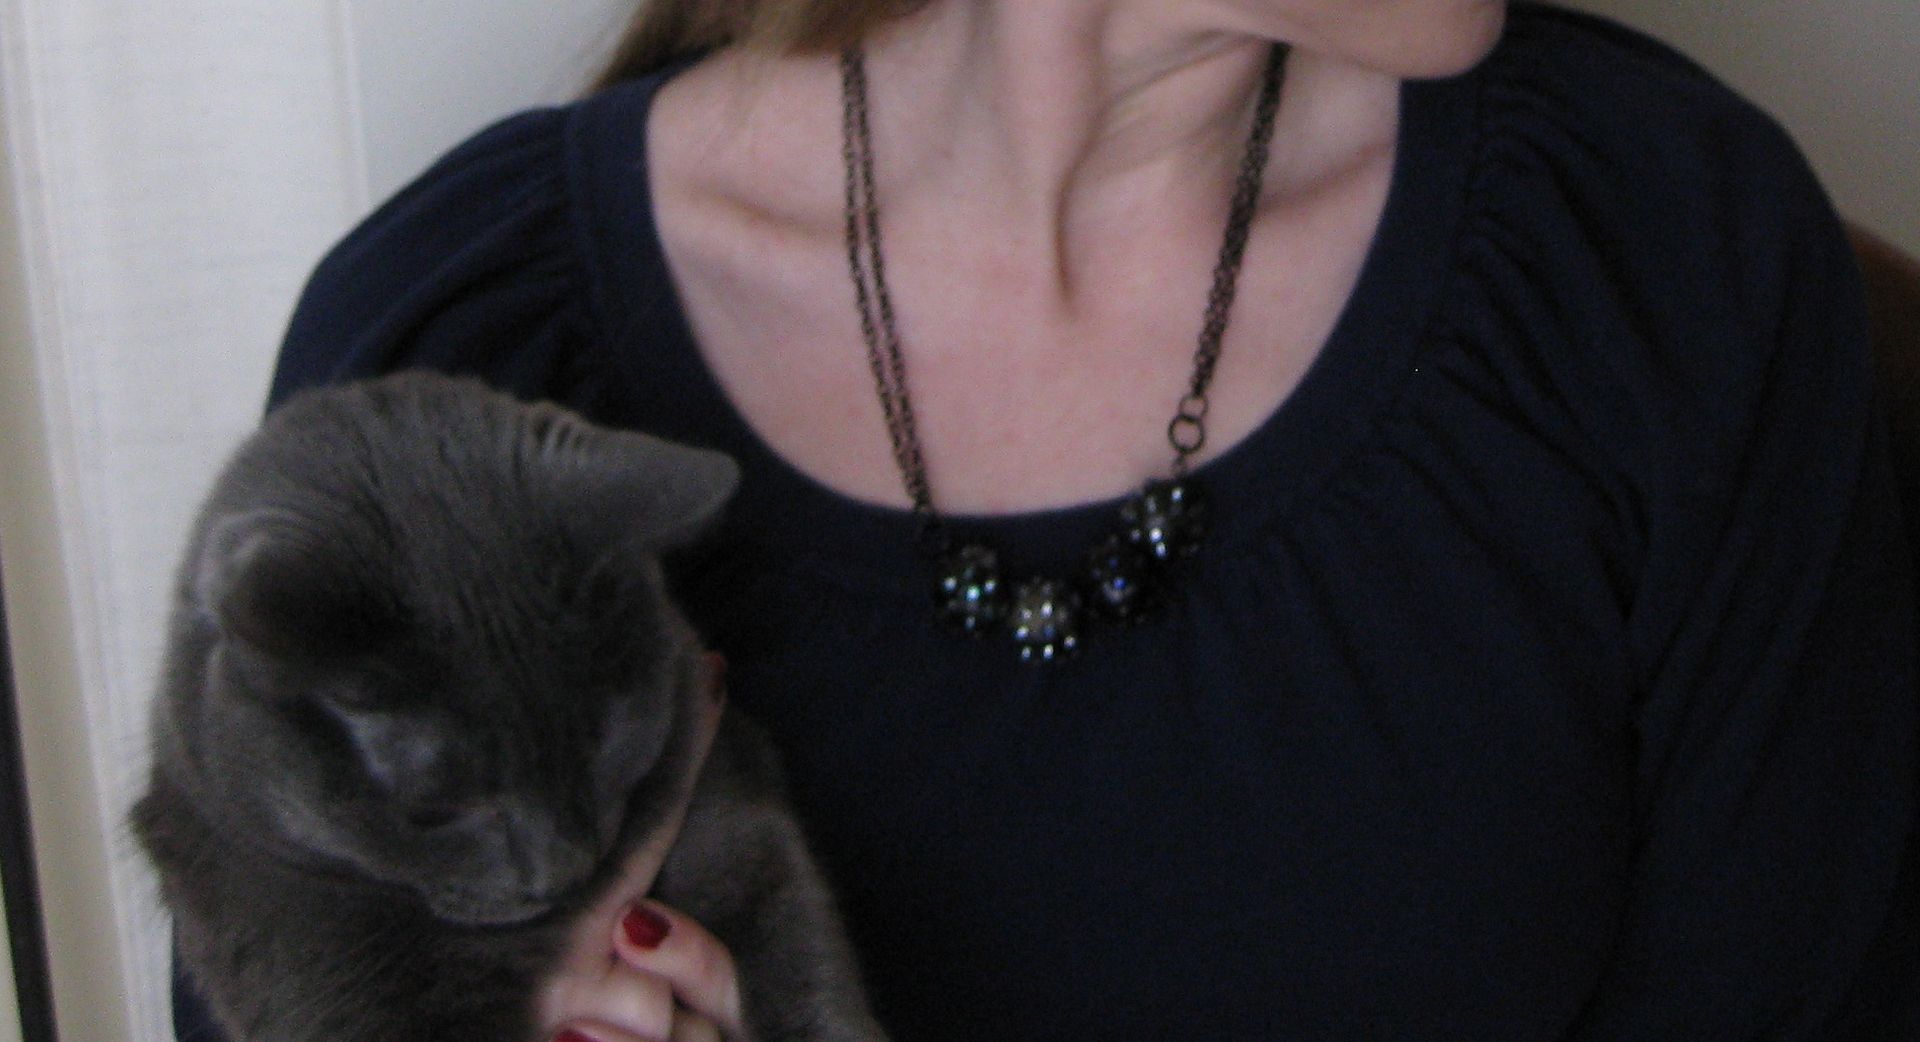
Here's a cameo appearance with my cat Natasha.


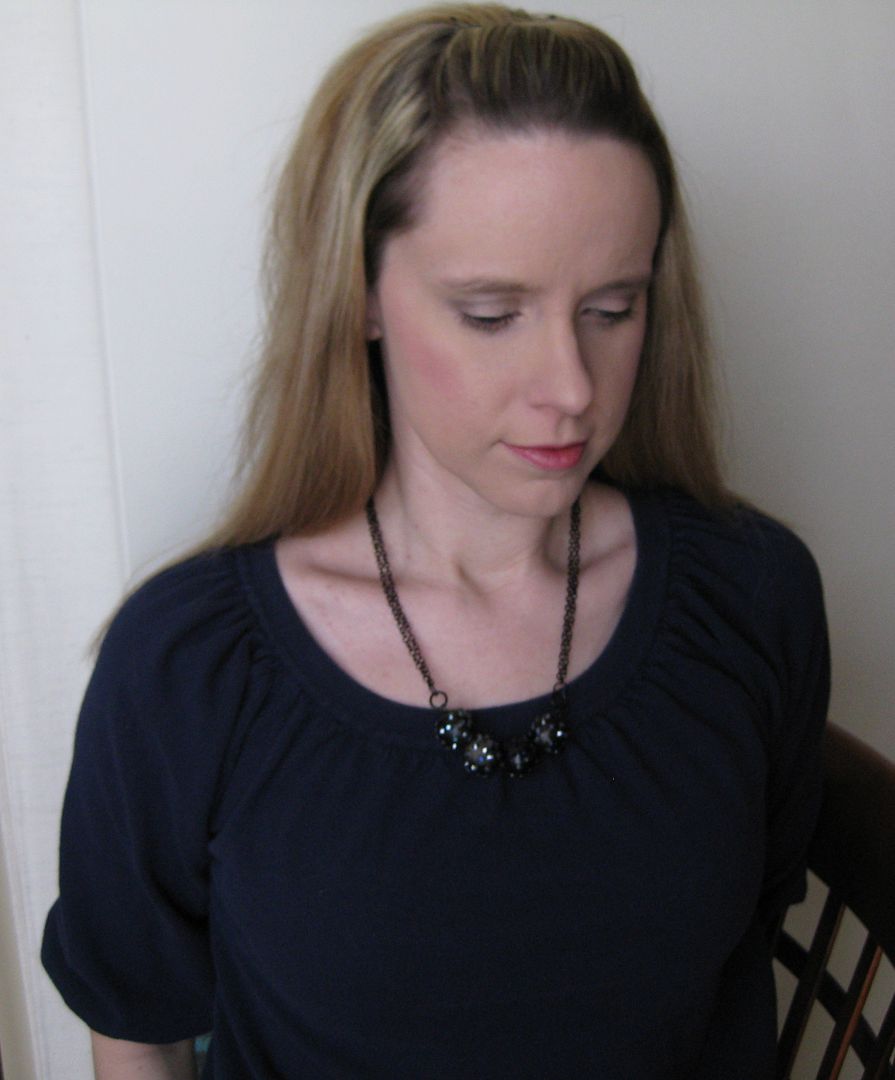
Couldn't help BUT to add this funny picture of myself. 


Yay +1 bling point! Yeah. Moving on up to a smaller closet, one bead at a time!

xoxoxo,
Lauren

Monday, February 11, 2013

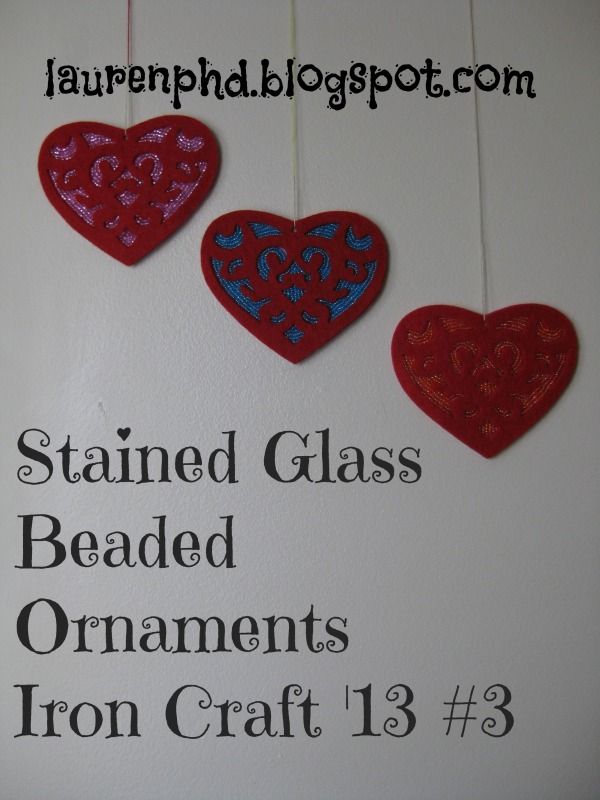
Iron Craft '13 #3: Hearts and Flowers

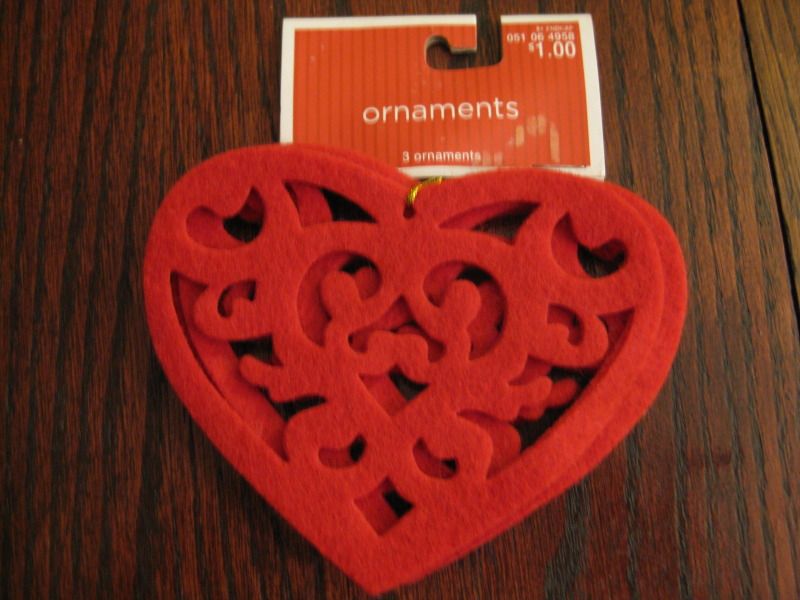
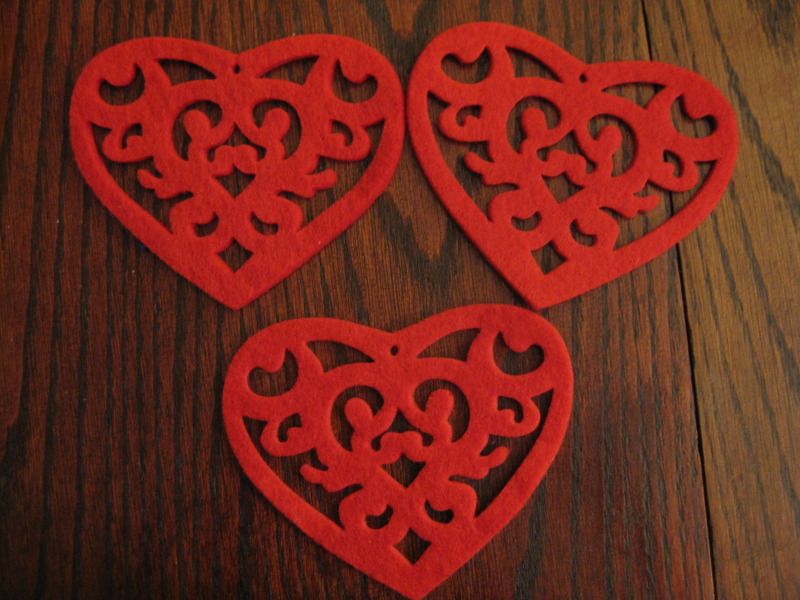
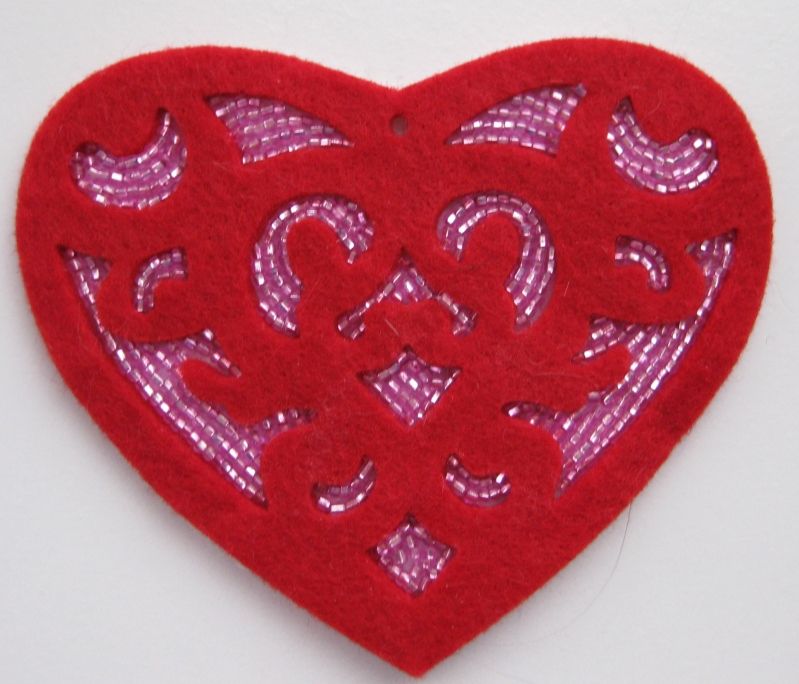
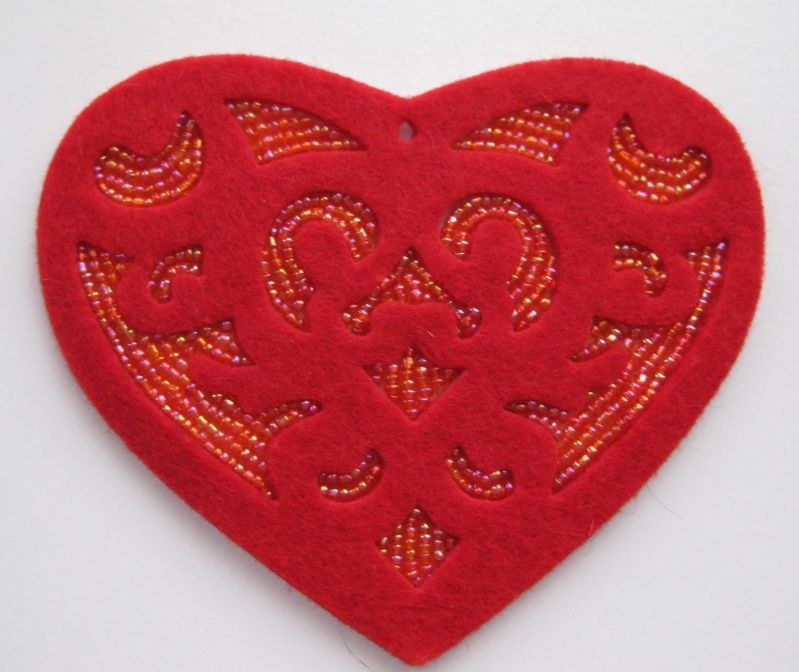
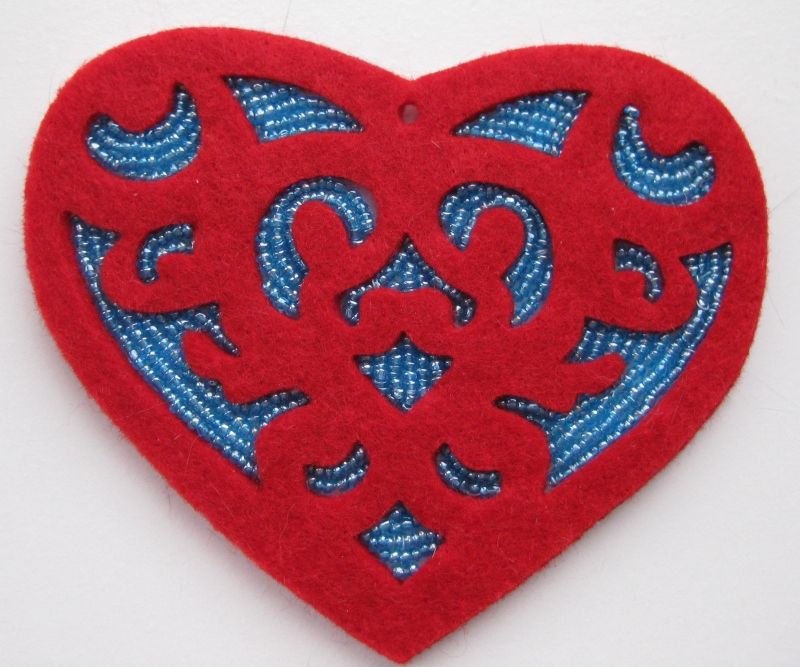
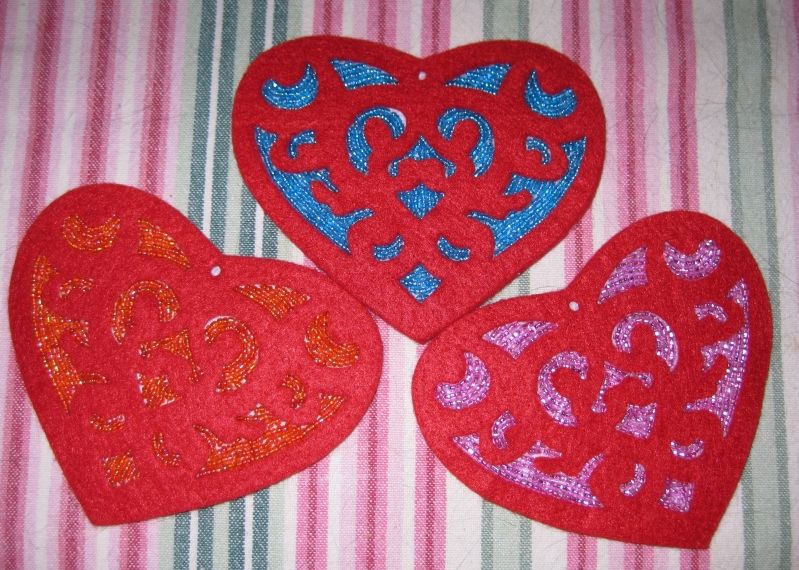
This new Iron Craft Challenge was hearts and flowers in lieu of Valentines Day! Yay I was so waiting for this challenge b/c I had these felt hearts my mother gave me out of her craft stash. (thanks mom!) So I had to come up with something with them.

There were a total of 3 and I wanted to do something with them but didn't like how they were see-through. But I got an idea

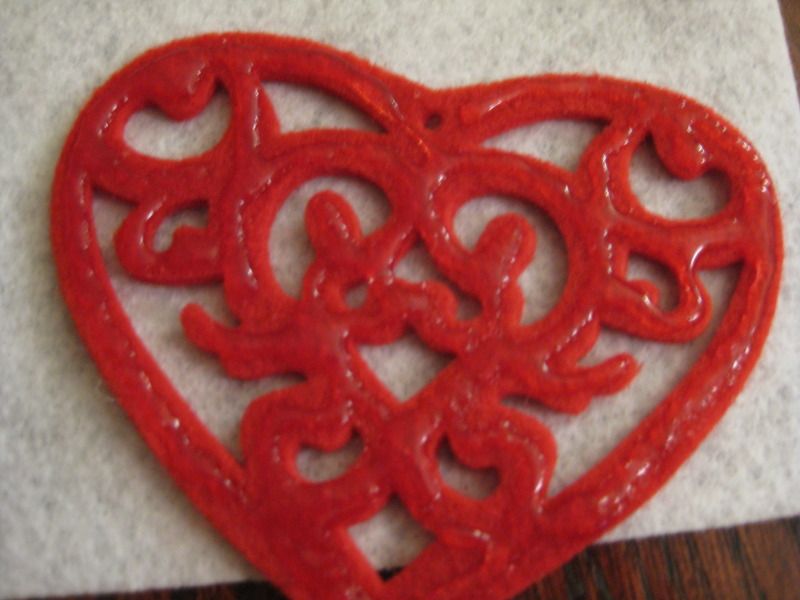
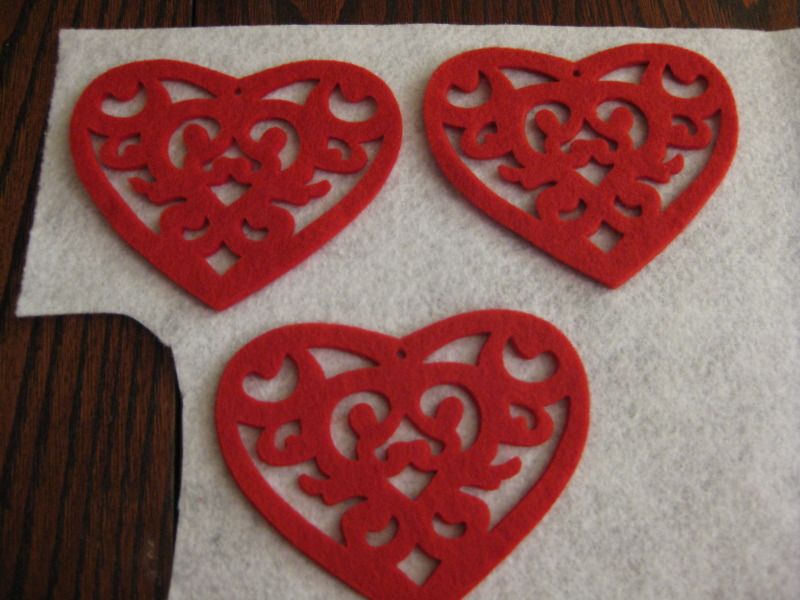
First I applied glue to one side of the ornament. Then glued on to white felt. Let dry!


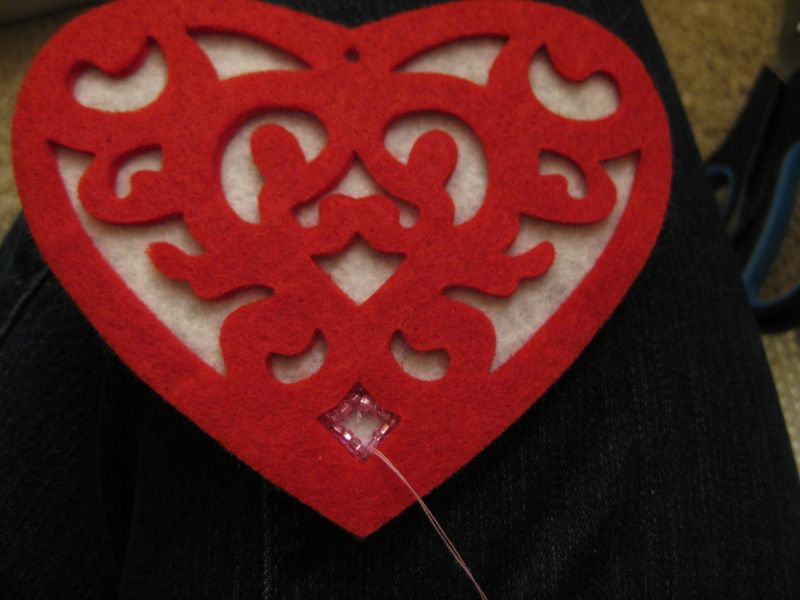
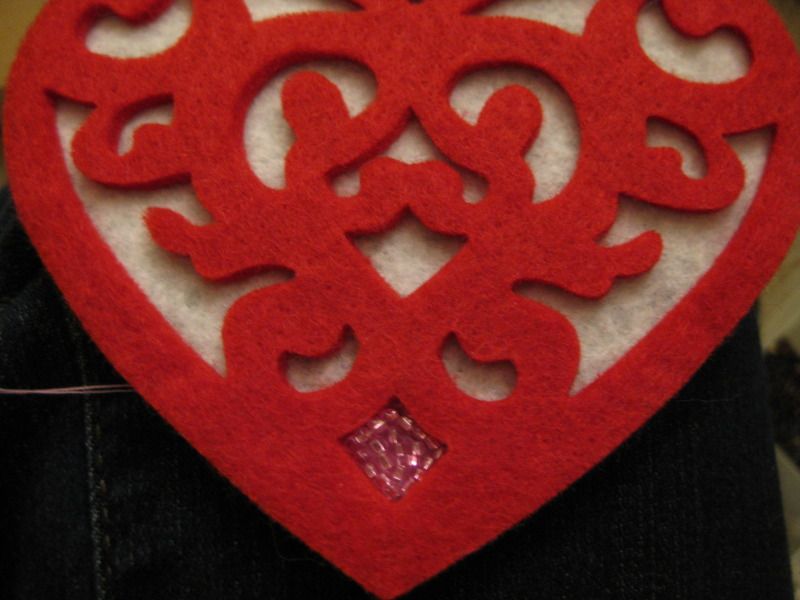
Cut away the felt from the ends. Now I wasn't done here. I thought it would be fun to use some of my bead stash and add shiny things to the background of the design. 

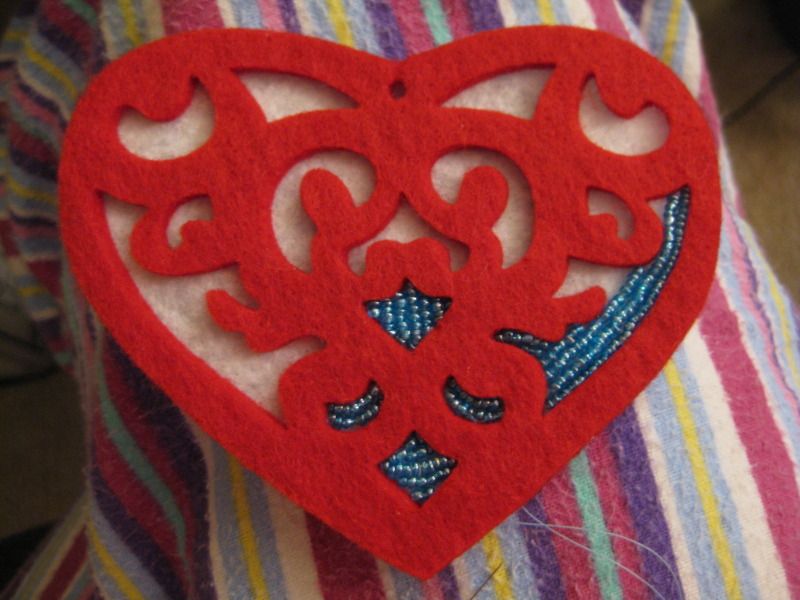
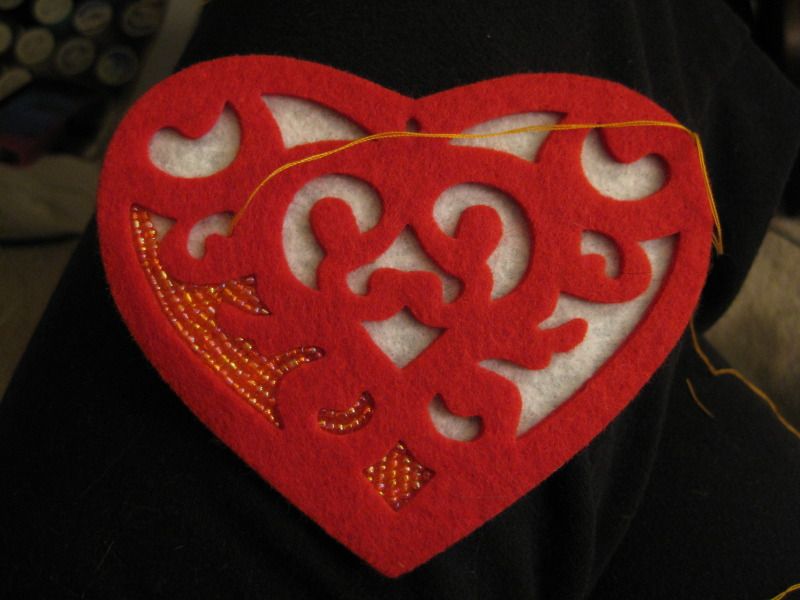
Enter my bead stash (1 box of many-sigh). I picked pink, turquoise, and and orange AB beads. 

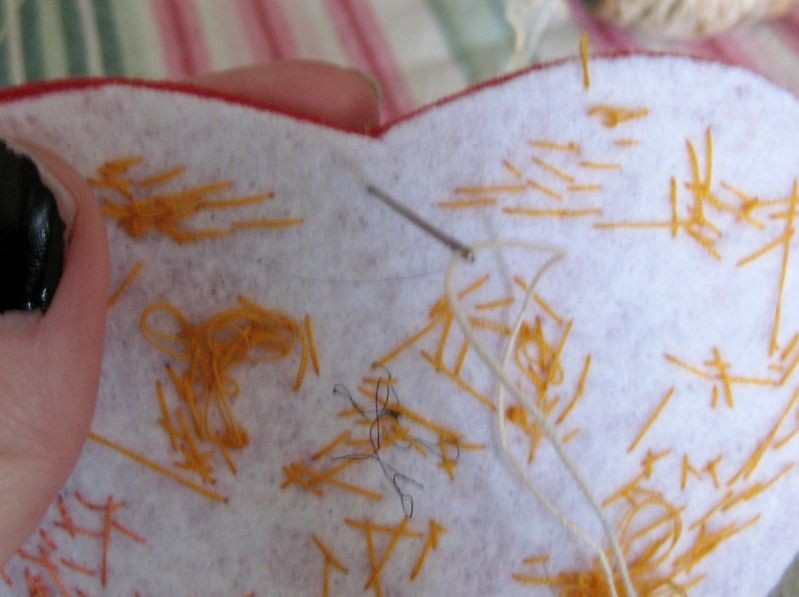
I selected thread that matched the color of each particular bead. This was for pink. I used a fine needle to bead and of course the miracle cream to prevent thread from tangling- thread heaven! 

I used a double thickness of the thread and simply start beading. I would bead in rows and tack down between beads. 


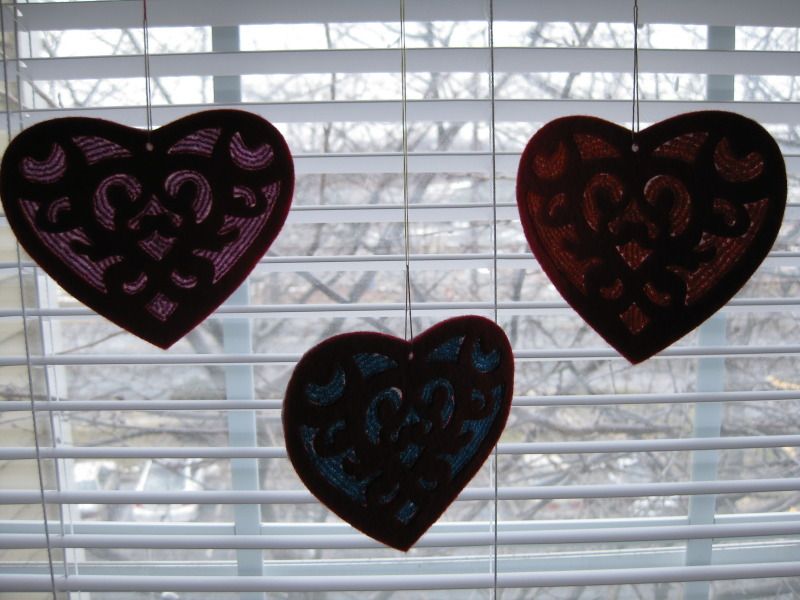
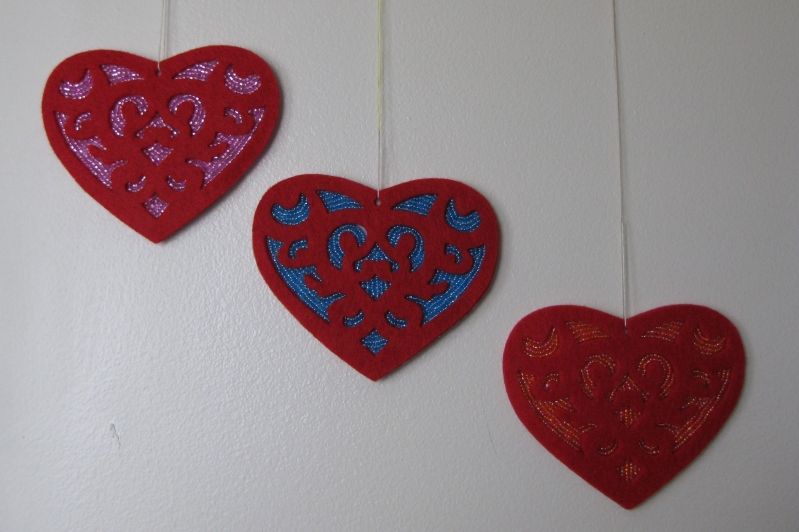
Here they are done!


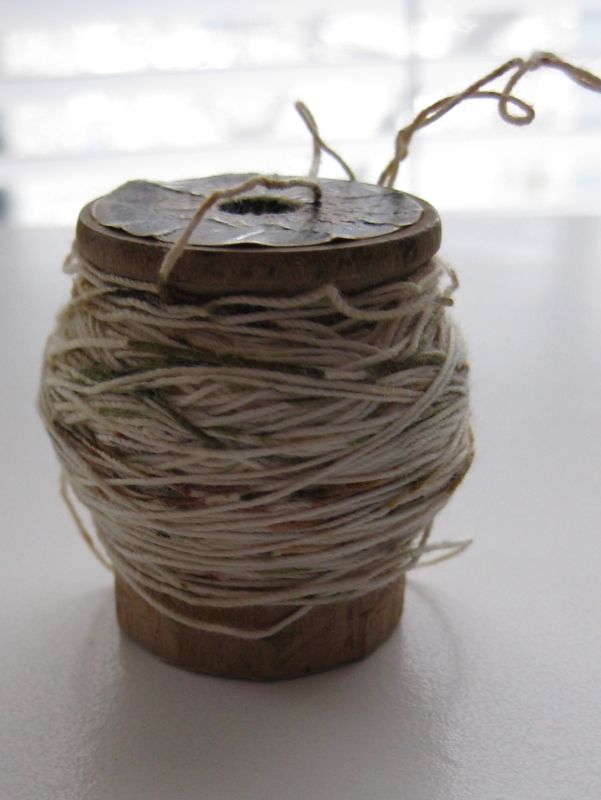
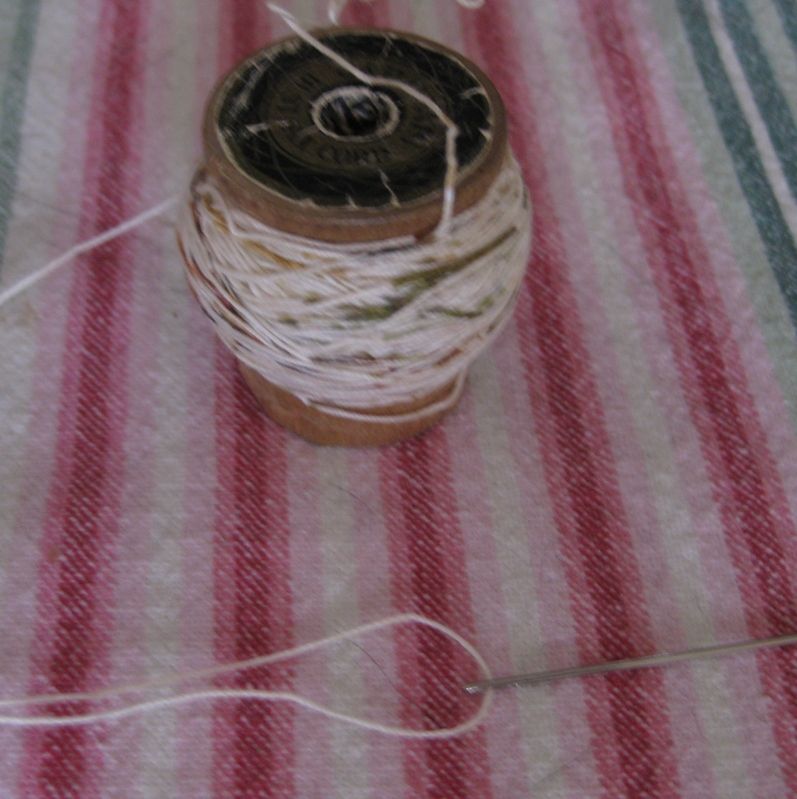
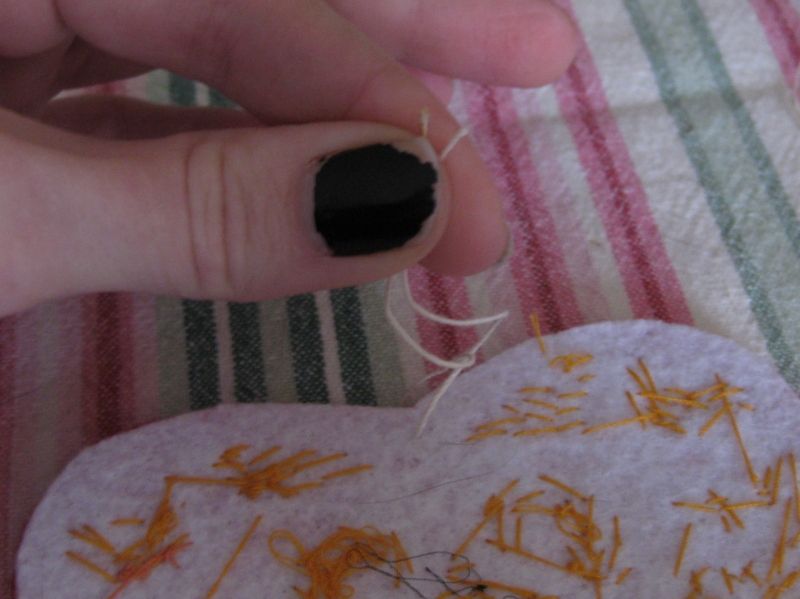
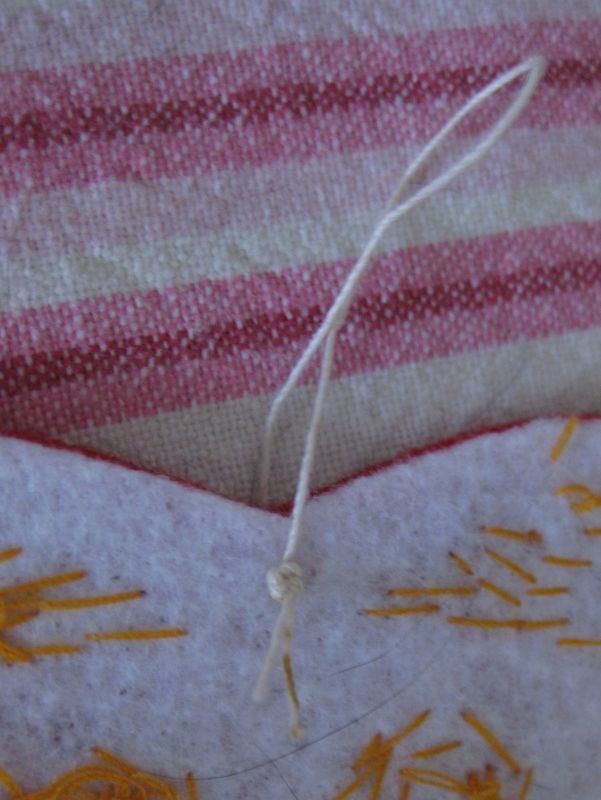
Next I wanted to hang them up so I found some old (and I mean old!) thread and used a thicker needle and threaded a small loop in the part of the ornament.


I am in love with how these turned out! My favorite is actually the turquoise! 


Totally Can't wait for the next challenge! Giddy!!! 

xoxoxo,
Lauren

Saturday, February 9, 2013

THE REFASHIONS ARE BACK!


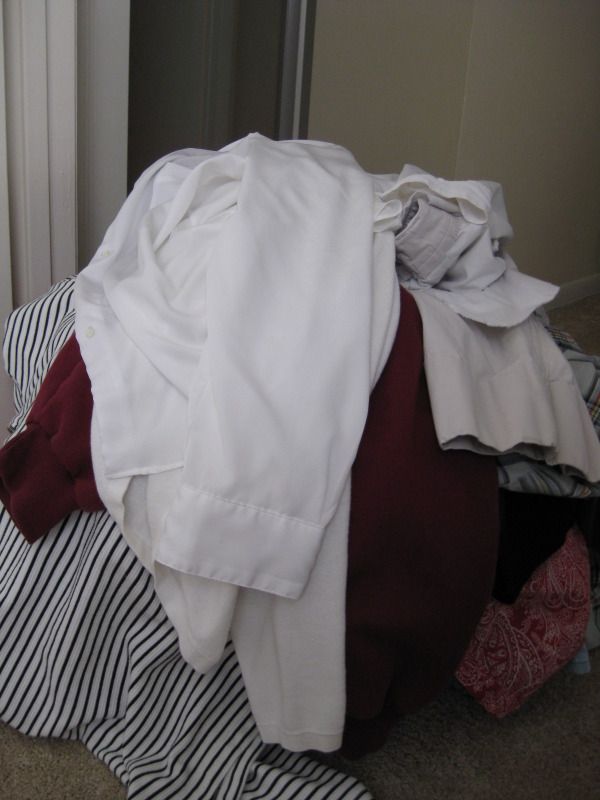
Oh yeah isn't this a beautiful sight??? I went thrifting  to the $0.99 a pound place in Mobile when I flew down there for business. I spent one night digging through and finding some fabulous items. OMG I am so excited. Now I have enough refashions to probably last me through the year :) Yay!

So stay tuned hopefully they will start to trickle in! Weekend warrior refashioner am I!

xoxoxo,
Lauren

Friday, February 8, 2013

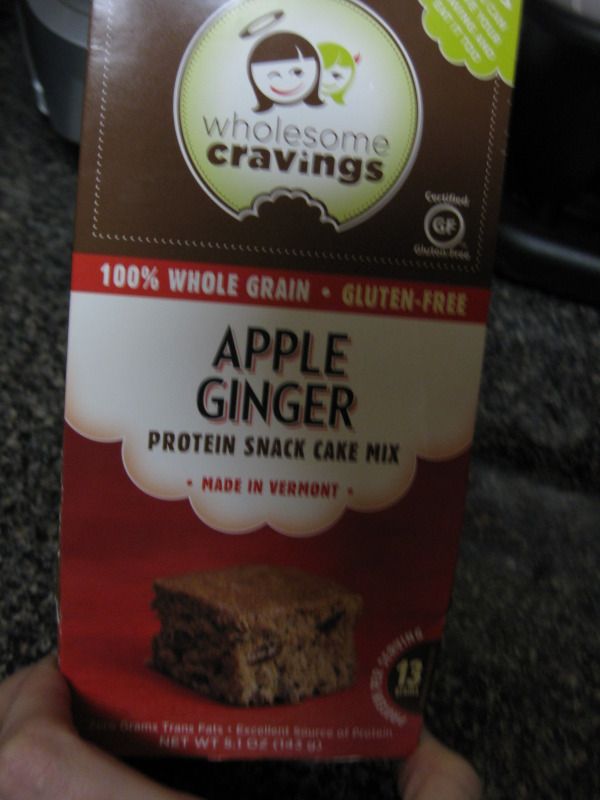
Gluten Free Review: Apple Ginger Protein Bars

I found these cake mixes at TJMax and they were on clearance. I bought them all! This sounded like a great breakfast snack while I am scurrying to catch the shuttle/train. But breakfast snacks are really hard being gluten free. Really hard. Especially when traveling.

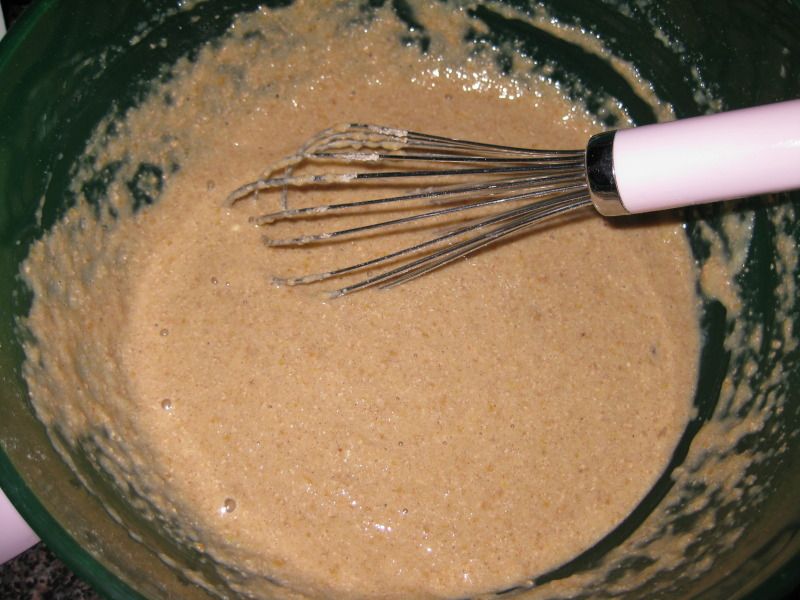
The instructions are easy, you use applesauce and agave nectar to sweeten the mix. And keep it healthier than regular sugar.

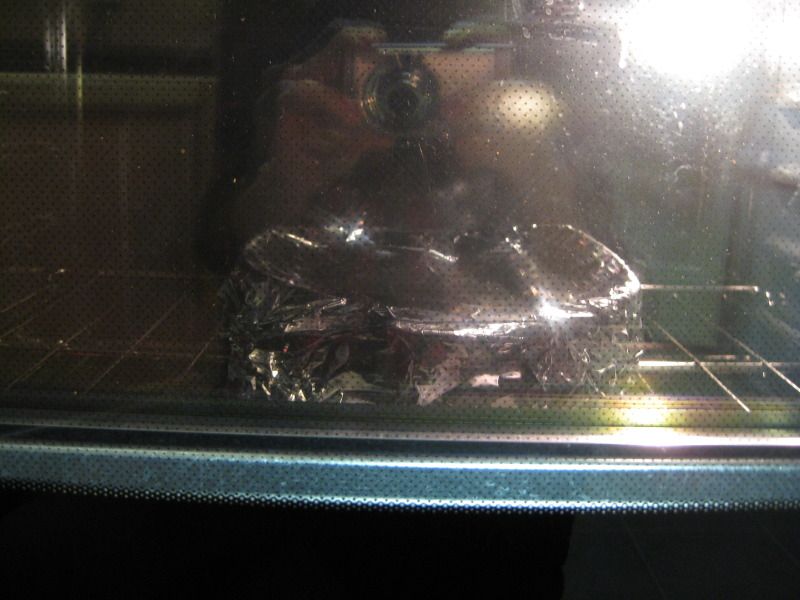
Now the baking instructions are weird. You bake for several minutes with tin foil on top. Then you remove it and bake it for several minutes more. I have never done this before!

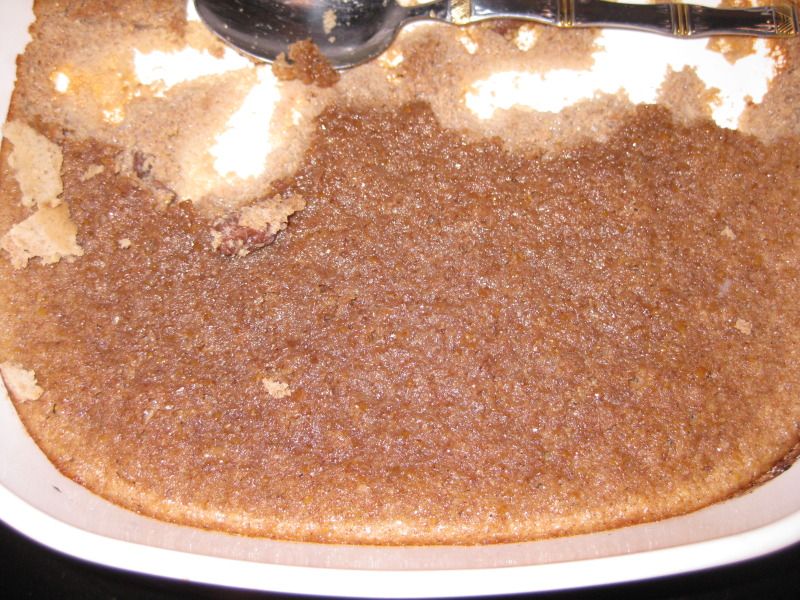
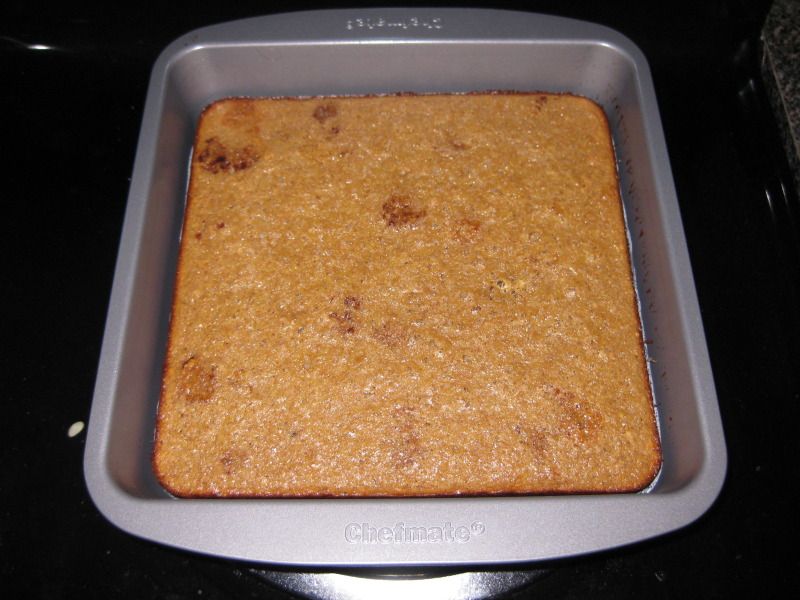
This was in my 2nd trial. The cake never seemed cooked all the way through and really stuck to the pan. I suspected that it was due to the glass pan versus a metal pan. So I went and got another square pan. 

Voila! I had a better cooked cake and it popped right out of the pan. Now it was delicious! BTW there were raisins in the mix too. :) Yummy!

Will definitely buy again! These were so tasty and also really healthy. So mostly all protein and kept me full in the morning during my commute to work.

Wednesday, February 6, 2013

Wine Cork Mat for my Kitchen!

Notice: I did not drink all of these wine bottles. Yay this project is finally done. I have begun to collect wine corks from friends and I wanted to make a fabulous craft with them. I have seen so many Pinterest posts about fabulous wine cork crafts. I so wanted to do one! What they don't tell you is how they cut their corks in half! I learned by trial and error.

First off most knives don't work. Unless you are some professional chef with crazy sharp knives. Even then I don't know if I would condone the use of them. We tried many knives and scissors. None of them were really happening and it would have taken forever and killed my hands. Then I pulled out my electric carving knife! Oh yeah this worked! Like a charm!


Do your best to line up the blades to the center of the corks. It is really hard to get them to be even. My wonderful boyfriend cut them for me. Also here's another interesting cork factoid: not all wine corks, the synthetic ones, cut the same way. Some were way harder to cut than others. It probably has something to do with the density. Rex Goliath were really easy to cut. Some of the Australian corks-not so easy. Took more time. 

Next choose your base. I picked this rubber matting at the dollar store. I thought this would offer a good grip on the floor.

Here's another interesting cork Factoid..... not all corks are the same height. As shown here. This is going to have a huge impact with how you make your design. I learned the hard way...

I basically separated them into the 2 different heights. Then I could pick and choose which would fit better. Time to bust out the glue gun. Put a piece (or pieces in this case) of wax paper underneath everything to prevent the hot glue from sticking to the floor. Again learned this the hard way.  

Next I picked a simple design. If you would do 1 solid row or column the entire way through, it just looks weird and shows some of the inconsistencies with cork cutting, etc. So I did a box that repeated. 2 up and 2 down. Alternate. It hides my mistakes. Plus it makes a cool pattern. 

Glue glue glue! 

I actually ran out of corks and had to reorder. But I digress, I did have some gaps and I'll fix that later. 


Here is the discovery of the hot glue going through the gripper stuff and on to the linoleum. 

And here is what happens after I pulled it off, my practice try with the design got ruined... sadness

I fixed it and glued all that I could until I ran out of corks. I doubled up the material to add thickness b/c it was too thin. 

So I need a lot more, this is about 60-ish corks cut in half. Yes really! Weird huh!

So I needed more corks. And I can't drink that much wine to finish before the year is over. So I searched online and found Widget Company and they offer cheap used wine corks! Perfect and they arrive really fast. I was highly impressed with them. Will definitely use them again. It was like 20 cents a synthetic cork! Way cheaper than drinking for more corks. 

Glue to the end of the mat! Here it is! OMG i LOVE it!

Yes it is actually nice standing on my mat. It makes a great addition to my kitchen but now I want another one! Or to make more things with the leftover corks I have. I'm giddy. 


Hope you enjoyed this post and I hoped you learned something from my mistakes. And I hope you now are ready to tackle your own cork craft projects!

xoxoxo,
Lauren

LinkWithin
Related Posts Plugin for WordPress, Blogger...