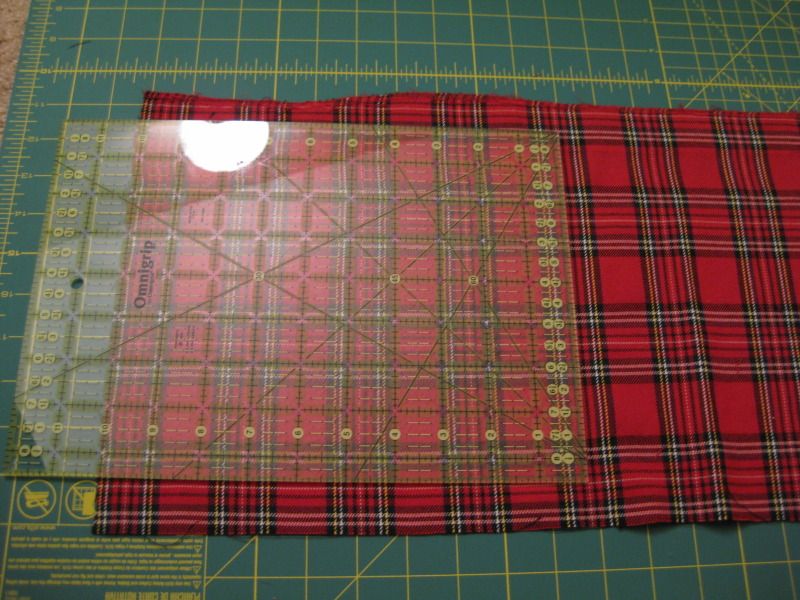
I had leftover over from my Modcloth inspired Peter Pan dress refashion. This was the leftover scrap. I decided to use it to make bibs.
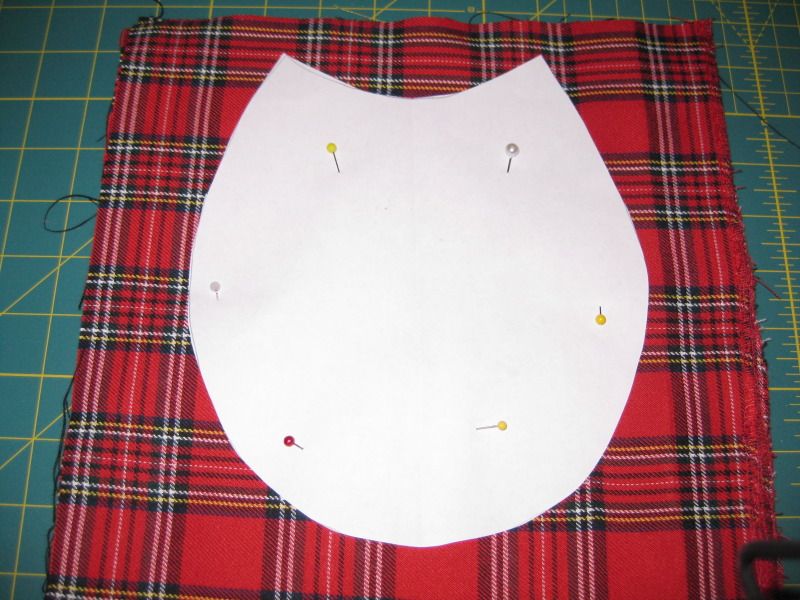
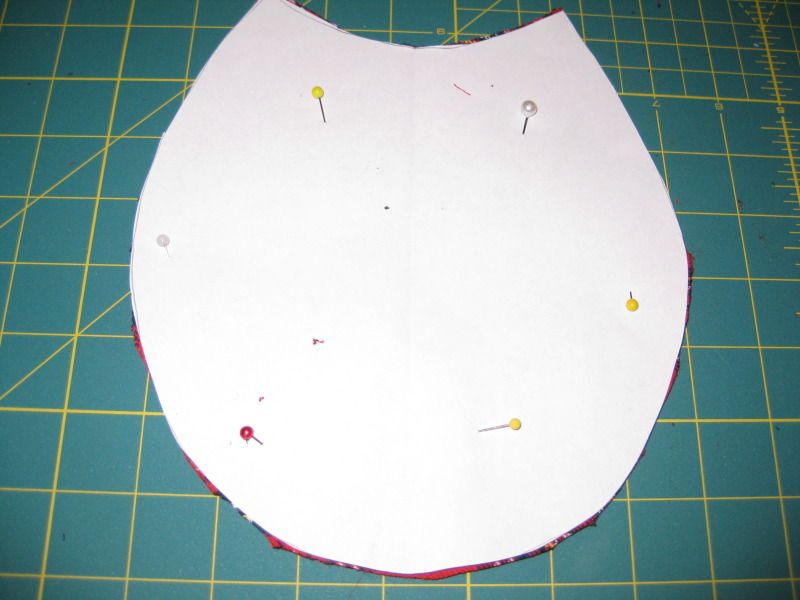
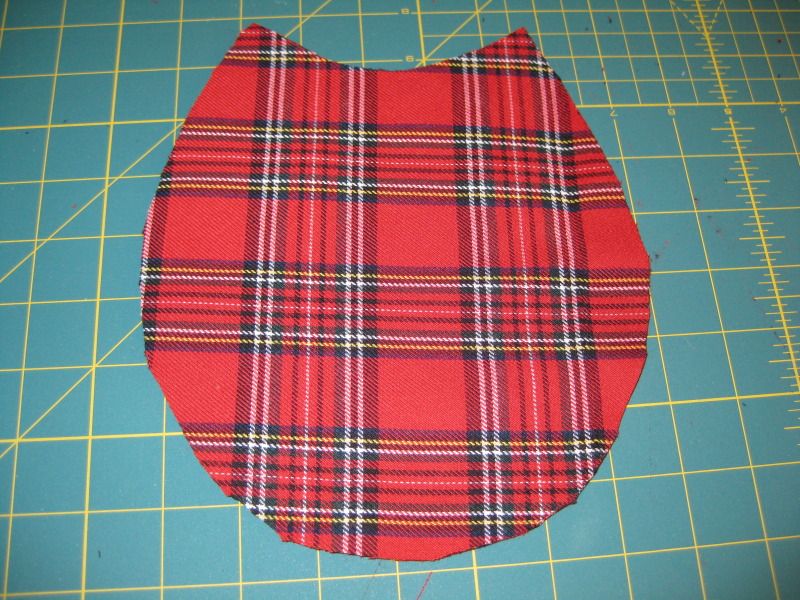
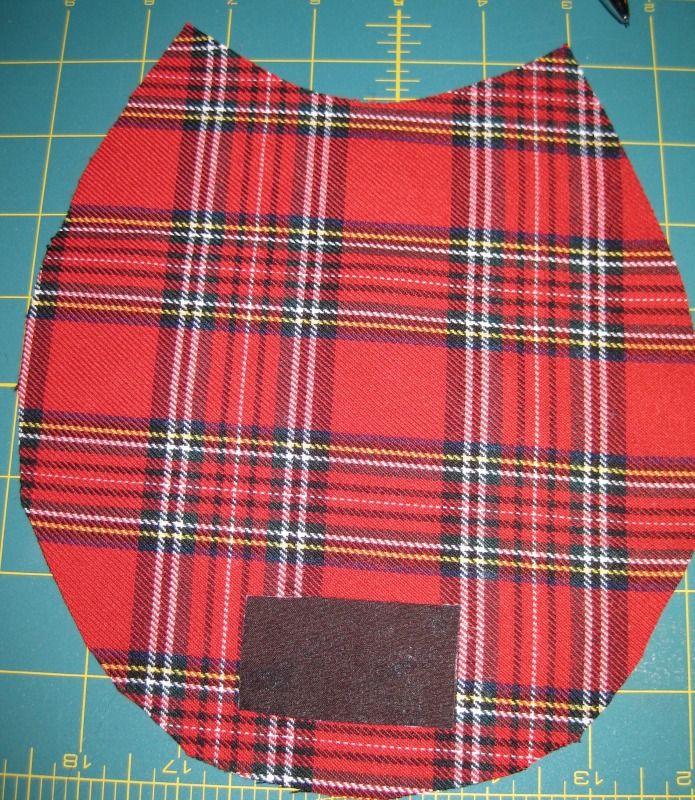
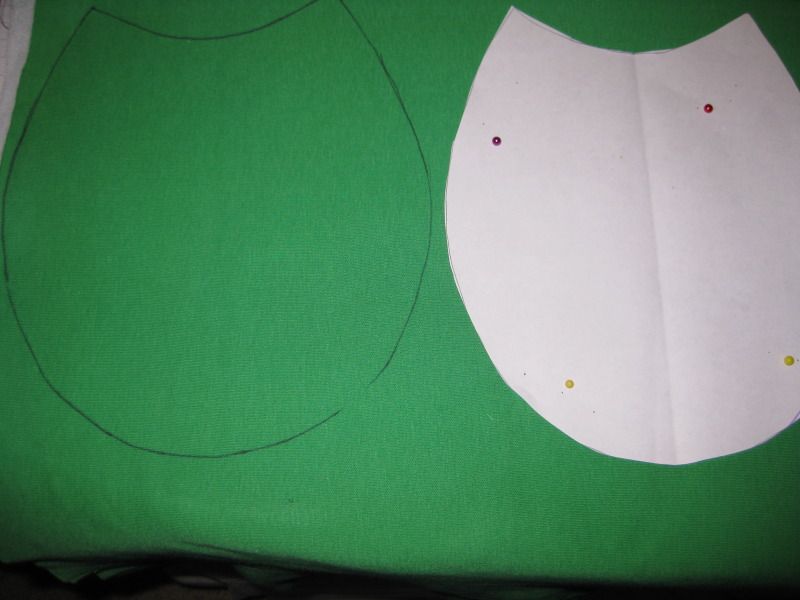
I pinned the bib pattern and cut out the plaid bibs!
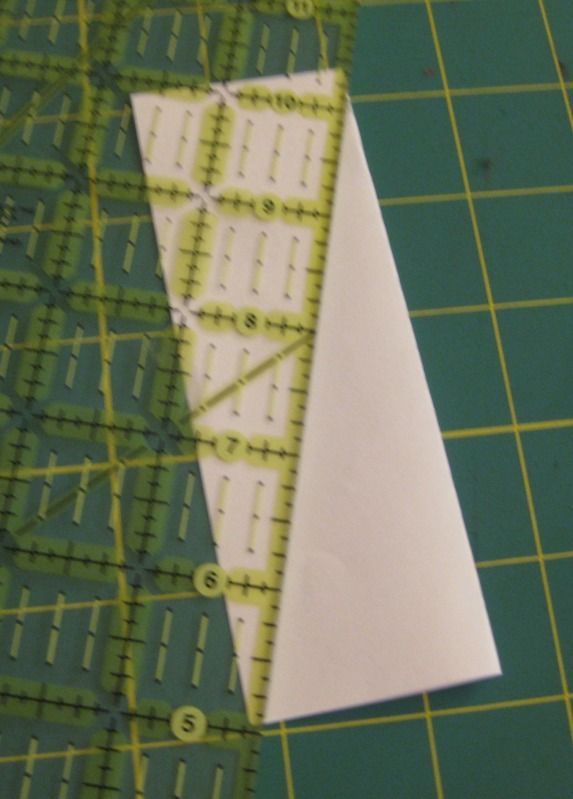
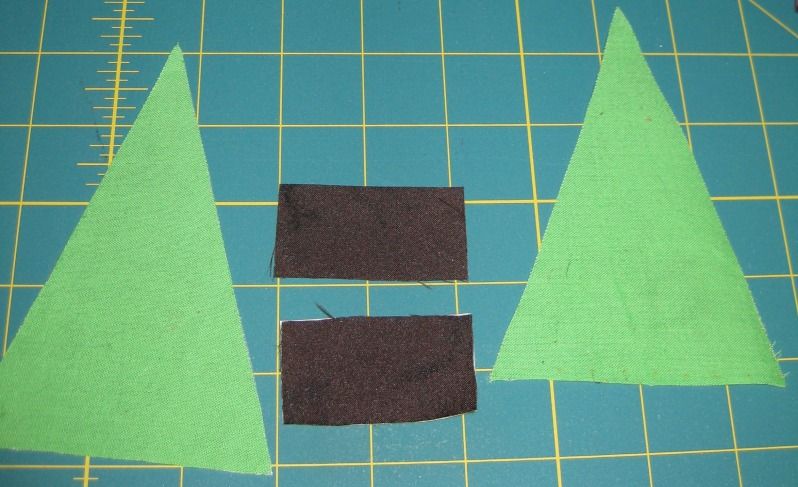
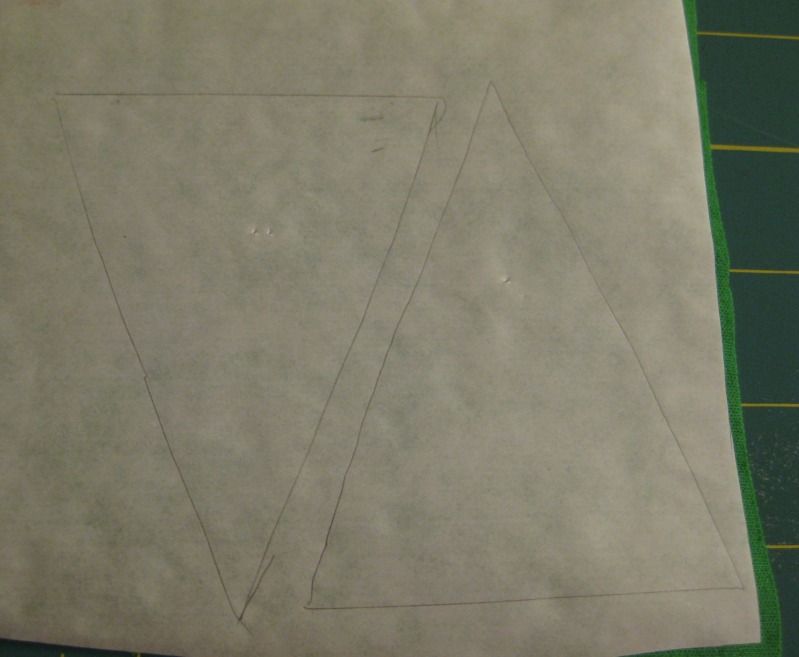
Now to make my tree pattern I just simply cut a triangle on a piece of paper folded in half!
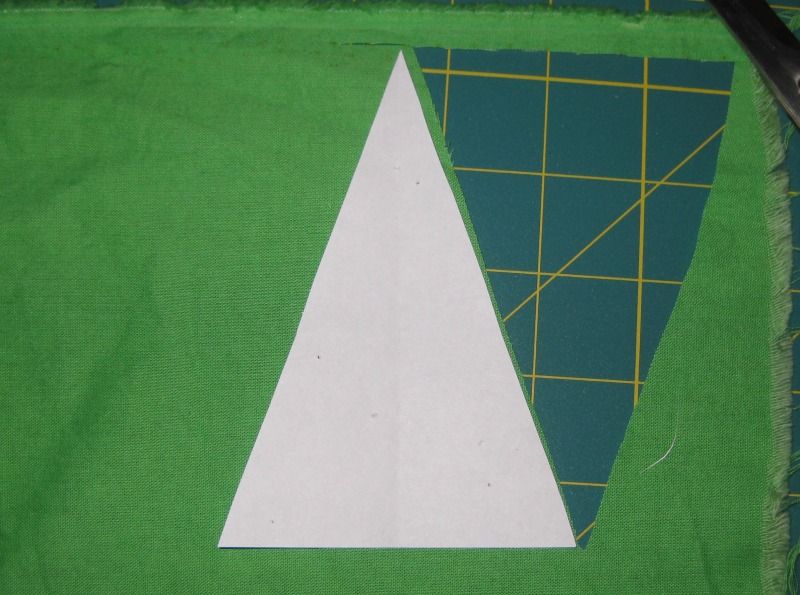
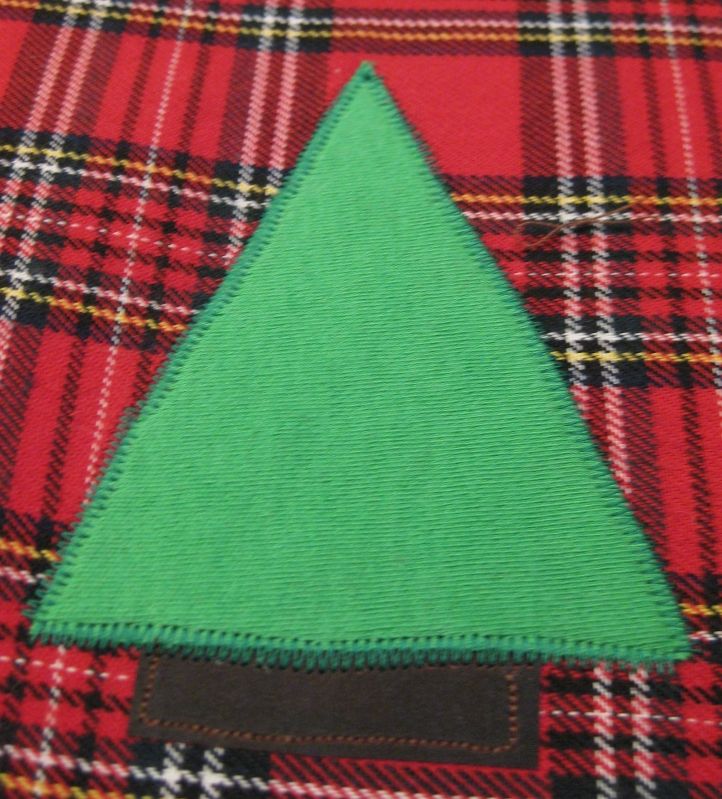
I used the triangle pattern to make trees.
I cut brown rectangles too for the bottom portion of the trees. I added the pieces to the iron-on bond.
I cut out the trees and stumps and I peeled off the paper backing.
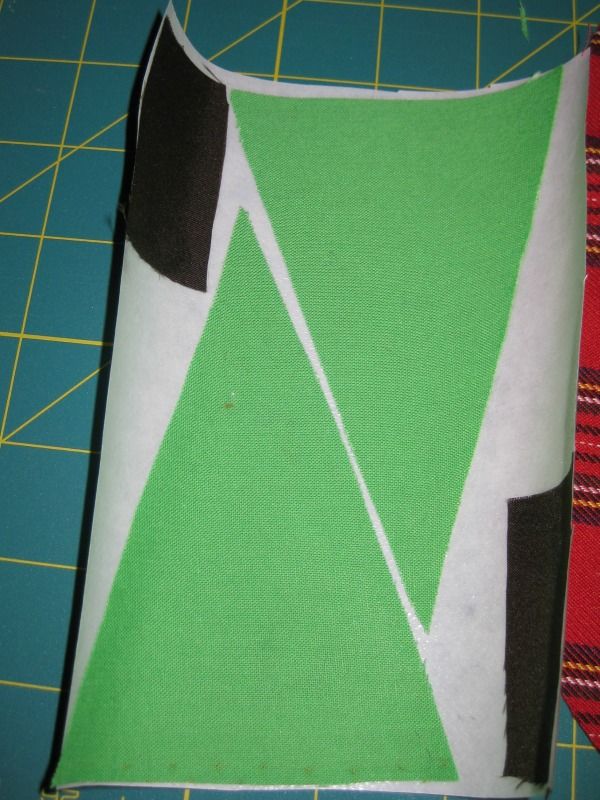
I first added the stumps.
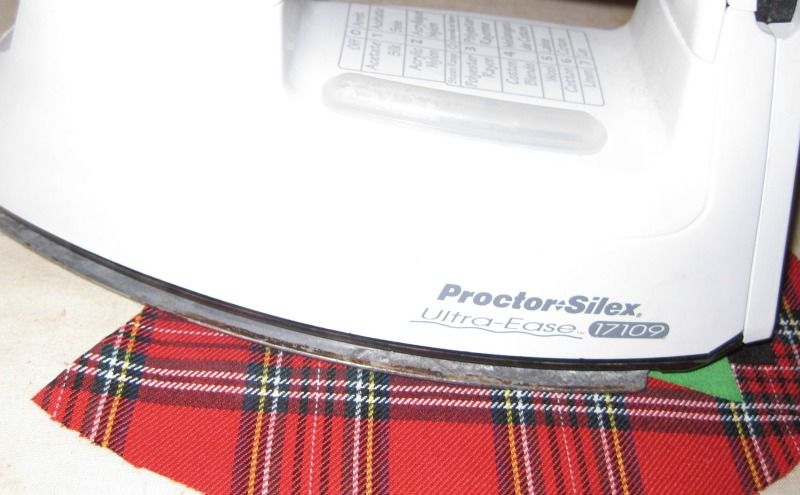
Iron!

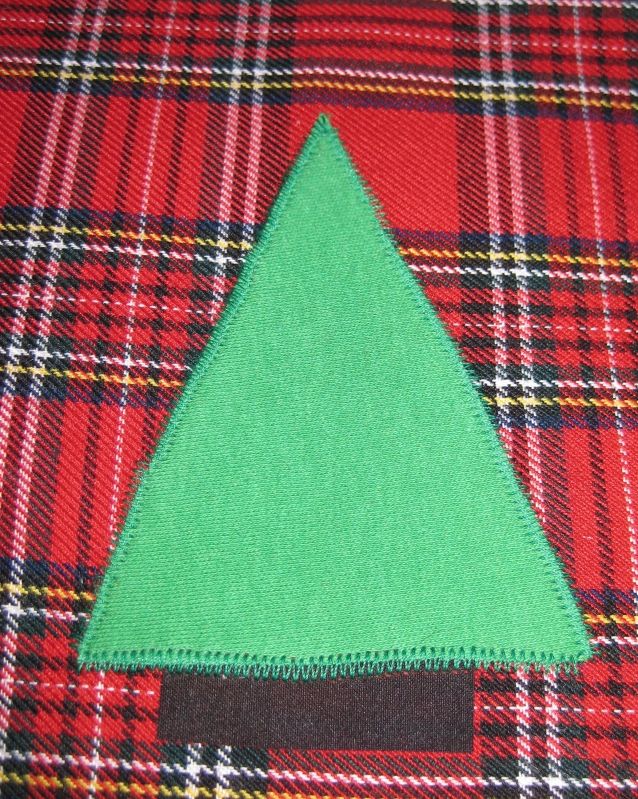
Next add the tree!

Iron!
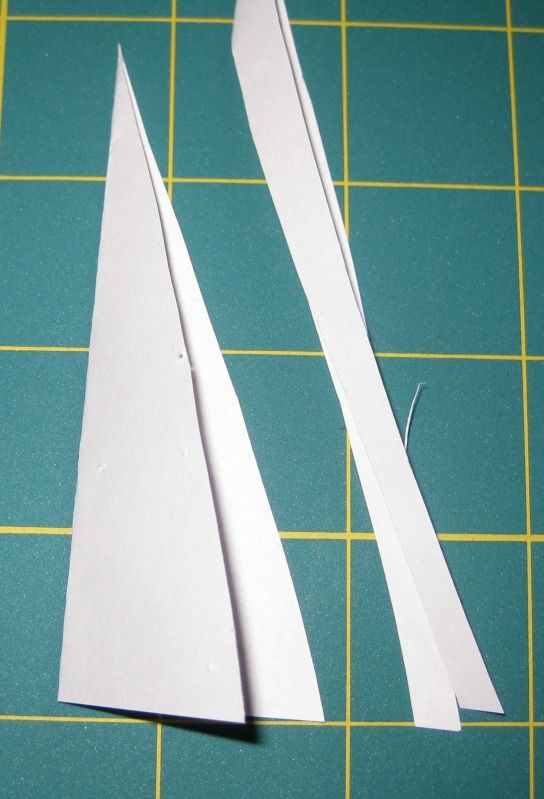
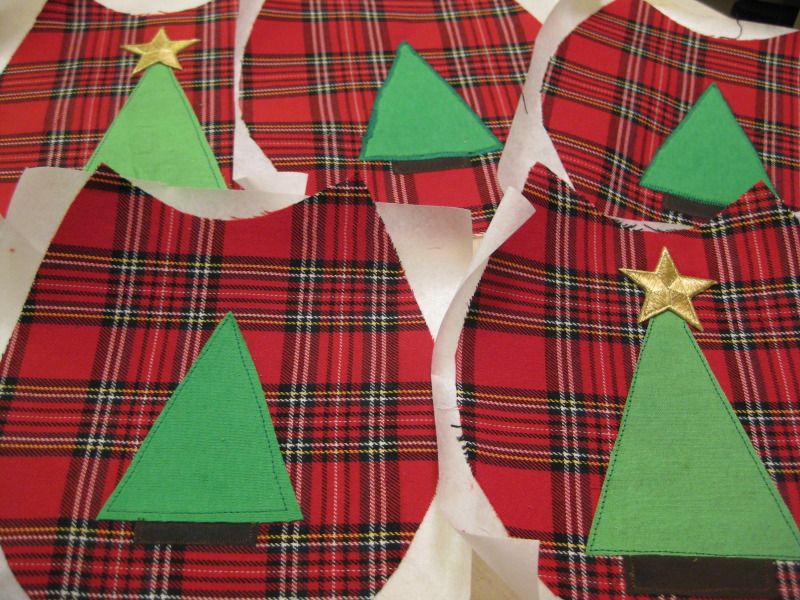
For some of the smaller trees I decided I wanted a smaller tree. So I just took some off the edge.
Again the craft bond. I did it in reverse this time. Made life easier and my iron thanked me.
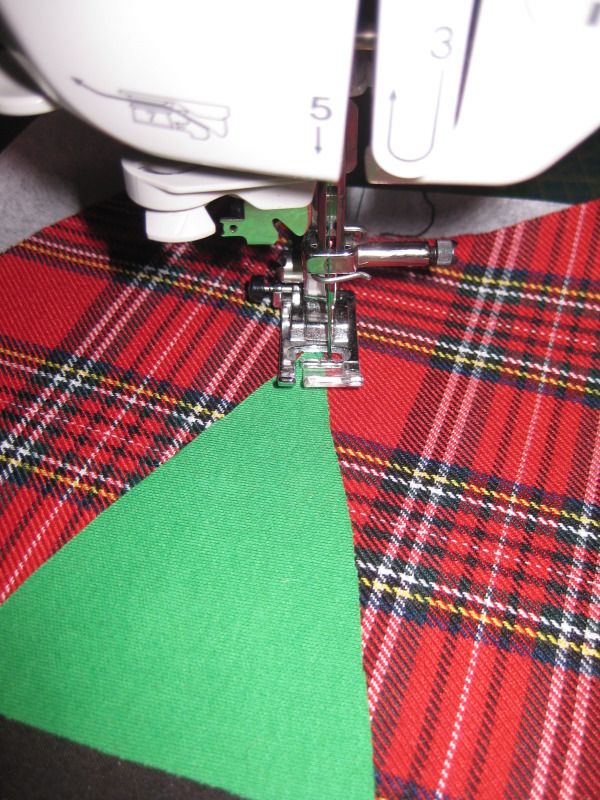
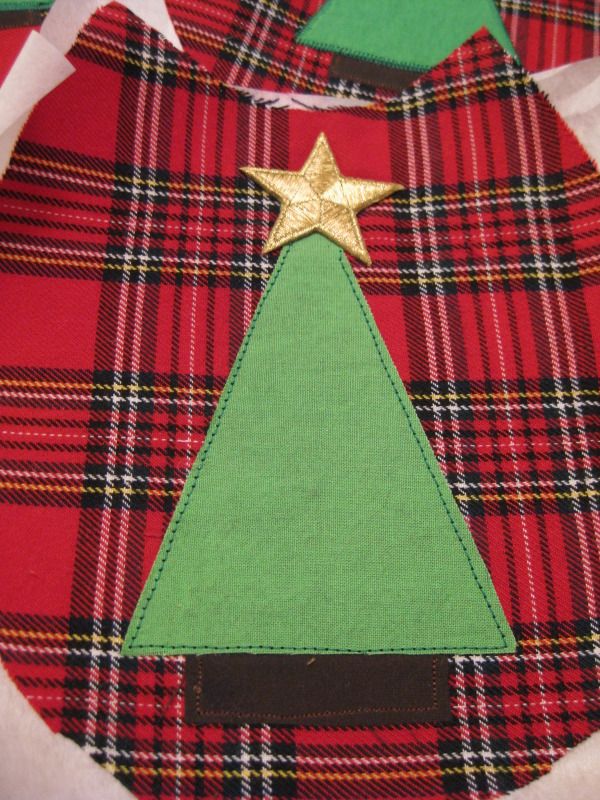
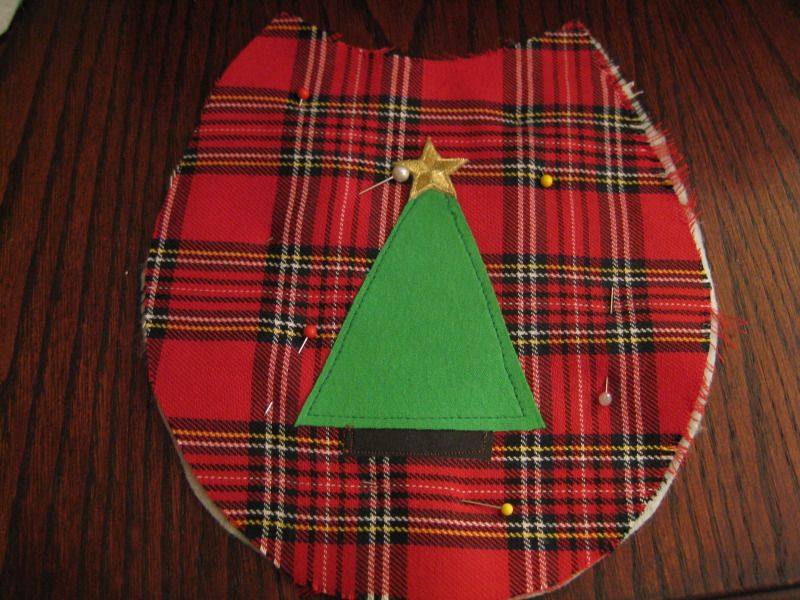
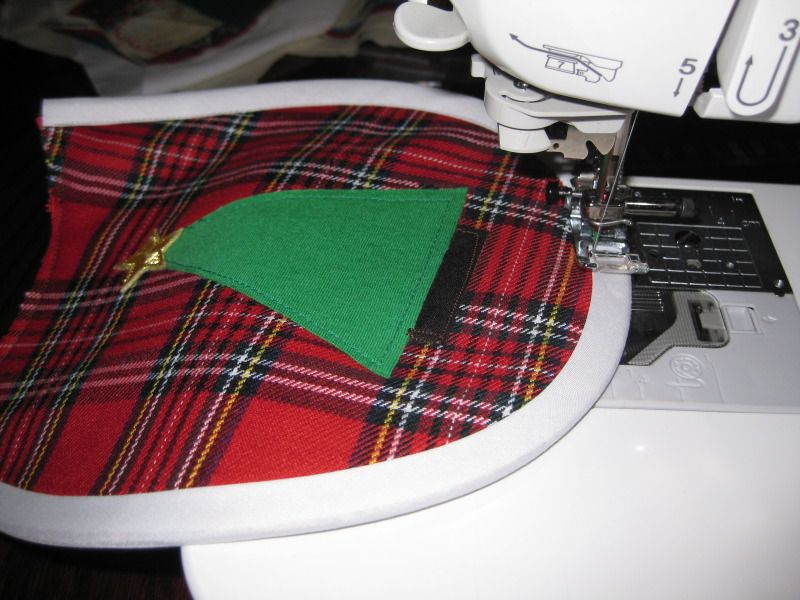
Now I need to applique (which I have never done before) the trees and stumps. Here is me practicing.

Sew! I did several variations.
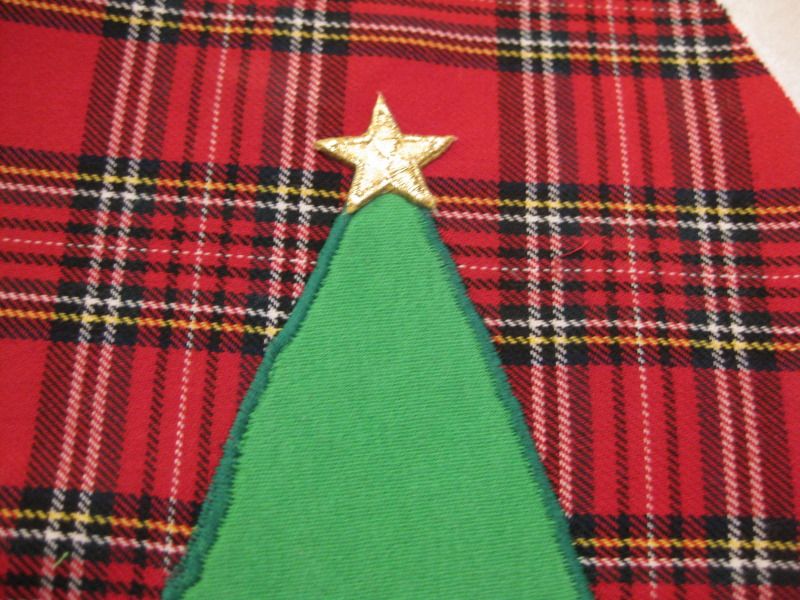
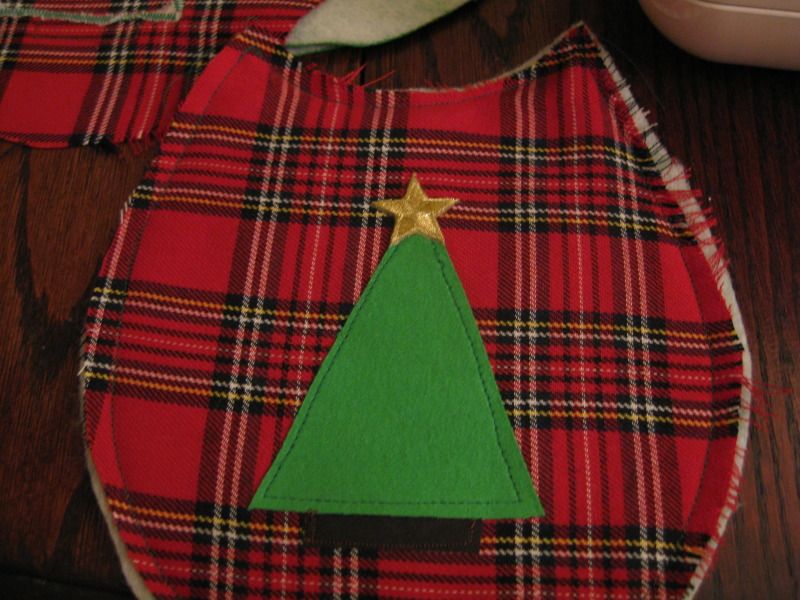
Now time to add stars! Simply add star and iron!

Here are some in progress...
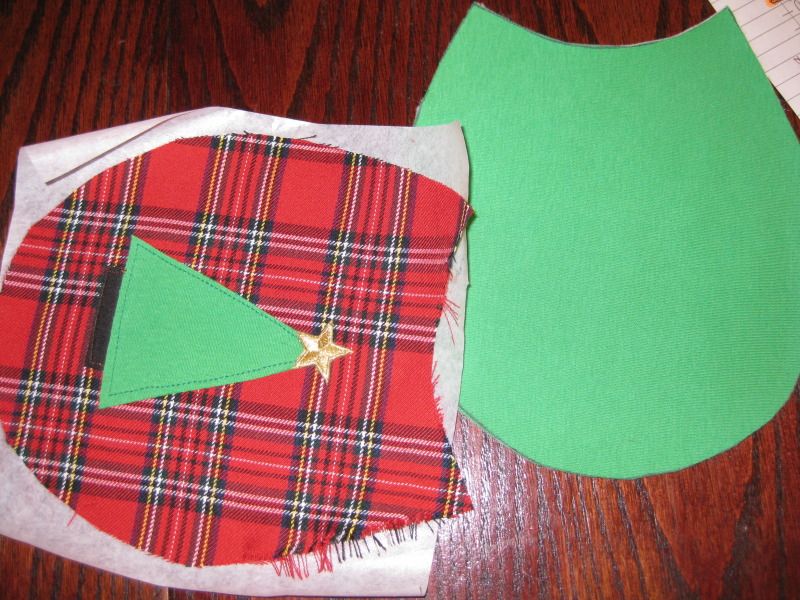
The bibs need backs. I traced the bibs on green fabric I had in my stash, and cut out.
Pin together.
Sew!
Trim excess!

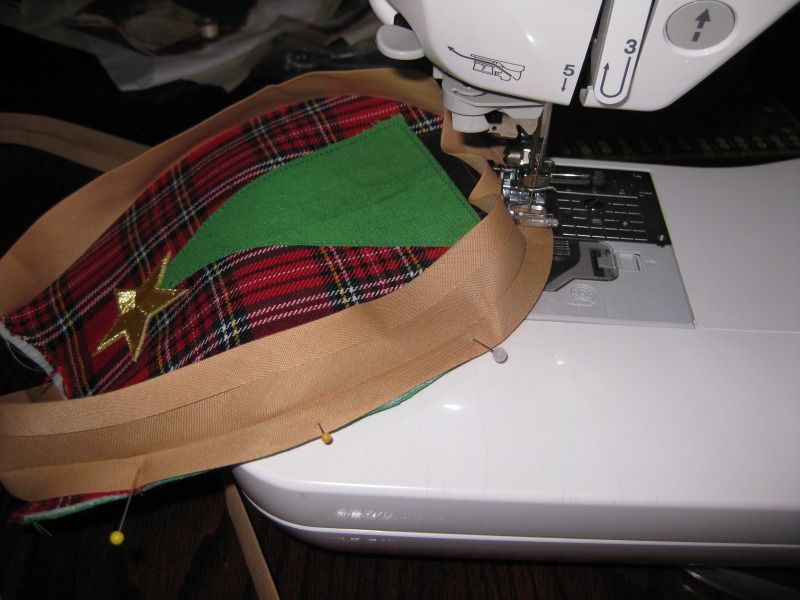
I am ready to add bias tape. I pinned the short side first and sewed down.

This picture is a perfect example of the difference between iron (left) and not ironed (right) after sewing the curves. Definitely iron!

I then sewed the top portion down of the bias tape. Repeat, repeat, repeat!
I added about 2 feet of bias tape to the top of each bib to finish it up! Done!
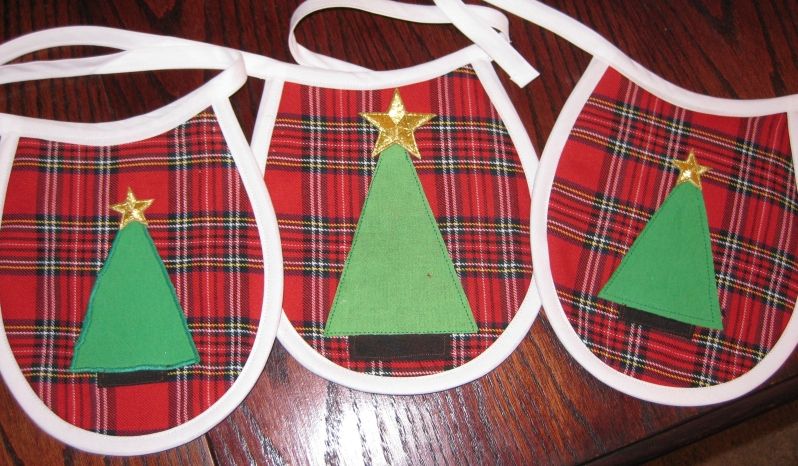
Here are the end bibs! OMG I love them!


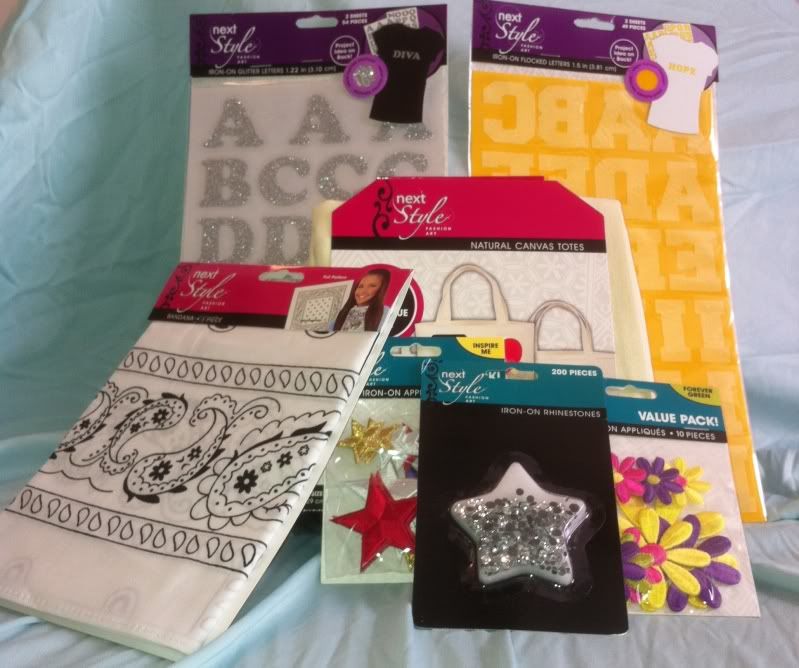
Thanks again to Next Style for the iron on stars. And a big thank you to Next Style for all the craft products they gave me. I had a lot of fun with making these projects! For more inspiration check out their Facebook page and also fashionartprojects.com!
xoxoxo,
Lauren
xoxoxo,
Lauren