Well hi welcome to my little blog. Just my little corner of craftiness, sewing, and refashioning. I am also a newly gluten free eater so you have a little bit of recipes mixed in here.
Showing posts with label zip screen. Show all posts

Saturday, January 5, 2013

My Next Style Project Day 5: Rock N Roll Baby Onesies

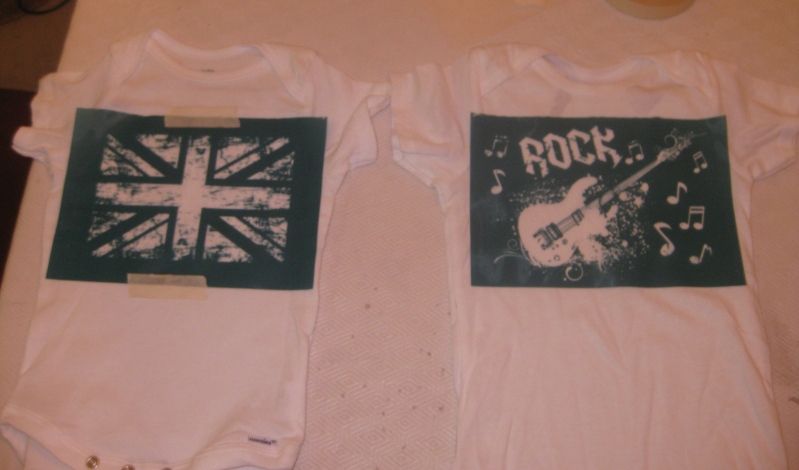
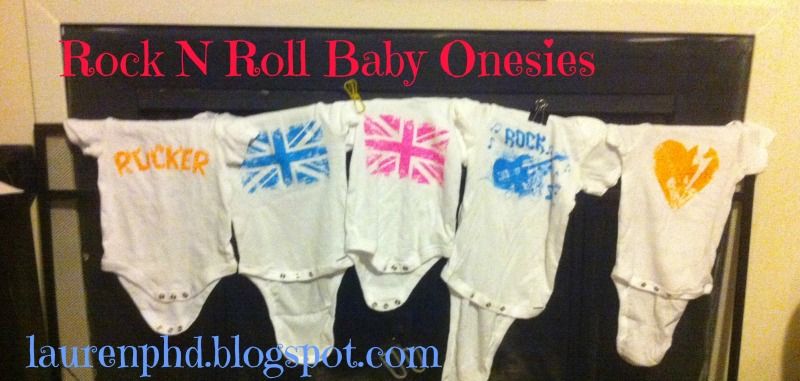
After having so much fun with the Zip Screens from My Next Style, I decided to try them out for babies. I loved some of these medium screens and I realized they would fit perfectly on a baby onesie. I have a lot of friends who were pregnant and I thought these would be great gifts!

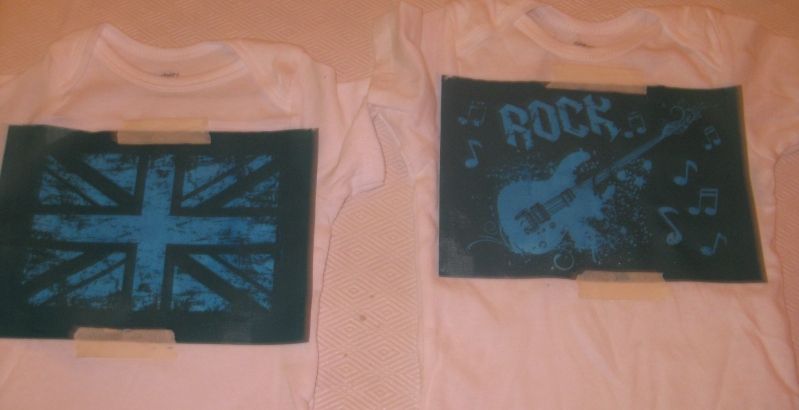
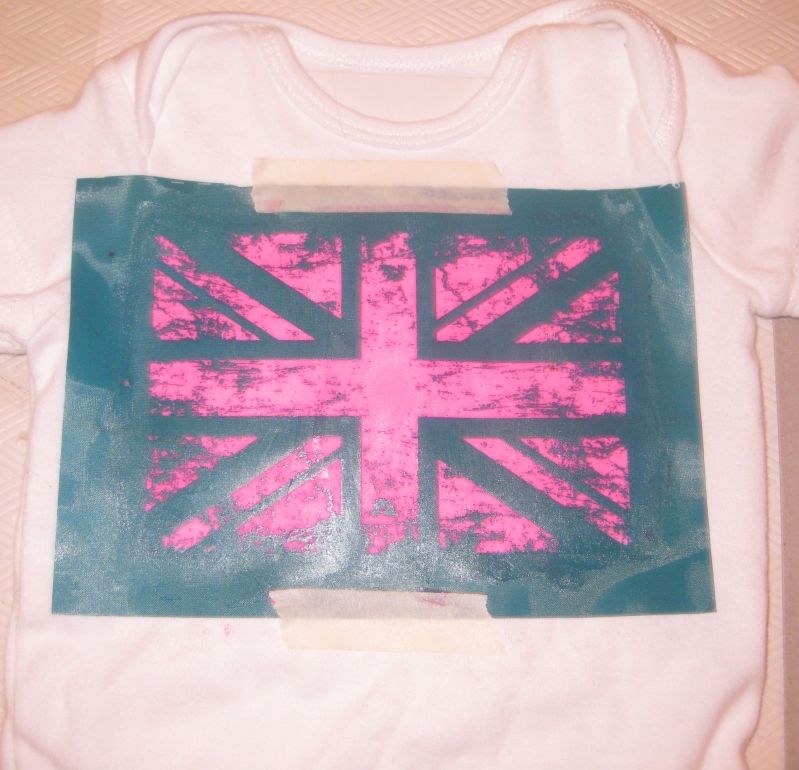
Again inserted a piece of cardboard inside each onesie (in a pinch the thicker paper that screens came in fit perfectly underneath and cover the area you are screening!) and secured the screens with tap. I tried the other colors I had- here is blue

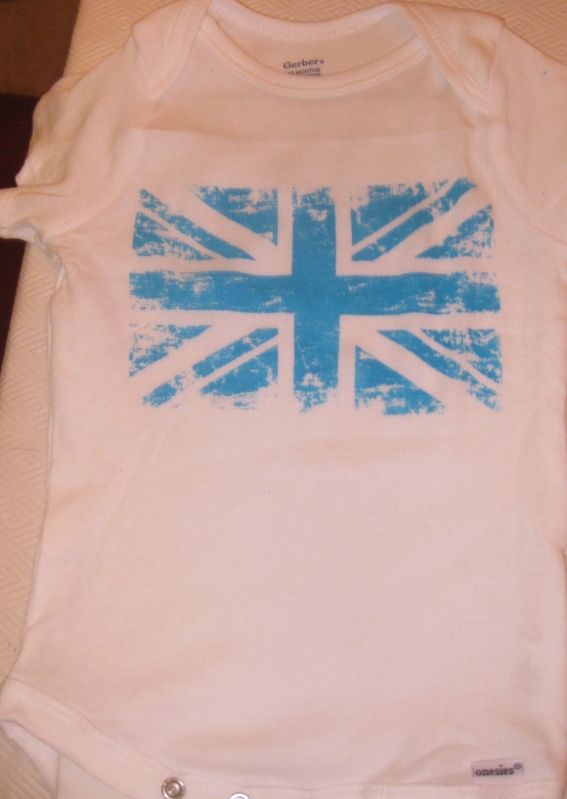
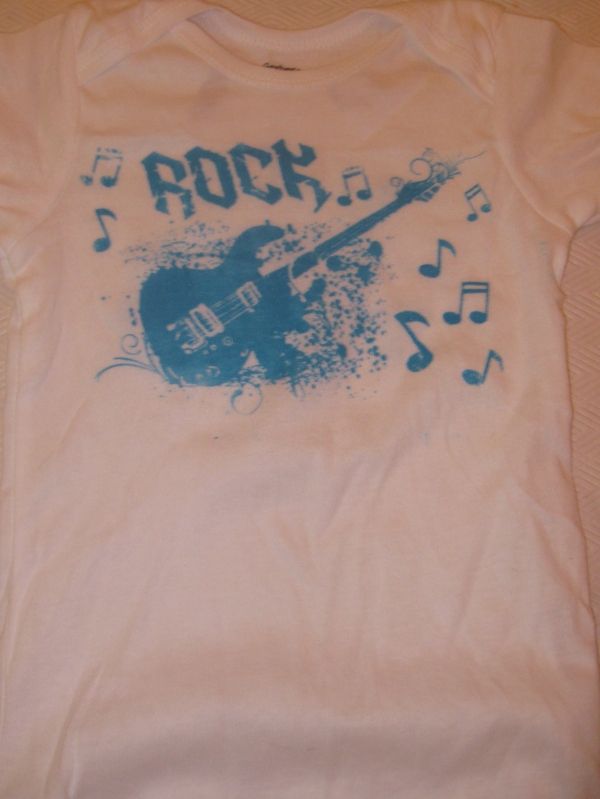
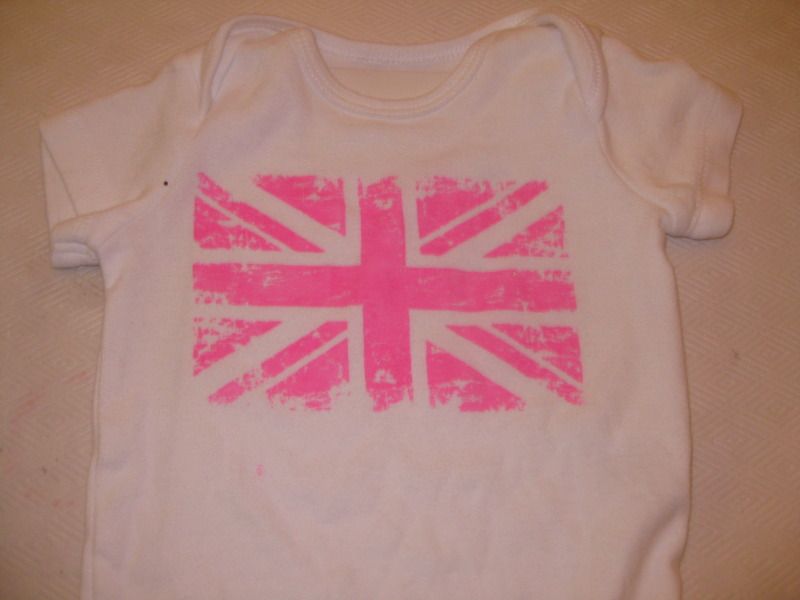
Here's the after pics...


Now I wanted to make a girly Union Jack Onesie so I washed the screen (super easy) and tried it with pink.


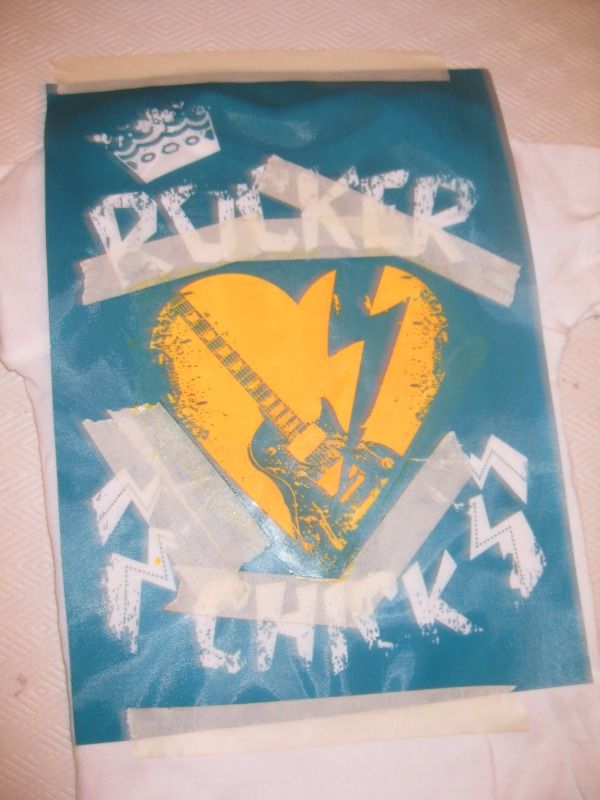
Now you don't have to use all of the screen if you don't want to, here I only did the heart. I blocked it with tape.

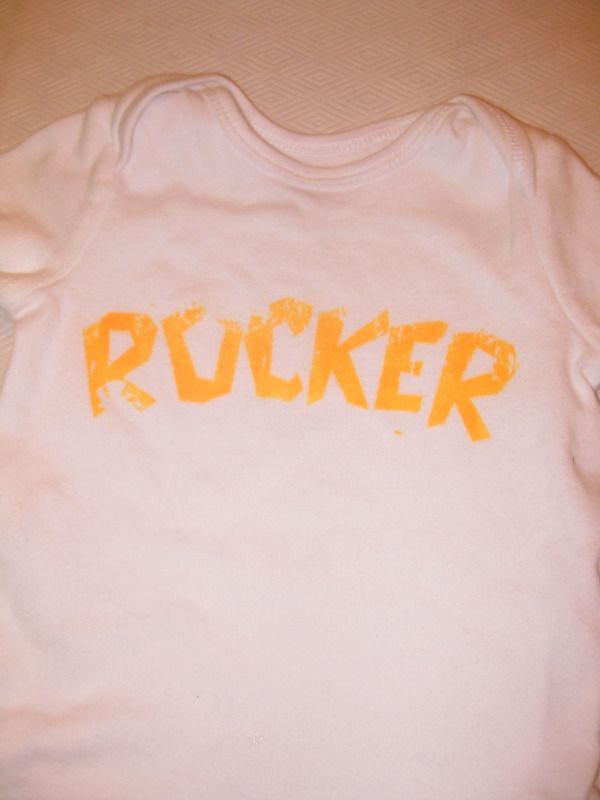
On another one I just did the Rocker portion of the screen

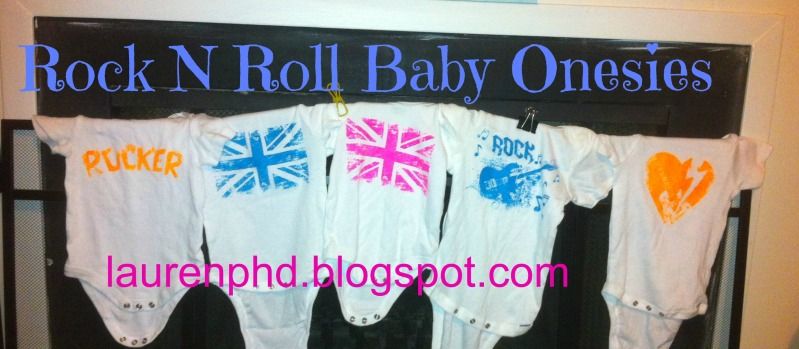
Here are the onesies!!! OMG they are way too cute! Perfect for every Rock N Roll Baby!


These were perfect baby gifts! Thanks again to Next Style for the awesome products, check them out on Facebook and also at fashionartprojects.com there are some other great ideas on their websites!

Tomorrow unfortunately will not be the lavendar tote bag with the bandana yo-yos. The pictures have not yet appeared and it is driving me crazy. I am so sorry but I will have the 4th of July Wreath! Yay!

xoxoxo,
Lauren

Friday, January 4, 2013

Next Style Project 4: Zip screen fun- shirt and tote bag

Today I am going to show you how easy it is to use Zip Screens from My Next Style. Today is 2 easy projects in one. I have seen Zip screens in the stores but I was always a little hesitant to try them out, I never thought they were easy. But I am here to tell you wrong!

So first the shirt. I took a plain t-shirt

Next I selected one of the screens I wanted to use.

I selected the All Star screen and the purple ink. Next I placed a piece of cardboard underneath the t-shirt so the ink would not transfer to the other side. Also another good piece of advice is to tape down the screen to the shirt so the screen doesn't move. The screens naturally  have a stickiness to them so they will stick to the shirt.

Next I cut across the line and smeared the ink across the screen. Super easy! Then peel the screen away and let the ink dry. If you want to reuse your screen immediately wash it, the ink will wash right out! Here is the shirt

Here is the shirt on

Next I tried the screens out on a tote bag. And I decided to combine ink colors- they don't run into to each other! OMG! I repeated everything I did previously!


Thanks again to My Next Style, check them out on Facebook they have some great projects! And also fashionartprojects.com for more inspirtation and some great ideas with zip screens. I hope you are no longer chicken (like I was to try out zip screens!).

Tomorrow I have another project with Zip Screens! OMG they are so cute!

xoxoxo,
Lauren

LinkWithin

Related Posts Plugin for WordPress, Blogger...