Well hi welcome to my little blog. Just my little corner of craftiness, sewing, and refashioning. I am also a newly gluten free eater so you have a little bit of recipes mixed in here.

Monday, February 4, 2013

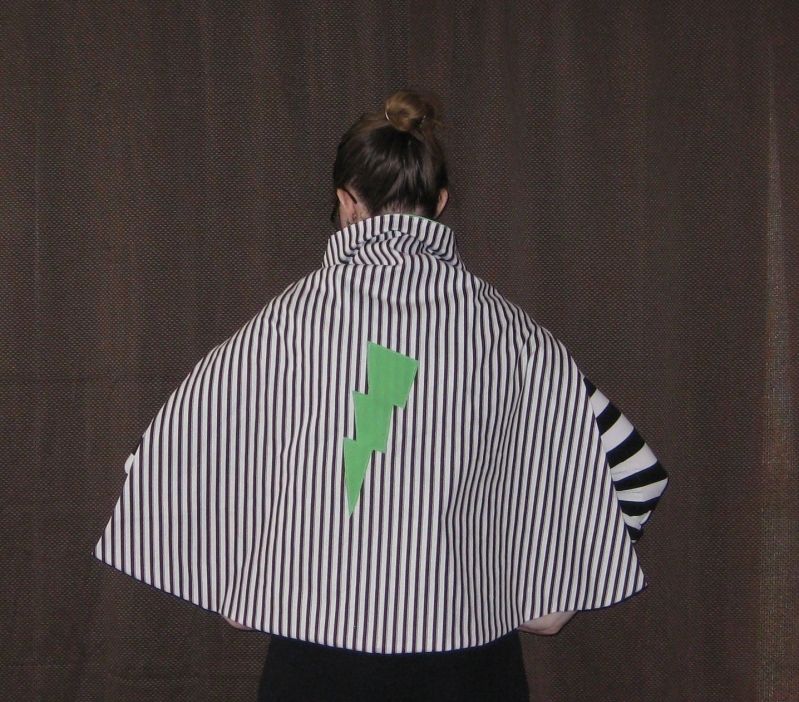
Cape For Kids Finished

To infinity and beyond! Yay my first charity sewing project is completed for Enchanted Makeovers!

How fabulous did the capes come out? More info as you scroll down the blog post...
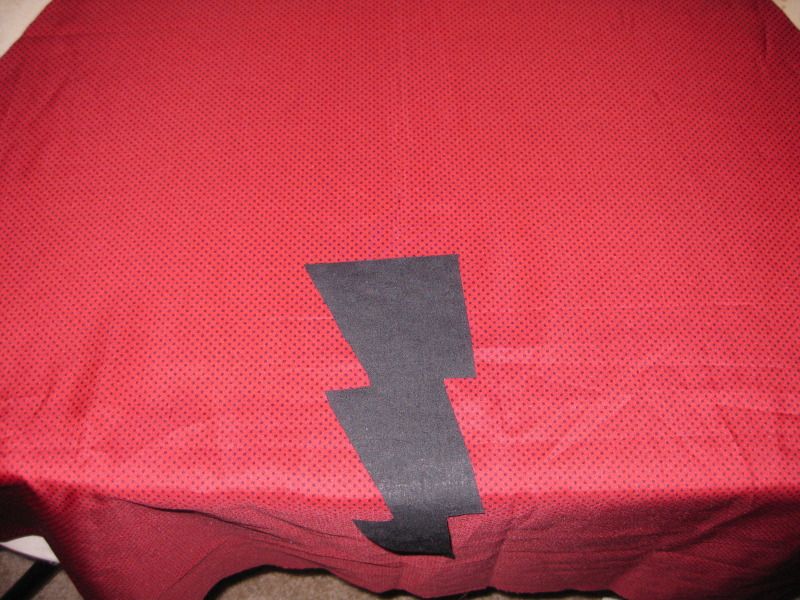
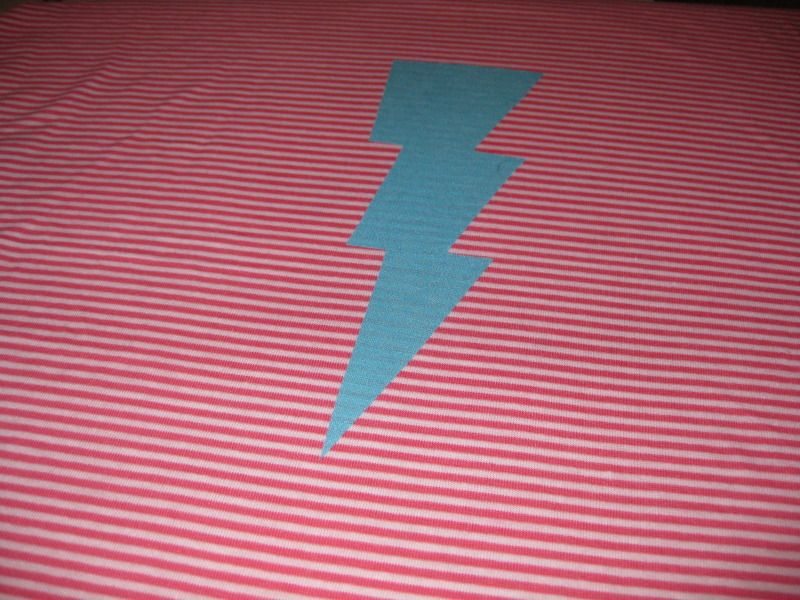
Basically I fused the stars and lightning bolts to the backs of the capes, trying my hardest to center them. Then I machine stitched them down. I tried the zig zag but had issues. What I should have done is temporarily reinforced the back with temporary stabilizer. So they all got a straight stitch b/c I didn't want to scare the kids. 
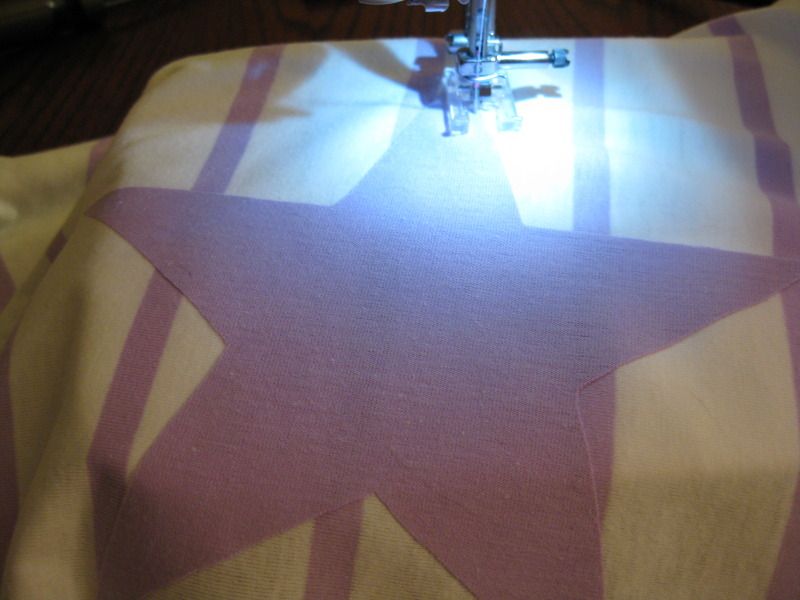
See the ends would get stuck in the feed dogs.... nom nom it wanted to eat the fabric. 
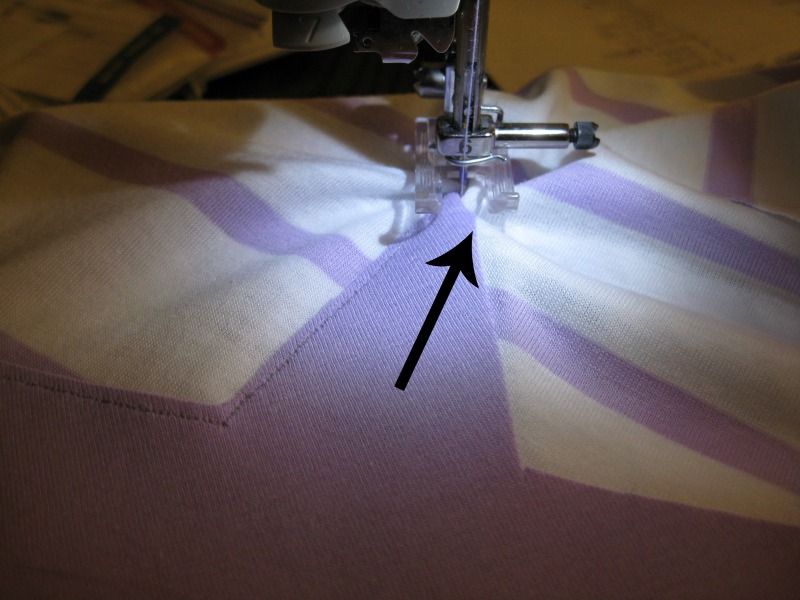
Sew sew sew!

Added the velcro. That was fun! I killed 1 heavy duty needle sewing velcro on 44 pieces of fabric.
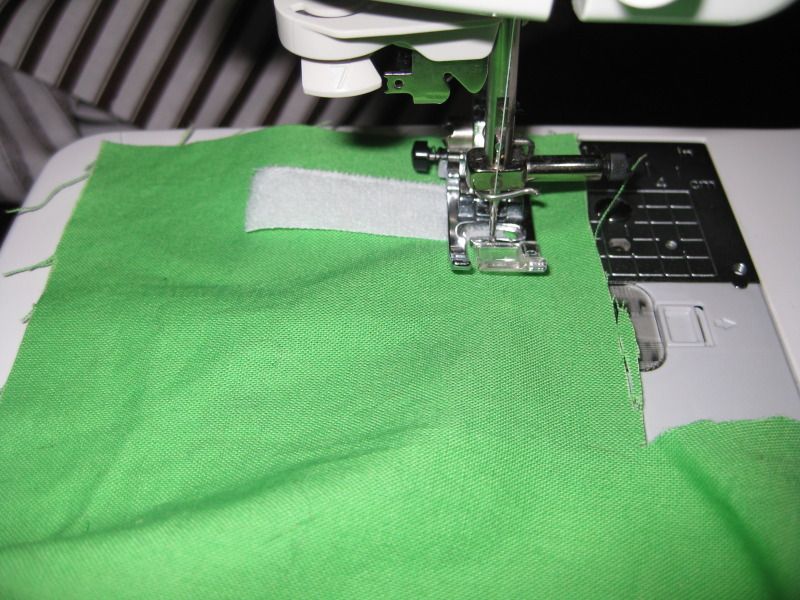
Attach 2 pieces together. Sew everything down but the top of the capes. 
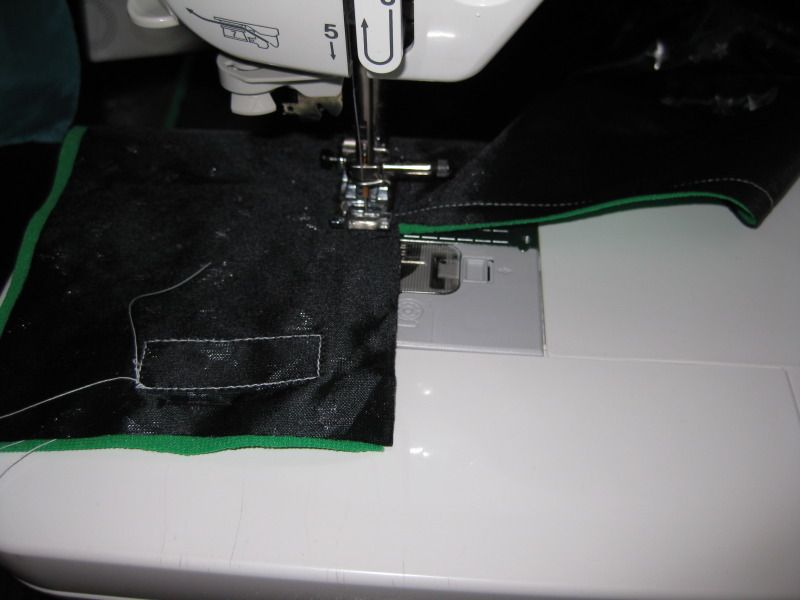
Make a pile.... this is my iron, clip curves, and turn right side out pile
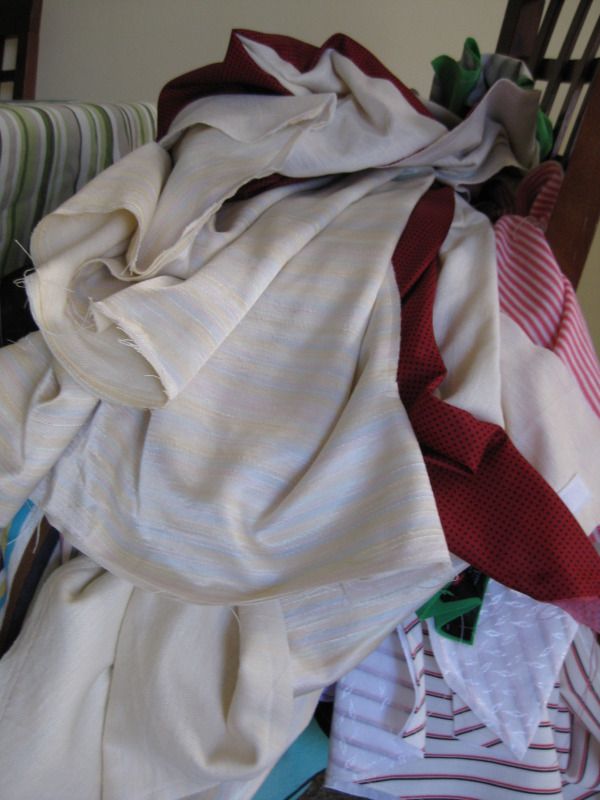
Get rid of excess fabric near seams

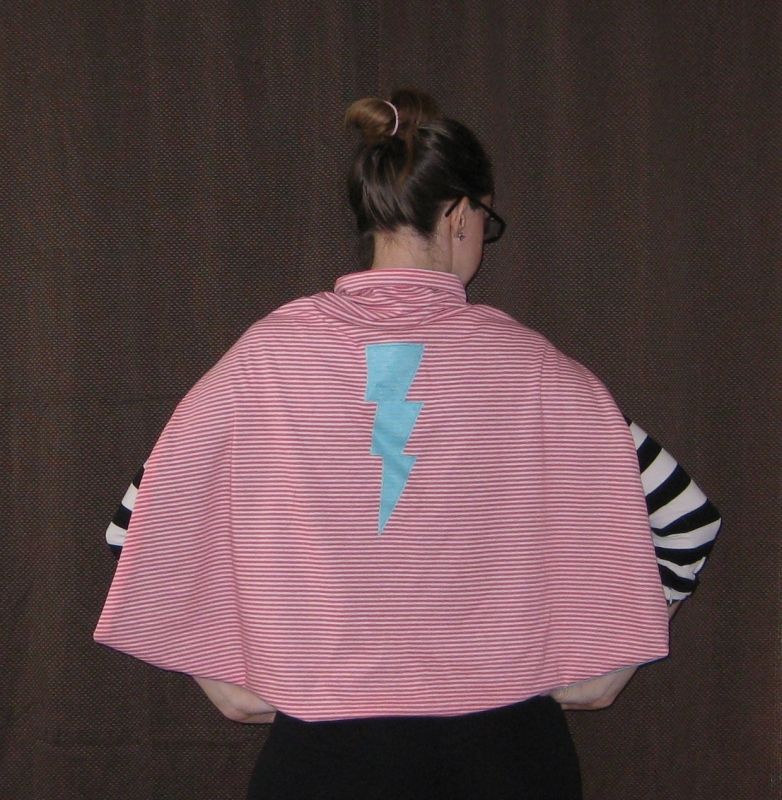
Done! Super Lauren to the rescue! I must admit it was fun to put them on and take pictures. I had to refrain from too much sillyness. Here are some of the color combos I made. And yes some barely fit around my neck and shoulders. :)
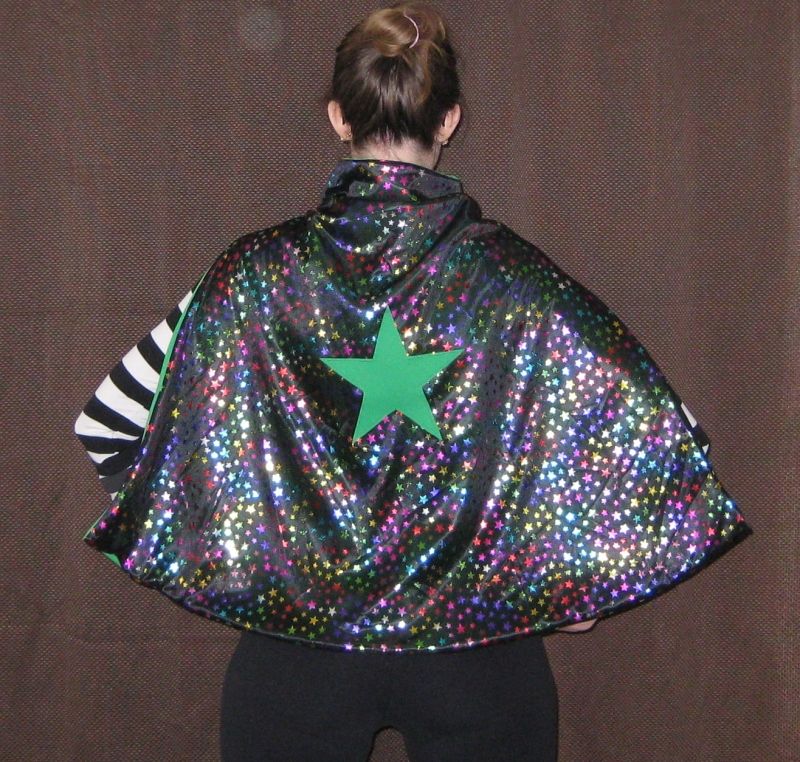
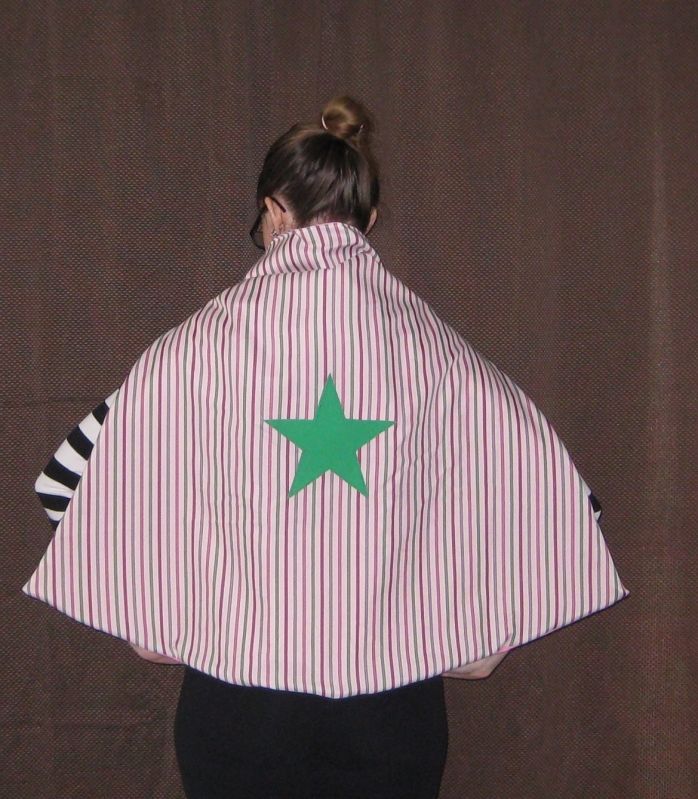

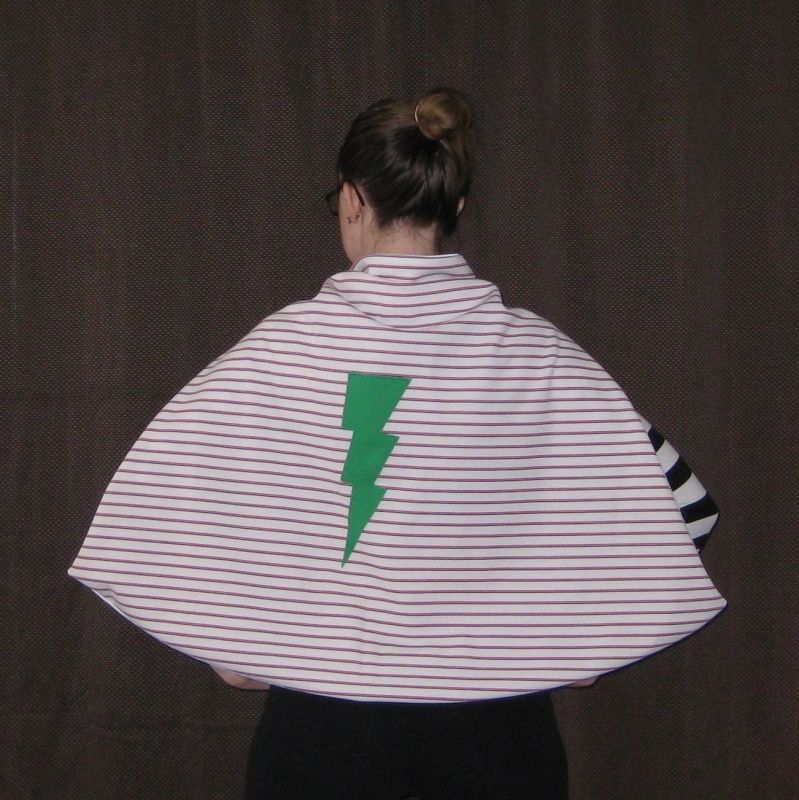
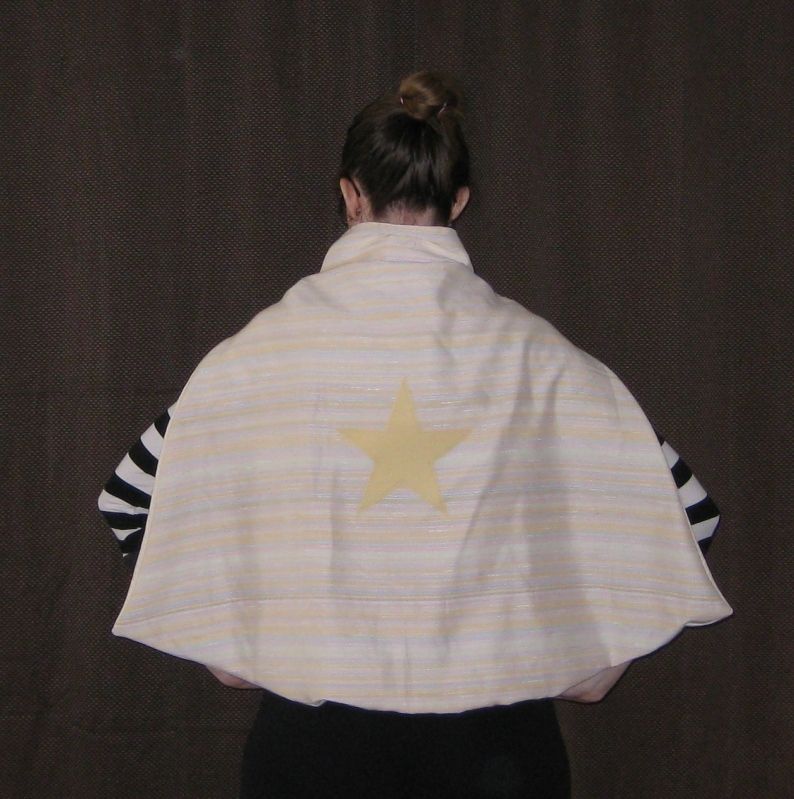


Actually this is my new favorite color combo I love the pinky/red with turquoise! 

Into the box they go and they are shipped to the main head quarters. 
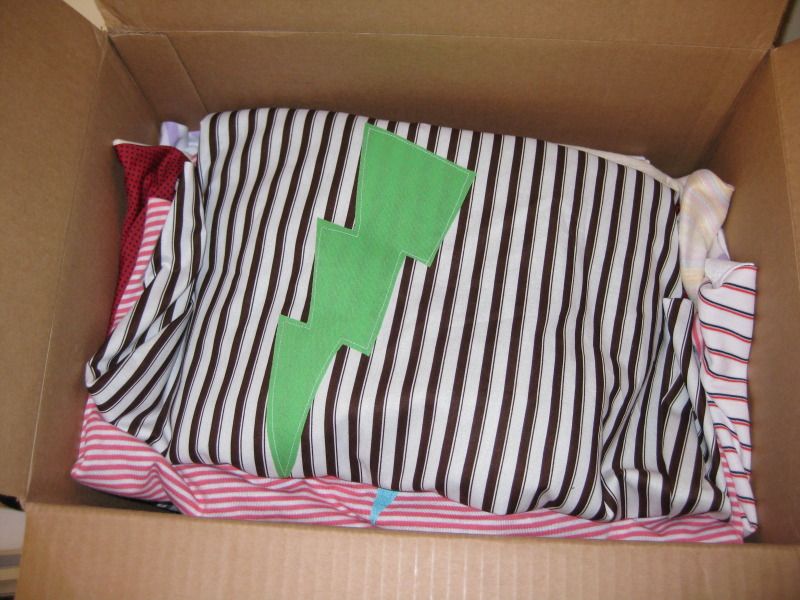
Here's the run down... I used 44 yard of fabric. Yes you heard me 44 yard of fabric. Still barely put a dent in my stash. Yes seriously. I know sad right? The scraps will be used to make dolls for this charity also but I am going to put that on hold for a bit and focus on some other fabric projects (which will generate more scraps and thus more dolls! yay!). It was a total of 22 capes that went to charity, so 178 more items to go before I fulfill my New Years Resolution of reaching 200 sewn items for charity!!! Onward! I used 2 heavy duty needles for just the appliqueing. I additionally used another heavy duty needle for the velcro (so 3). I then also used up another regular needle with everything all together. Now I got a brand new needle on my machine for new projects! :) I mailed off this package this past Saturday and the box almost weighed 10 pounds! Crazy! But crazy awesome!

xoxoxo,
Lauren

Sunday, February 3, 2013

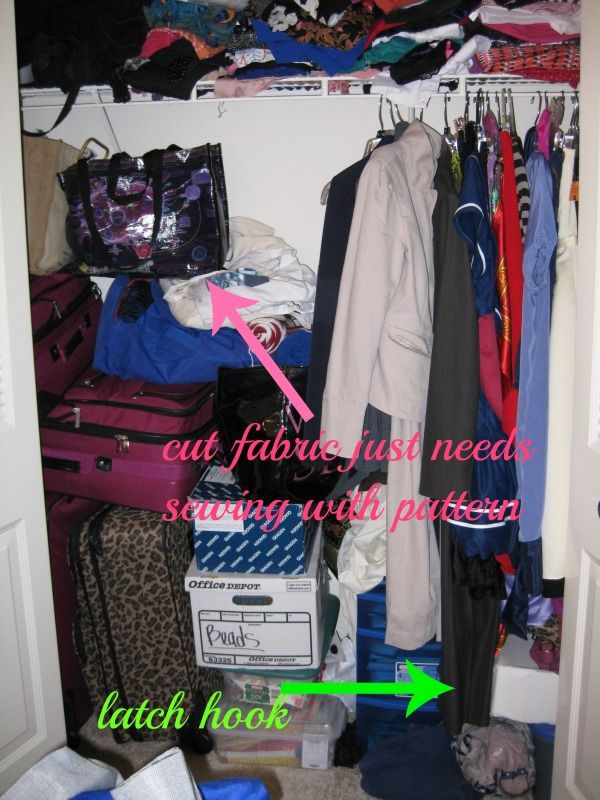
My embarassing craft closet

So here it is... my embarassing craft closet. It is just a closet. Here is everything. Maybe by putting this embarassing mess out there I will be inspired to create and clean this up and be able to brag about it.... Well its worth a shot. So here we go...

Hi my name is Lauren and I have a lot of craft stuff. I have 4 suitcases of fabric. Mixed with 3 boxes of beads and sequins... (and i think a hidden box of cartwright sequins somewhere).
  

I have a pile of refashions. A bag of yarn, stuffed. a bag of working fabric. box of bellydance fringe and patterns. a 3 tier drawer of patterns. 

several bags where i have cut pieces of fabric for a pattern but just haven't sewn it together yet (I did that before the move and then things got crazy). I got my latch hook on my "list". Plus you also see my summer wadrobe and some of my suits. 

Yes it is bad but I know I am not the only person out there. Oh yeah not pictured: I have a shelf stuffed with more patterns and I have a craft box under my bed. OMG I have a problem. Hopefully this year I can fix it!
xoxoxo,
Lauren
Saturday, February 2, 2013

Embroidered Bellydance Ornaments

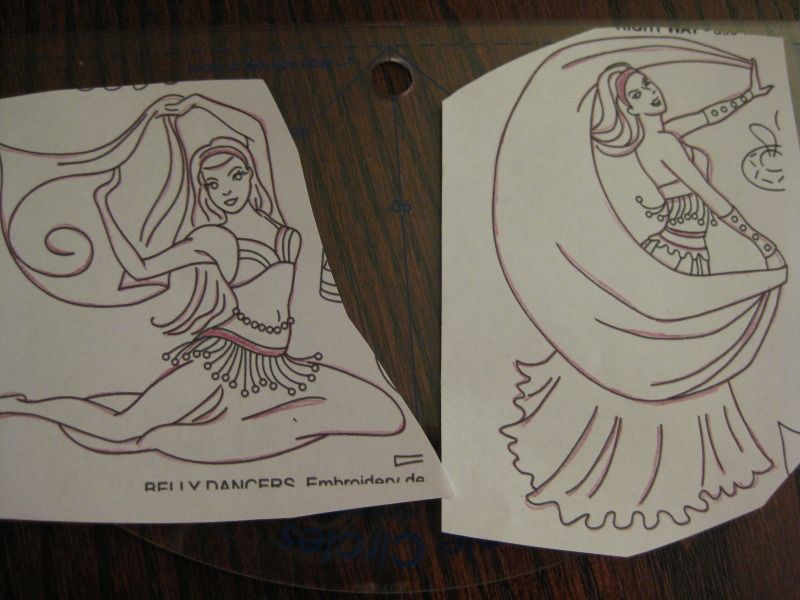
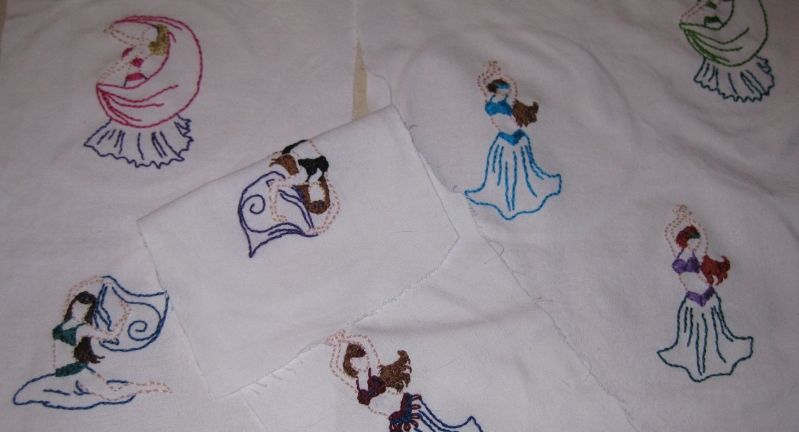
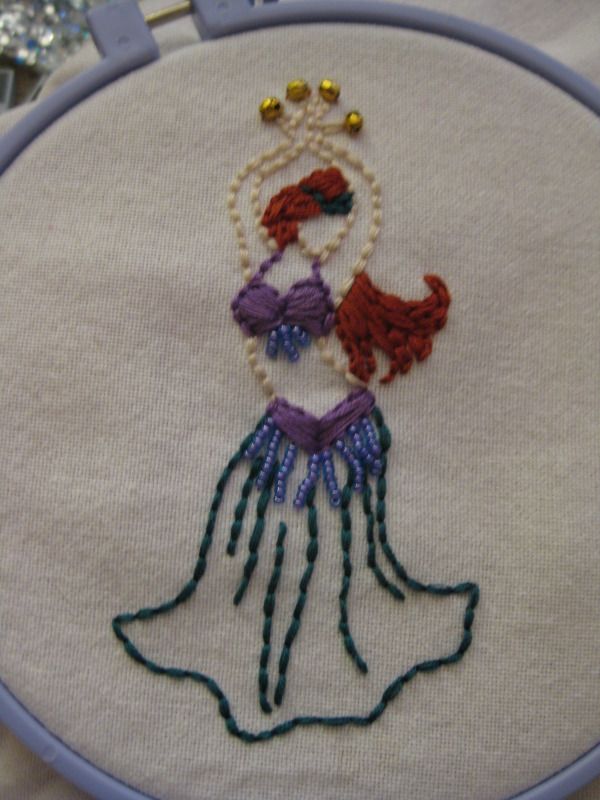
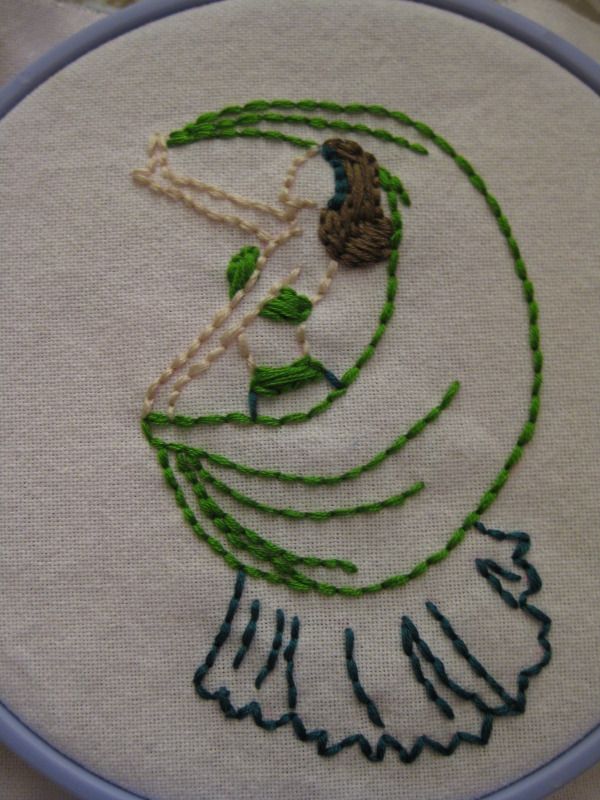
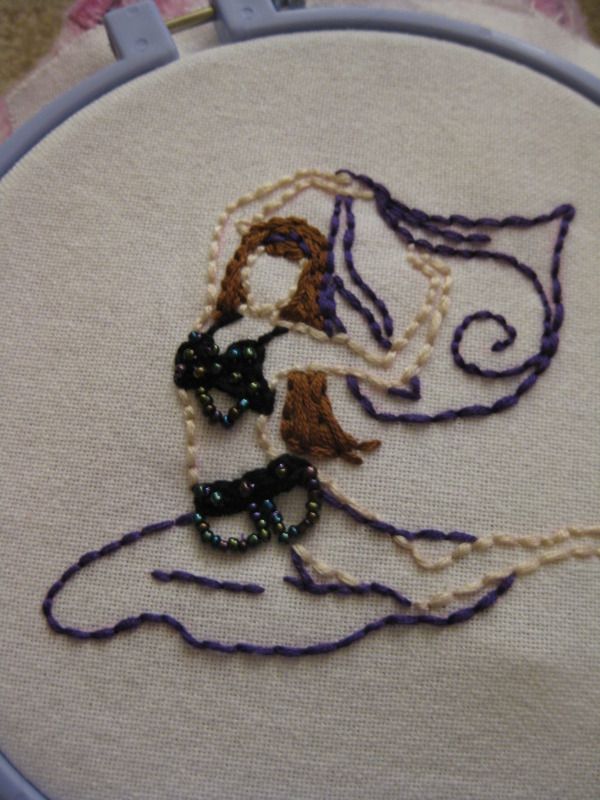
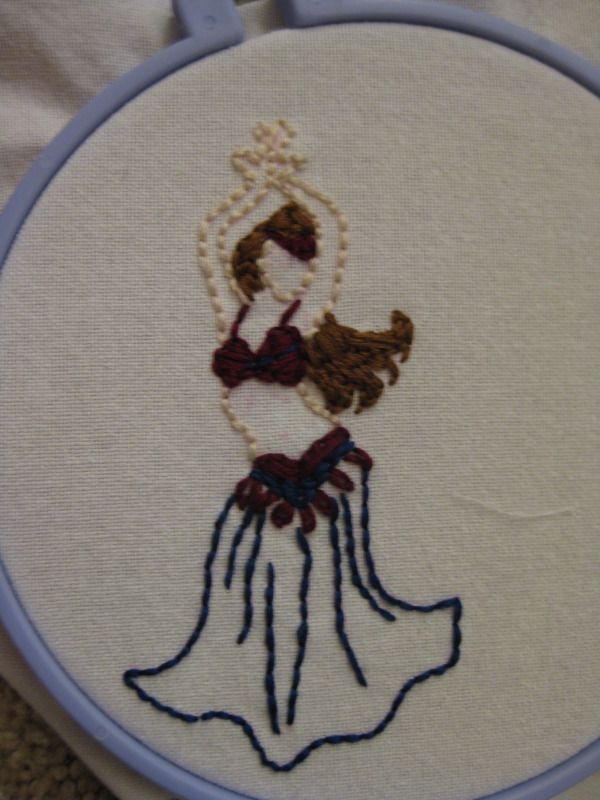
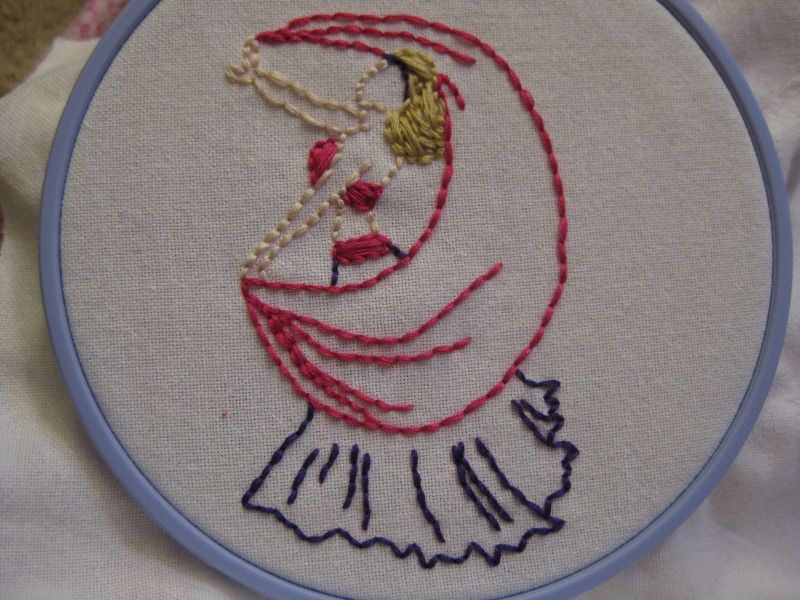
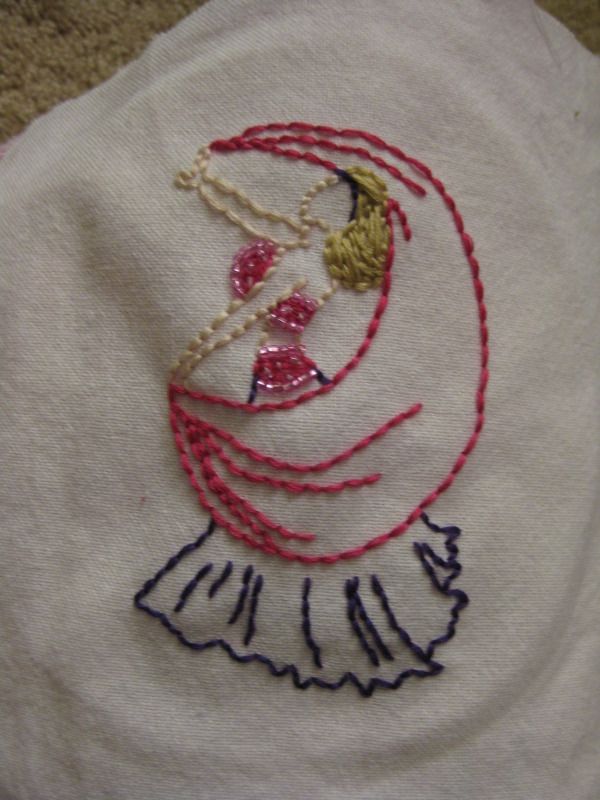
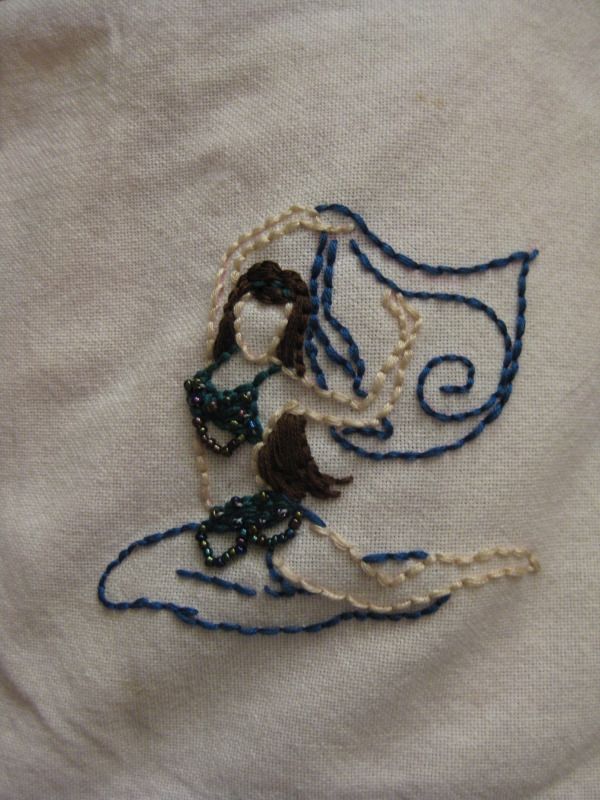
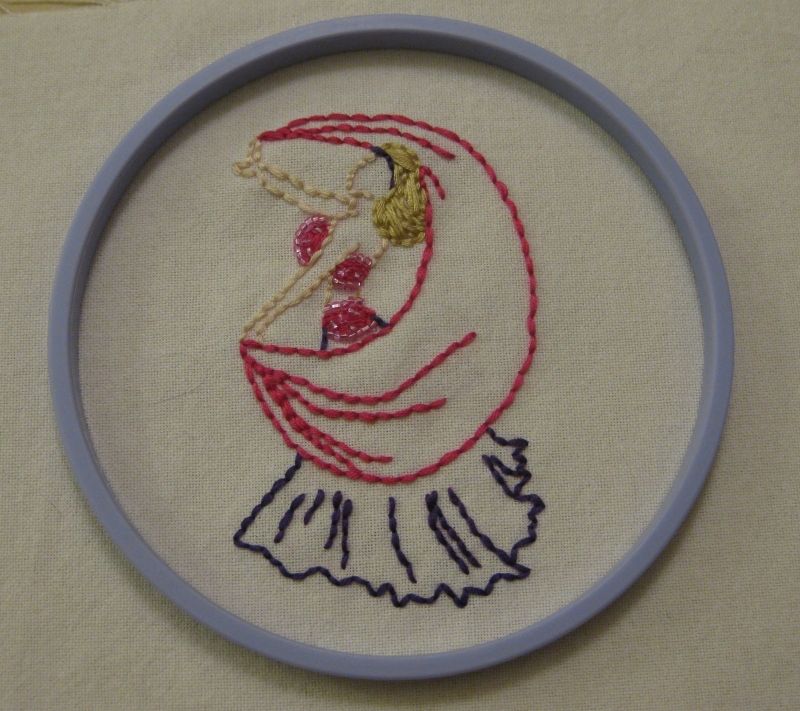
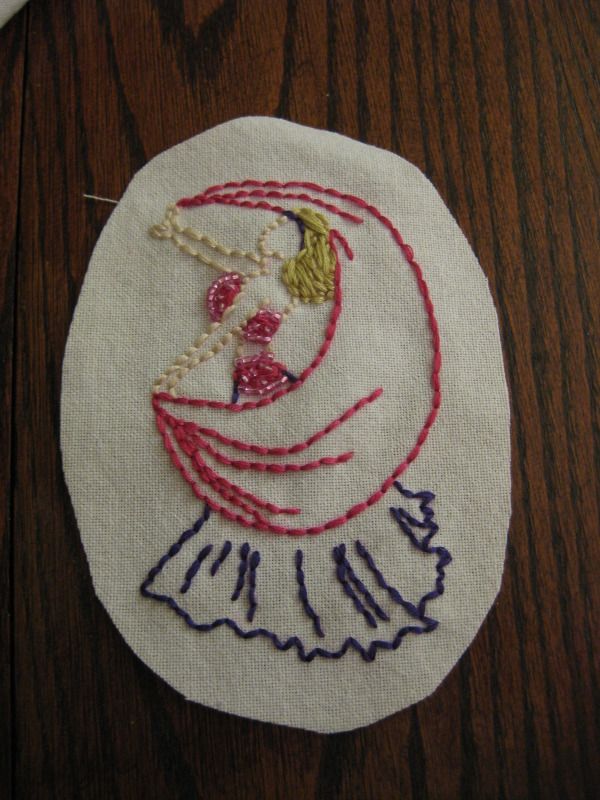
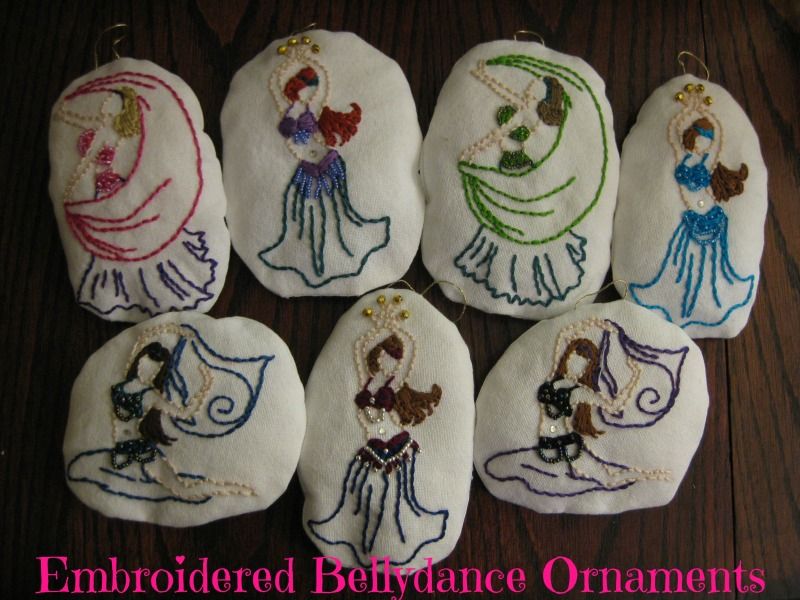
OOh I have been dying to talk about this project for weeks now. But I had to wait until I got them shipped off to my friends. I made embroidered bellydance ornaments! Squee!!!  So here is how it all began... I was the receipient of free thread from Sublime Stitching. While visiting their site I cam across their bellydance pattern and I was sooo excited. I had to have!

First, I cut out the patterns for the dancers at the size I wanted. I didn't want them too big. I drew the parts I wanted with purple embroidery transfer pencil.

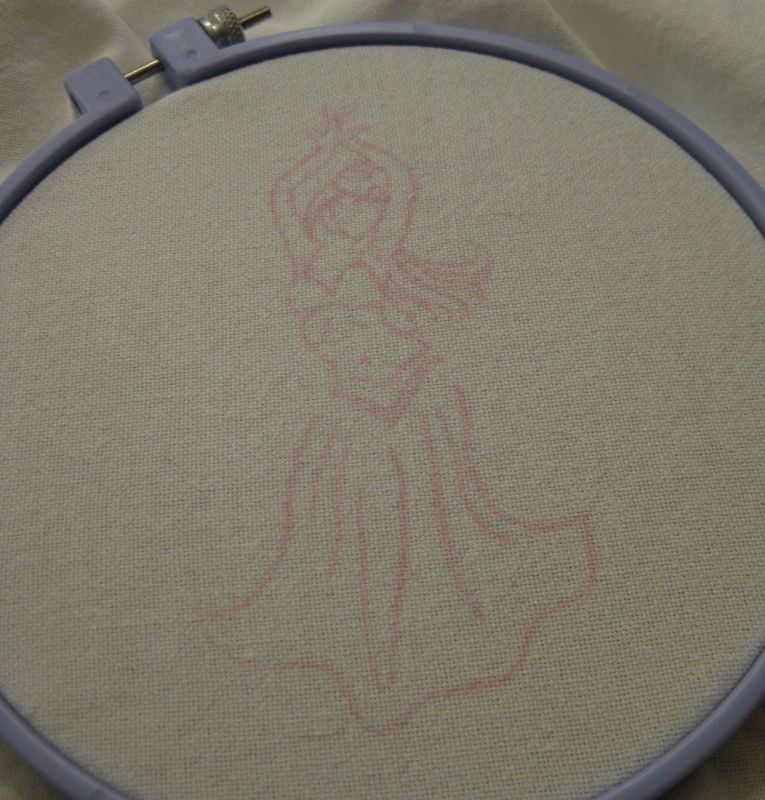
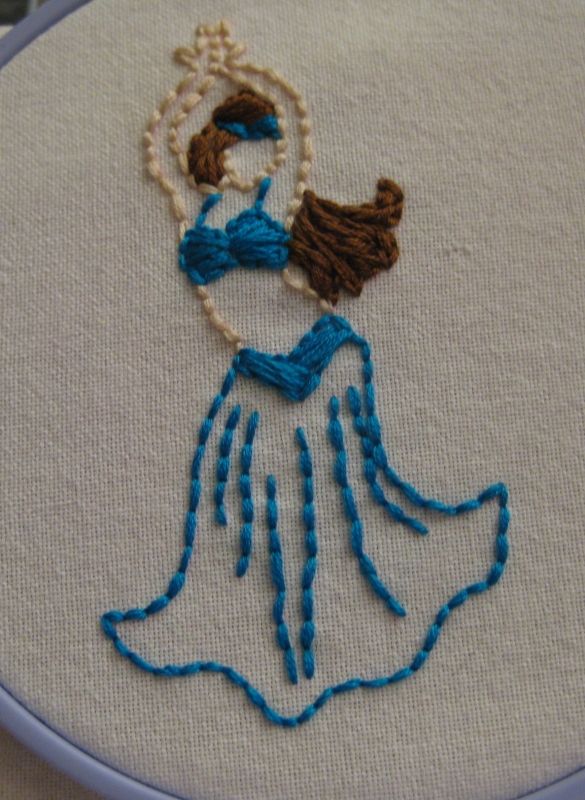
I then ironed them to fabric to leave the pattern. Time to start stitching!

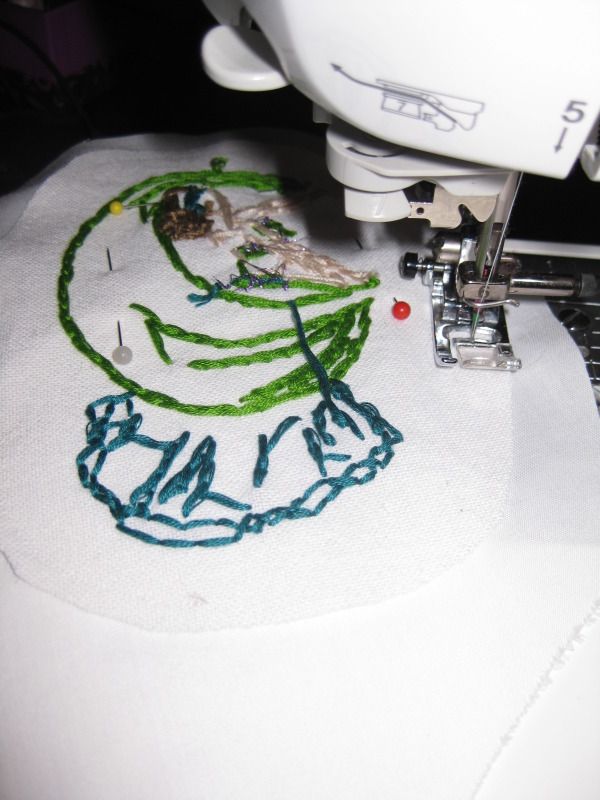
But of course I hooped them before I started to stitch. BTW I had a lot of floss from Sonja's Grandmother so every one was stitched with love :) 

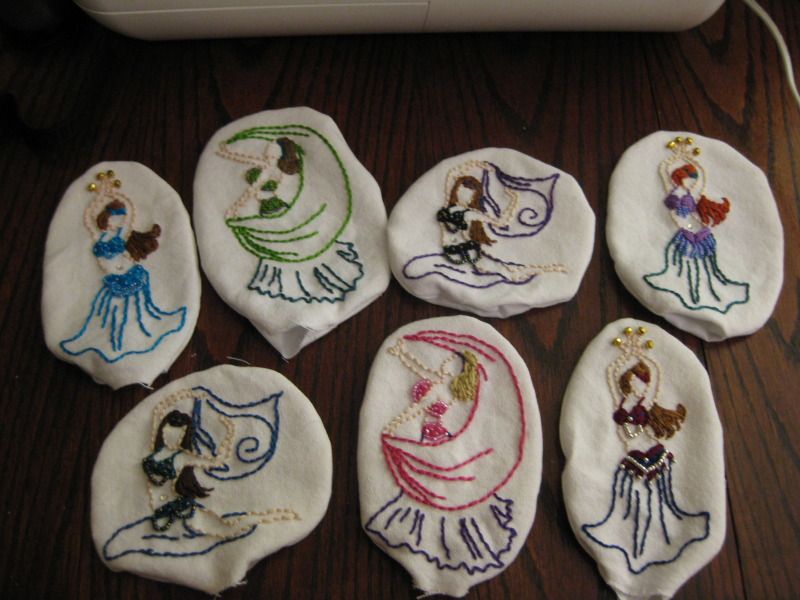
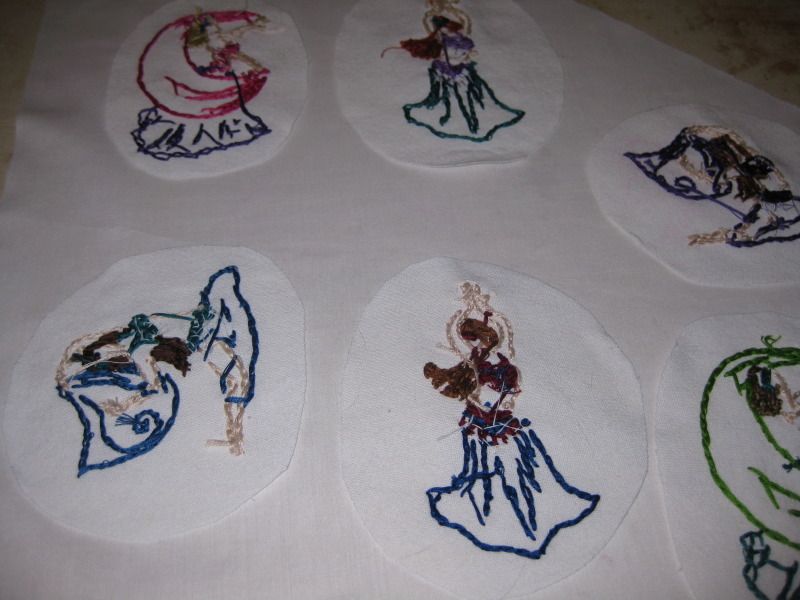
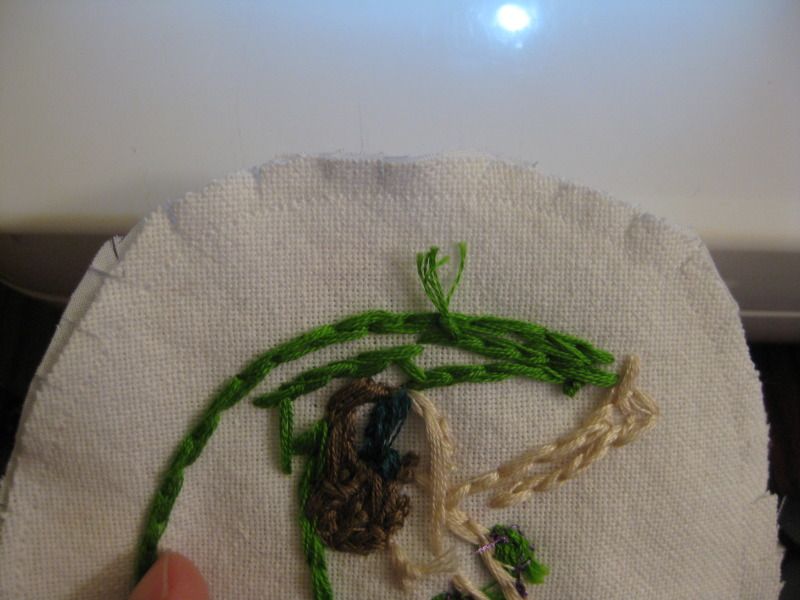
Here is all of the finished people. :) they don't have bling yet. I have to bling them!

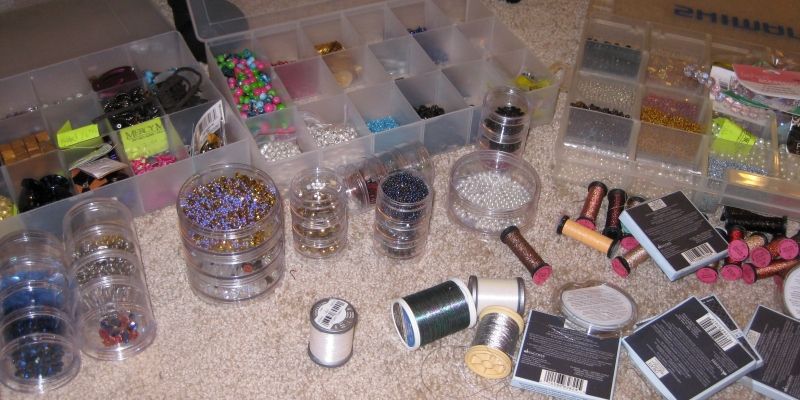
Enter Lauren's bling stash

This is Sonja, yes those gold beads are like zils. 


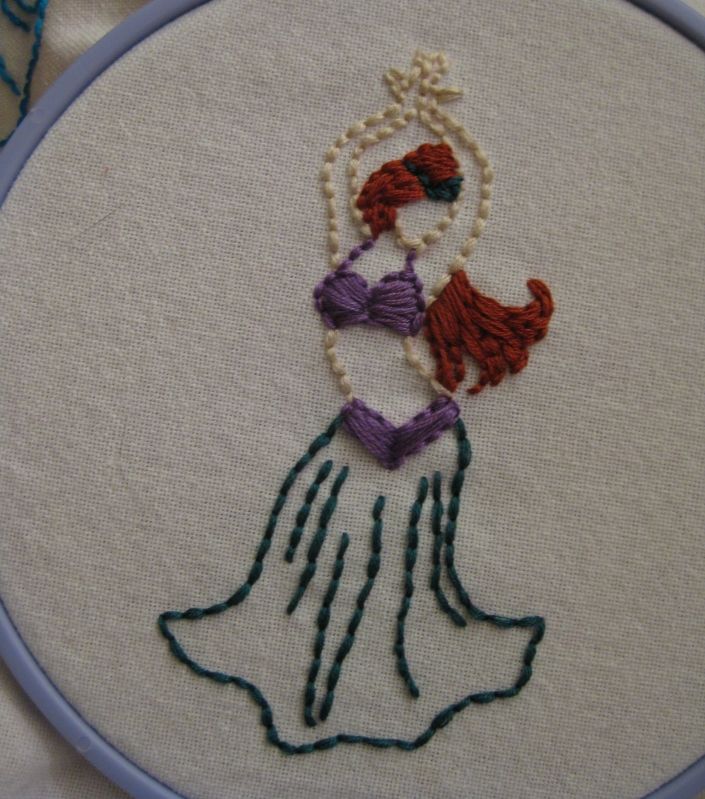
This is Victoria. I tried my hardest to find thread that matched her red hair!


This is Jenna.

Alicia

Sherry


Dana

April

Ok now I am ready to turn them into ornaments. I needed to kind of give them some sort of shape. I used my hoop as a start. Then I trimmed down. 

Like so. Now time to back with white fabric

Here is all of them on the backing fabric.

Pin and sew down. 

Trim excess fabric and clip all the curves

Ok ready to stuff!

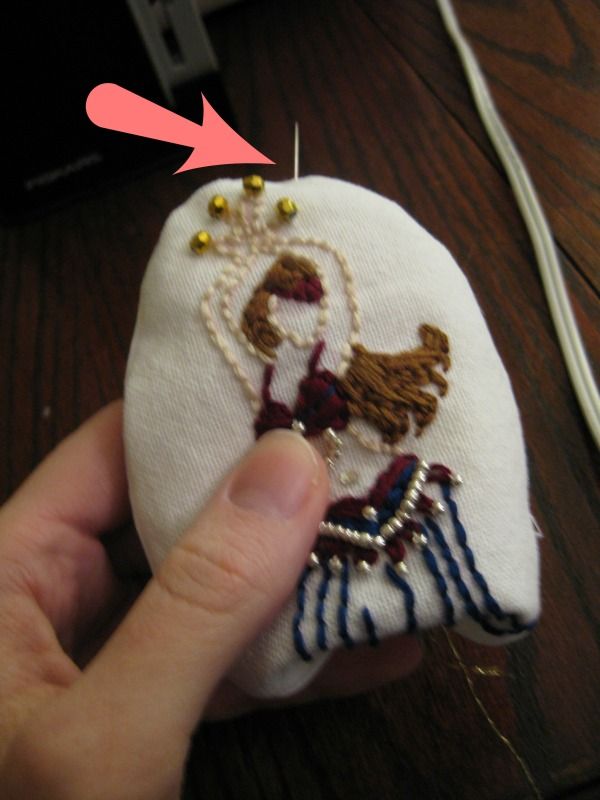
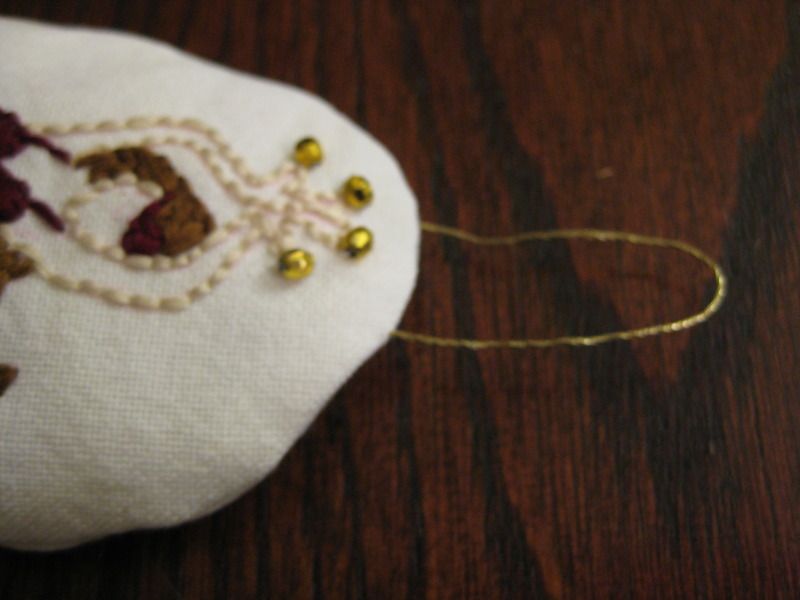
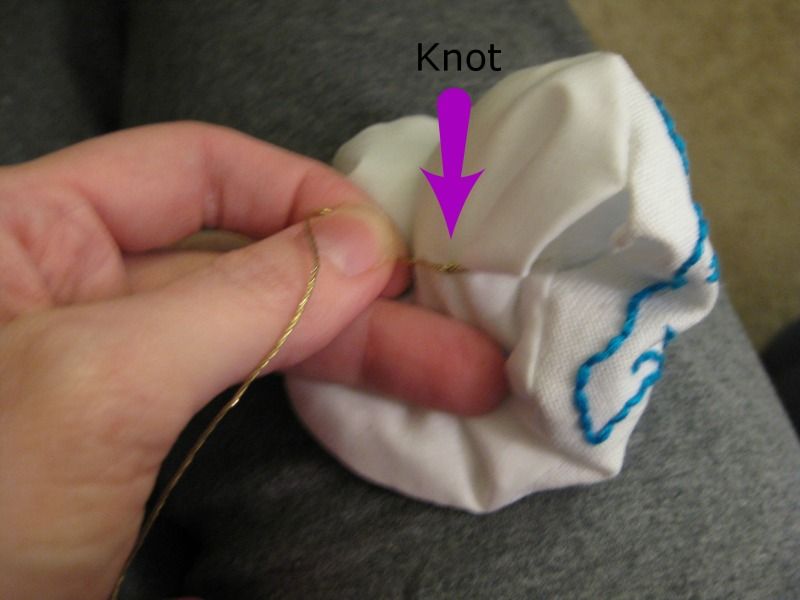
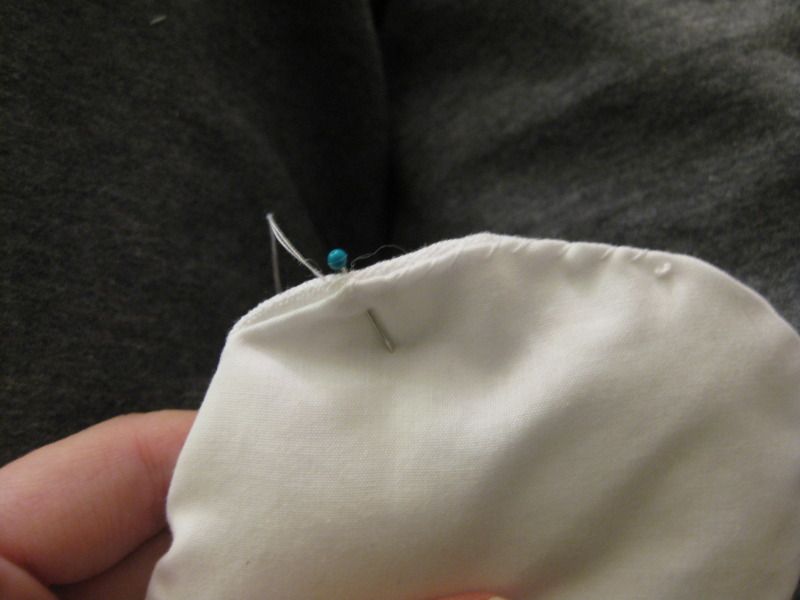
Now we need to have a way to hang them up and also stuff them!


Not going to lie but I loved how they turned out! I am positively giddy. Now I should probably make some for myself..... LOL!

xoxoxo,
Lauren
Friday, February 1, 2013

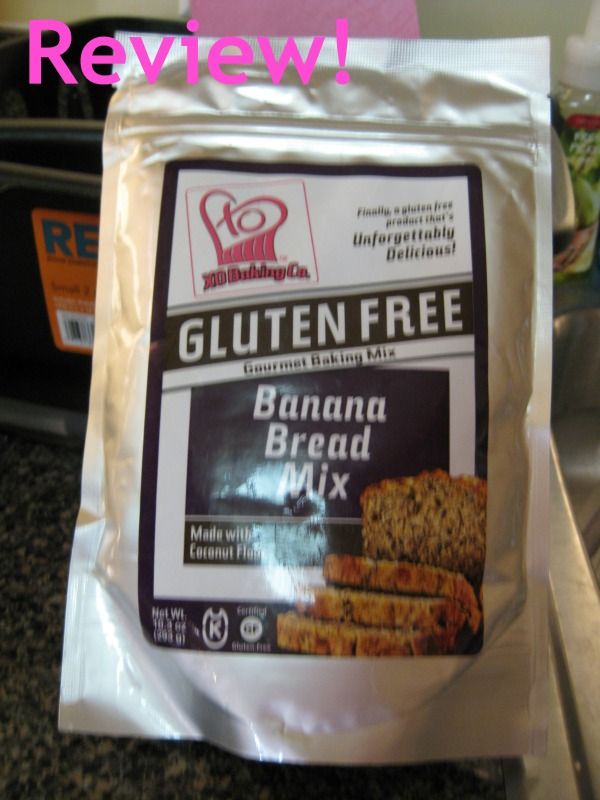
Gluten Free Review: Banana Bread

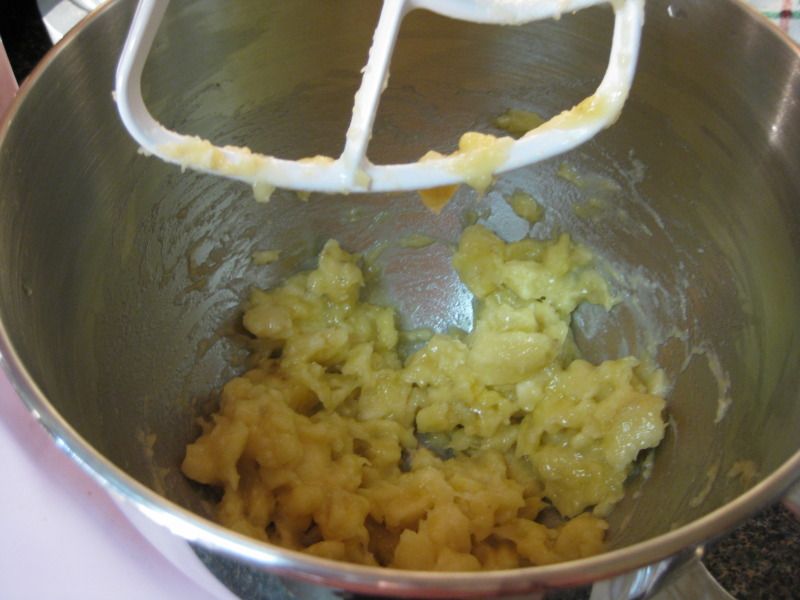
Today I am reviewing this mix. Banana Bread. OOH giddy, I have not had much bread since being gluten free. I am very excited about this! I just had to not each 2 bananas so they could get over ripe and be used in the mix. That was hard I had to hide them for myself.

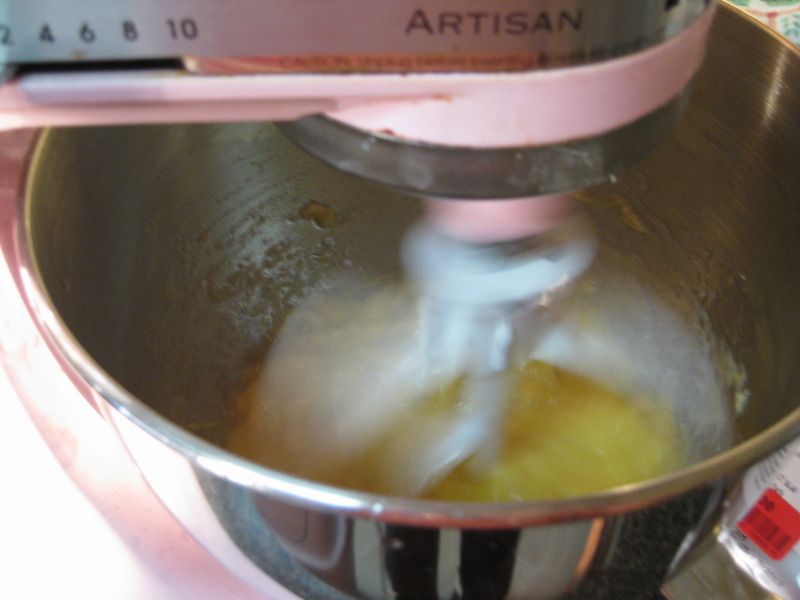
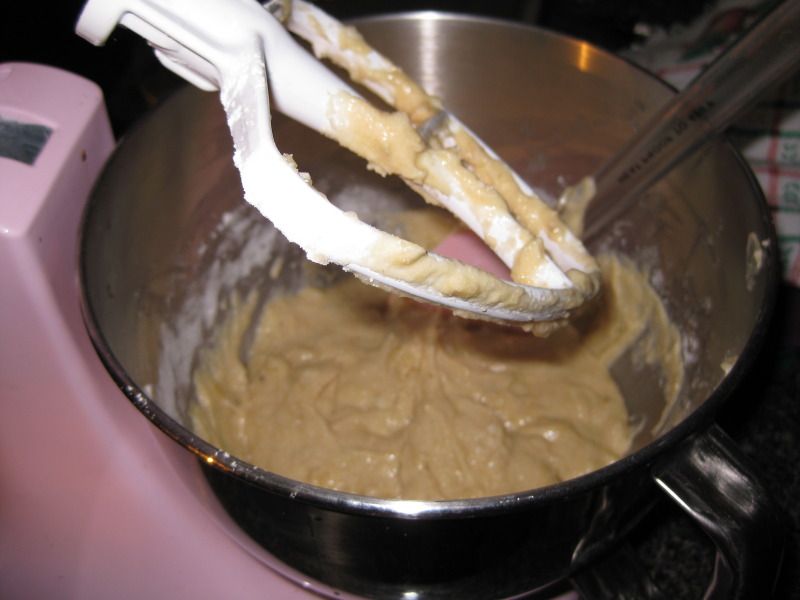
So here it is during the mix session. Very easy.


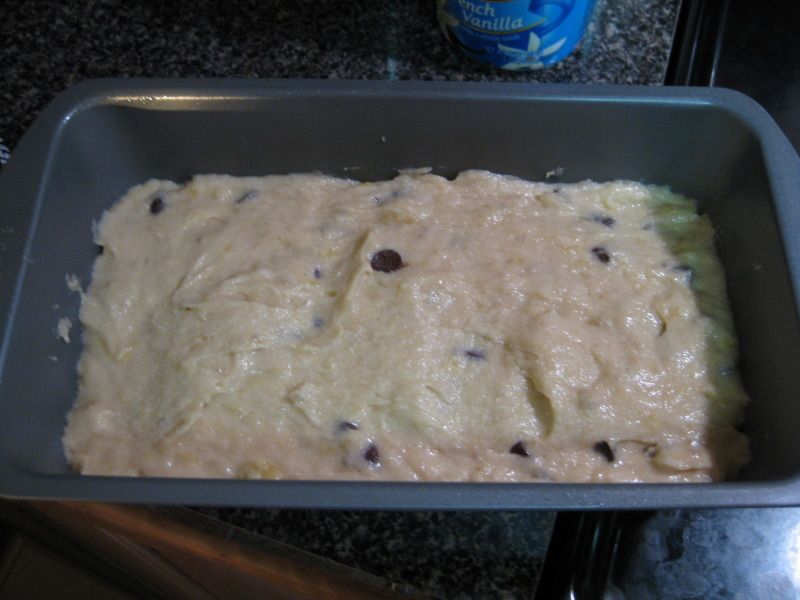
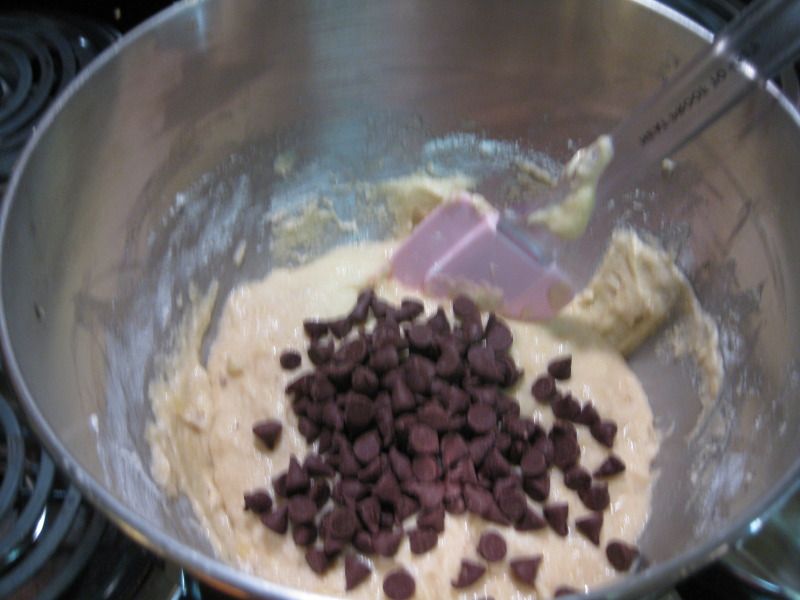
Of course I added chocolate chips!

Into the loaf pan

Bake!

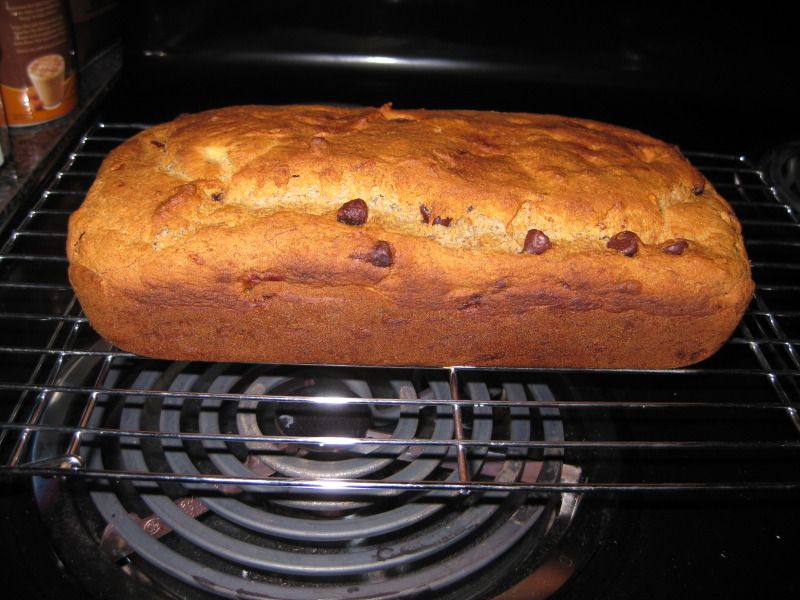
Done! This was sooo yummy. OMG it was amazing! I was so happy, will definitely buy again!

xoxoxo,
Lauren
LinkWithin
Related Posts Plugin for WordPress, Blogger...