
Items Needed
1- pack of diapers (I used sized 3 and there were 96 in the package)
2- Rubber bands (both small and gigantic)
3- White tissue paper (or another color if you like!) I used about 8-10 pieces. Can't remember the number exactly. For the larger tier, I had to use about 4 to cover it all the way around.
4- Tray to set it on (I tried the pizza pan trick and it was too small, plus it curved up and I hated that!!)
First roll all your diapers. I started with the top part of the diaper and rolled down towards the bottom. Secure with the rubber band in the middle of the diaper. Do not OPEN THE DIAPER UP! Try to keep them fresh so at least they will be usable.
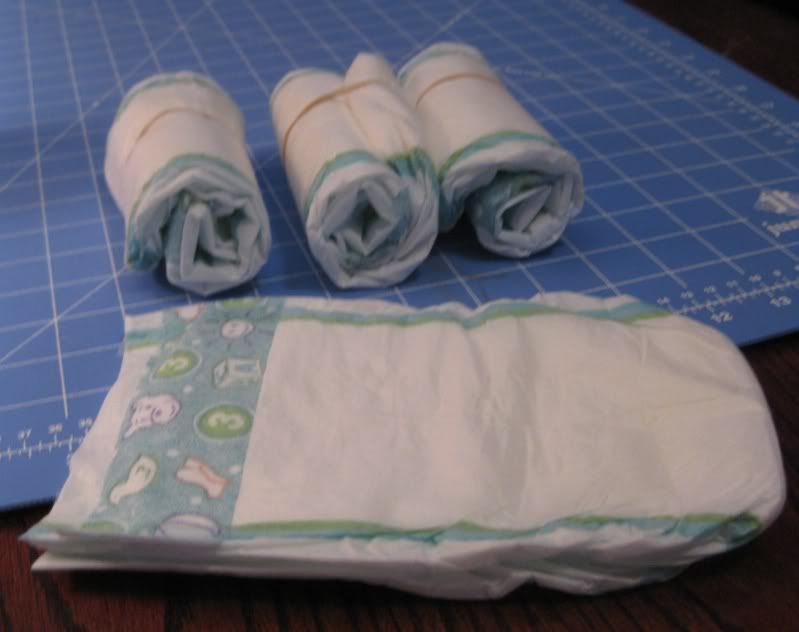
Roll until your heart is content (and at least the majority of the diapers are rolled!).
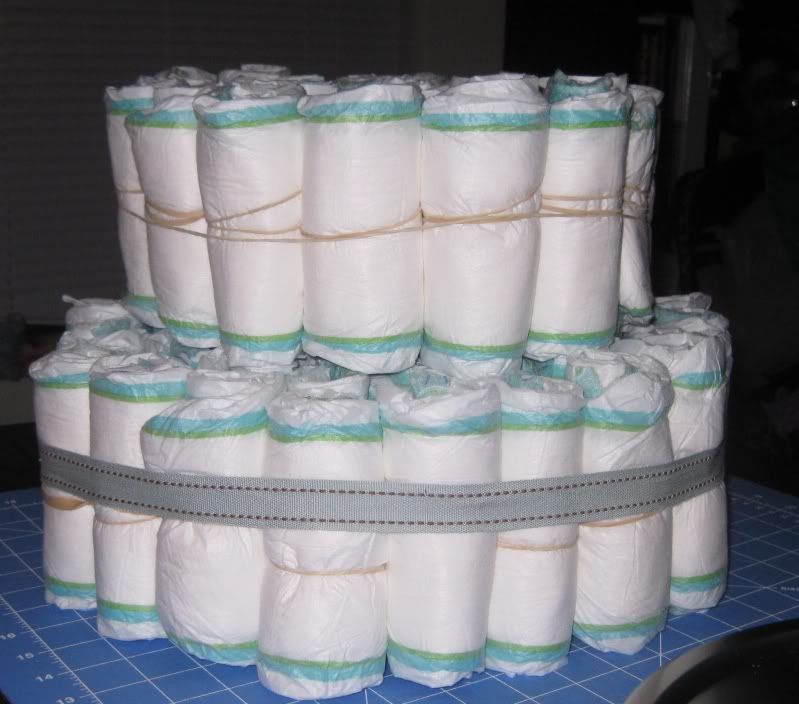
Start assembling bottom tier- the biggest tier of them all. I knew with 96 diapers I was only going to get away with 3 tiers. Plus 4 is really high!
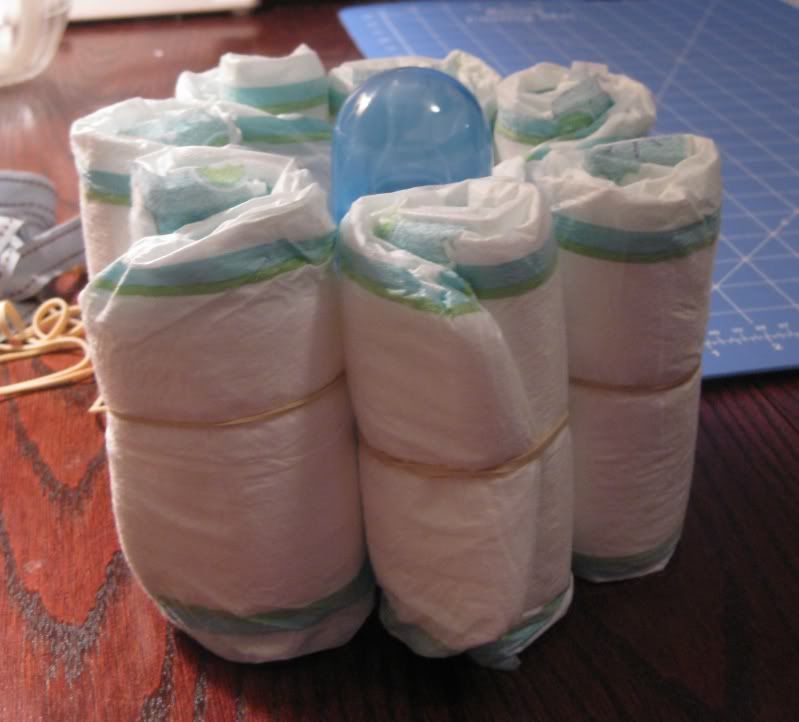
I first started with using a baby bottle for my center and put a row of diapers around it. I secured it with a gigantic rubber band.
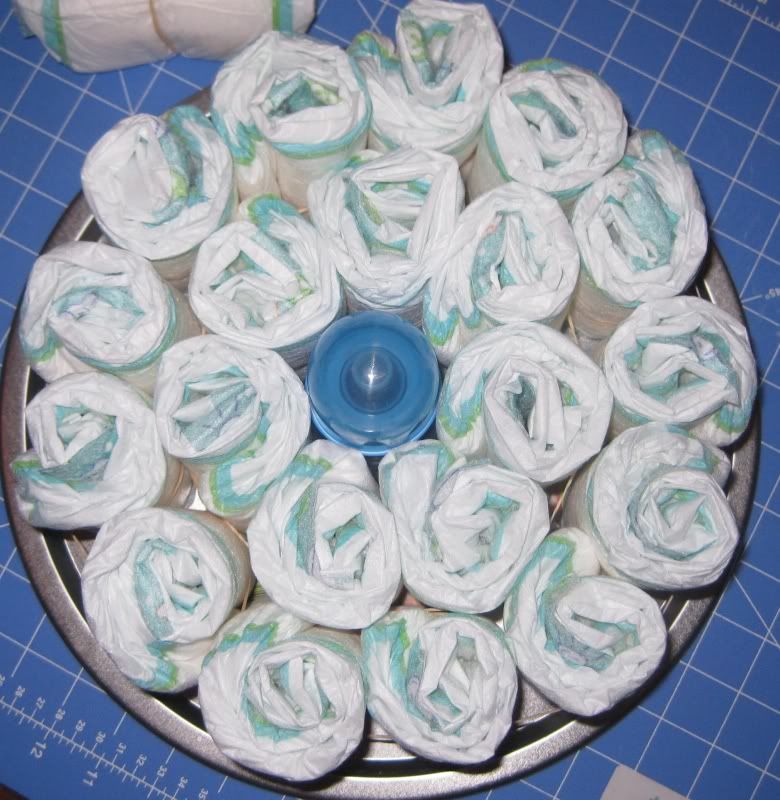
Top View...
Add another row of diapers. To make it easier on yourself I just used the rubber band and pulled it out and popped a diaper in, then rearrange to fit.
Still needed Another row of diapers but my rubber band was not big enough. I used a piece of ribbon I had laying around and tied around the last layer. Here it is!
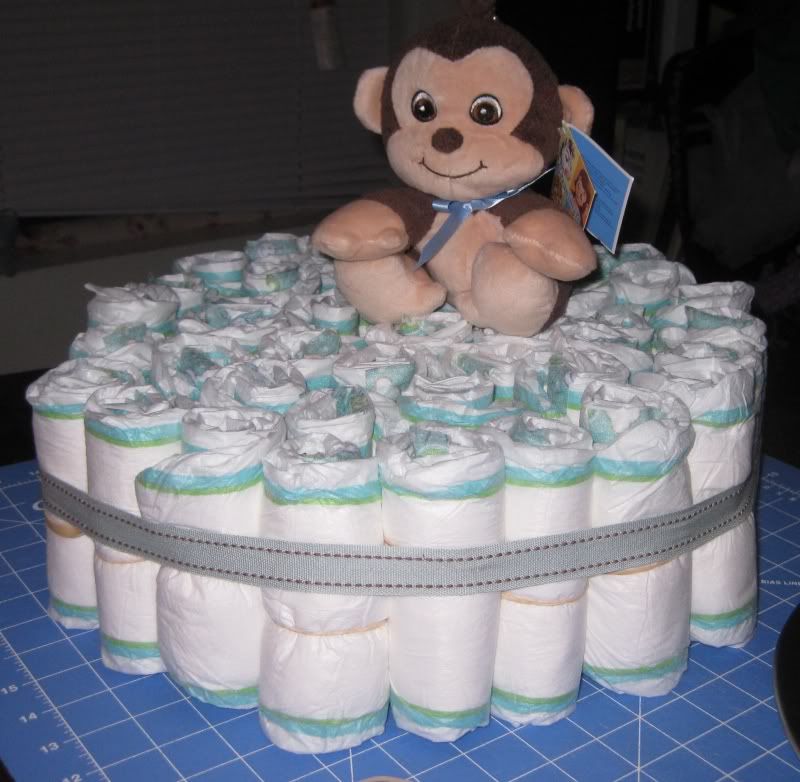
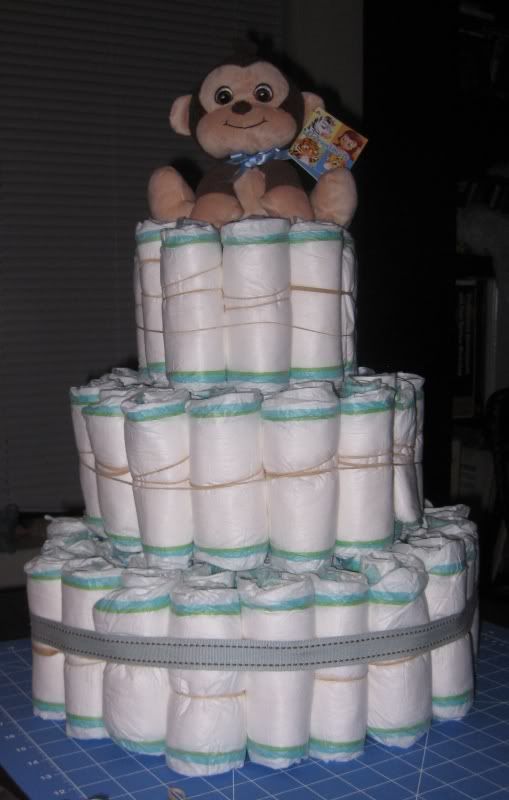
The monkey is happy!
On to the 2nd tier!
3rd Tier!
Now I sat there and looked at my color palette. I did not like it at all. It seems like all the diapers out there now-a-days has some sort of color on it, I don't like that! It ruined my vision! So I decided to cover it. I used white, simple tissue paper but doubled up on 2 for thickness. For the largest layer I used 4 sheets, covered half with 2 and the other half with 2. Here's the first look...

I repeated for the 2nd and 3rd tier.
Ta-da! Here's the finished product!
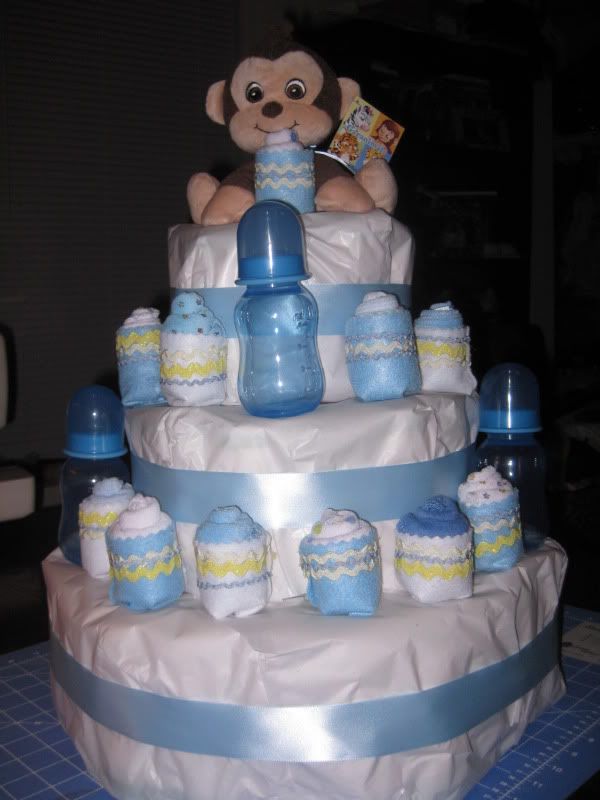
Another view..
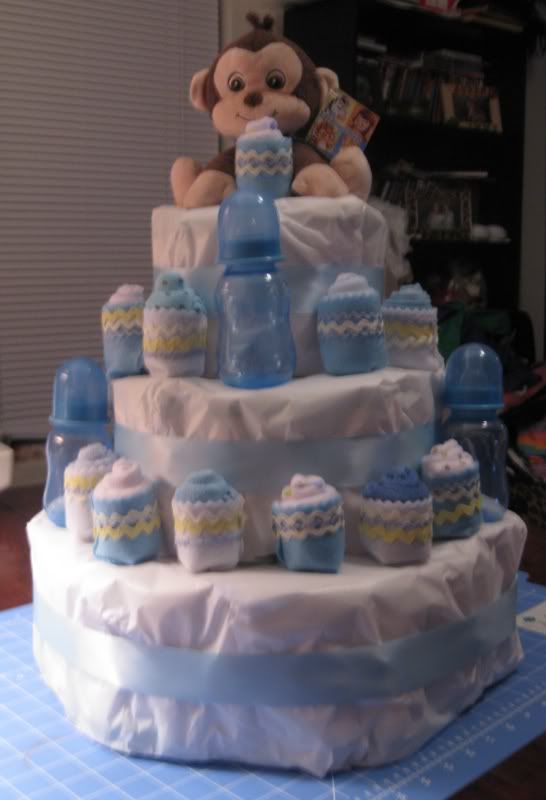
Monkey was happy. As you can see I finished it with the bottles I used to first initially to start the tier (I later removed them and replaced them with diapers so the cake would sit right) Also I made washcloth cupcakes and layered them on top! I was pleasantly surprised at how it turned out!
Enjoy!
~Lauren~
3 comments:
My baby sister is expecting her first baby and I got dibs on the baby shower. I wanted to do a diaper cake - I love your tutorial! Especially the little wash cloth cupcakes!! This is going to be the centerpiece!!
Your monkey diaper cake is so adorable! I love all the cupcakes on your diaper cake.
Thank you both! :)
Post a Comment