
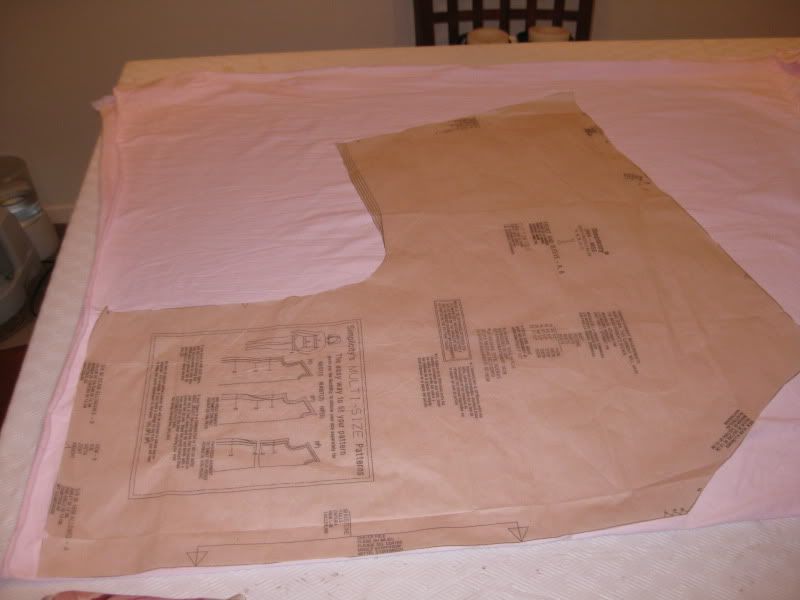
First I began this project with making a kimono-style top. I had this light pink fabric which was a light-weight jersey knit fabric in my stash (so yay for earning a fabric point!).
Here goes me sewing something from scratch! I used Simplicity's Pattern # 2804 View A for my template.
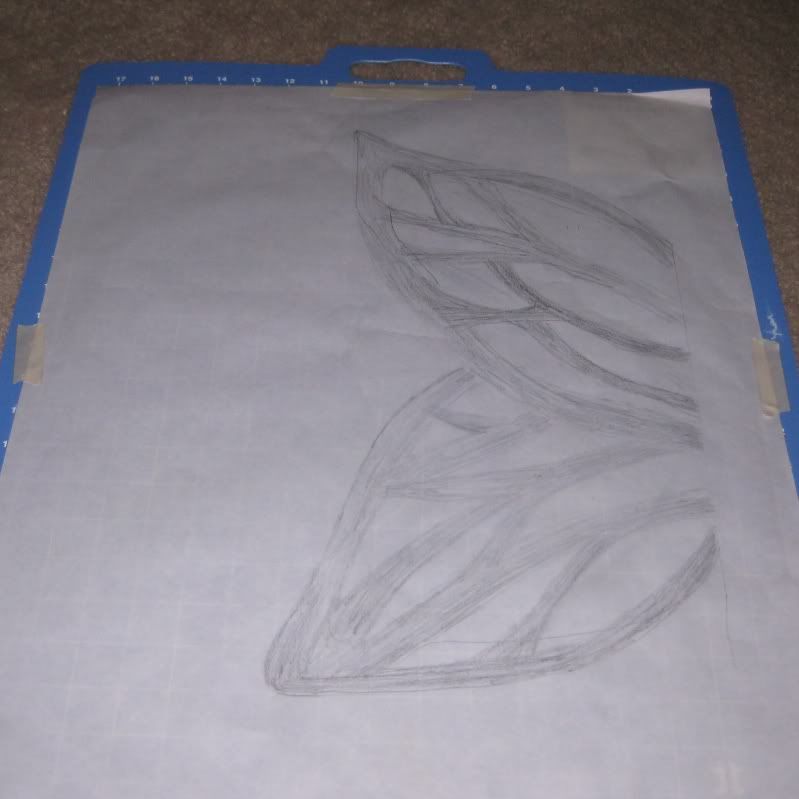
Then to make my butterfly I sat down and sketched half a butterfly. This was actually sketched by me, I did not copy any particular photo or image. I drew it myself, that right there is amazing since I do not consider myself much of an artist.
I then cut out the butterfly using an exacto knife on my rotary cutting board. Now What I forgot was some of the inserts, I actually wanted to keep but got cut out when I prepped the stencil, so I had to re add them back in so I used the cut out portion to line everything up.

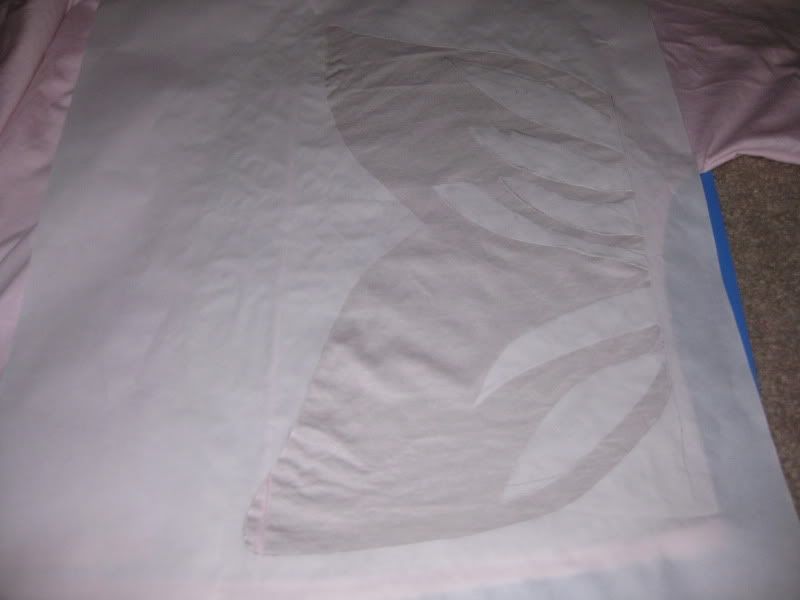
Now to simply keep the stencil in place just add the iron (no steam mode) and lightly touch the stencil. It immediately sticks! This is how I got the inner portions of the stencil to stay. :)
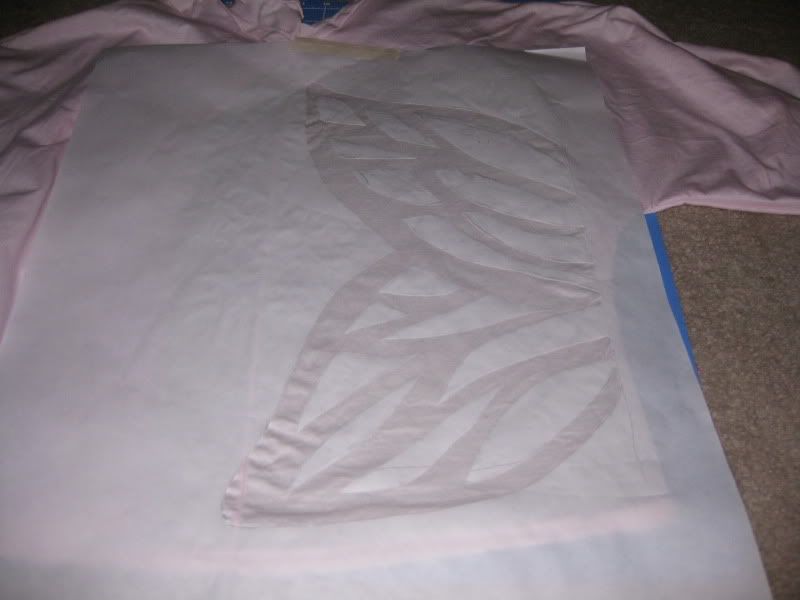
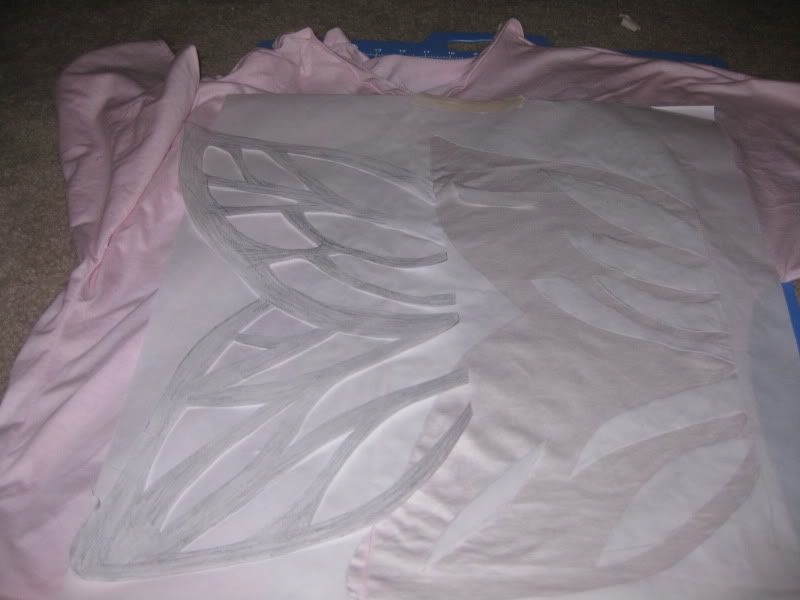
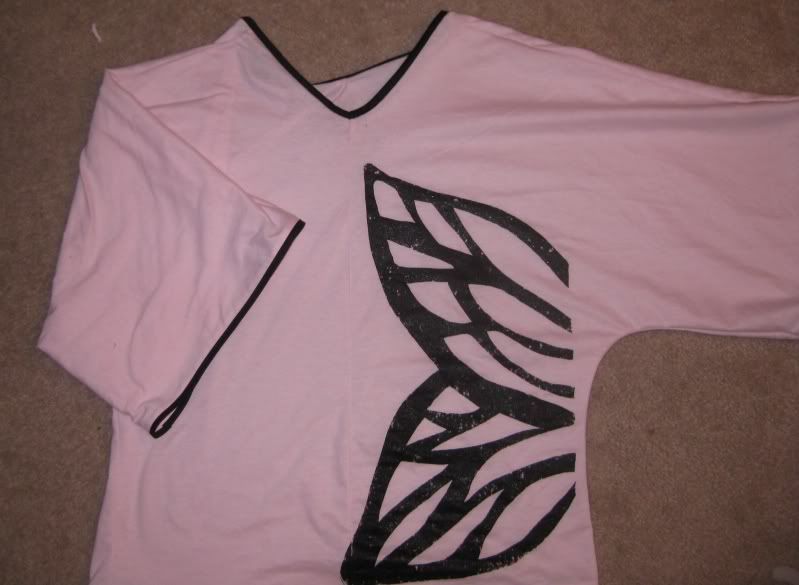
Now we are ready for paint! In one of the previous photos I added a thick piece of paper (I used a file folder) between the shirt layers so the paint wouldn't go through. Forgot to mention that earlier. I used a sponge to apply the paint, I wanted holes in the butterfly. I didn't want it to be too perfect. :)

Let the paint dry and remove the stencil.

Wow! Yay! I wasn't done yet, I realized I needed something else to pull in the black since it was in such stark contrast to the light pink. I felt the shirt needed a little more black to it, to sort of tie it in together.
First I added bias trim to the bottom, arms, and neckline of the shirt. (This was the first time I ever sewed bias tape! I love it!)
Then I added a belt to it (in black) and the shirt was ready!
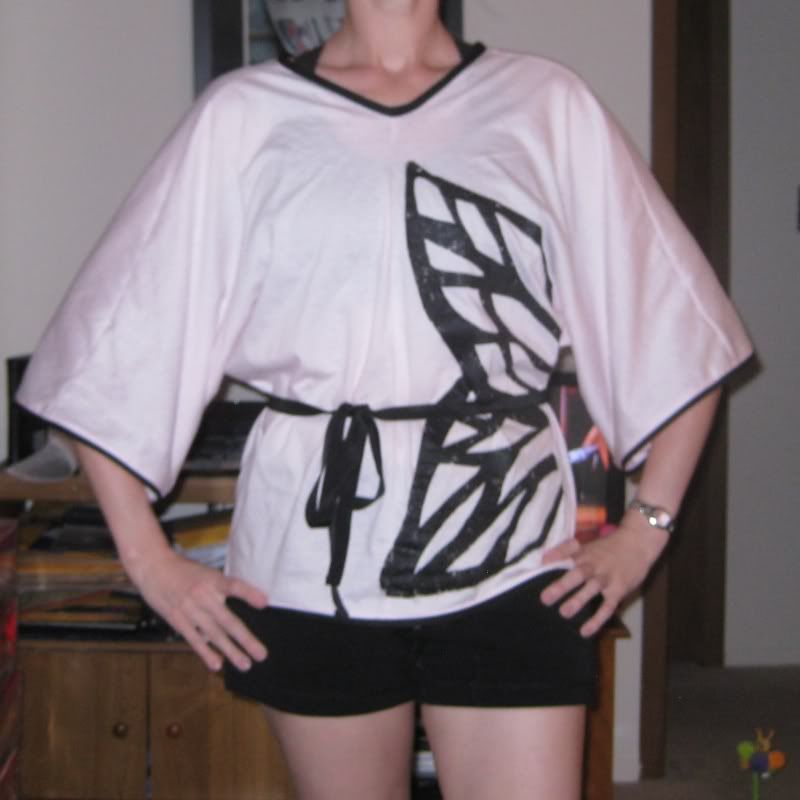
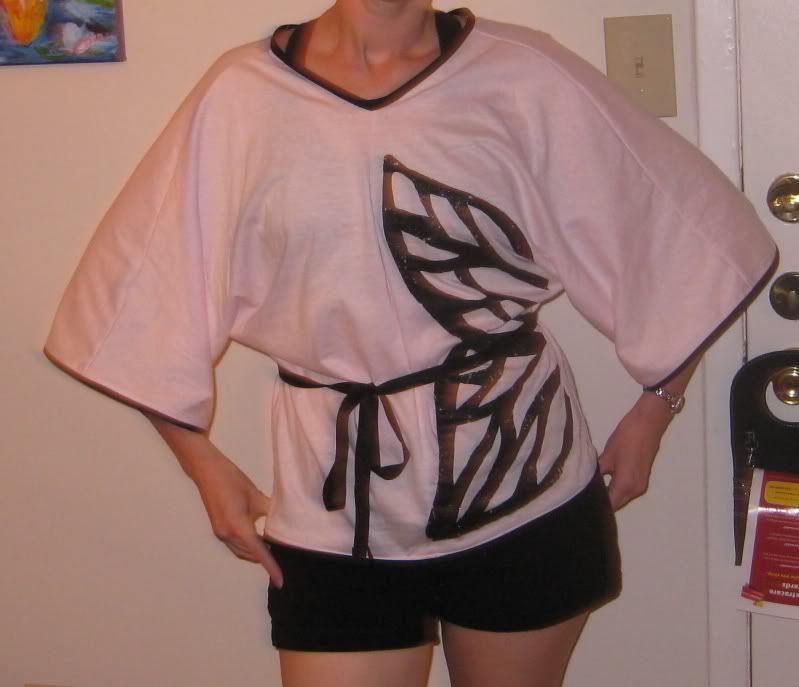
Sorry for the black sports bra in the picture, I didn't even occur to me until after I uploaded the pictures to my computer. All in All I loved how this turned out. I had some minor hiccups with the pattern I used which I won't go into but the top turned out wonderful. I can't wait now for what I can create with freezer paper. They make great stenciling material for shirts! :)
XOXOXO,
Lauren
1 comment:
OHH! I love this! So cute! Come stop by Hannah Handmade for an awesome giveaway for a hand dyed vintage apron that you'll love! {www.madebyhannahshands.blogspot.com}
Post a Comment