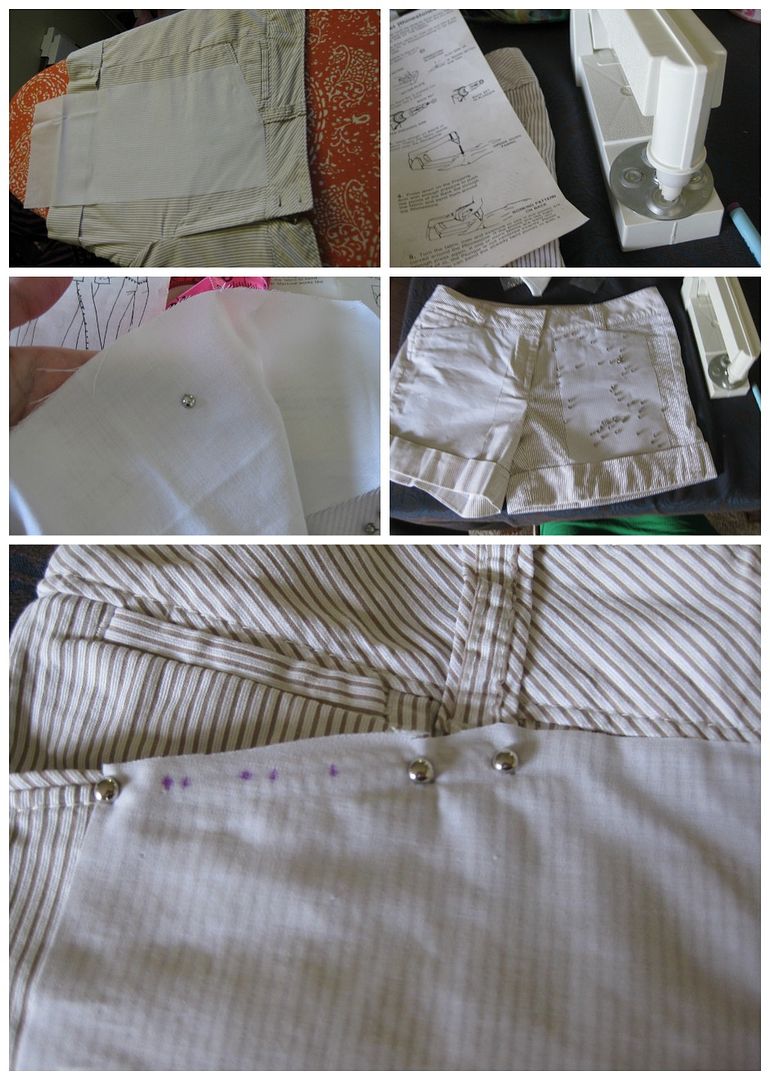
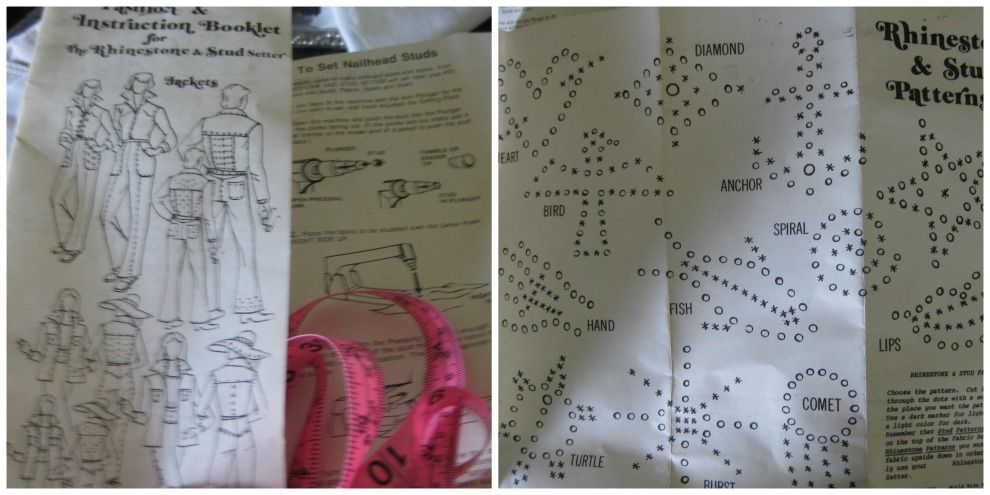
My solution was to use these sheets of white fabric that are iron on and meant for mending.So I ironed on both sides. Cut to fit the shorts. Now this was all fine and dandy but boring as heck. I decided to use this bedazzler/stud setter I inherited from a sewer back in Alabama. I don't think it was used much as when I opened up the instructions, they were still stapled. Date stamp- 1981. Wow. I practiced to get the hang of putting in the studs. Then I just went for it.
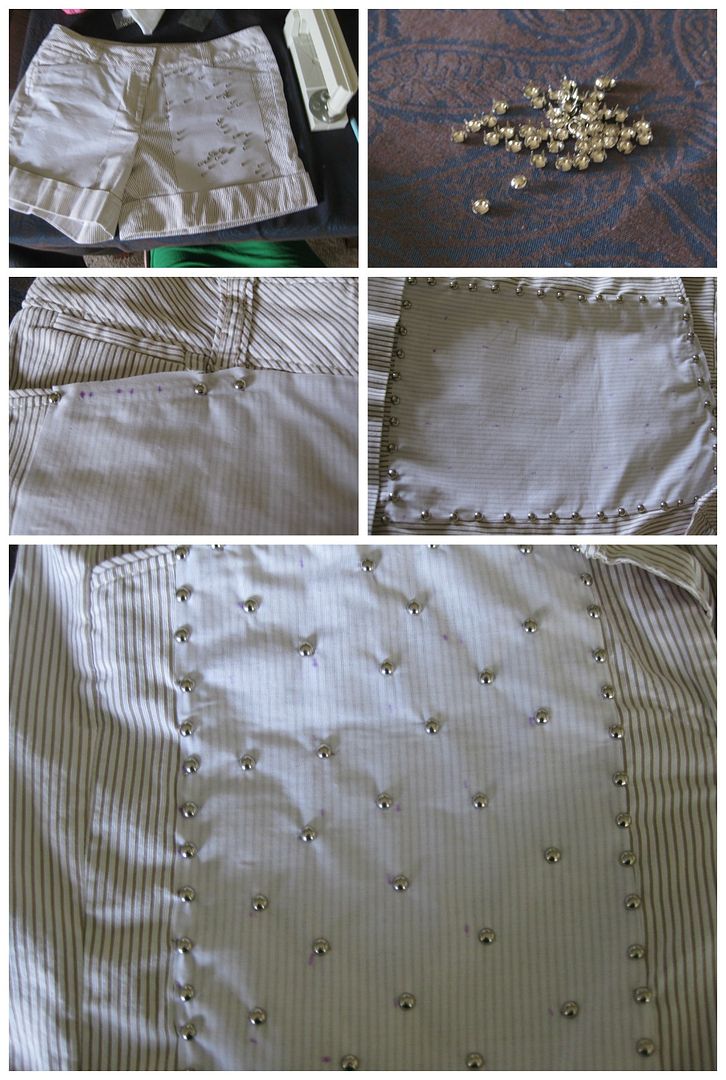
I went one side then to the other side. I separated each stud by 1.5 cm. I marked it with my invisible marker in order to speed up the process. It still took a while. And my poor left thumb hates me. Insert pronged stud, line up, smack, repeat. I realized that the item was not lining up properly and that I had to make sure that I pulled it to the left so it would line up properly. Otherwise I had prongs that went awry.
I did like the booklets. I kept the booklets. This is what 1981 looked like baby!
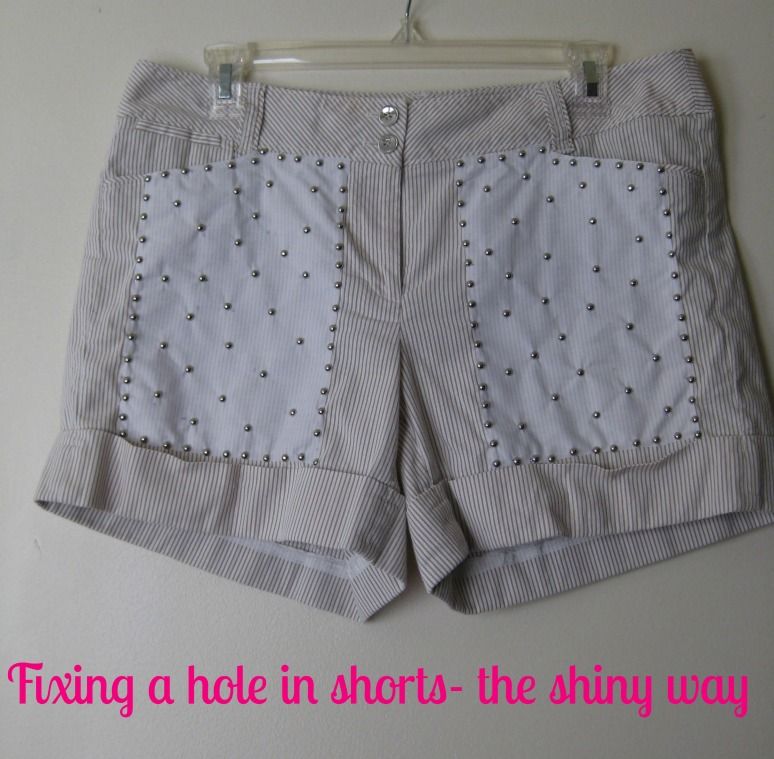
After doing the outline, I separated the studs in half and randomly scattered them on each leg. Done
Since I am not feeling my best, this is what you are going to get. I have no desire to stand up and take pictures. And I have a bunch of things I need to photograph. They have languished for almost 2 weeks.
There you have it, I completed my iron craft white challenge, knocked out a refashion (number 57!!), and used up some of my craft supplies. I don't plan on keeping my stud setter- I don't foresee myself using it more.
Cheers,
Lauren


2 comments:
Cute idea and hello, you got to use a bedazzler! Hope you feel better soon.
Thankks for writing
Post a Comment