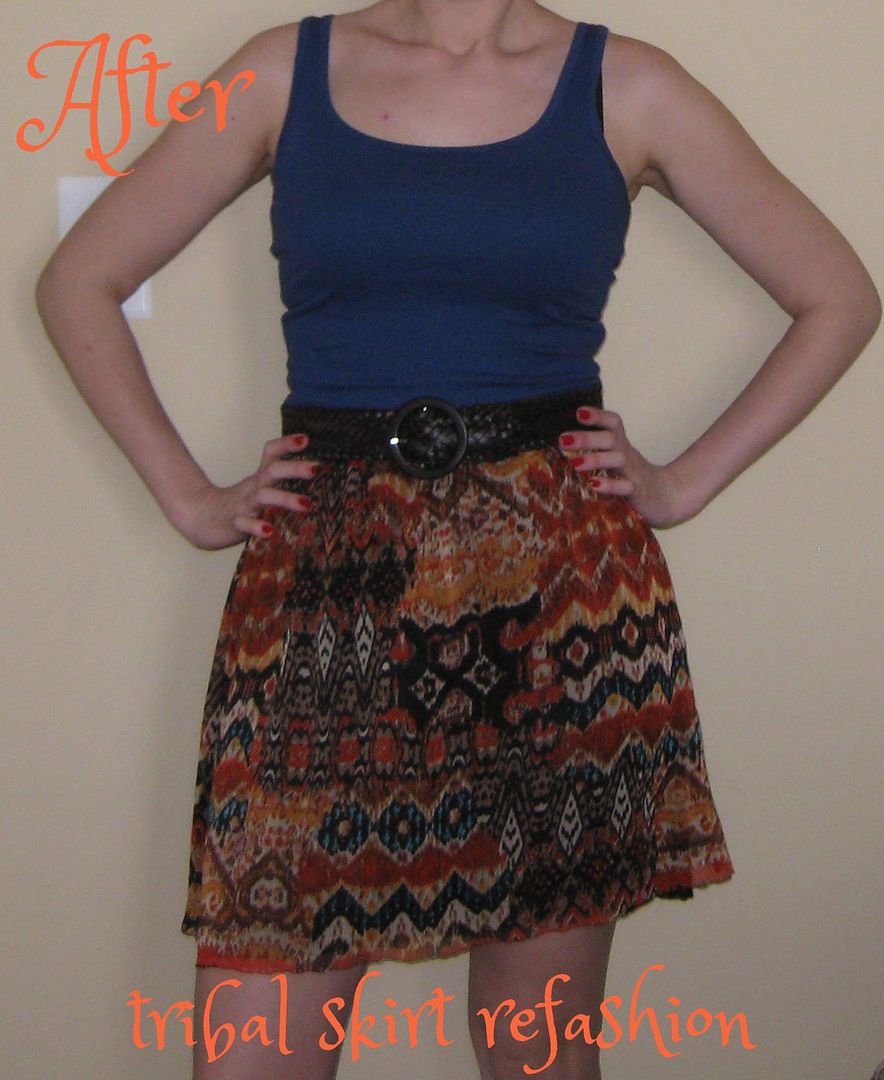
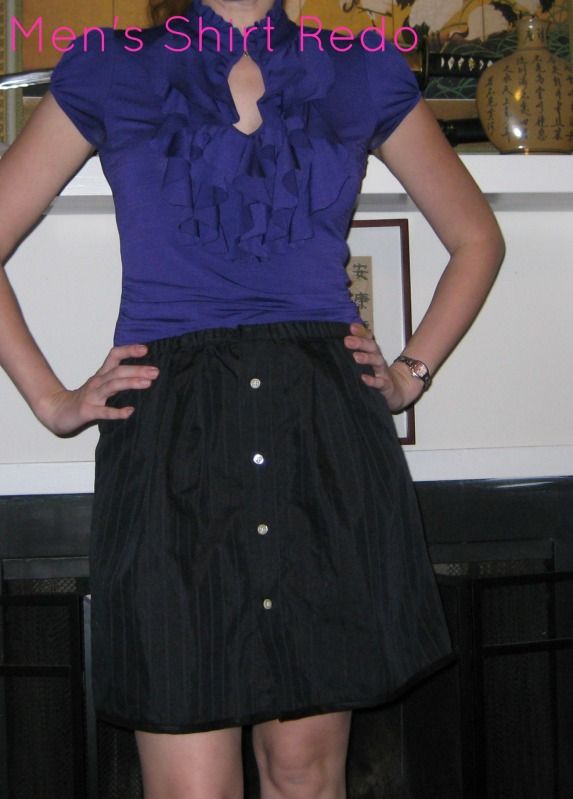
Day 66! I am getting closer to the end! Yes! Well not really but I girl can dream right?? Today I took my boyfriend's button down shirt that he did not like because of the light colored buttons on a black shirt. Now it is mine!!!
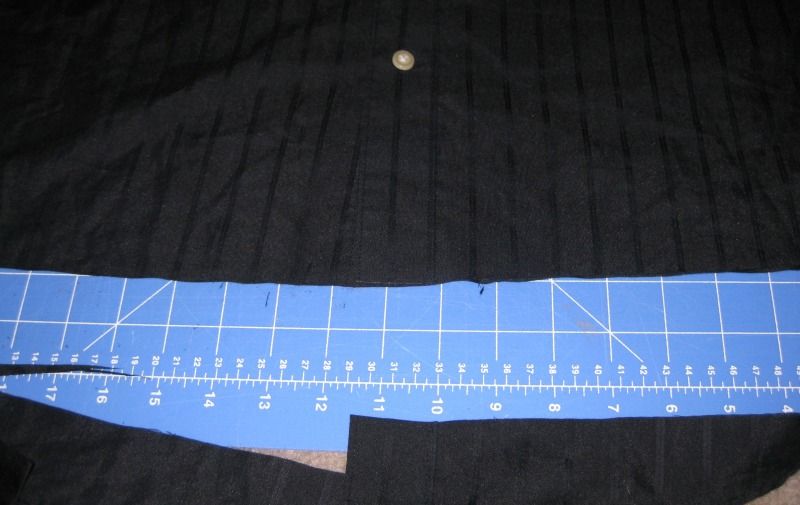
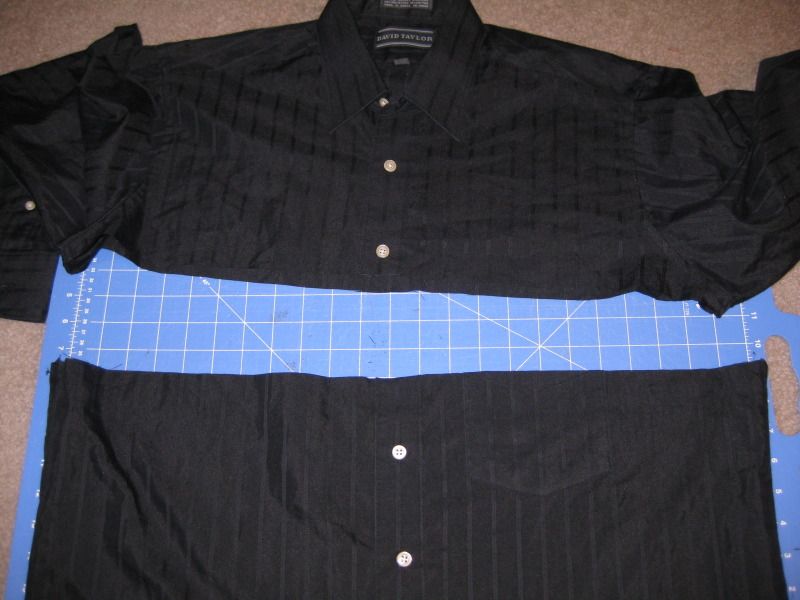
I decided I wanted to turn it into a skirt. First I need to even the bottom hem.
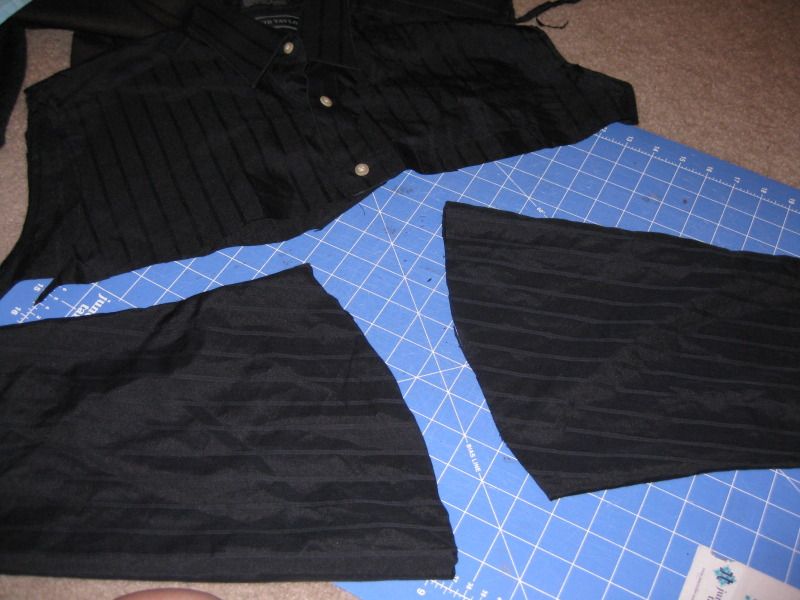
Next cut beneath the arm holes
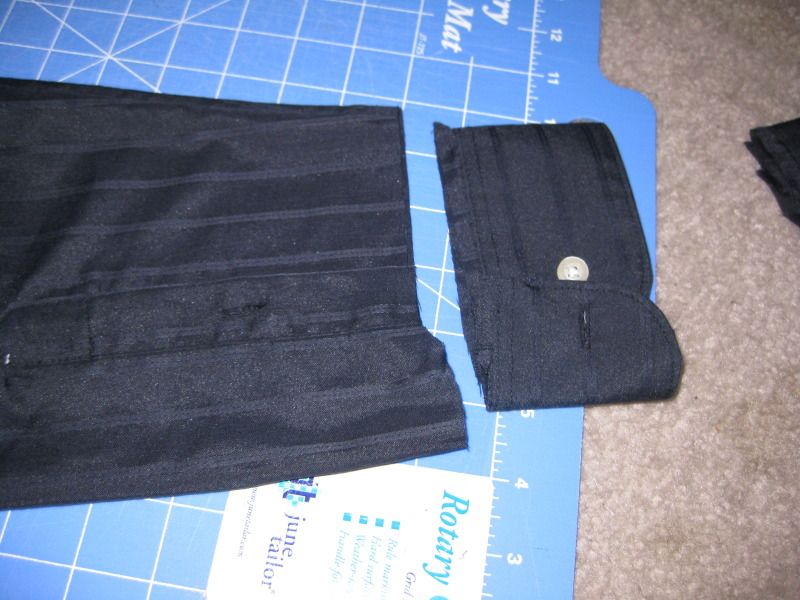
Cut off the seam for the arms b/c I decided I was going to use them later. And also the cuffs.
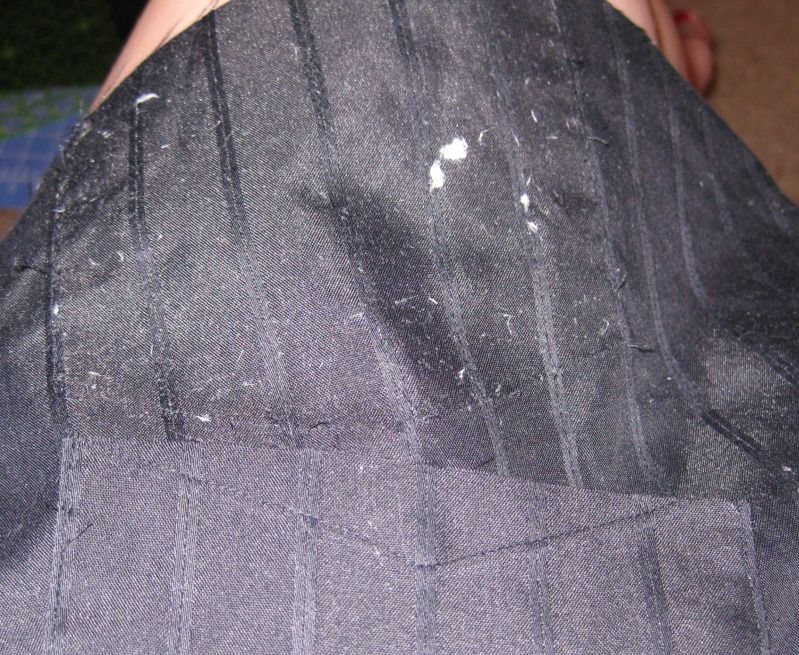
Forget I needed to pull of the pocket. Found it was washed with a tissue or piece of paper! Ick!
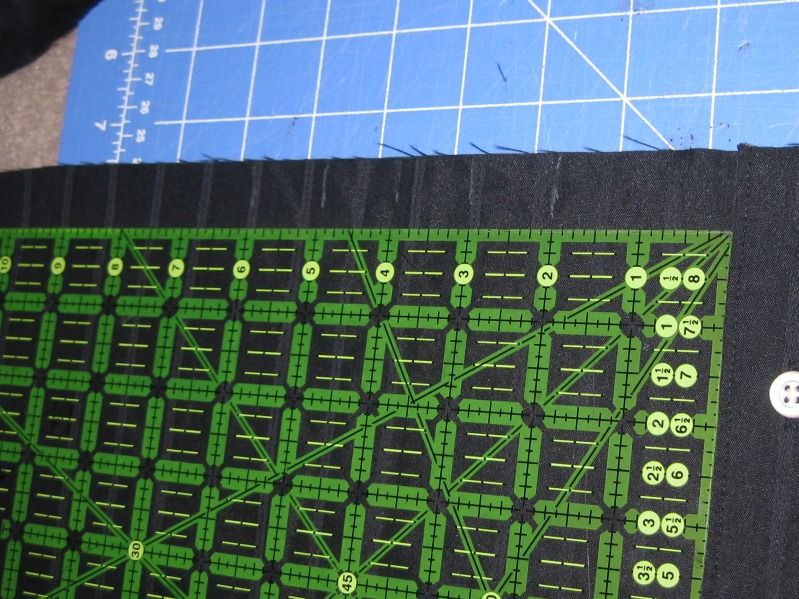
I decided I was going to try my hands at pleating. I just tried pleating with the McCalls dress I just sewn and thought I would wing it. Ha! I marked with my ruler 2 inches from the middle button area out from each side. And then 1 inch markings.
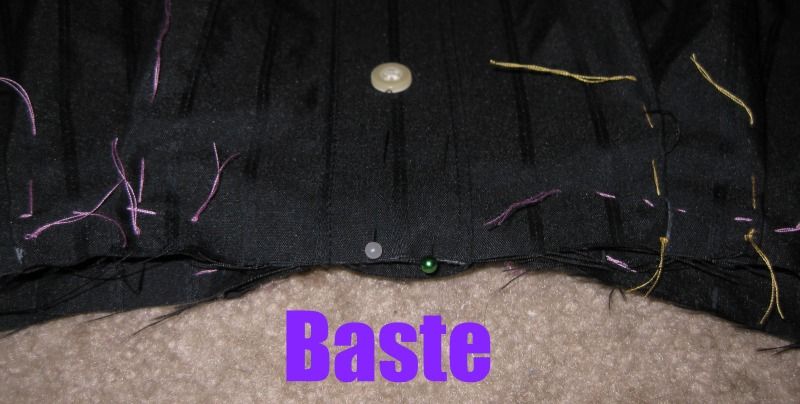
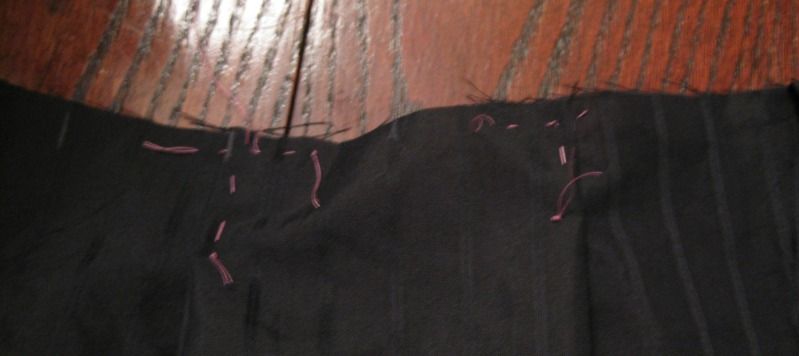
I did 2 pleats on the front going from in to out on each side. I think basted the pleats down.
I also put 2 pleats in the back.
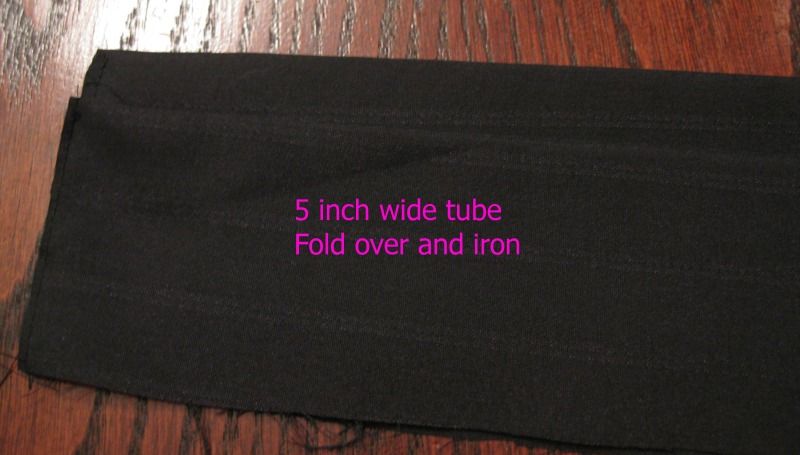
Next I wanted to create a waistband using the leftover fabric from the sleeves. I cut 5 inches across and sewed them together. I had just enough to cover my waist (yes!!) Fold in half right sides together, iron and sew the edges. Turn right side out and then the edges look nice and neat.
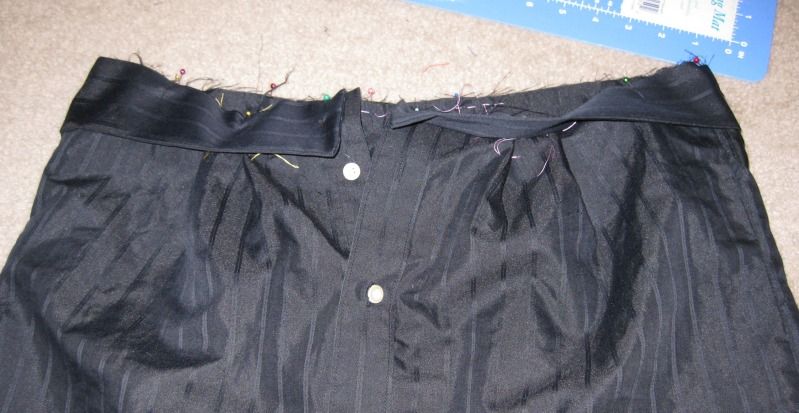
Pin the waistband to the skirt right sides together. Go all the way around the skirt until the next side.
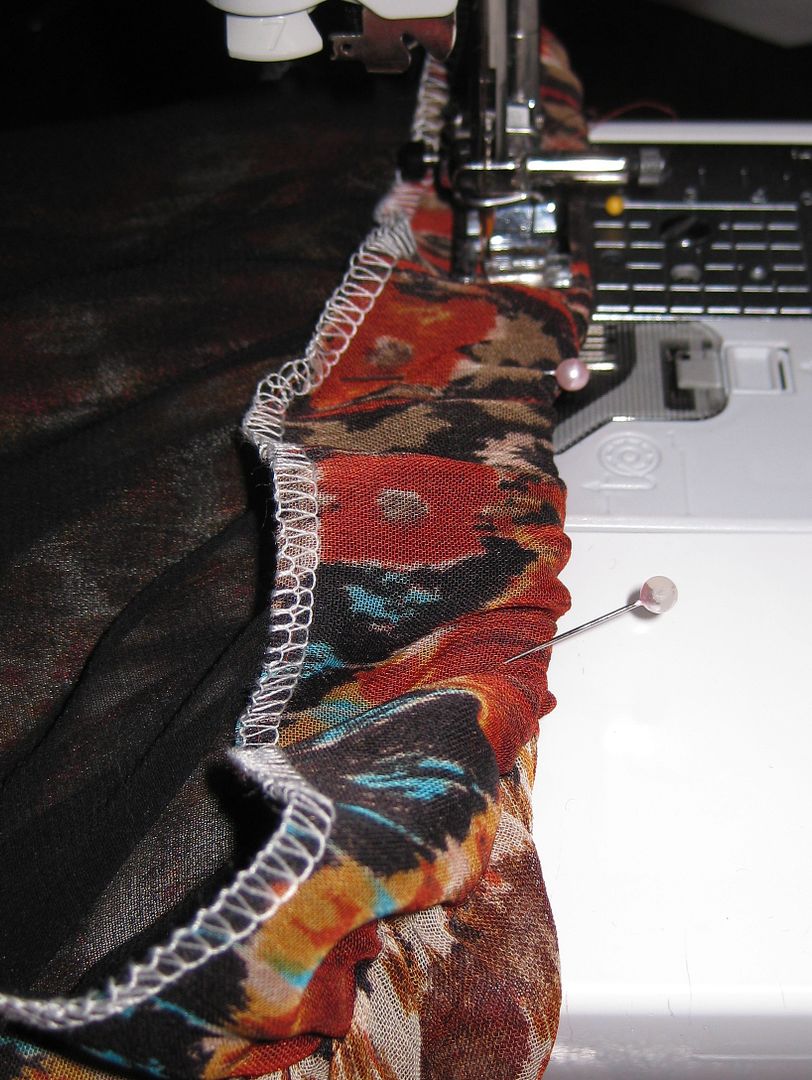
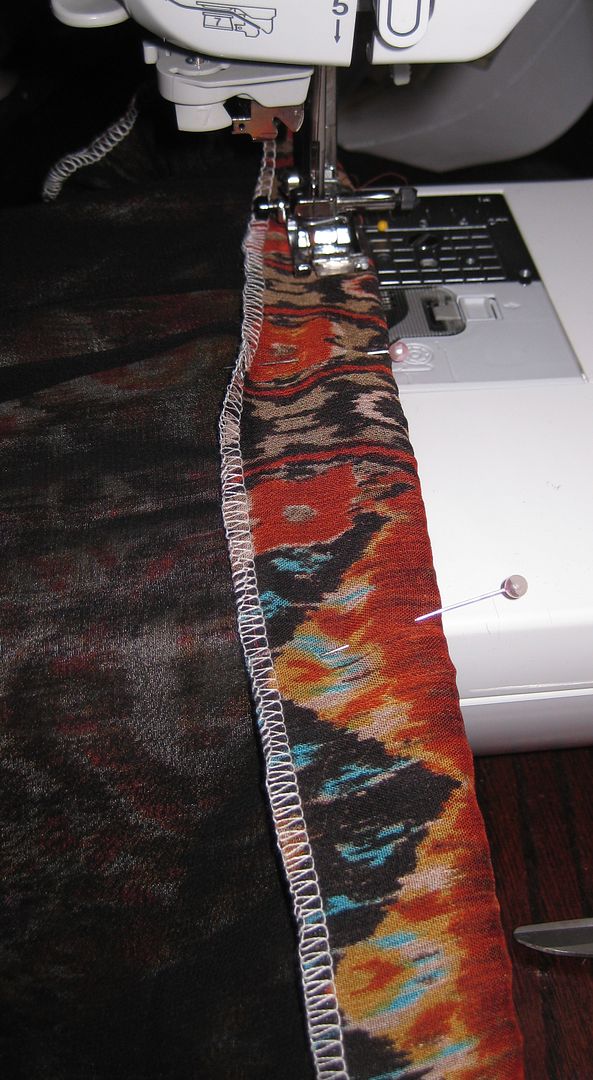
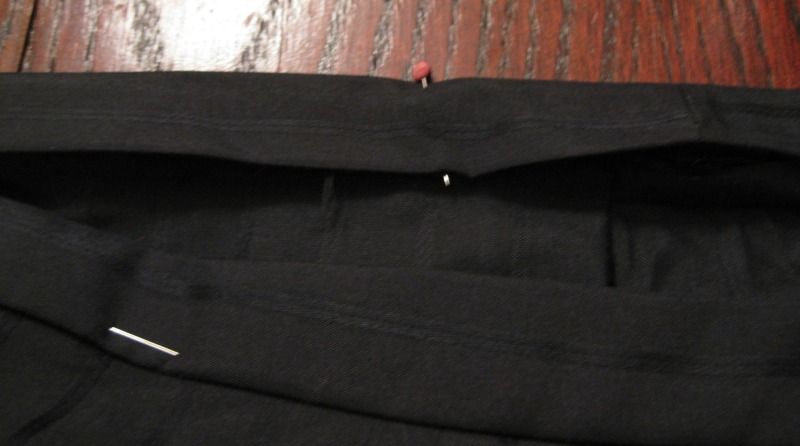
I sewed with a 1/2 inch seam allowance. I realized the band was too big really for my taste and it did not fit me. I improvised by folding the wasitband down to the seam line, essentially creating a casing.
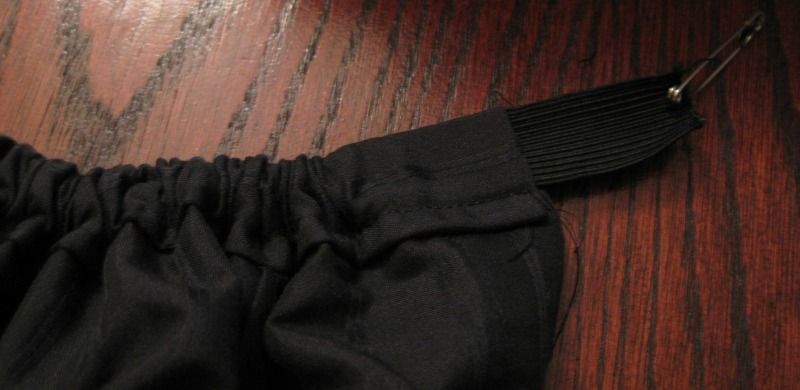
Sew down. You should include the seam you just sewn to attach the waistband. Next weave a piece of elastic through the casing.
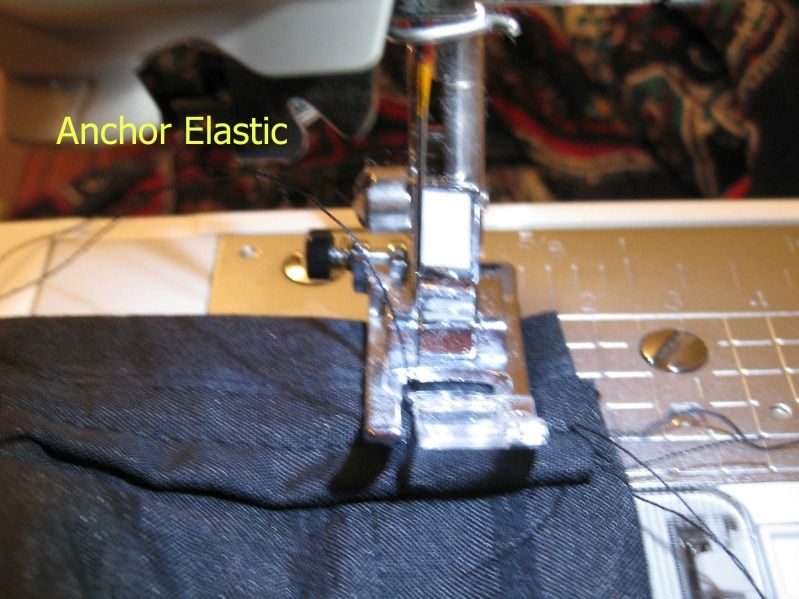
Anchor the elastic.
It looks so lovely and nicely finished. I added bias tape to the bottom to finish the hem. Again looking nice!
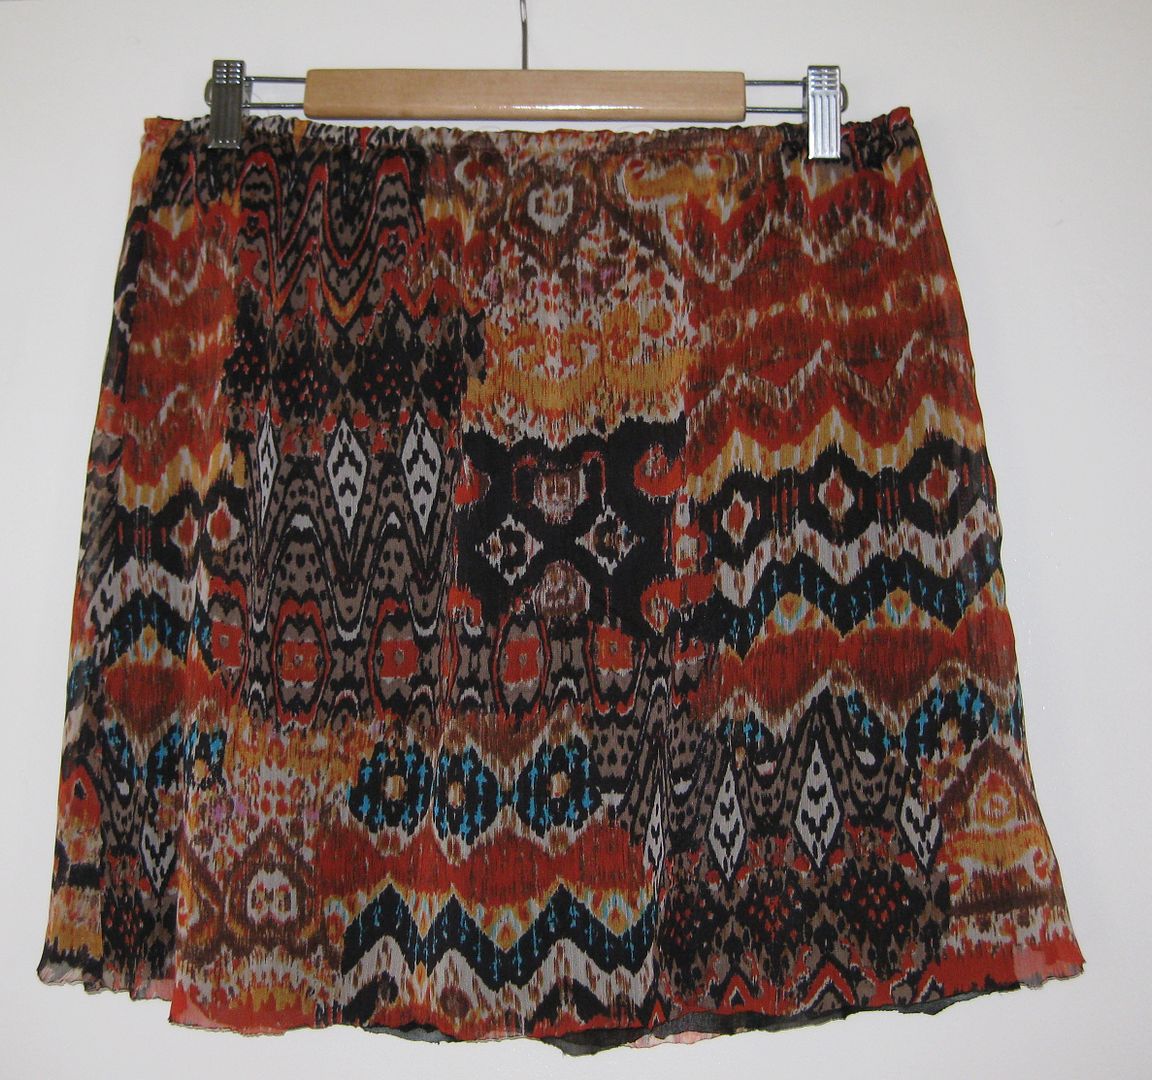
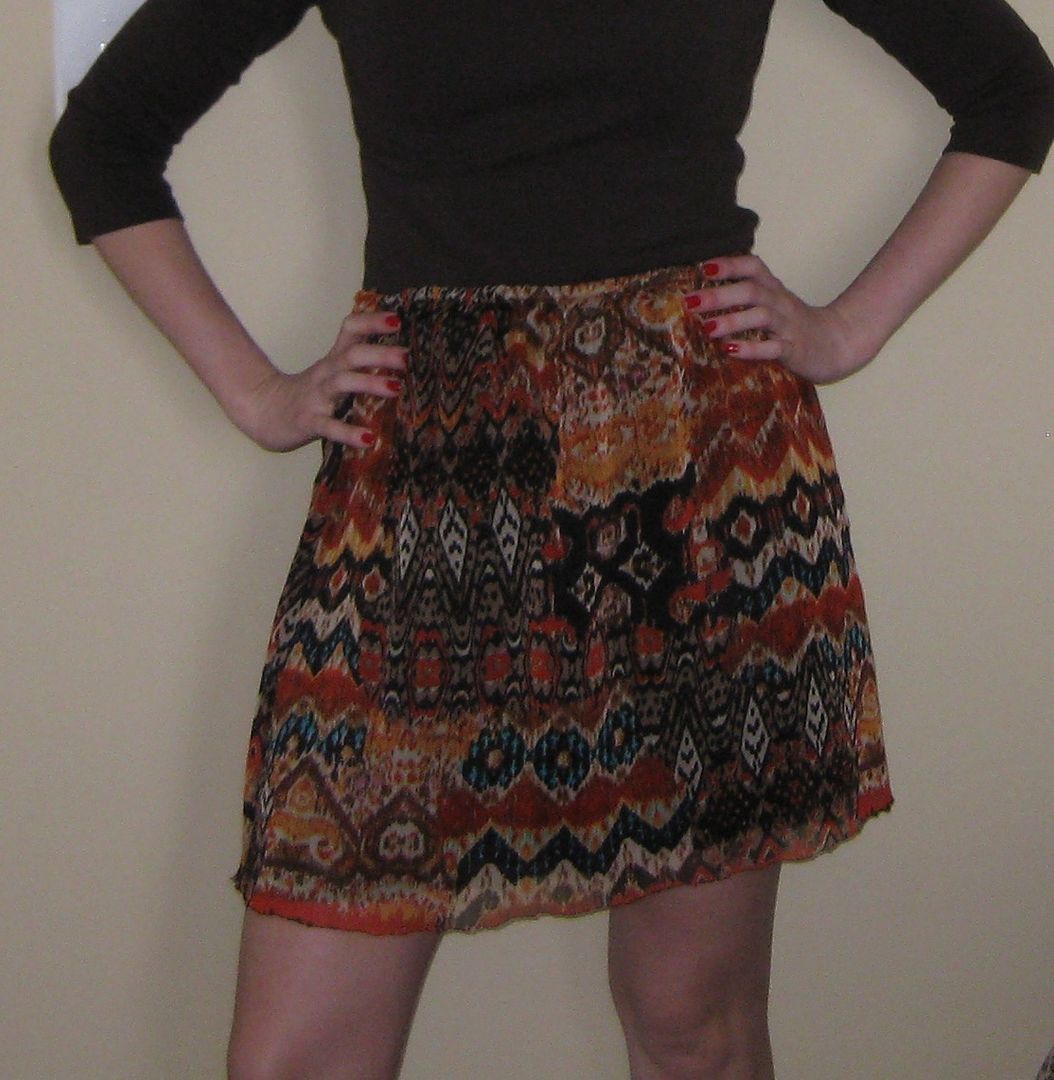
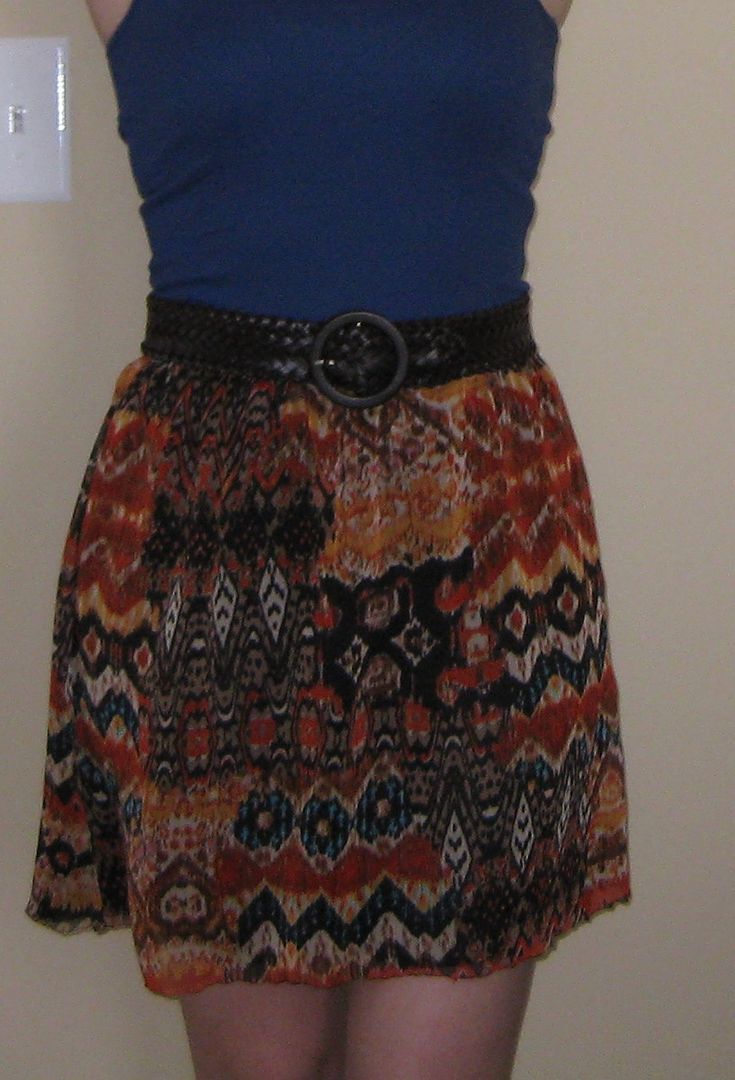
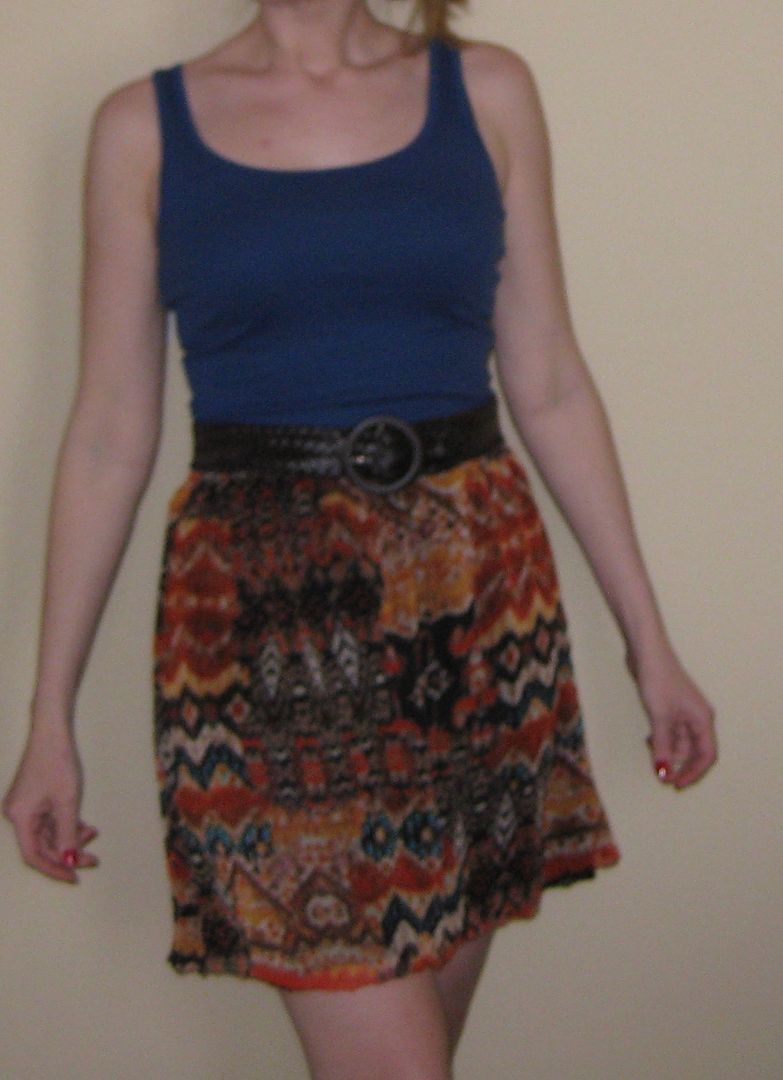
Finally I added a hook and eye to the ends so I could close my skirt. (not shown). Here is my finished product!
Not bad skirt if I do say so for myself! I realize now that I need to take down the front piece so the skirt doesn't open while I sit, etc. I would love to use one of the buttons leftover and add it to the bottom too b/c I think it would "finish" the skirt.
For more of my 90 days of blogging to DC click
here!.
xoxoxo,
Lauren