Well hi welcome to my little blog. Just my little corner of craftiness, sewing, and refashioning. I am also a newly gluten free eater so you have a little bit of recipes mixed in here.
Showing posts with label shirt refashion. Show all posts

Thursday, October 23, 2014

blue sweater refashion + bonus, #77 & 78

Just a blue sweater. Plain, boring... blah blah blah
I think this was towards the end of the picture taking b/c I look delirious! This was a good time ago! This sweater has just sat! No inspiration whatsoever!

First I just removed the sleeves. I just didn't like them!
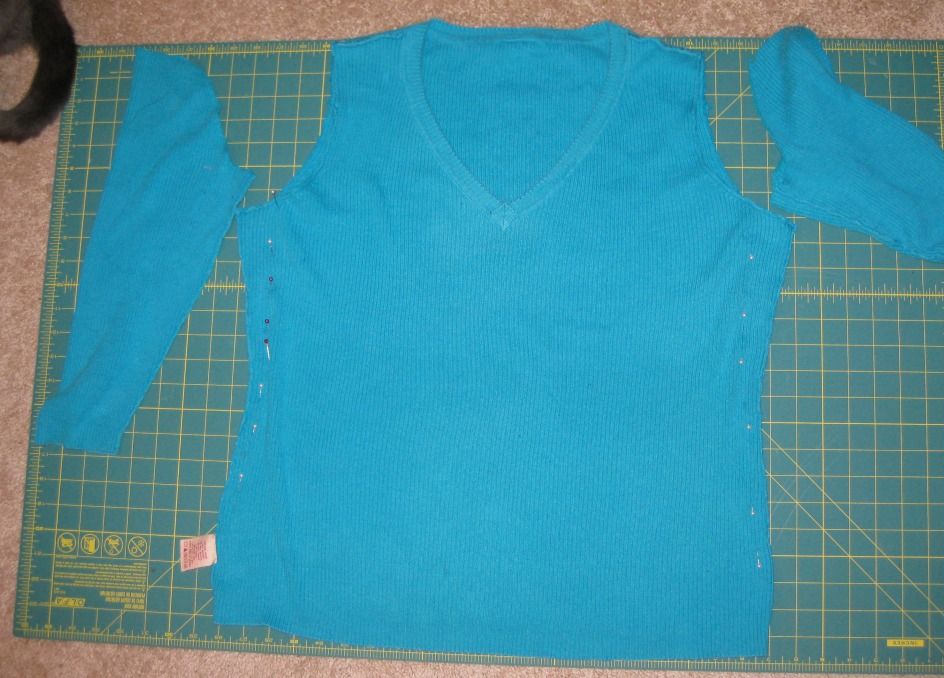
Remember that blue dress I refashioned and removed the sleeves? Let me refresh your memory... click here for the post

I used the leftover sleeves and added them to the top. I even removed some of the sides of the top but it didn't do much. After seeing the photos,  need to take it in even more. I promise you, the shirt grows after wearing it! Here is my new top!
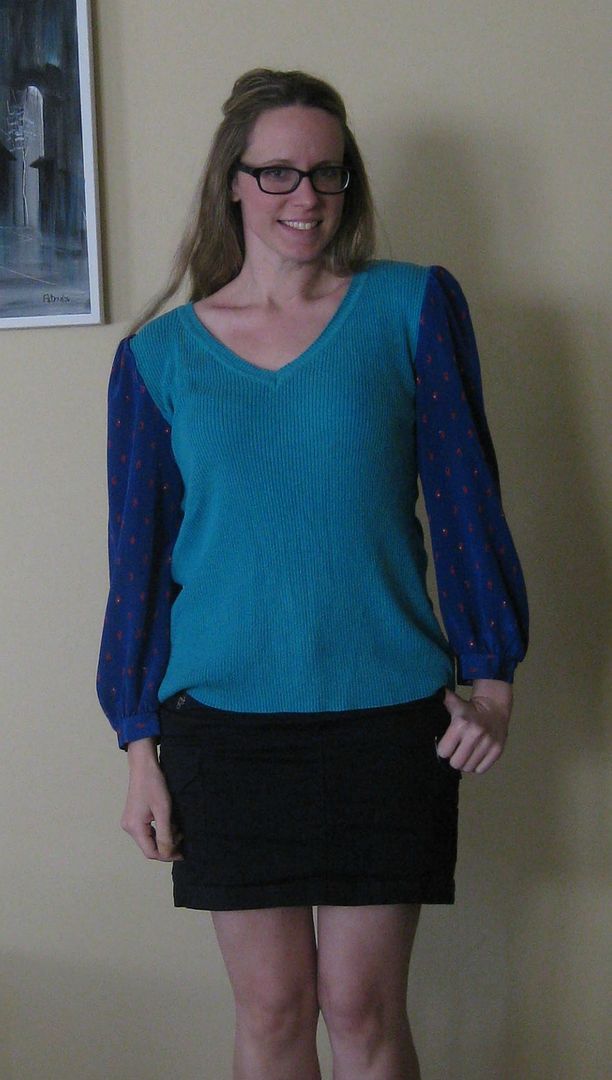
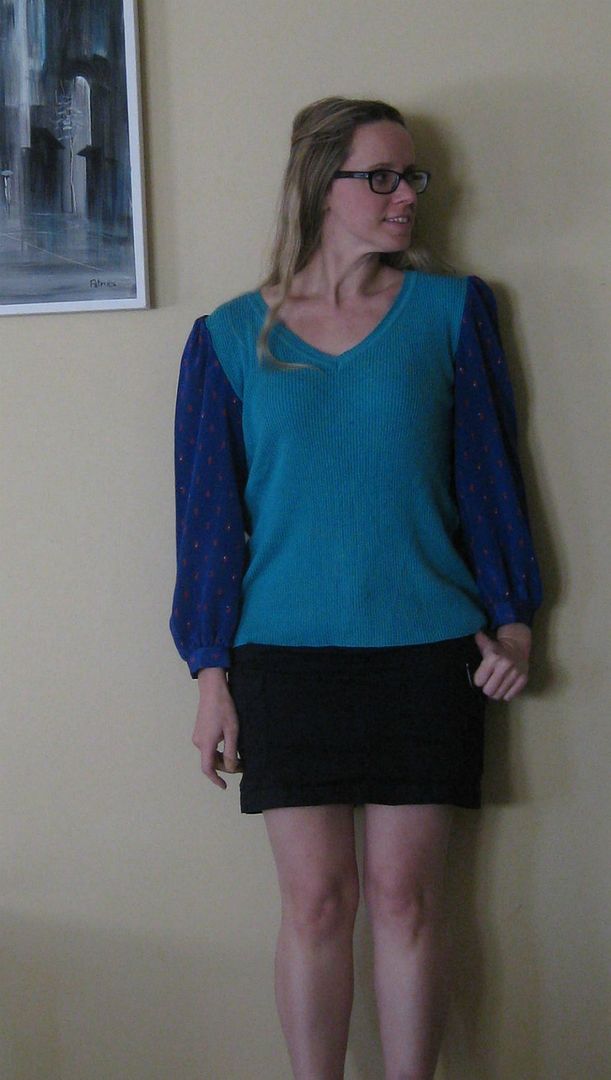
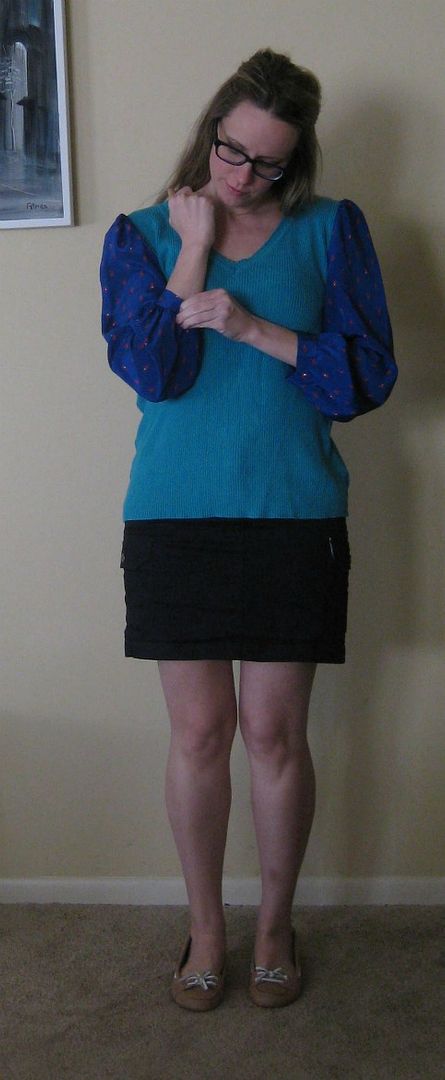

Not bad huh? Something now visually appealing.

But wait.... there is more! What about those sleeves? OH yeah this is another 2 for 1 sort of blog post!!
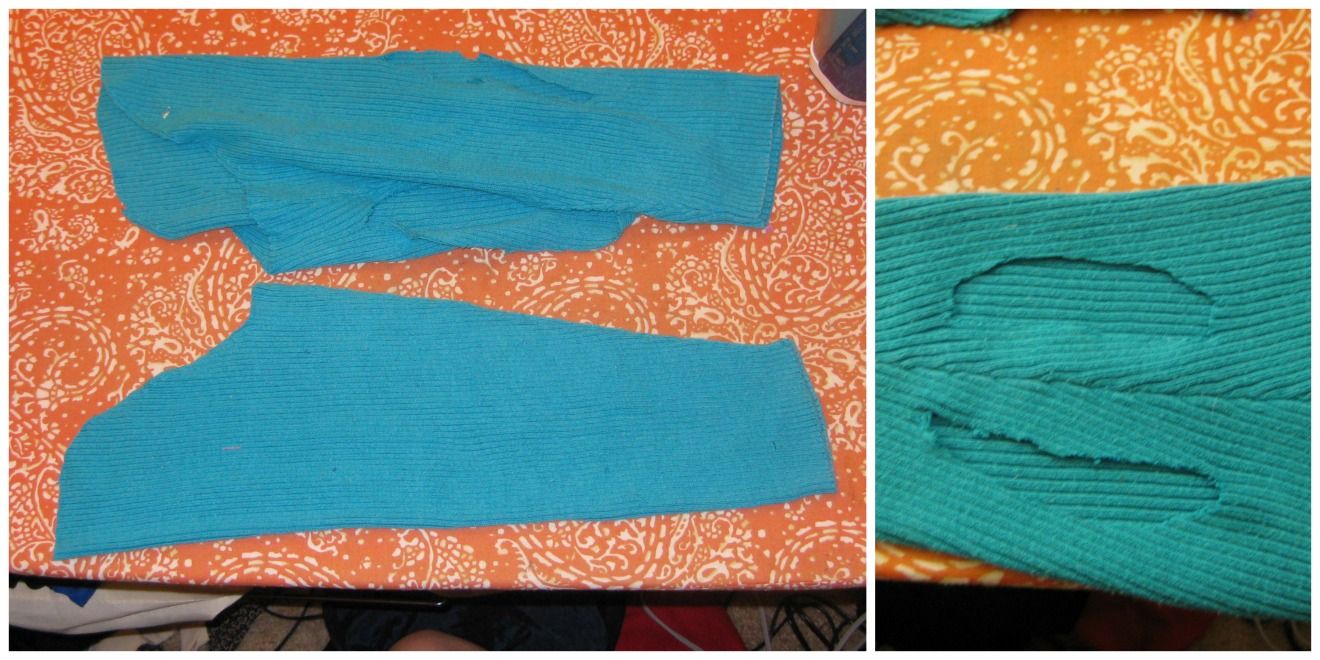
Fall is here and winter is coming. That means my poor older cat who has a heart condition gets cold. As a result, he follows you like a puppy and has to be in your lap all the time because he is cold. It sounds cute but really having a cat in the lap won't work. But he is cold. I decided to convert the sleeve into a sweater. The wrist will be the head and the arm hole will be the bottom of the sweater. I cut some holes big enough for him to move (learned this with the first one which is sort of mangled from scissors). He absolutely loves it!!! I mean he was walking around so happy that I could not get a photo out of him. 
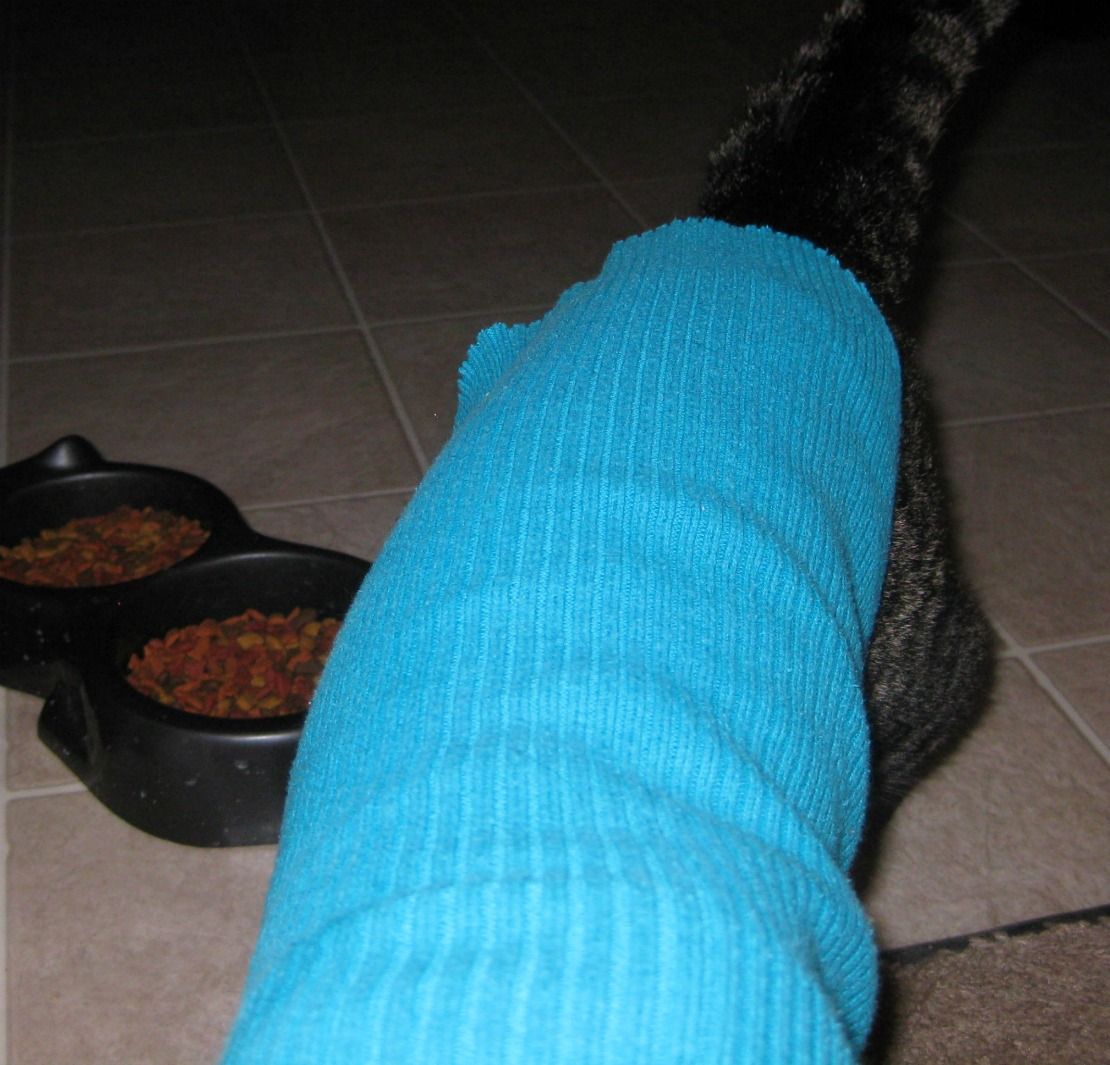

I promise you it is in now way tight on him- cats are poofy with lots of fur. 
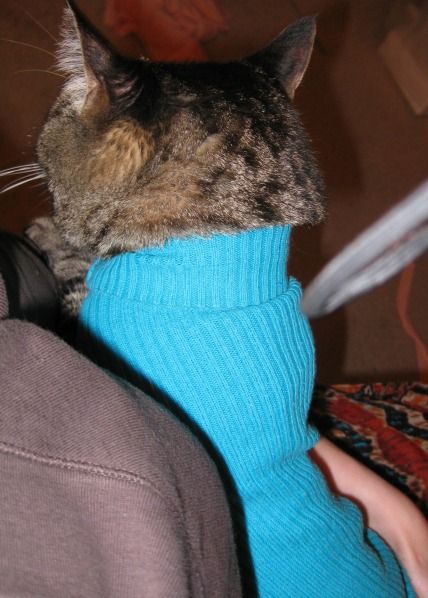
I got him to go and eat. Finally some sort of photo. 
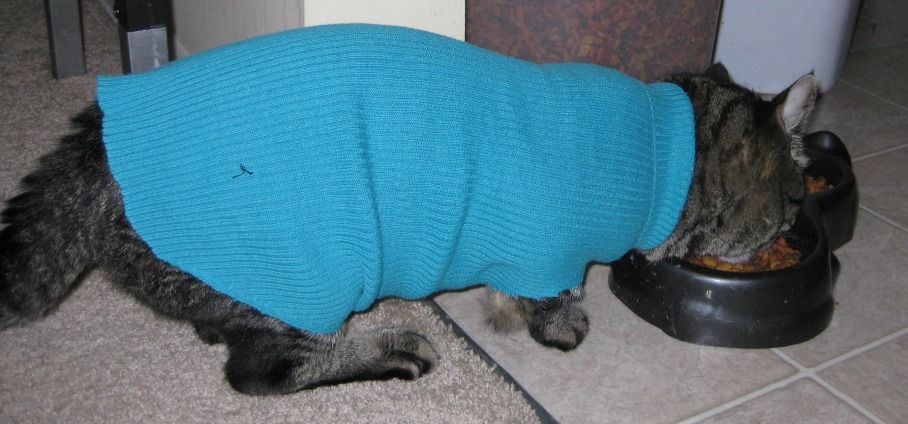
But my Sebastian will stay warmer this winter. 

So 1 sweater = 2 sweaters!!! (and a happy cat)


Cheers,
Lauren
Wednesday, July 9, 2014

Green paisley skirt refashion, S1619 pattern, refashion #50

For this next refashion (hey to 50 refashions BTW!!) I neglected to get a before pic. But it was essentially it was a big o'skirt like this one

But this skirt was a lovely mix of green, blue, purple, and red. I just love paisleys. I opted to use it as a fabric piece and use one of my patterns and make a shirt. I chose this one from Simplicity, S1619
I would have just enough fabric to make the top. Though the binding was not on the bias. All good. I proceeded to sew- I was proud as this was my first V-neck. lol. I pressed it out more.

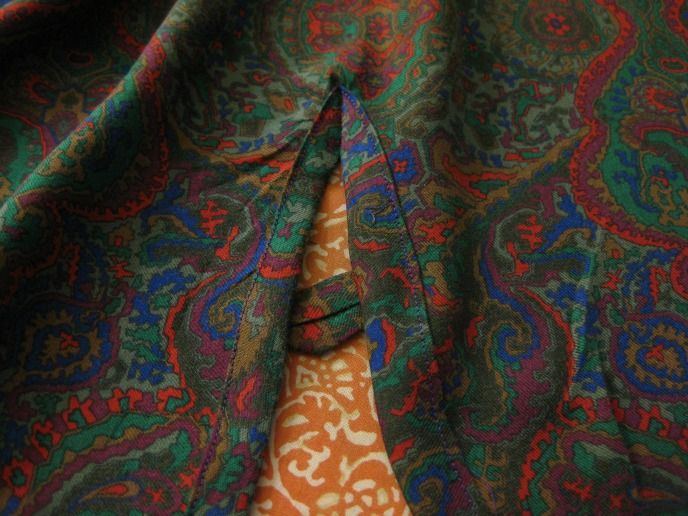
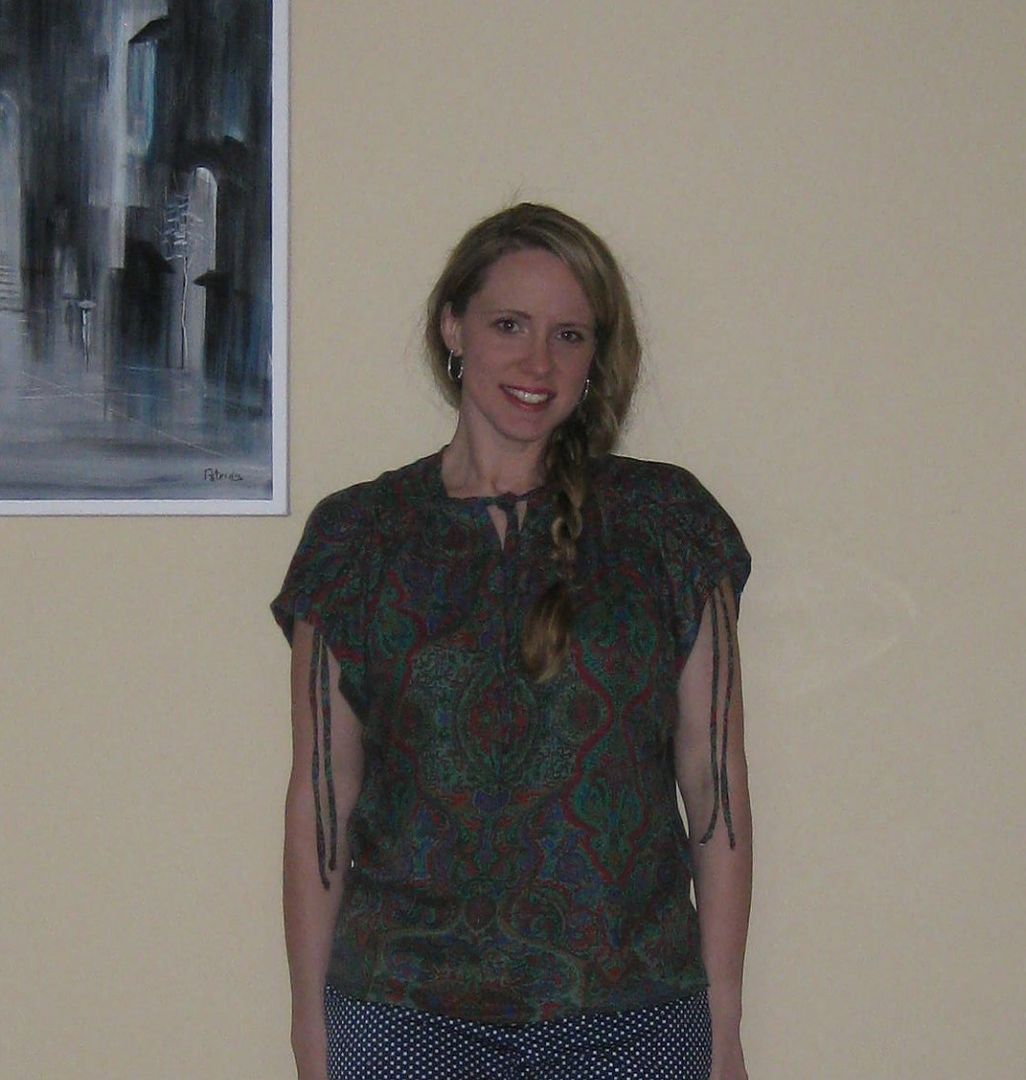
It also had an odd button loop thing. I don't know if I will keep it or not. But here is my new blouse from a big skirt. Here it is closed....

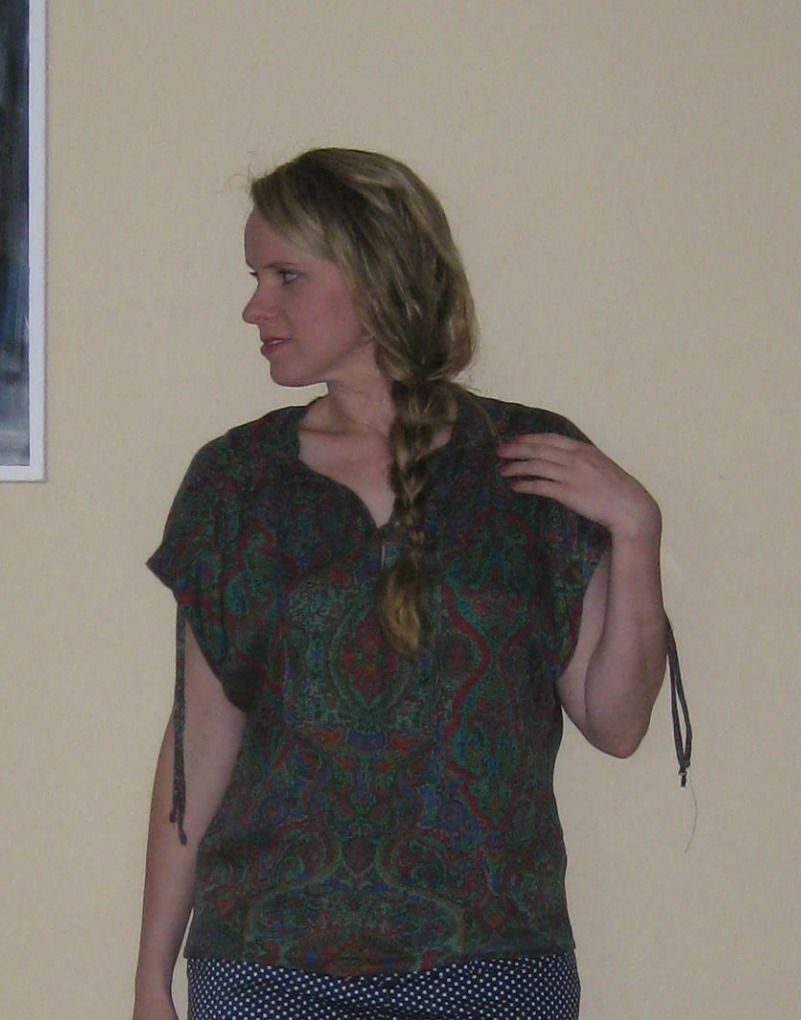
I can play with the sleeves too with pulling the cords. I should tie them into a bow. 

I like it more opened up. 

You can see the loop where it connects to a button. 

Not bad. This pattern is made for a knit but still worked with this fabric. I also cut a size 8 as I had a gut feeling this top would be big. My gut was right (thank you gut!). This would be great with a knit. Wheels are turning and I will definitely use this pattern again with a knit, I just recently purchased some great knits on major clearance. Some small yardages so this would work fabulously!

Cheers,
Lauren

And here's to being officially halfway done! :) Happy dance!!!!

Monday, April 14, 2014

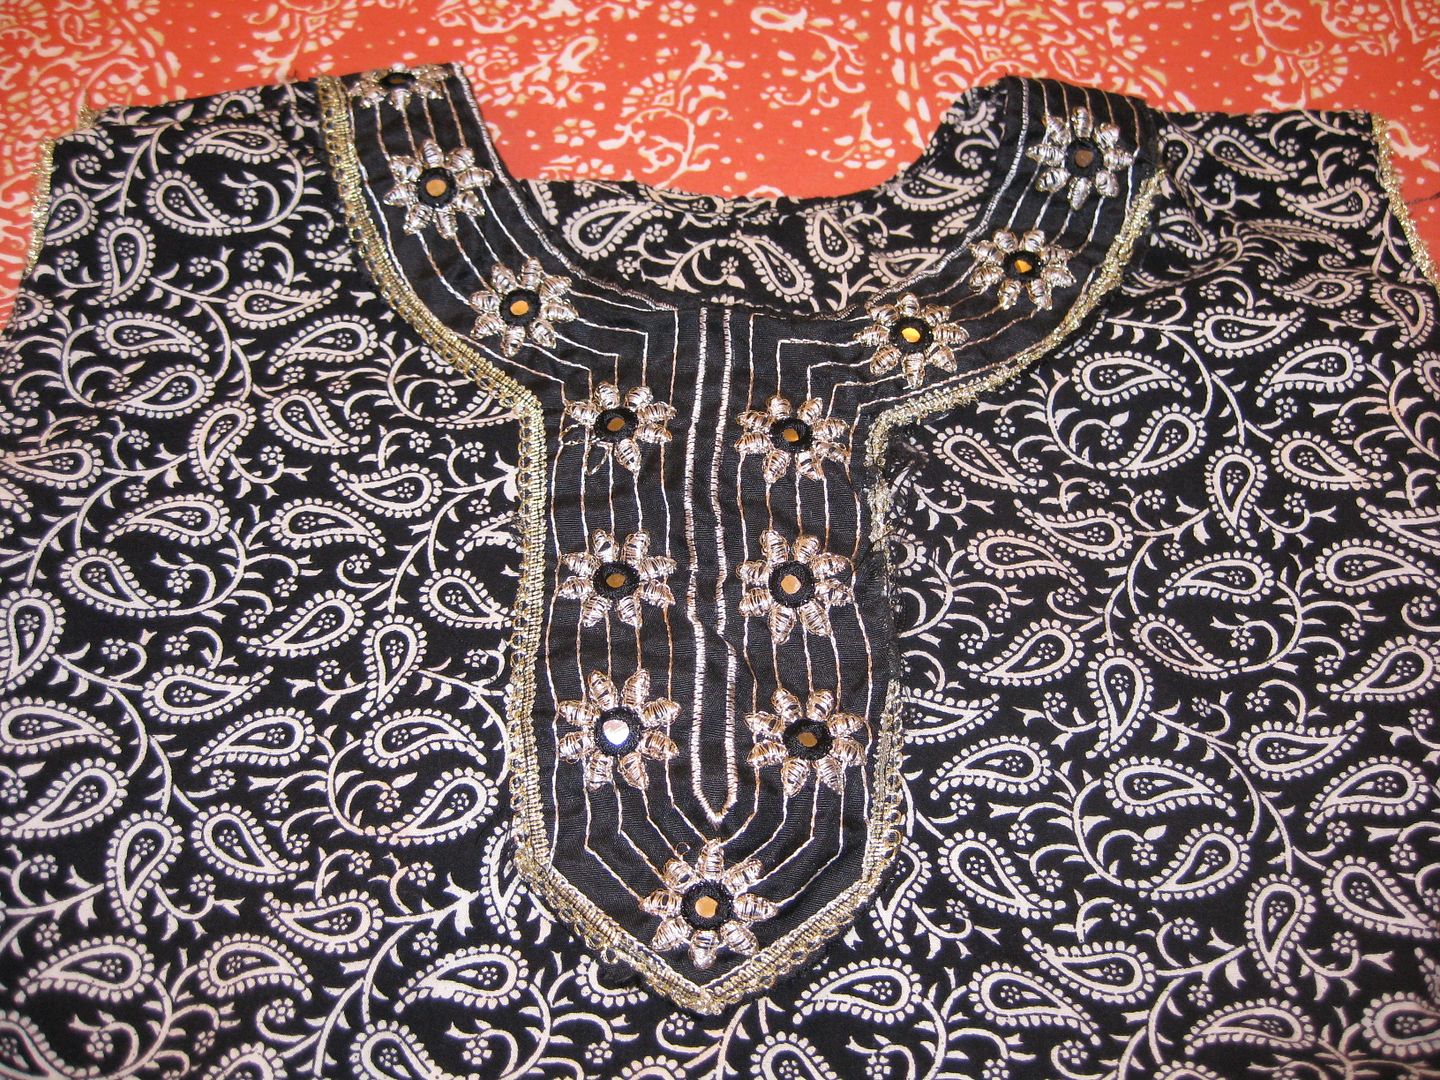
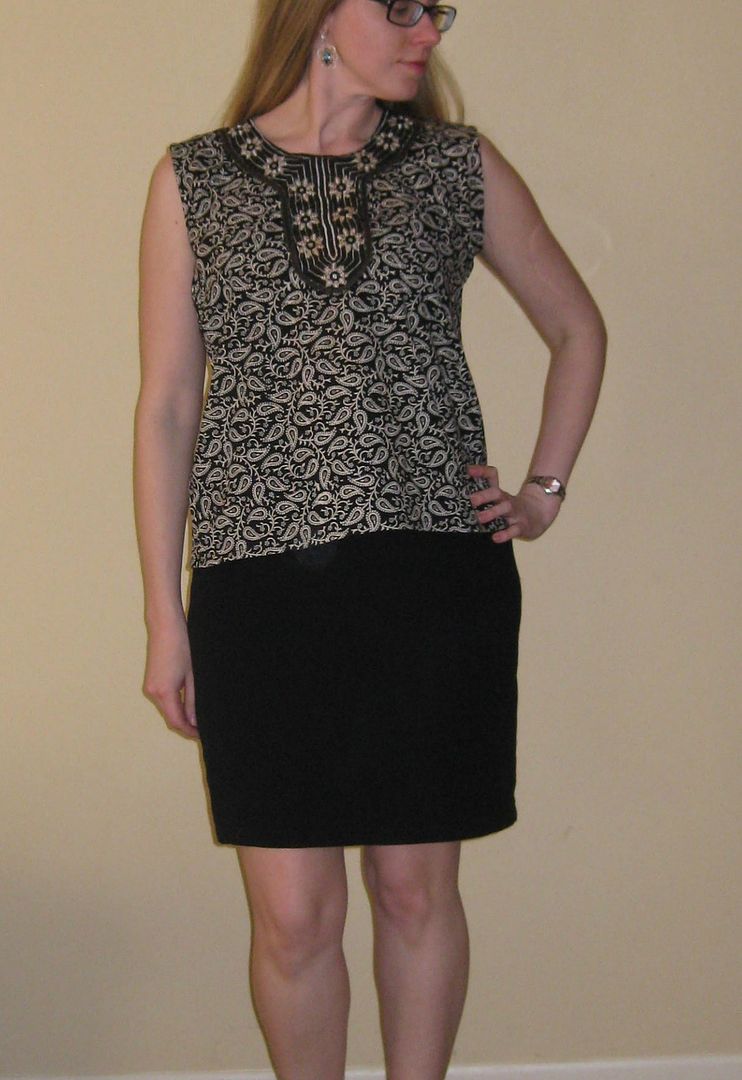
Inspired by India- tunic refashion # 28

Well this top I thought was going to fit however, when I put it on- yeah no. Would not go over my chest.

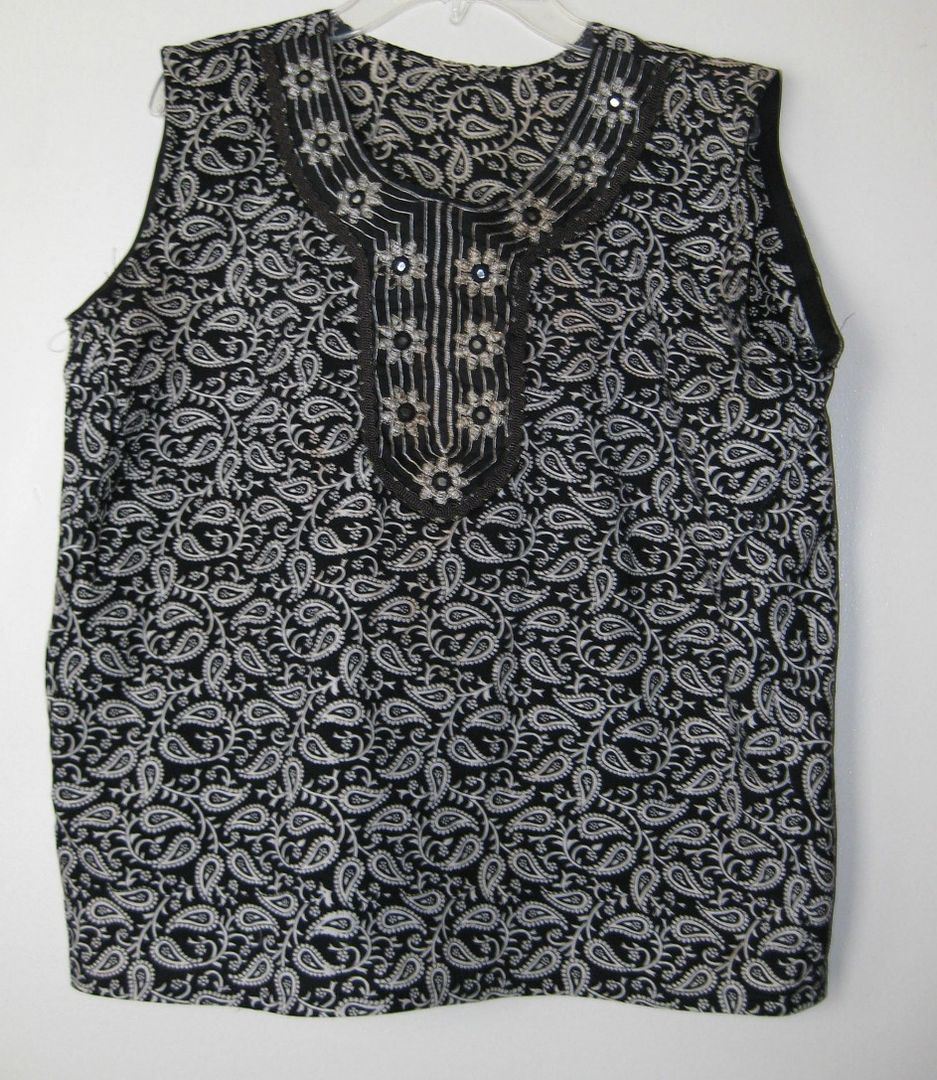
It is pretty nice. I just love the adornments. 

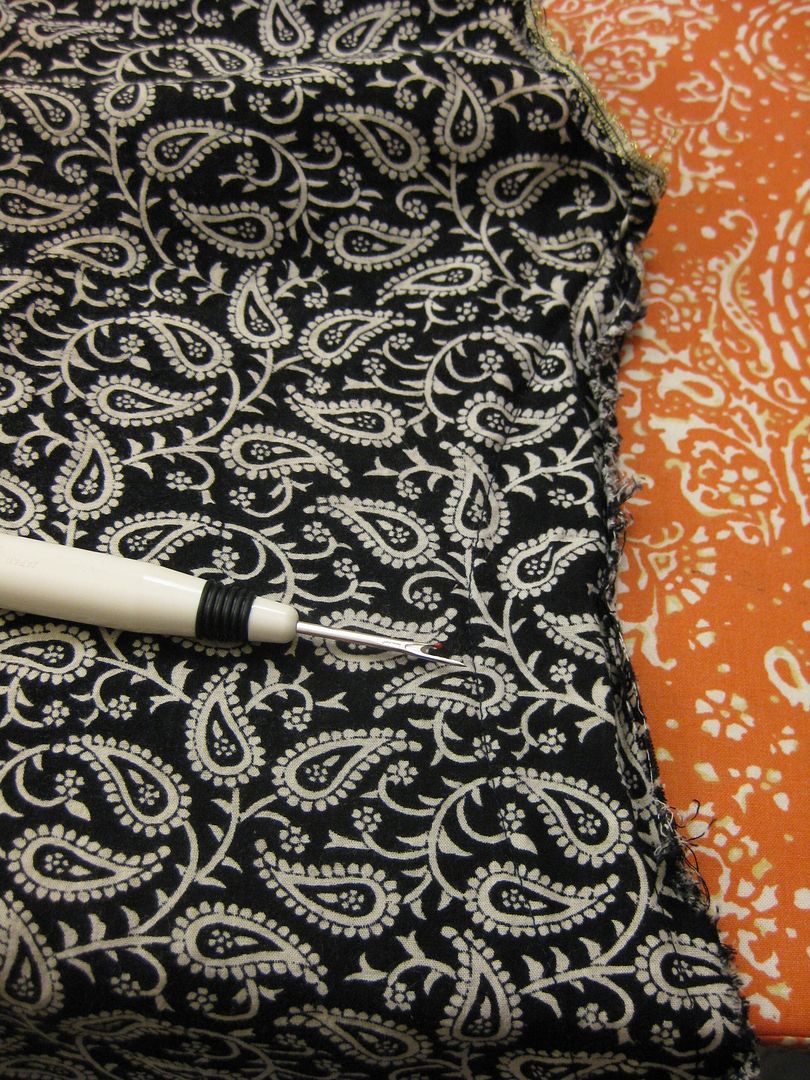
Turns out this was someone else's refashion. And it was taken in. I undid the stitches but alas still not enough room. 

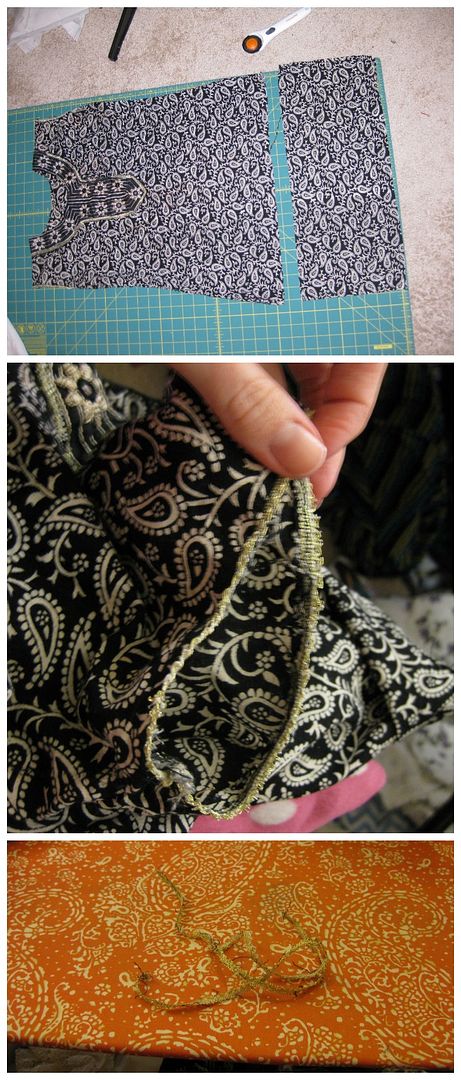
Time to add some fabric to the sides. I cut off the bottom b/c it was too long for my anyways and trying to get it over my hips is a big no. I need to use this material for the sides. 
Ugh the arm holes had bad trim that looked like someone's dog chewed on it some... Had to take that off in order to have decent arm holes.

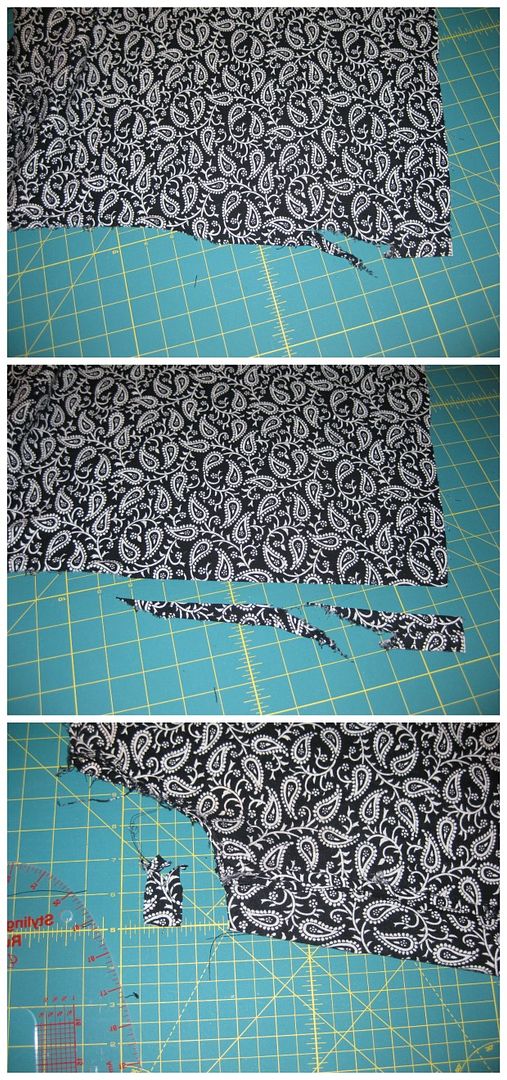
I had to even out the fabric on the sides b/c they attempted to put in side vents. But it was bad. Then I added a strip of fabric on each side. 

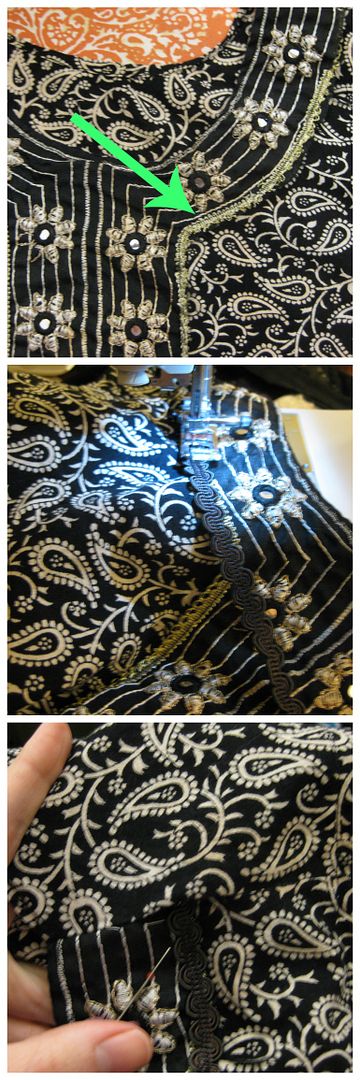
After fixing the sides, I realized the trim in the middle was having issues too and some was fraying, coming up, etc. I found some trim in my stash and decided it sew this over the gold trim. At the ends, I opened up the seams and hide the ends in the seam. Sew closed. Pretty quick and easy. 

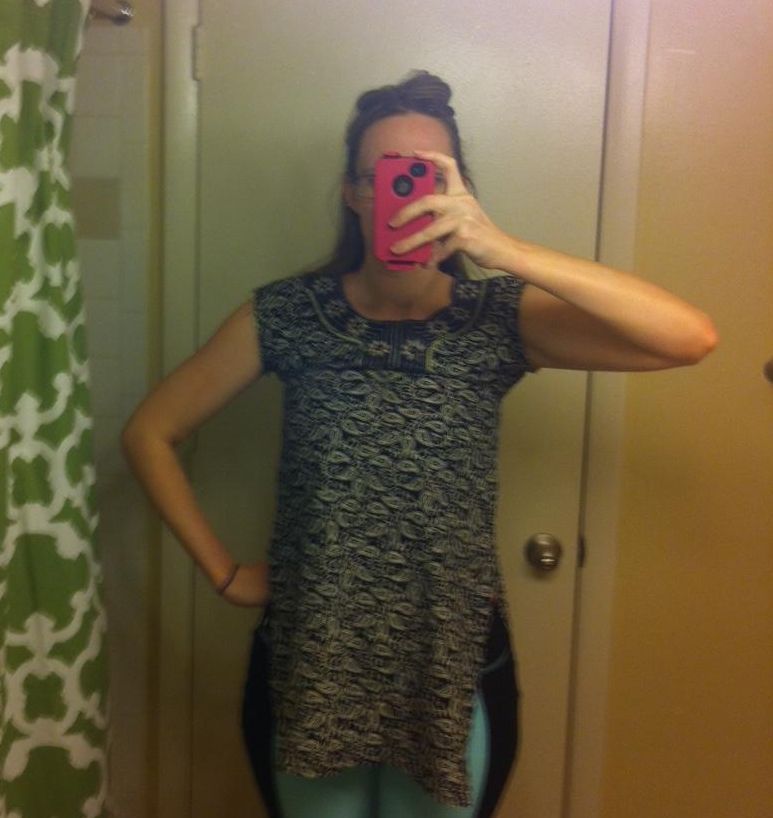
Done! We have a shirt that fits! Oh yeah. 

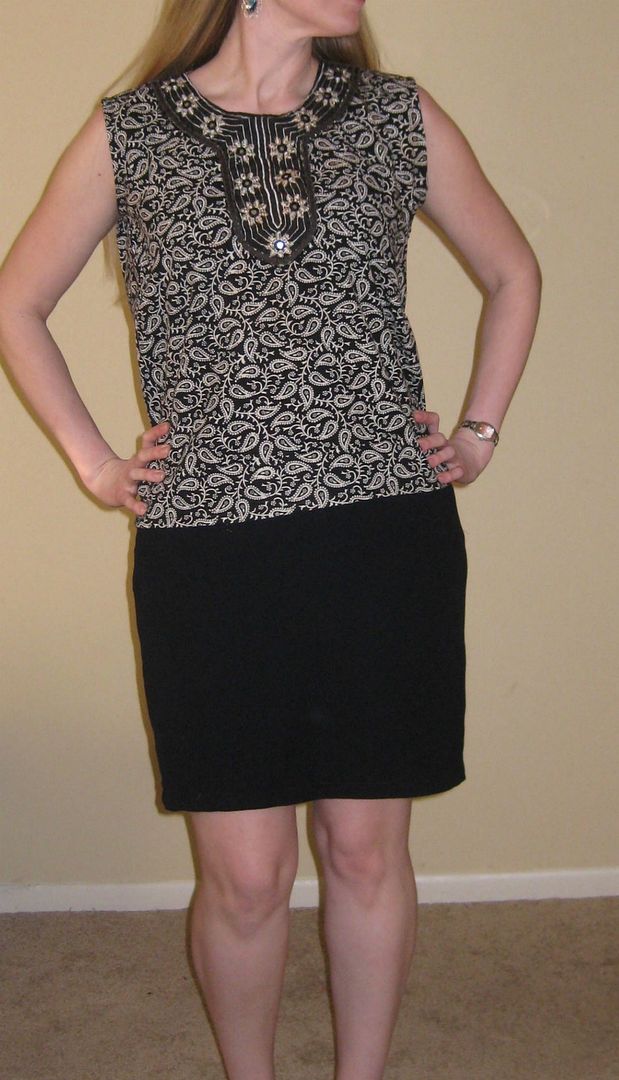
Here it is on!

I tried tucking in, yeah meh. Makes me unbalanced visually. 

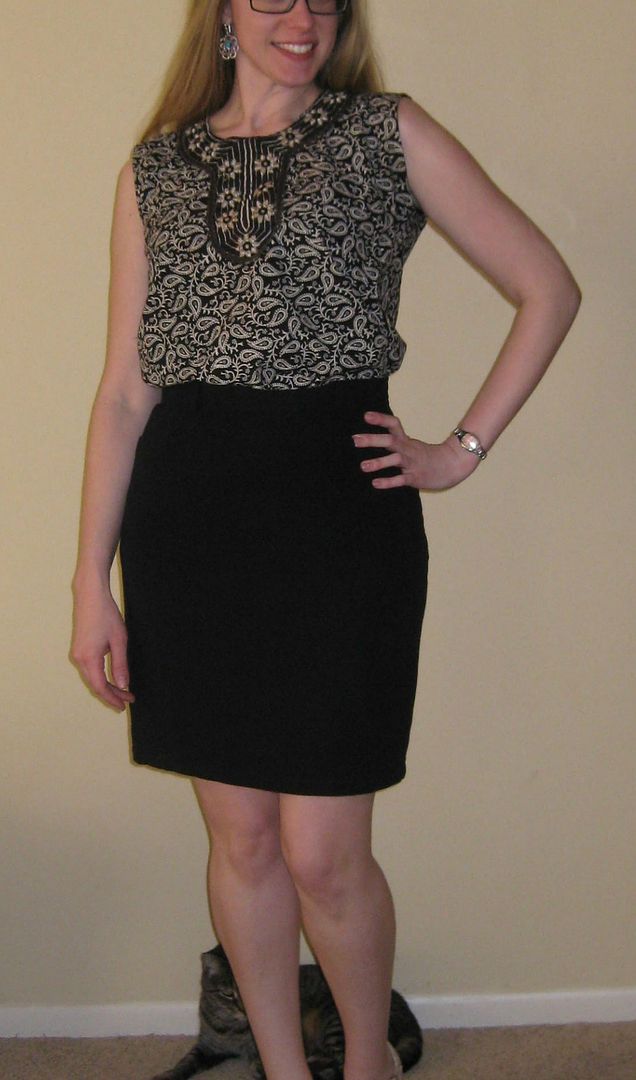
Back untucked. 

The before picture got lost. Sigh. So no recap. But At least I got this shirt to work. :) And a little less gold.
Cheers,
Lauren

Monday, March 17, 2014

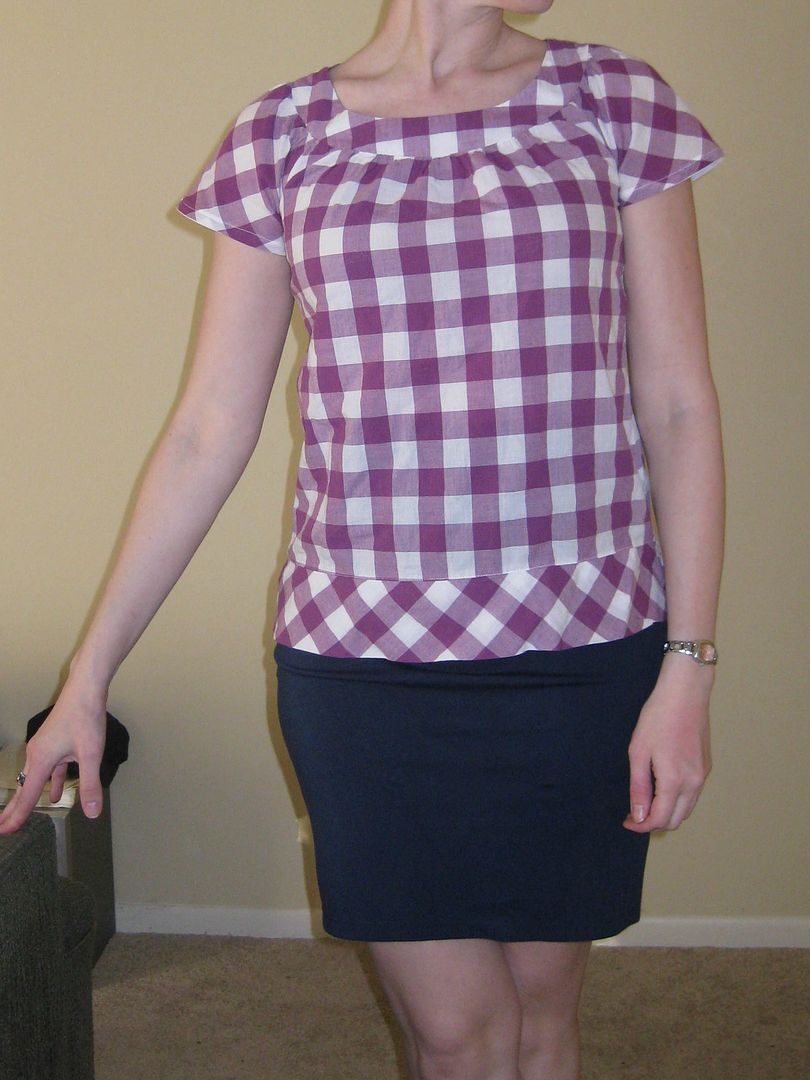
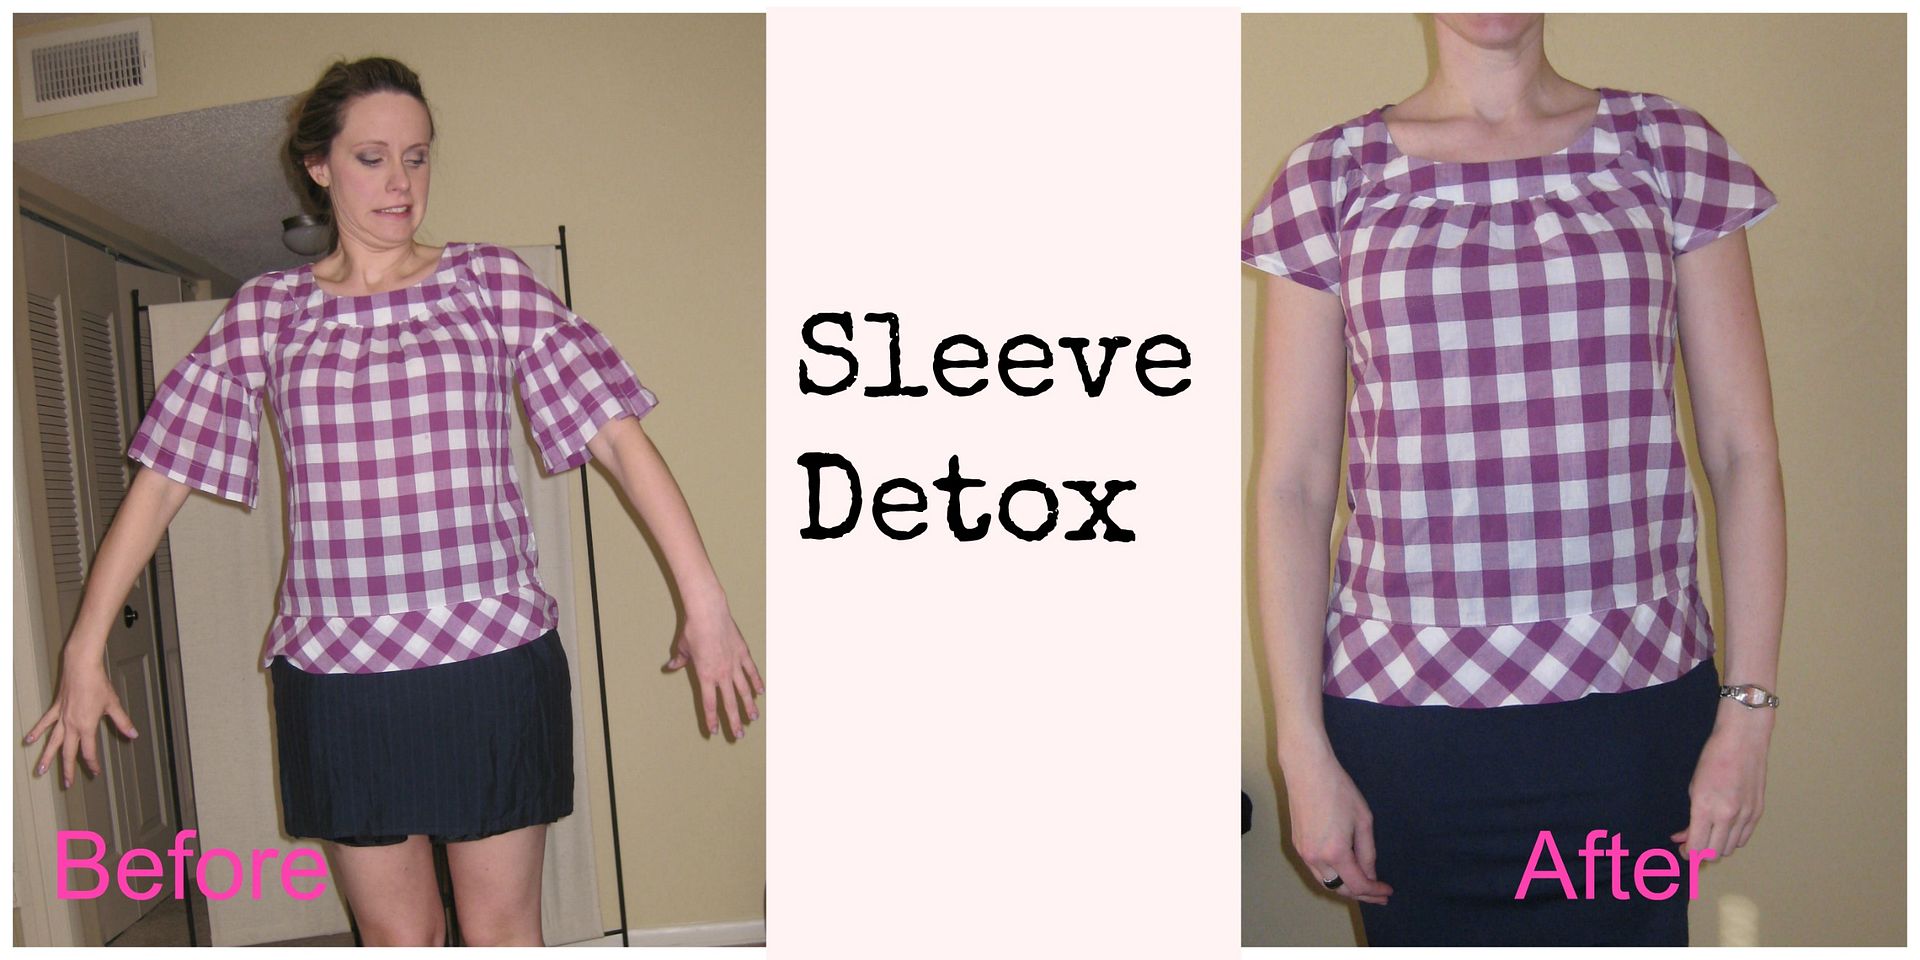
Sleeve detox, refashion #20

ack! I really liked this top and tried to wear as is but I just hated the sleeves. I mean seriously? Who thought this would be a good idea?

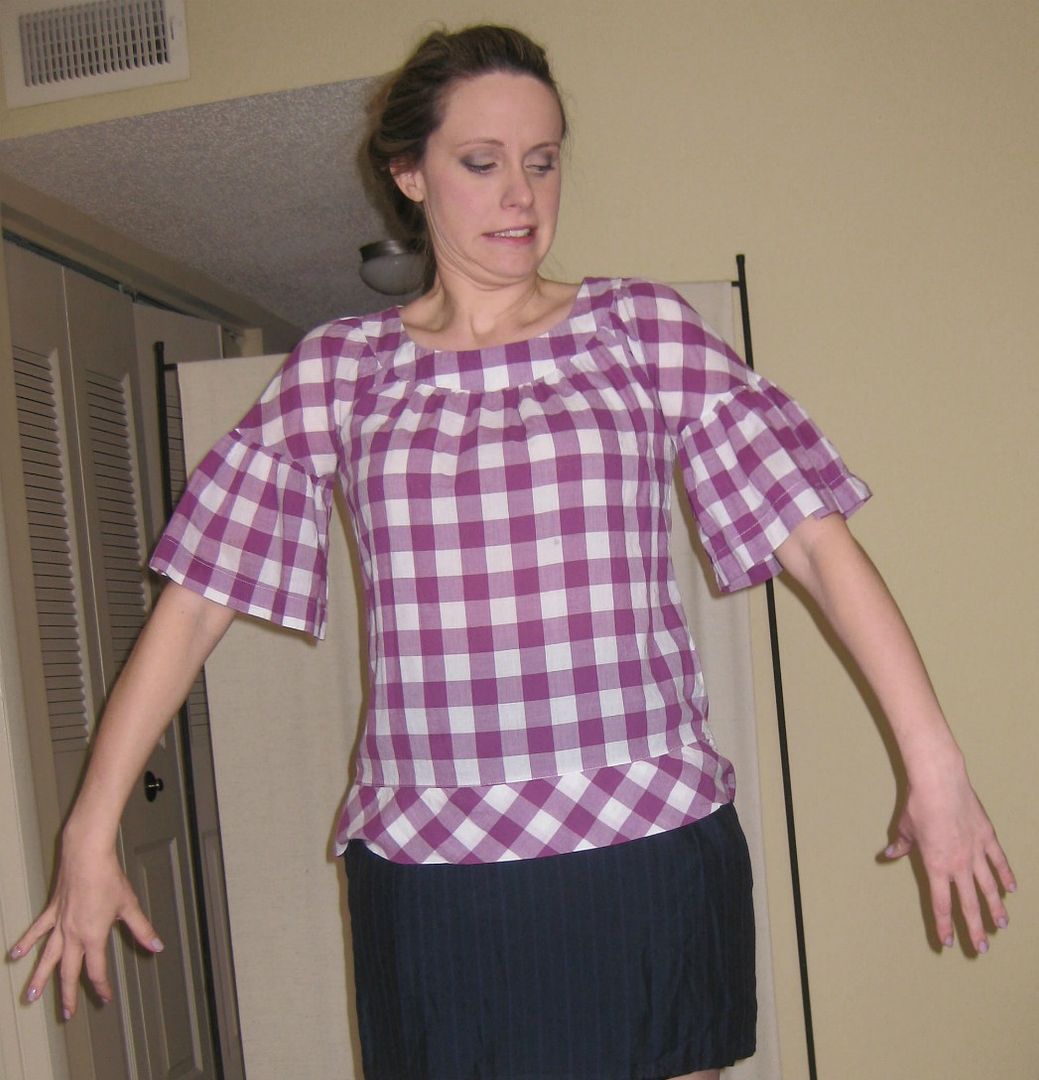
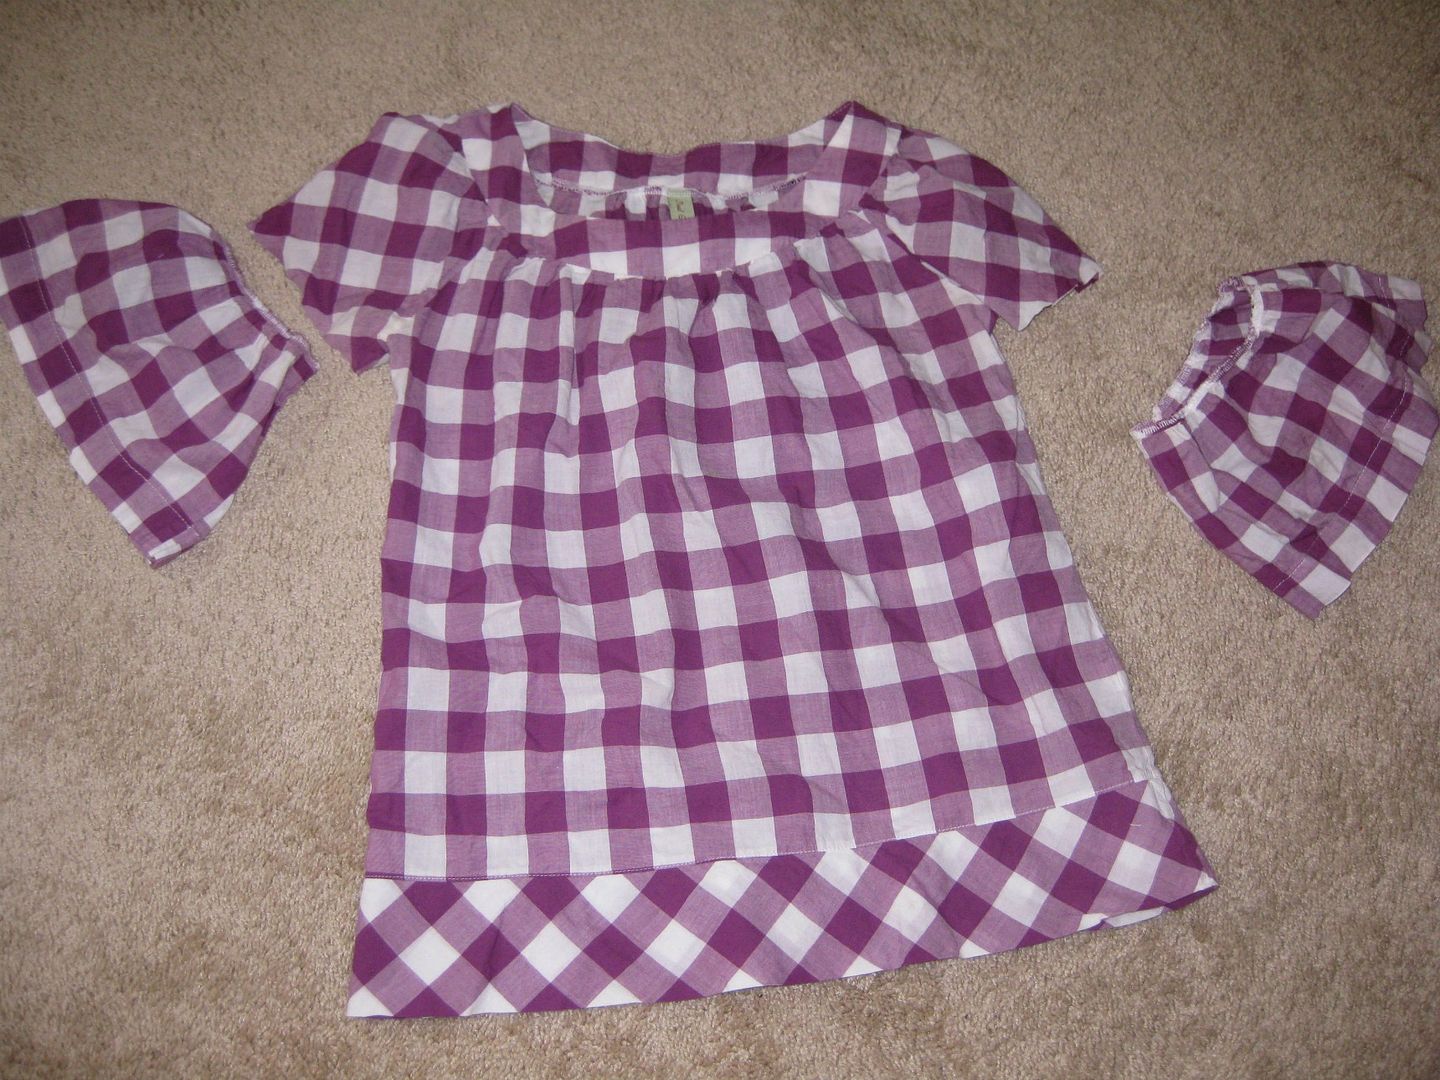
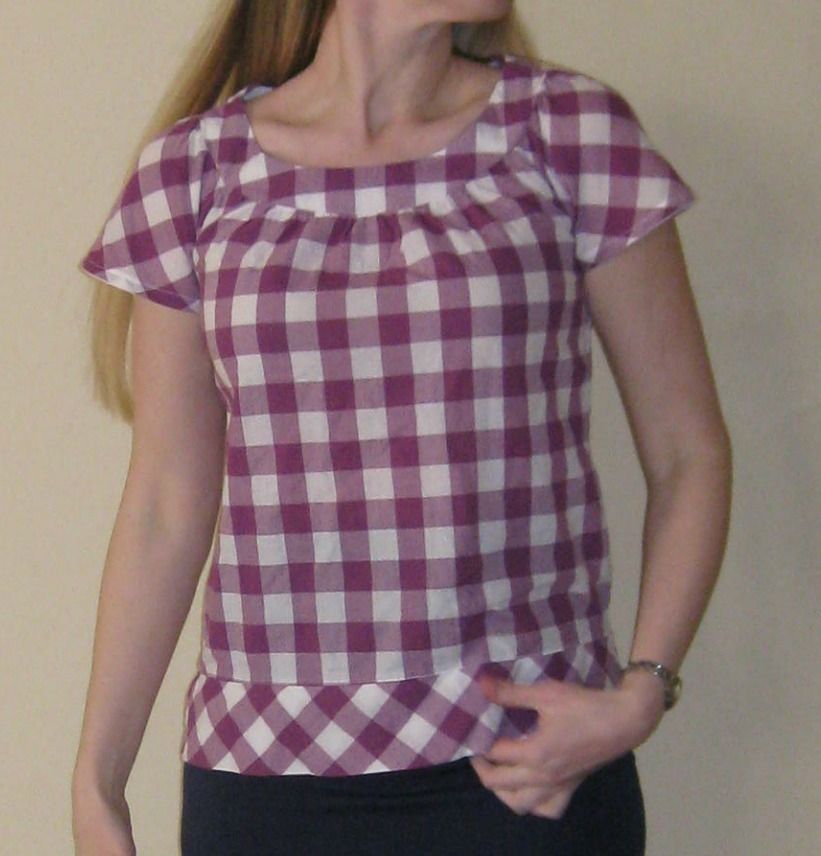
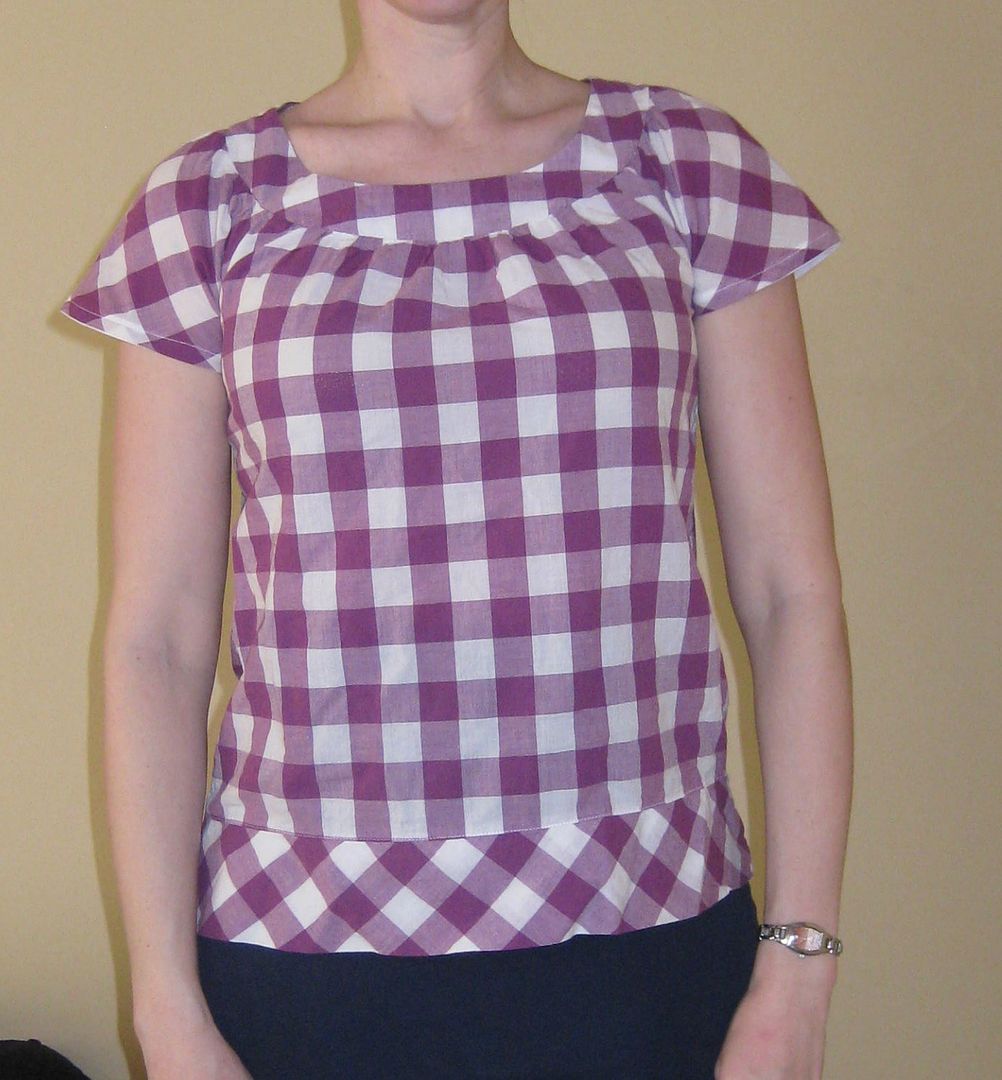
But I really liked this purple color. So time for some sleeve detox. Took off the bottom fluff.... Finished the new sleeves with bias tape. Done! Easy Peasy!

They work. That is what matters.

Without all my hair in the way. I know problems of long hair people.


Not that I can wear it right now. And I just went straight to my summer/spring storage. But I will have a new shirt ready and waiting for me.

Cheers,
Lauren
Wednesday, March 5, 2014

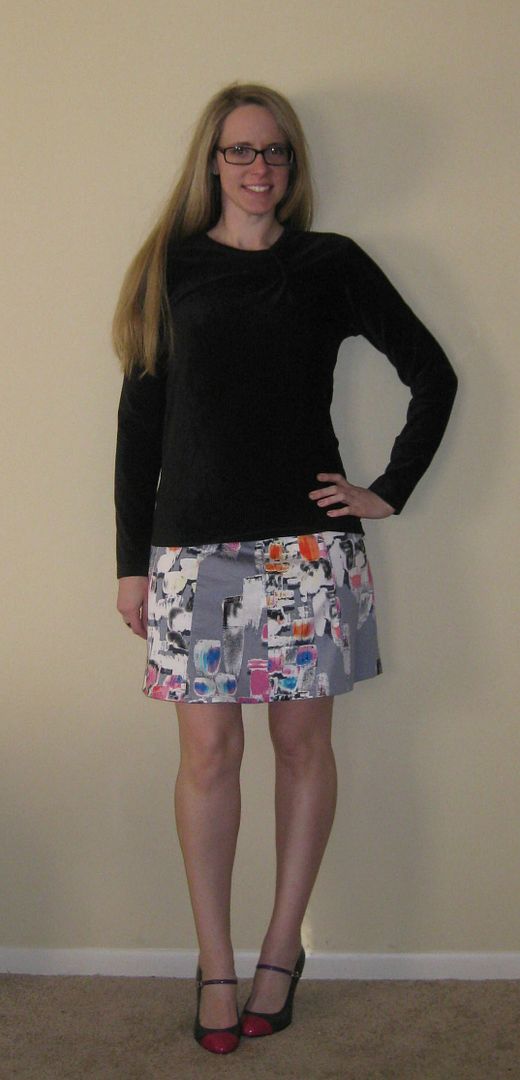
Velour top refashion, #17

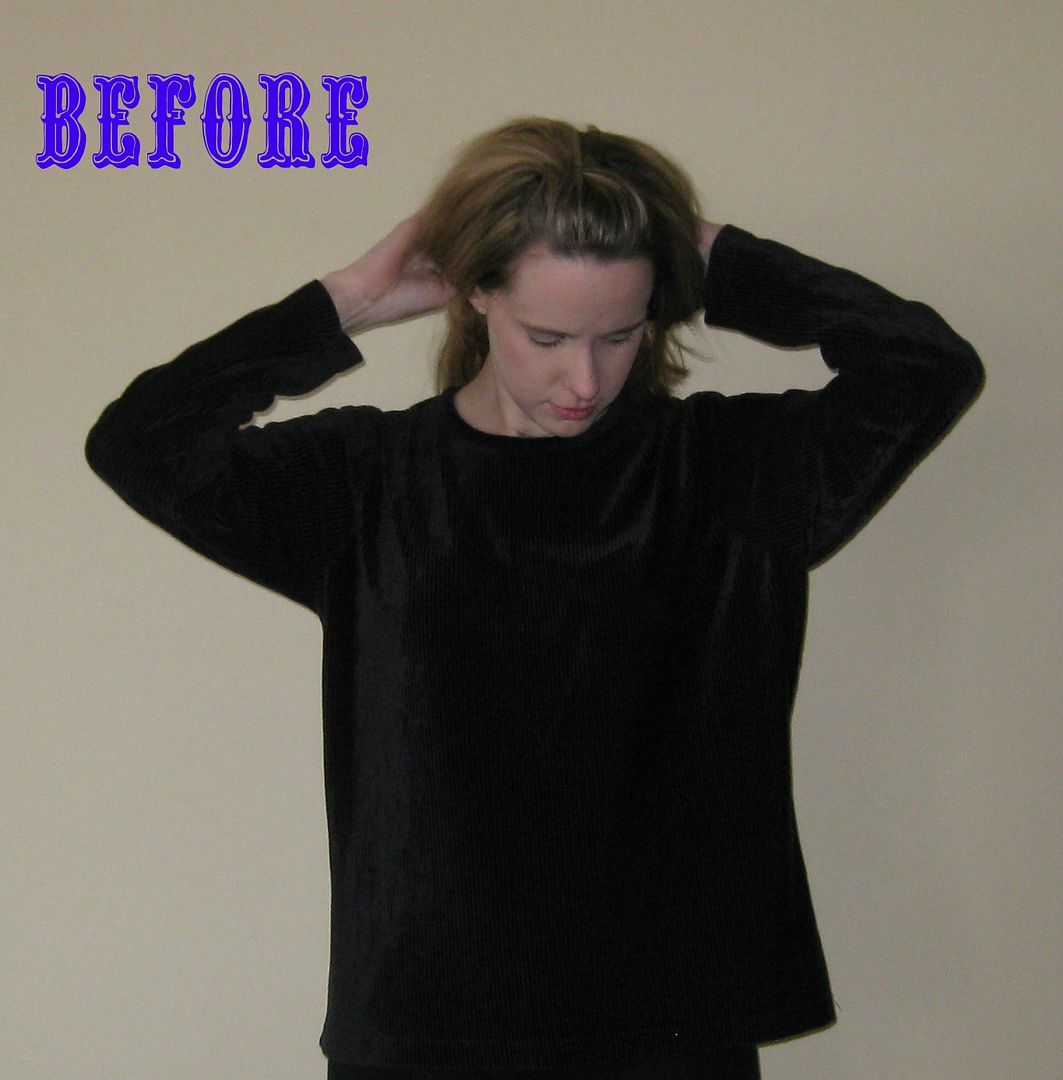
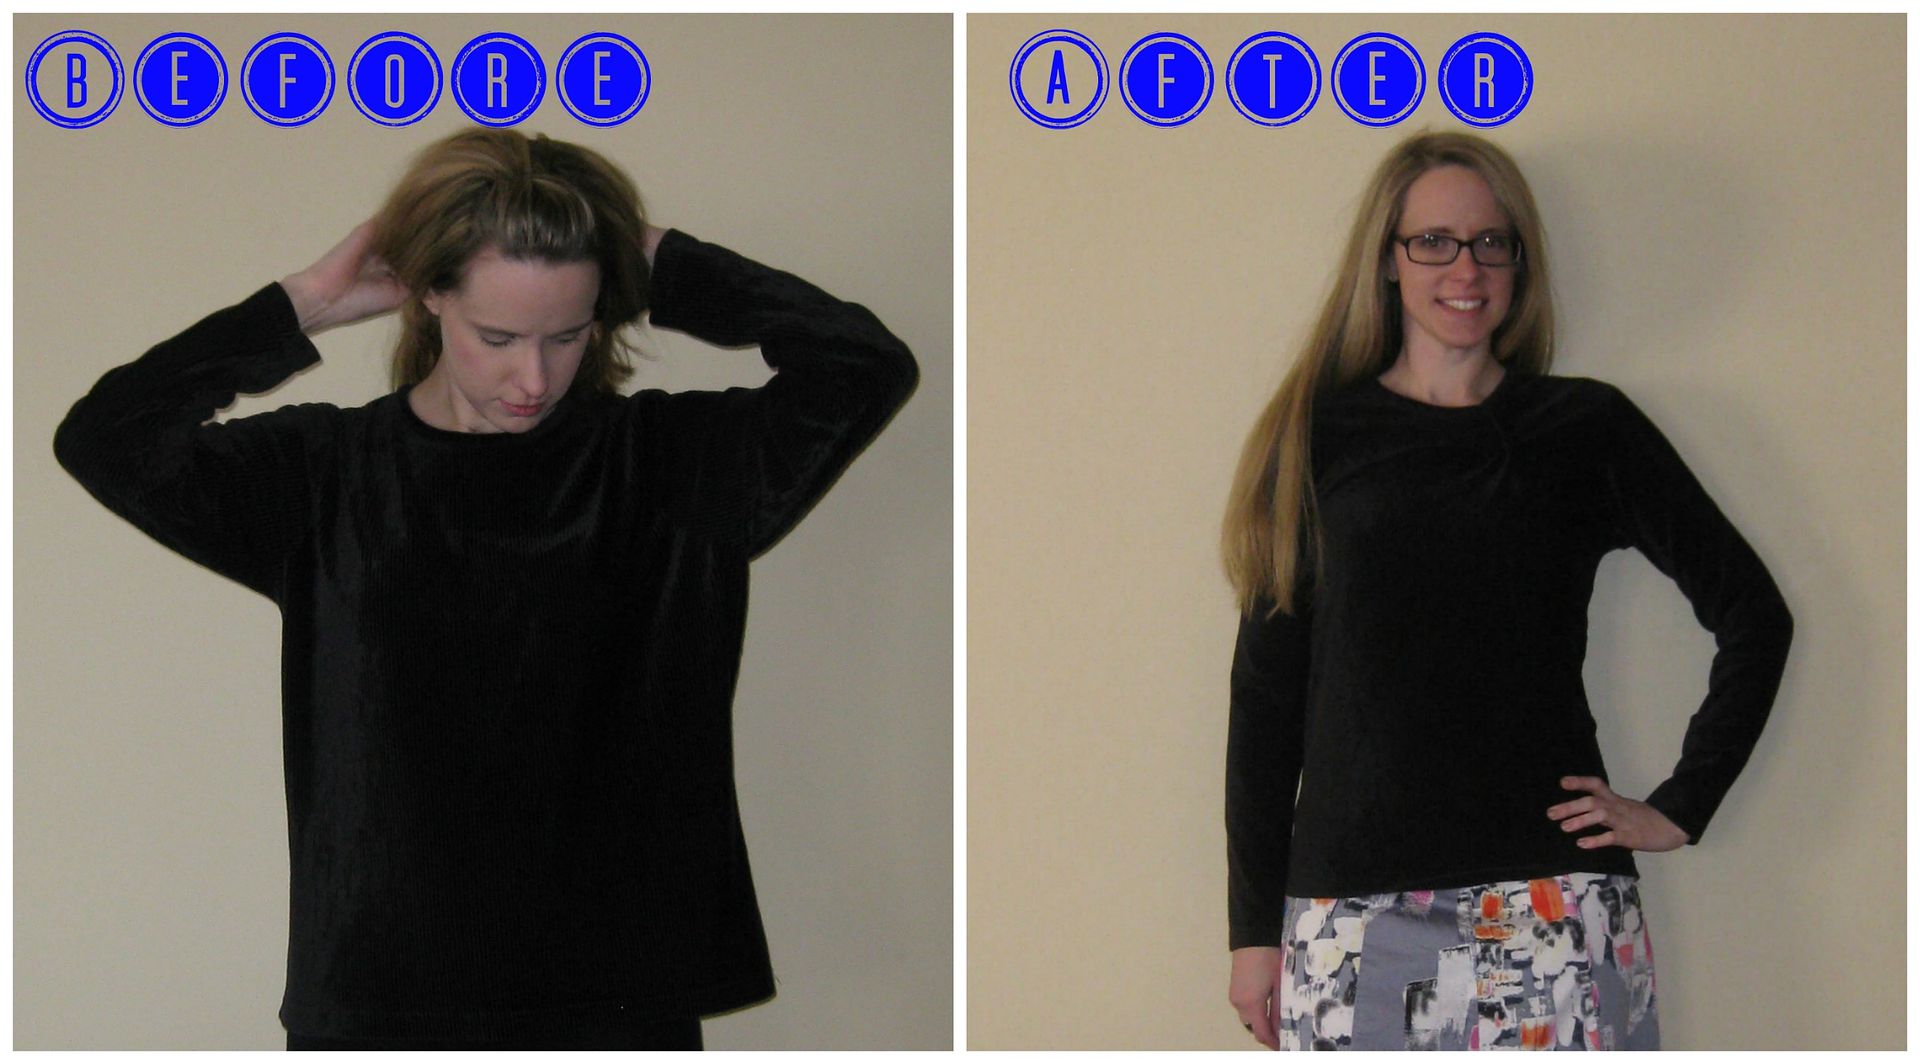
First I started with this plain grayish but kind of black top. It is semi-shiny. Truly I have no idea why I got it other than I paid next to nothing for it.

Now brainstorming what I was going to turn it into, of course cardigan came to mind. But it was just sort of meh.... I have a lot of cardigans. I wanted to do something just a hint different then the standard "let's take it in." One day while at the cafeteria, I saw a girl who had a cool shirt on where it looked as if the neckline had simply been buttoned across the top and the rest sort of hung. Not trying to be creepy, I didn't get a picture. But I decided that is what I wanted to do with this top. I simply folded over the neckline and pinned it. And very, very careful removed it from my head-easier said than done! I sewed down (see the arrow- it is subtle).  

 I then took in the shirt and tried to rebalance the front. I also took off some from the sleeves. :) Done


Recap.. a new warm (b/c the polar vortex isn't going away any time soon over here!) top with something different for a neckline. Something different.

Cheers,
Lauren
(82 more refashions to go.....)

Wednesday, January 15, 2014

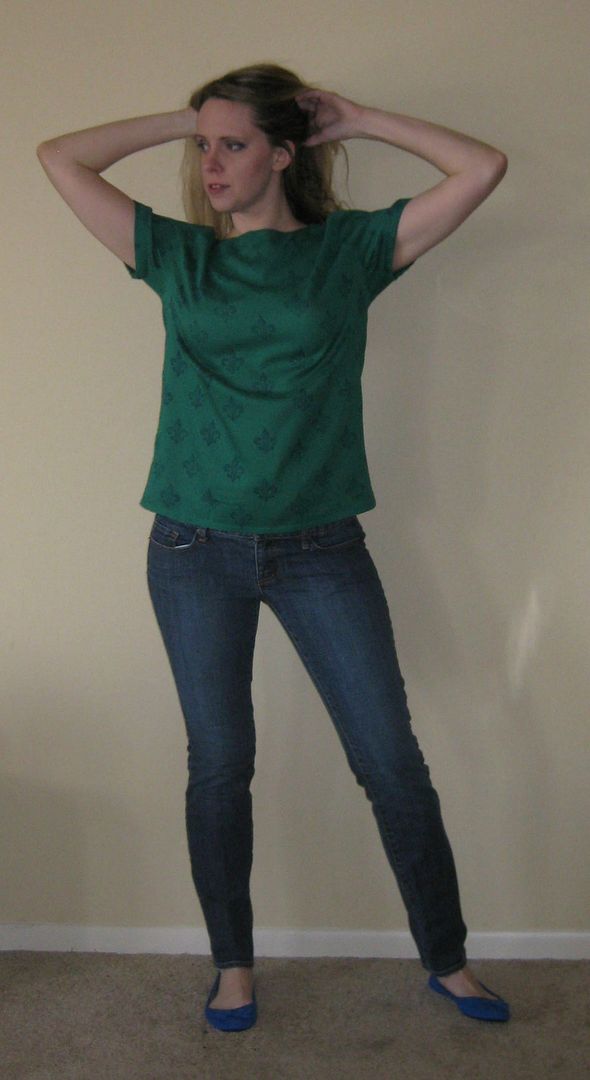
Green Fleur de Lis shirt, refashion #4

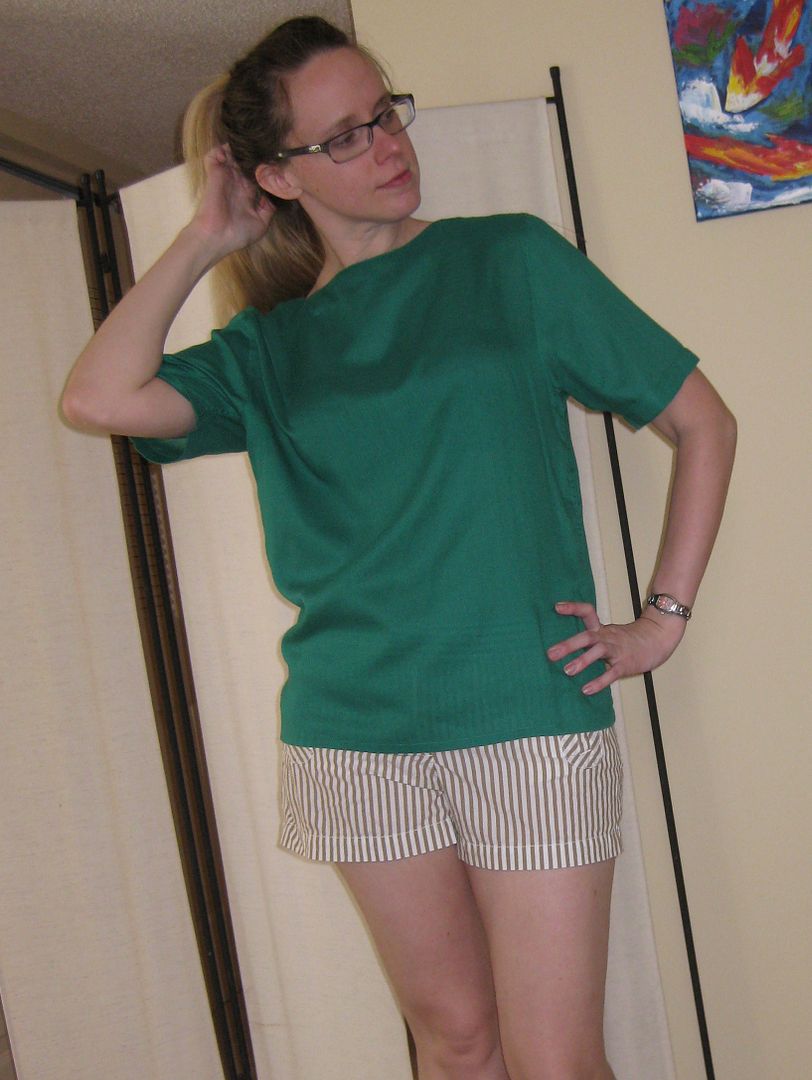
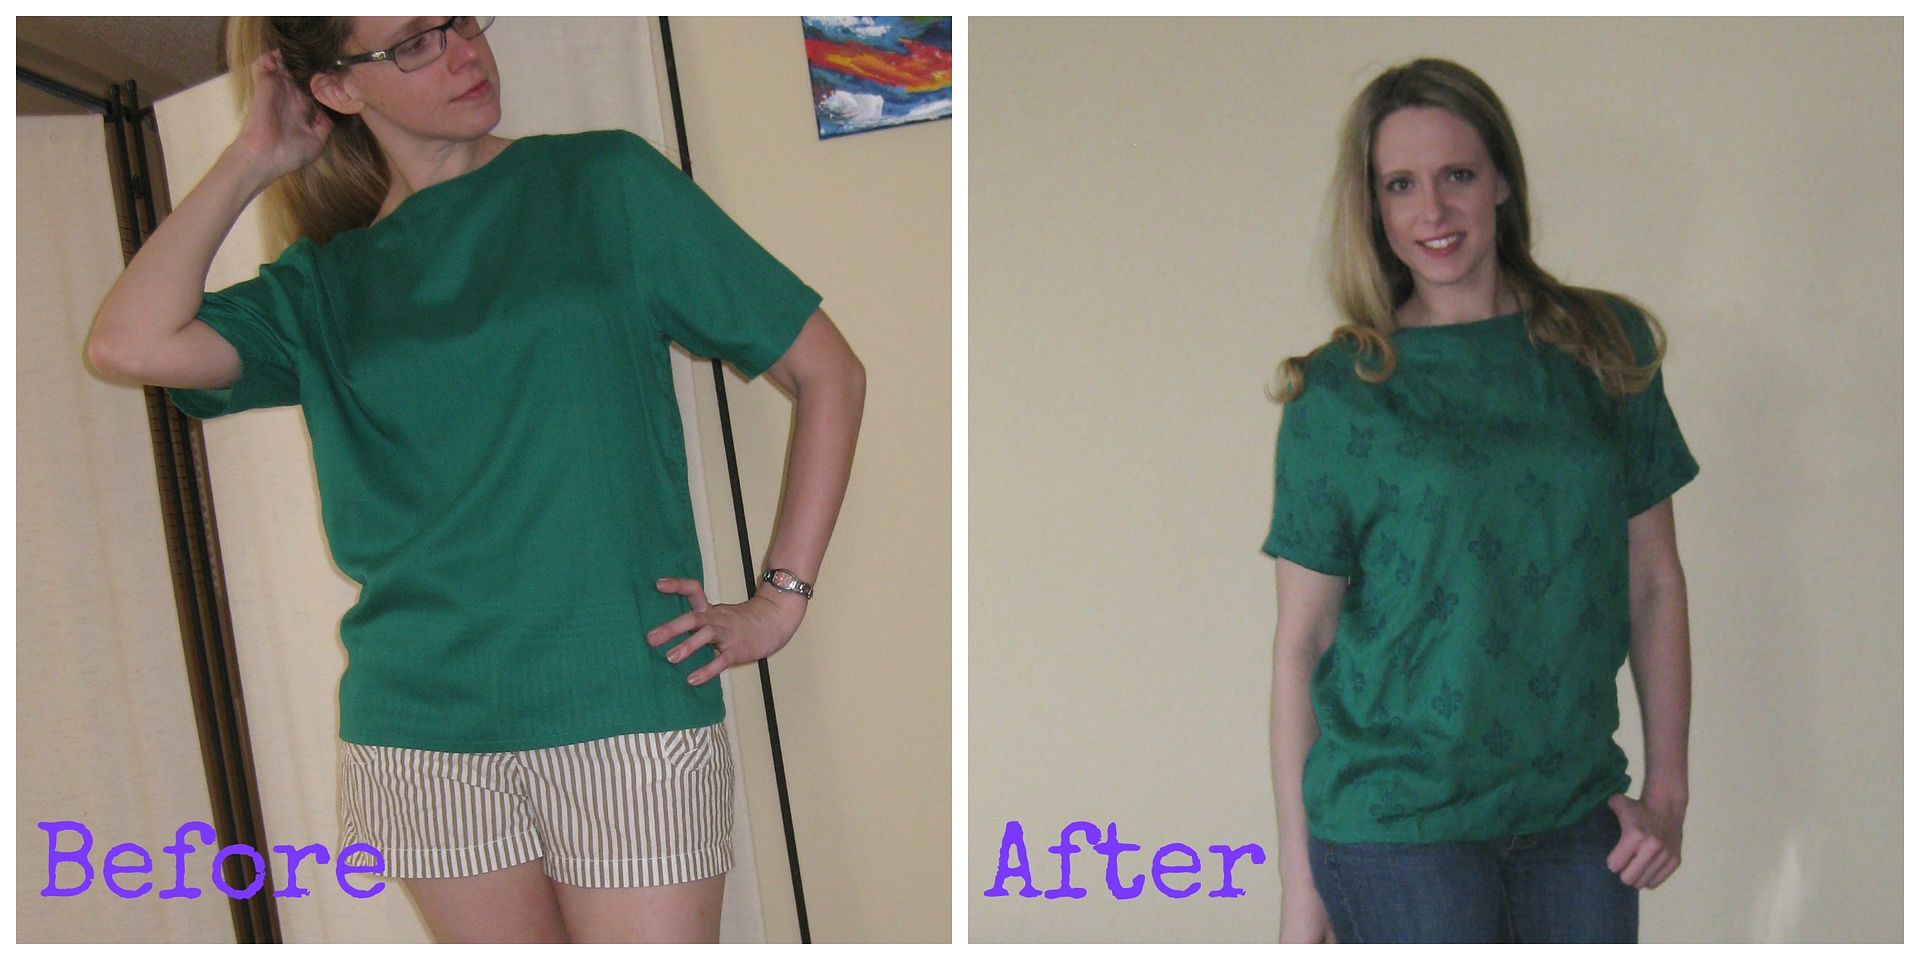
Moving along with these refashions... I got this emerald green shirt for when I was participating in Refashion Runway as a back up. It was blah, I mean it wasn't bad but I didn't have a lot of motivation to fix it nor was I inspired. It is just a standard mom blouse, cotton, bad sleeves, but the fit was pretty decent. Luckily my green dress worked out (I still love it to pieces!).

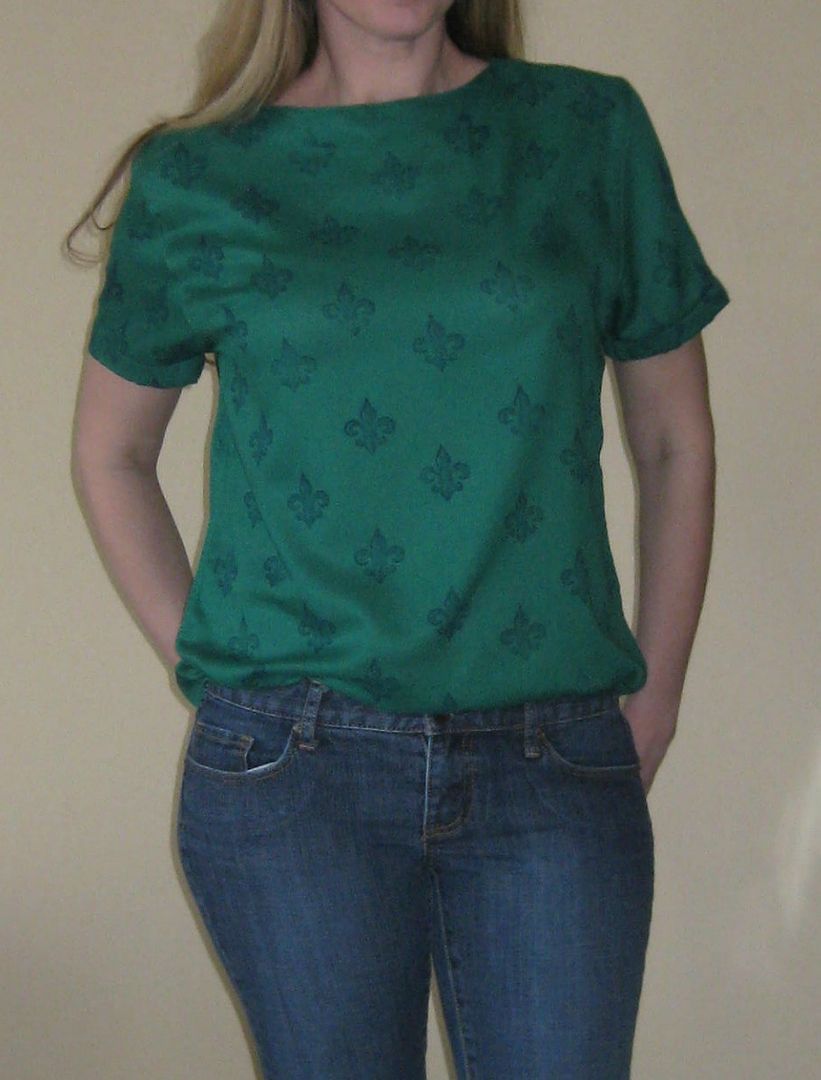
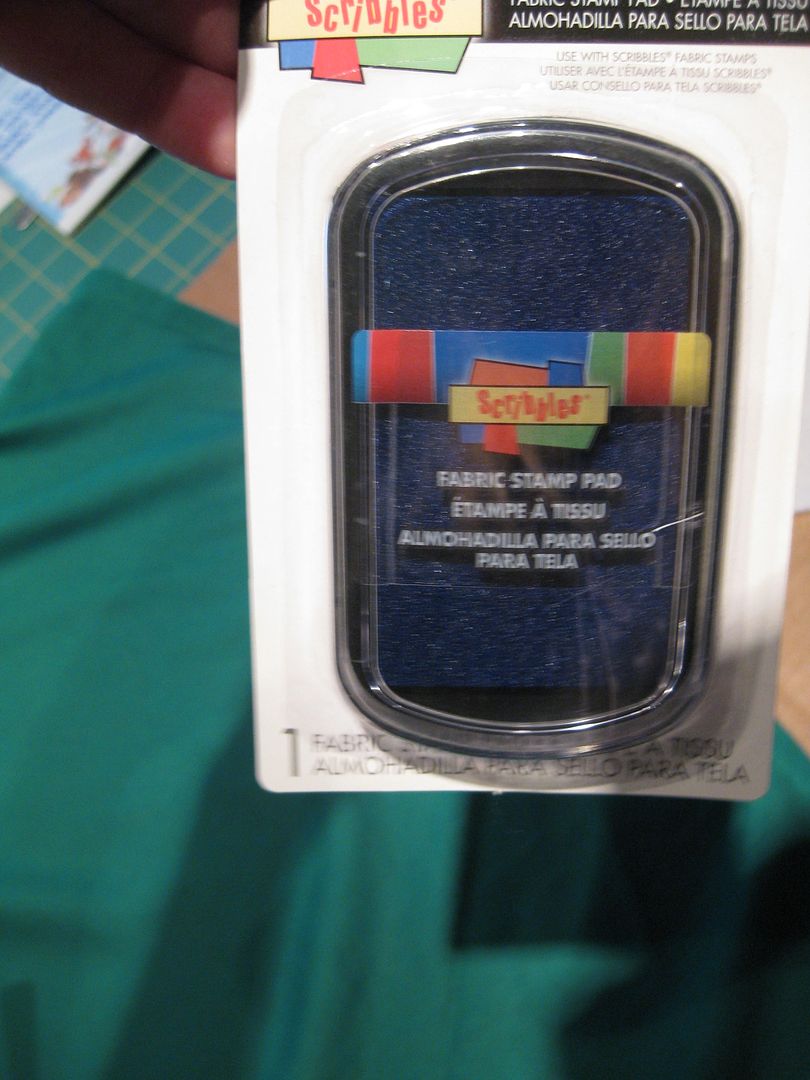
I didn't want to wear it "as is" b/c I thought it was boring. Cleaning out my supplies, because that just seems what I do all the time when I am not doing science, I found these fabric ink stamp pads from Joann I purchased on sale and thought I would try. I thought hey let's create a print!! But then got stumped on what I wanted to stamp. .....


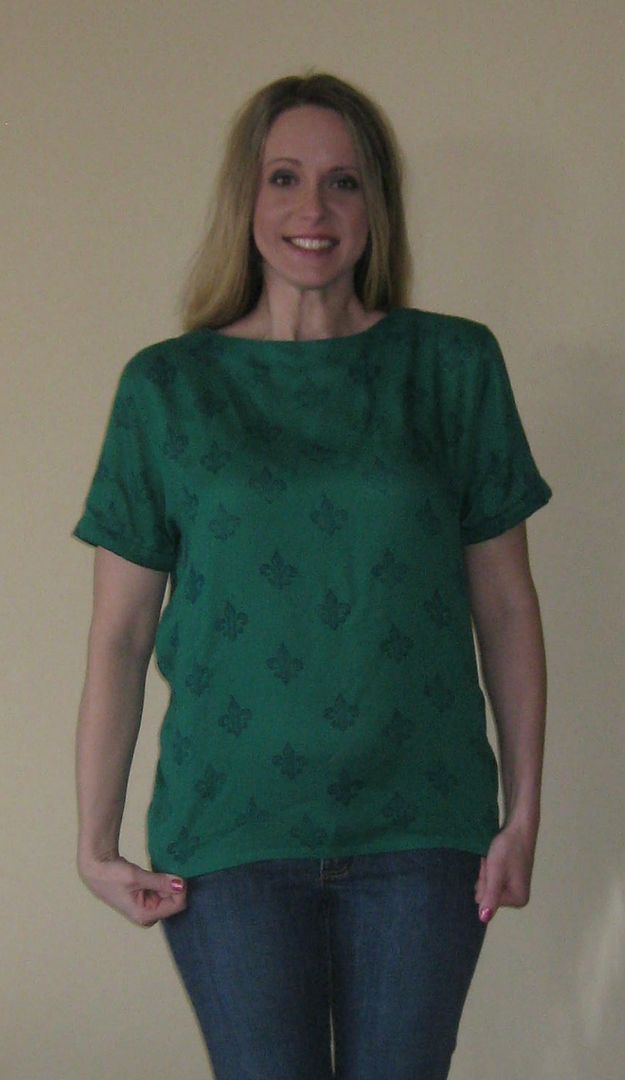
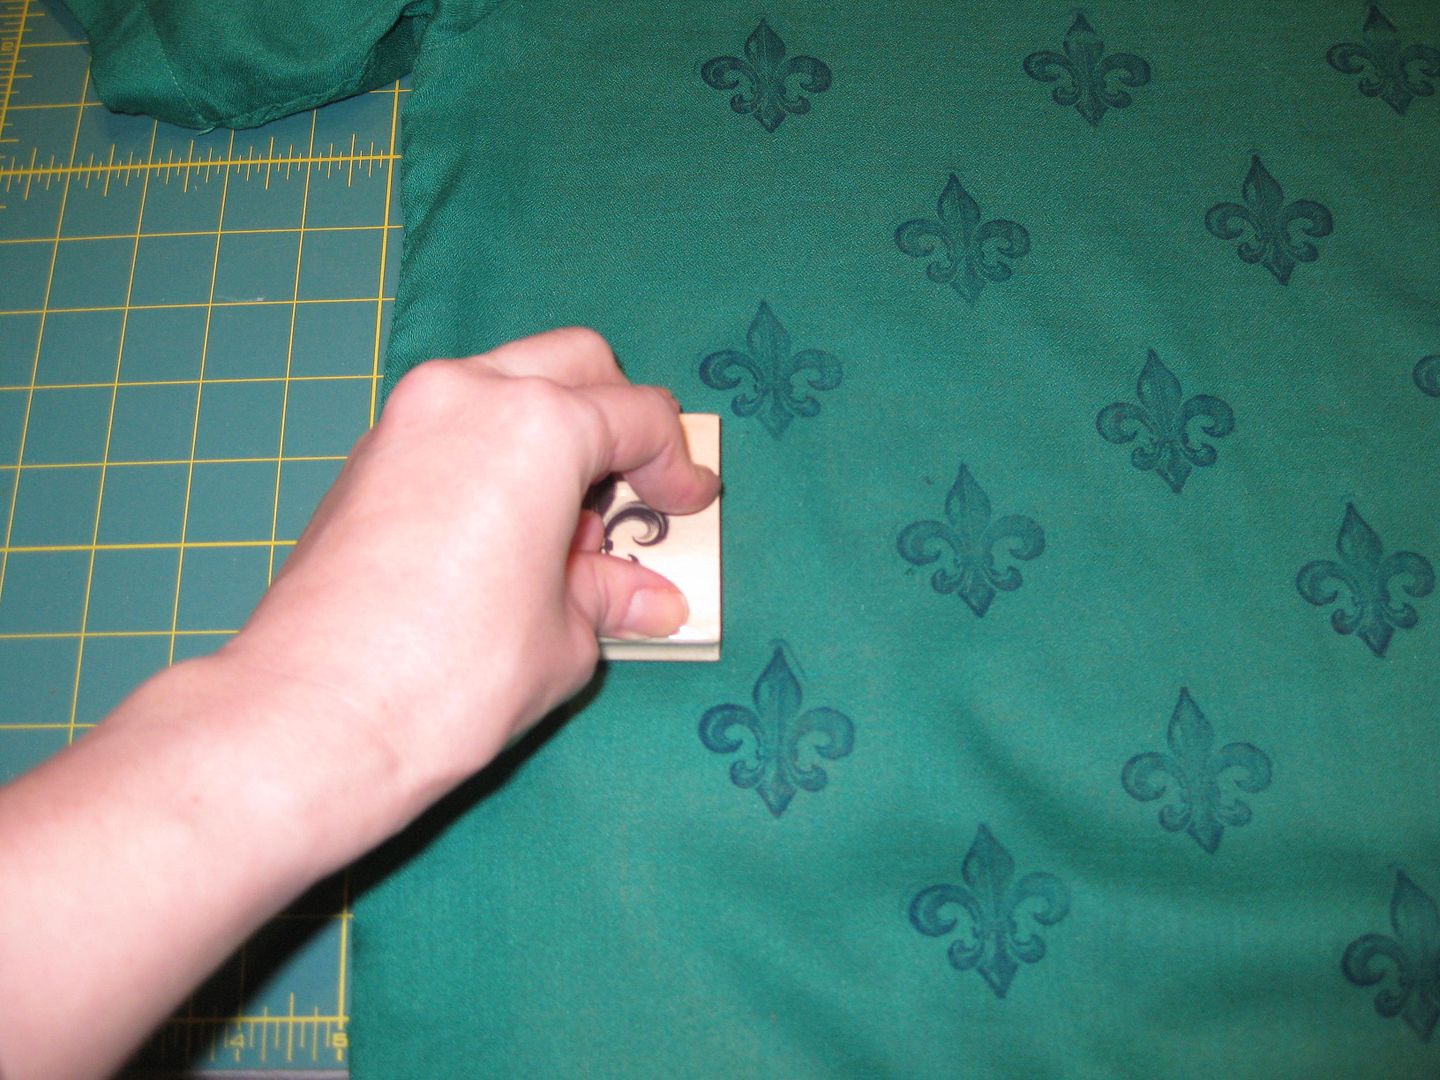
I found this fleur de lis stamp for $1 at Michael's and it hit me! This is what I want to use!! I got all excited while waiting in a checkout line, I know I got looks. It was slightly distressed looking so if I was not perfect with my stamping it would still work. First before I started to stamp away on my shirt, I had no idea how this ink was going to work. Was it going to run? Was the pad even good or had it dried out already? Can I make a top out of it? How much ink do I really have? So many questions. Luckily I quickly got the hang of it. 

Away I went with stamping. I placed a piece of cardboard in between my top so I didn't get transfer to the other side. Actually I didn't need it b/c the cardboard never turned any bit blue. So this doesn't bleed or run. I started at the neckline and worked my way down, I sort of alternated the stamp. I did this all by eye (which isn't bad!). 


Luckily this dried fast to the touch and I could quickly turn it over and work the other side.
Now I let the ink dry for 24-48 hours and then heat set with an iron and a press cloth. 

Didn't like the sleeves. Folded under 2x the hem and sewed down.

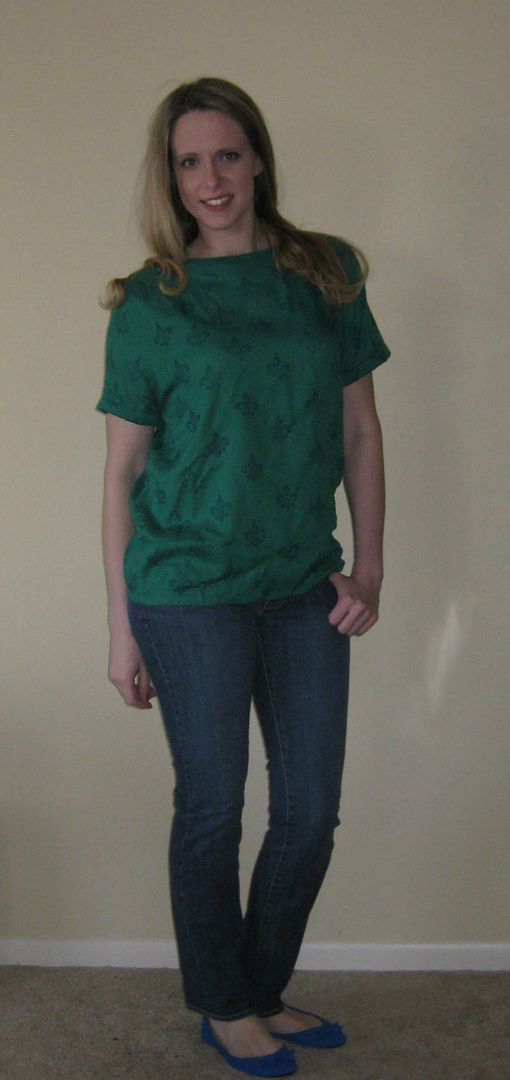
Done!! Yay! Love my new shirt. 

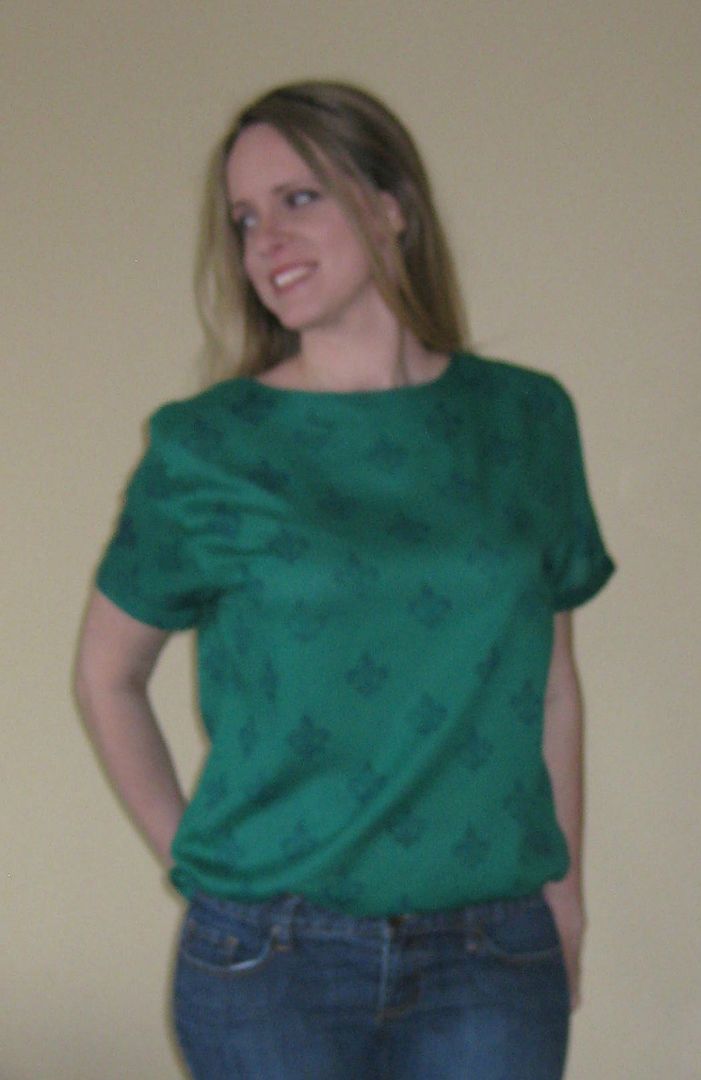
here is my obligatory goofy shot...

Yeah it needs an ironing. 

\

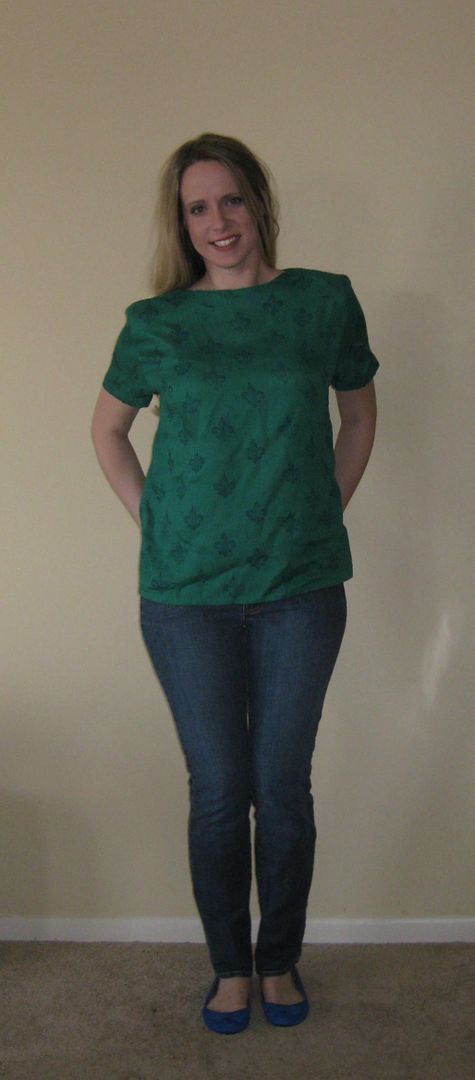
Not bad even tucked in. This would look great in a pair of shorts (though they are all packed away b/c it is January!!!). 


All in all very happy with my new printed top! 

Take one down, sew it around..... 96 refashions left!

Cheers,
Lauren
LinkWithin
Related Posts Plugin for WordPress, Blogger...