Well hi welcome to my little blog. Just my little corner of craftiness, sewing, and refashioning. I am also a newly gluten free eater so you have a little bit of recipes mixed in here.
Showing posts with label rhinestones. Show all posts

Monday, September 23, 2013

Iron Craft: Halloween, Sparkly Pumpkins

Good Golly! Life is a bit of a blur.... between Flugtag (which was awesome!), security detail, fiscal year, Sick, Sick, and more sick, Refashion Runway, Iron Craft, Work, Life!  I am just trying to make sure I get things done on time and I take deep breaths!

This next iron craft challenge is Halloween. Yes I know it is September but you know got to get started early. I debated what I wanted to do, beaded spiders? bunted banner? ???? I finally felt better the previous weekend and took a trip to Target, because my life is that exciting. I stumbled upon this different color pumpkins and realized this is what I want to do! I want to use up some of my bling on some pumpkins!!
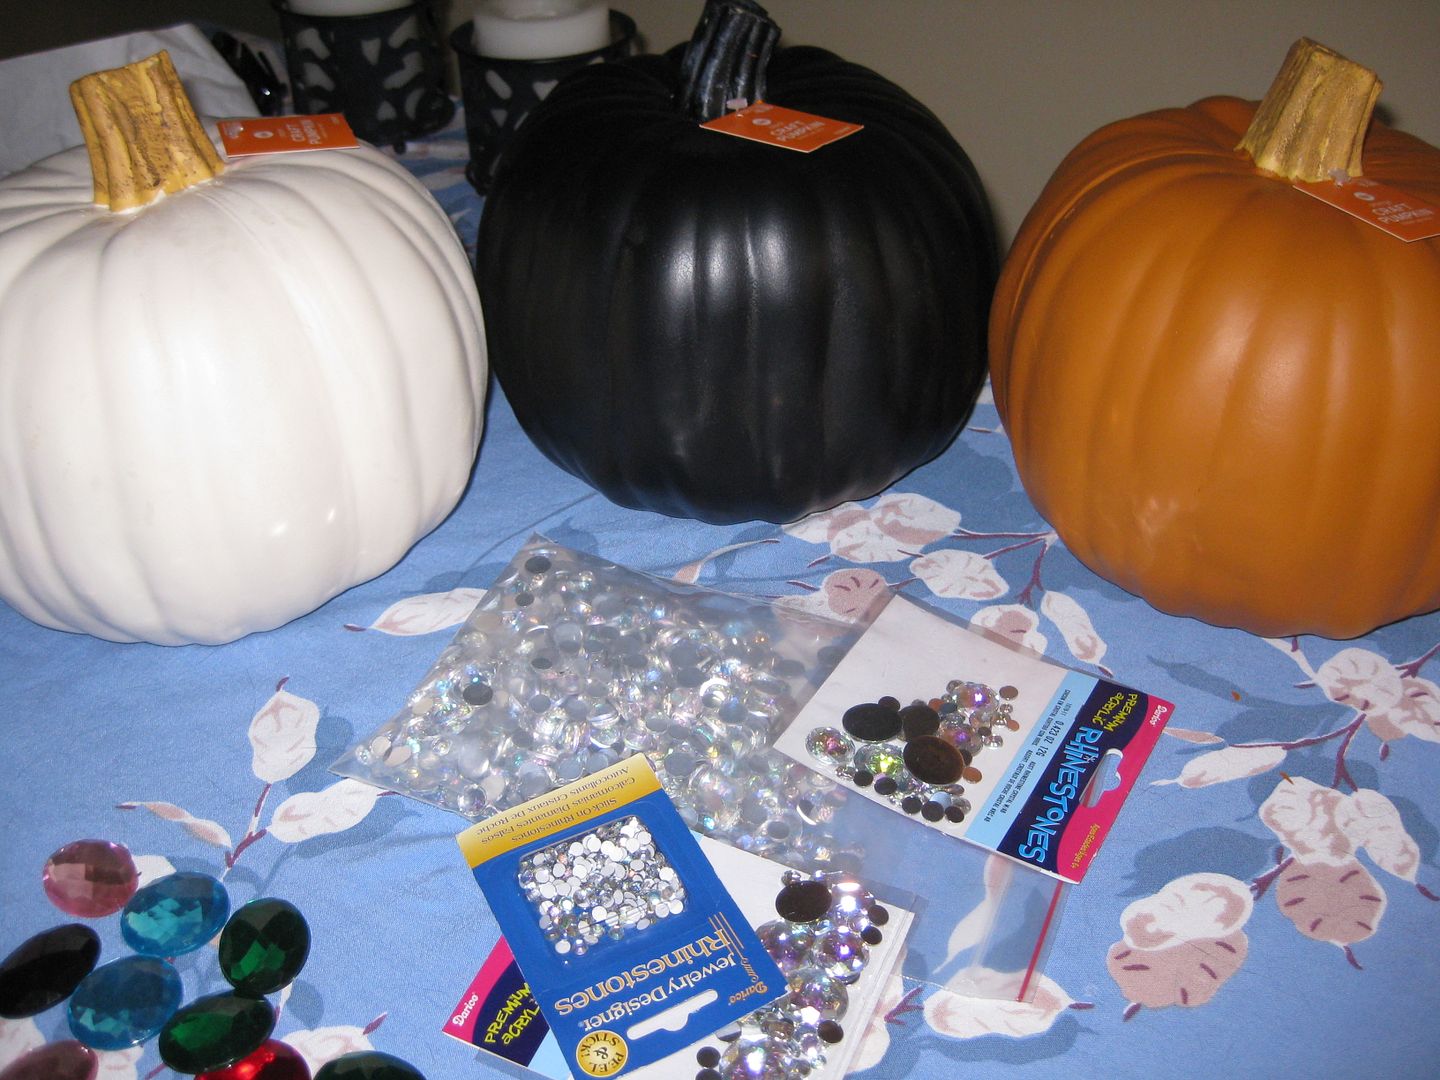

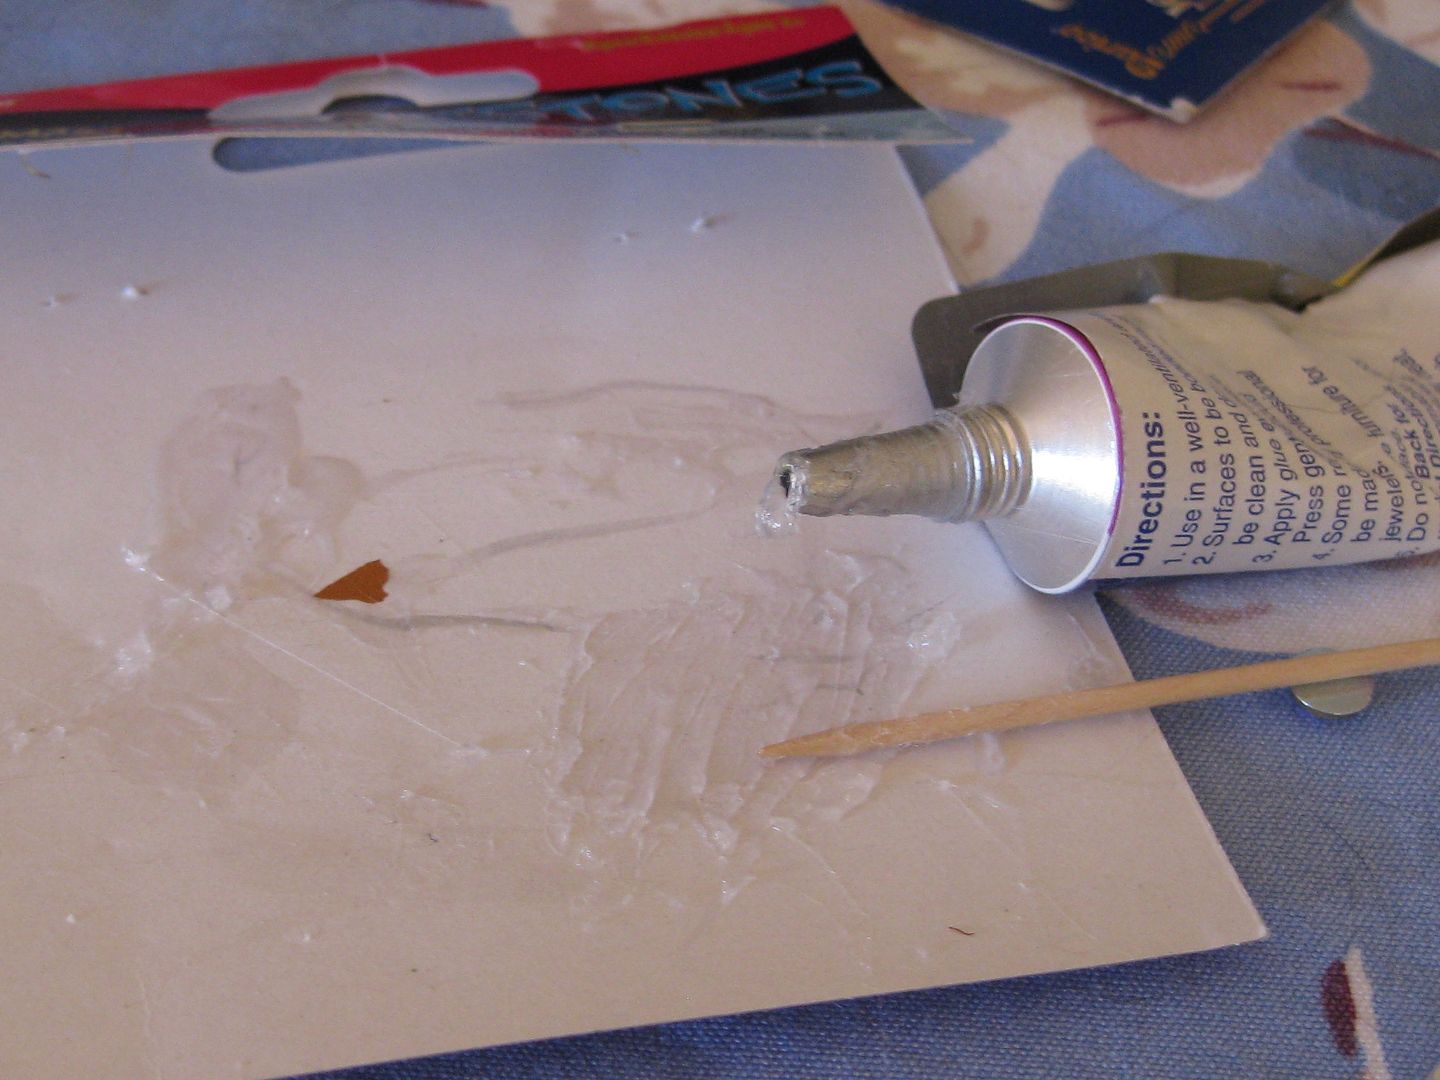
Giddy! I simply just put my clear AB rhinestones (in various sizes) on with some glue using a toothpick.
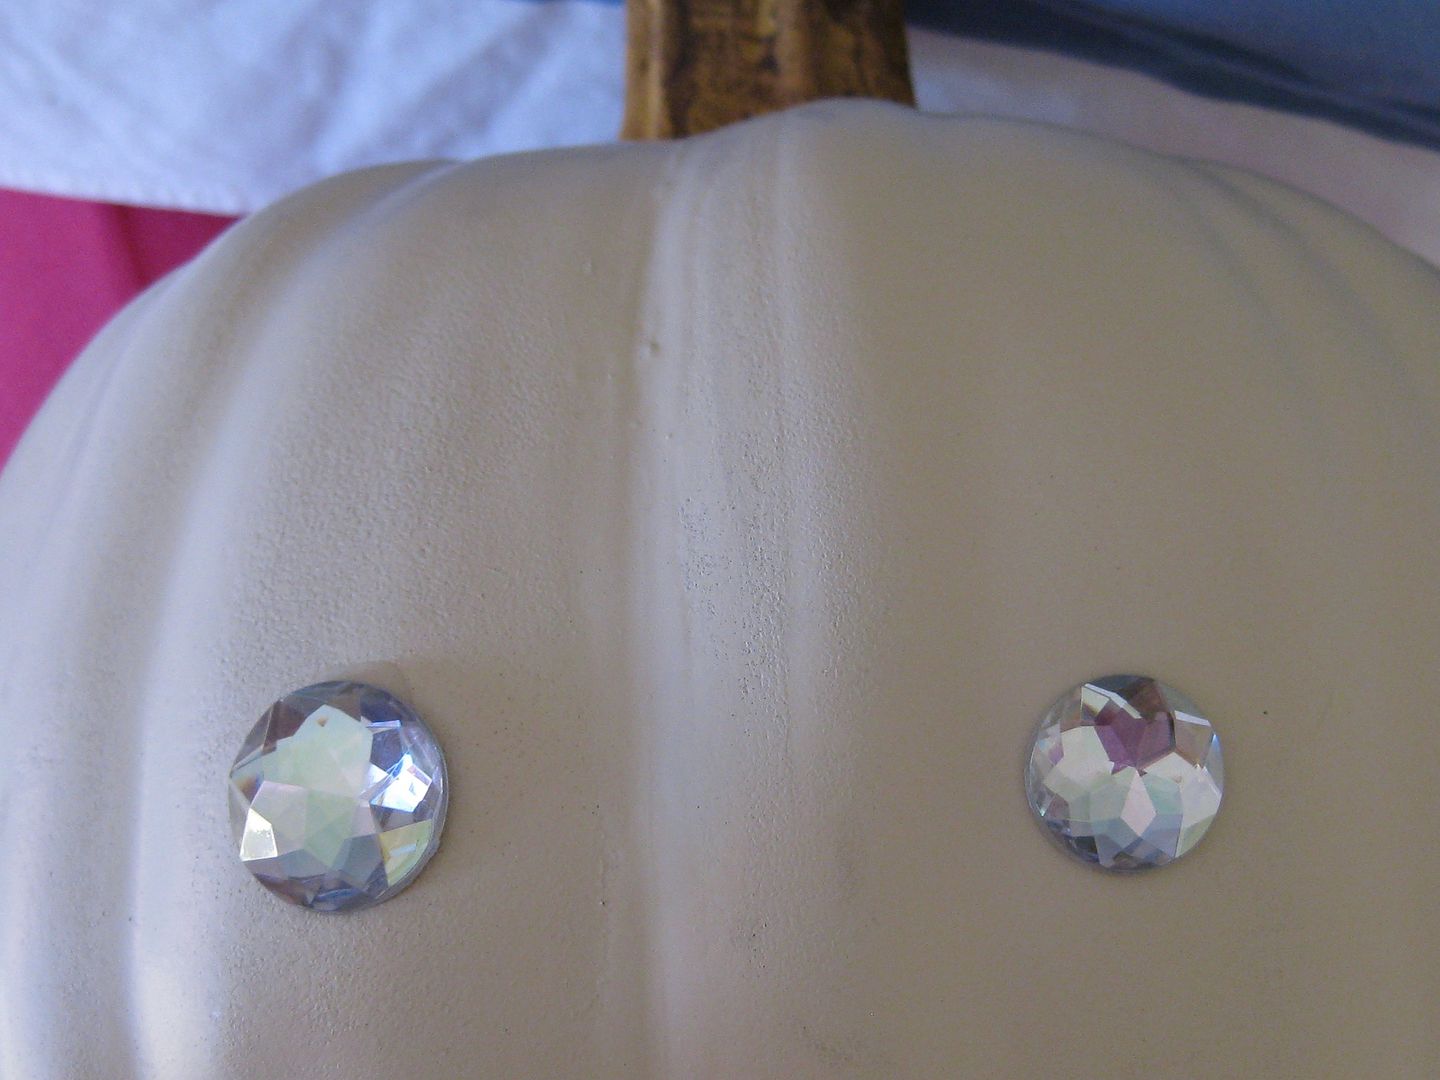
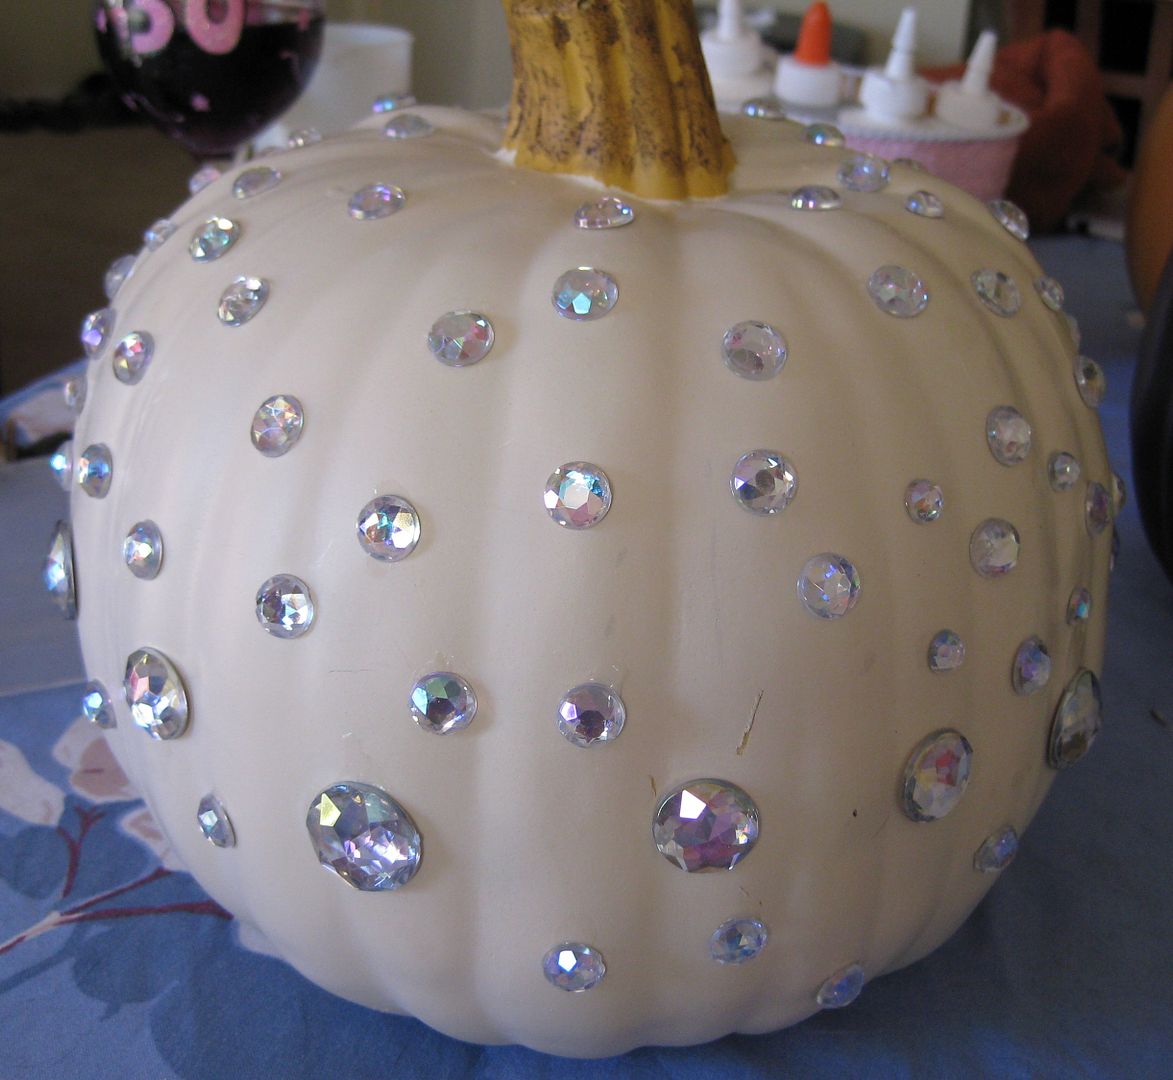
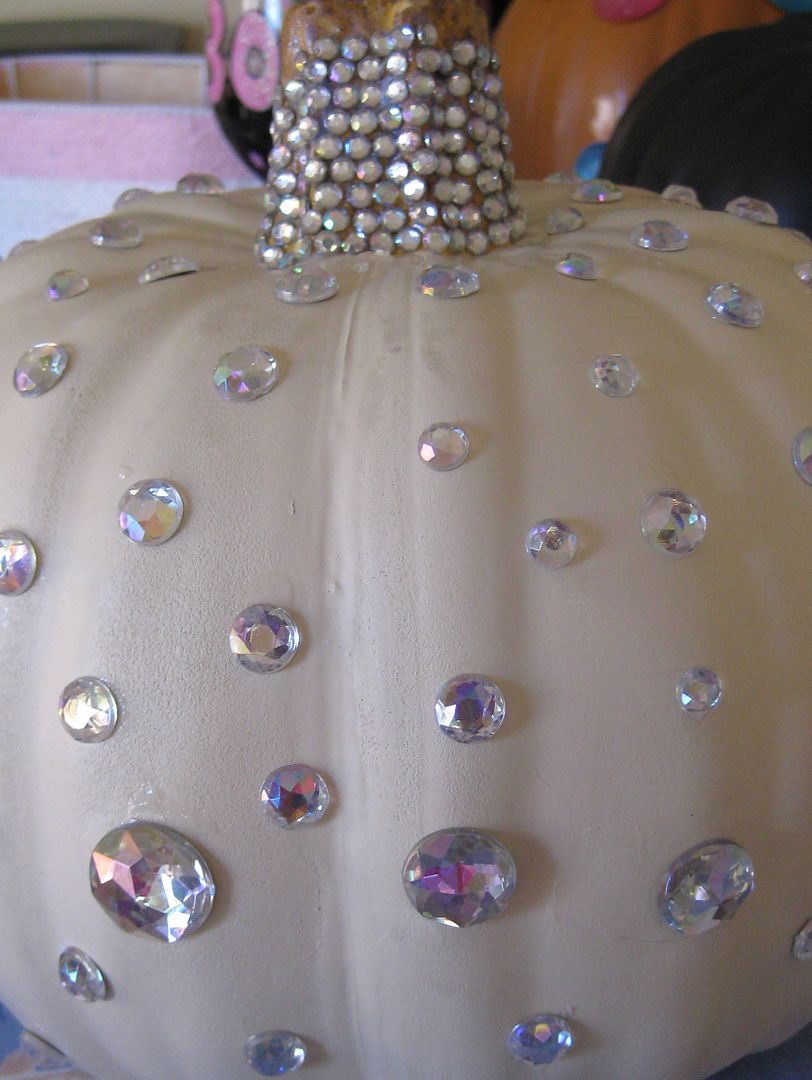
As you can see I added small rhinestones to the stem. Go big or go home!

The white one reminds me of Cinderella's carriage. The black a spiderweb. The orange... err just a sparkly pumpkin..
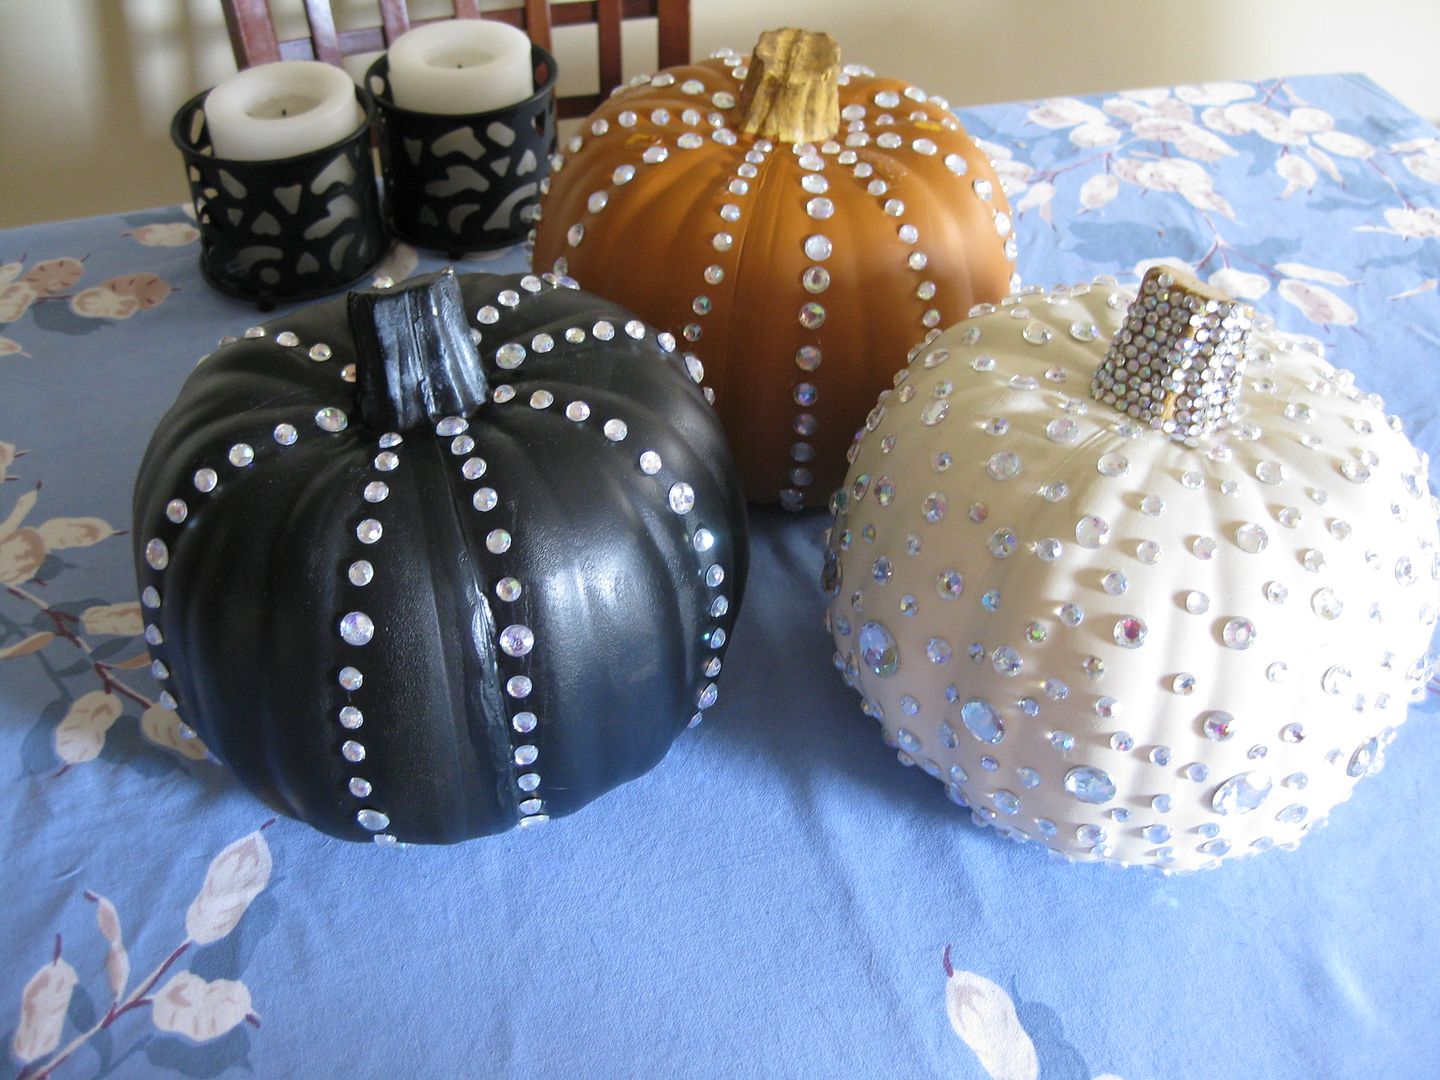


I love my new halloween decor! I will start decorating soon for fall. :) Yes! Actually just a reminder I am competing at Refashion Runway. My plaid project is up for a vote. Please go and check out the projects and vote! If I make it to the Halloween week, OMG my refashion costume I have in mind will be epic!!! I am so excited for this!

Cheers,
Lauren

Monday, September 9, 2013

IC 18- Shinny shinny

OMG I could not have asked for more from Iron Craft. Challenge is sparkly! OMG this was all up my alley. But.... I didn't have much time with the Labor Day Holiday. And then I went to Florida for my cousin's bridal shower. So I had to come up with something.

Actually I totally had a project in mind cleaning out my closet a few weekends ago. My parents went to Destin and visited one of my favorite restaurant McGuire's.

 
But for some reason I never wore it. The fabric is a tad itchy. I wanted to convert it to something that I could use more often. I love the saying! Definitely words to live by!
 
I had a small piece of canvas. I sprayed that with some spray adhesive.
 
Cut around the design and around the canvas.
 
With some hot glue, I folded over the fabric. Then I attached a magnet.
 
I now have a wonderful frame that I can attach to my fridge! Yay!

Waho for another Iron craft challenge done. I would have done more had I not been traveling.

Cheers,
Lauren

Wednesday, January 23, 2013

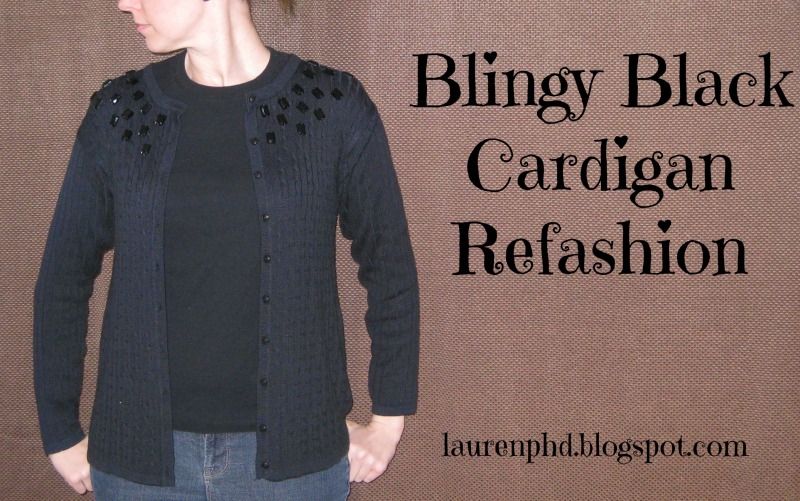
Rhinestone Black Cardigan Refashion

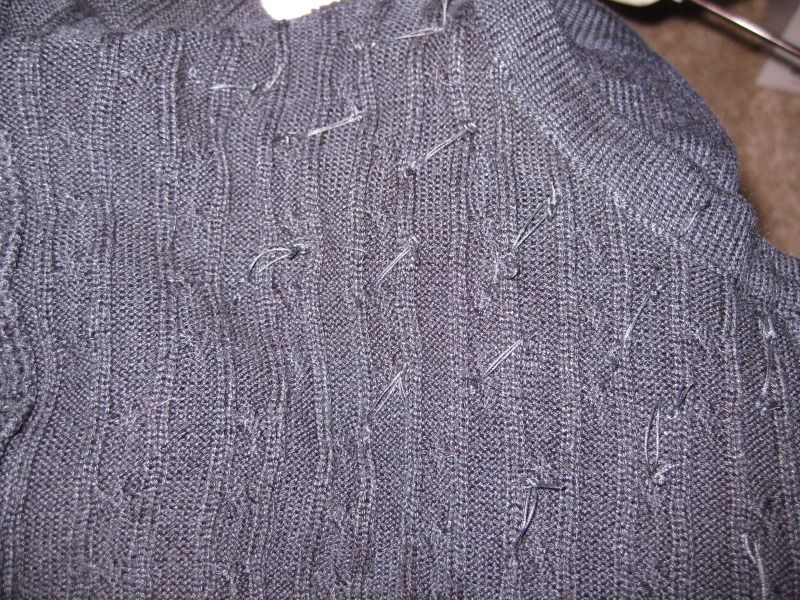
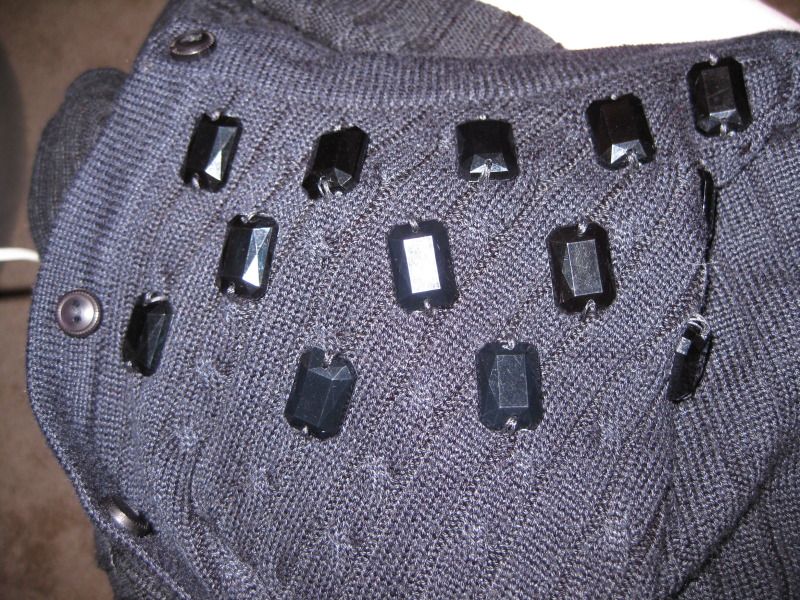
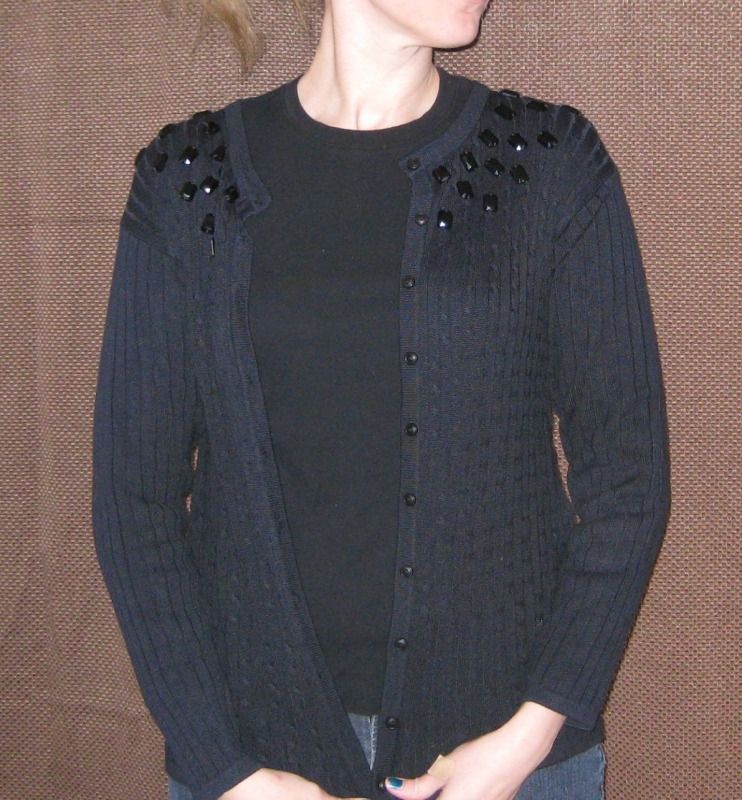
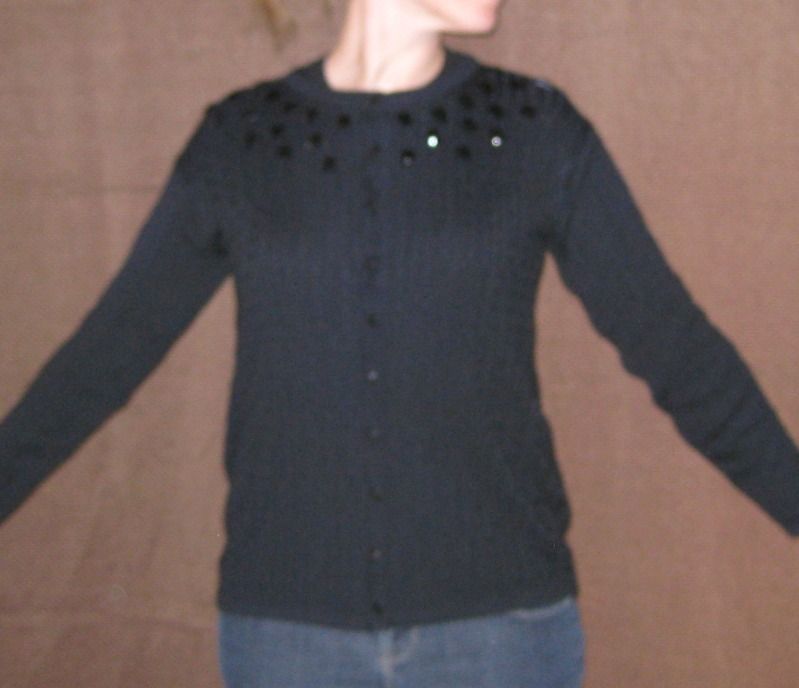
No before picture but it was a big black sweater cardigan. Pretty boring. Needs fitting and bling! Enter scraped rectangle sew on rhinestones. I HAND sewed each one individually. First I came up with a design (these are completely not attached in this picture- I had to use this as a reference)

Hand stitch each one on.... it took some time. 

From the front

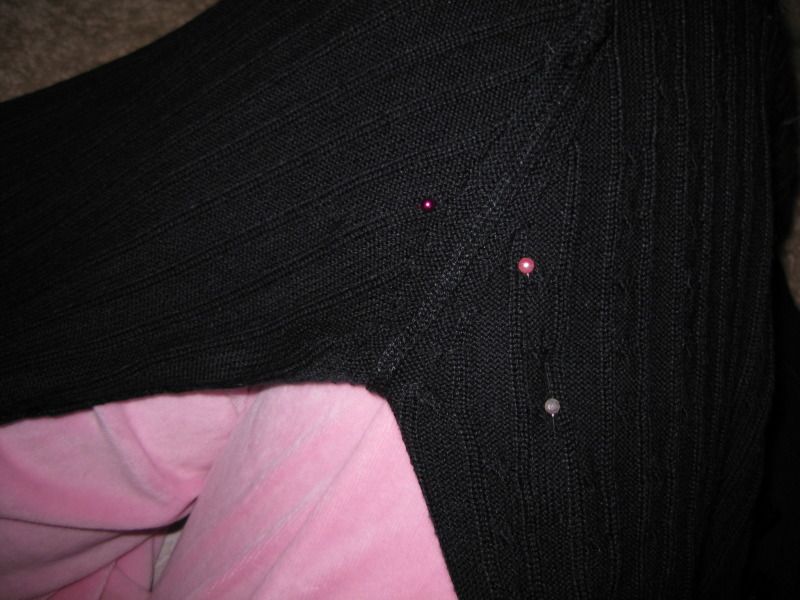
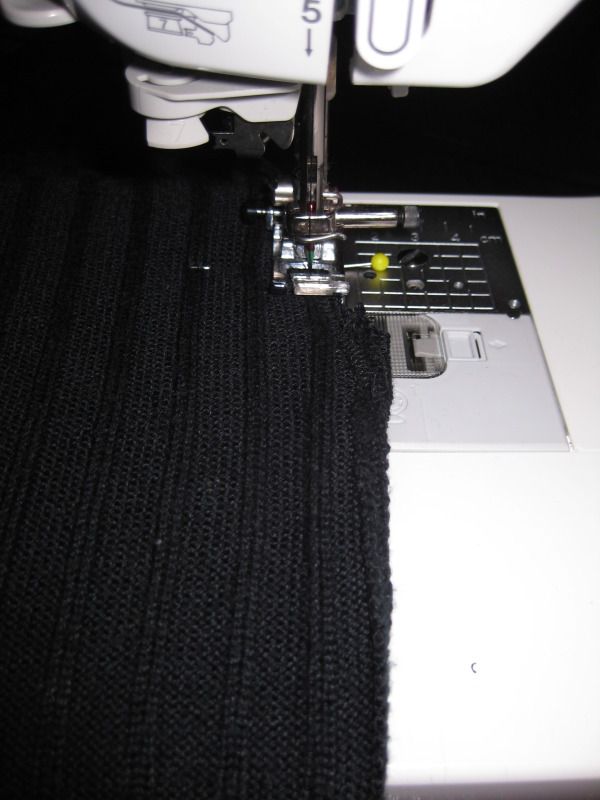
Now take in.... I am getting really good at putting a few pins (like 3!) and I know exactly how to take the sweater in. I have done it that much now! 

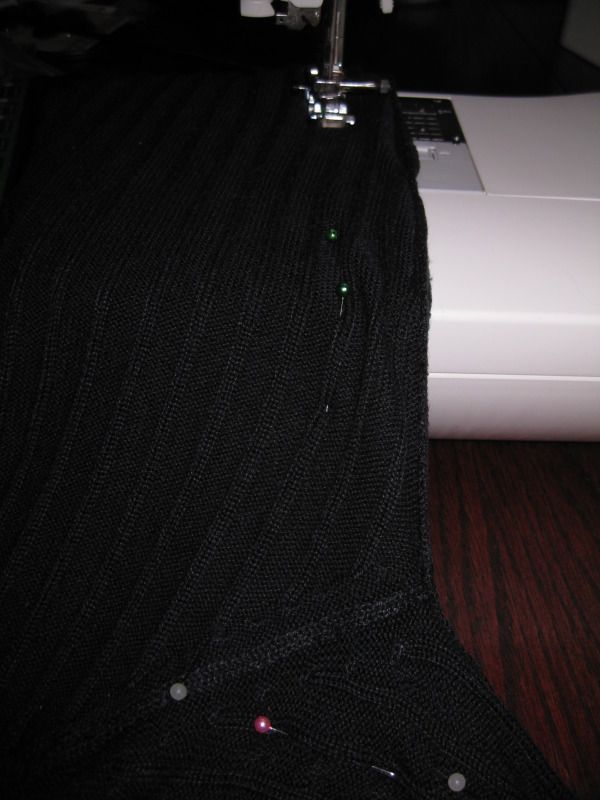
Sew! 

Cut off the excess and zig zag stitch to reinforce and stop fraying. 

Done! I love my new cardigan! 


And it is no longer frumpy and saggy. Perfect for work! Got to stay warm!

xoxoxo,
Lauren
Wednesday, January 2, 2013

My Next Style Project Day 2: Easy bling shirt

Day 2 of 8! Today is just a simple shirt that adds a touch of bling to a shirt you may already have in your closet. This one I used for St. Patty's day since it was green. But I thought it would be great to add something shiny to those polka dots!

So I just randomly scattered the rhinestones and ironed them on. It is best to iron it with a press cloth.

And the biggest question I get is do they stay after they are washed? Yes they do.Here is the end picture. It is simple with just a hint of bling.

Hope you enjoyed today's tutorial. I thought I had more pictures but I have lost my pictures when I moved I am still searching. It is a mystery!

xoxoxo,
Lauren
Tuesday, January 1, 2013

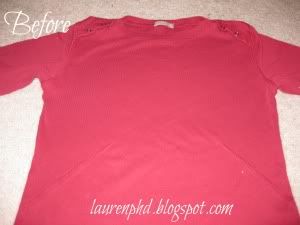
My Next Style Project Day 1: Kiss me shirt

So Day 1 of  My Next Style Project is here! Today I made a shirt that is a great shirt for Valentine's Day using the iron-on letters and the iron on rhinestones! First I started off with this plain red long sleeved shirt!

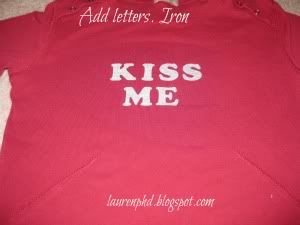
Next, I ironed on letters "kiss me". 

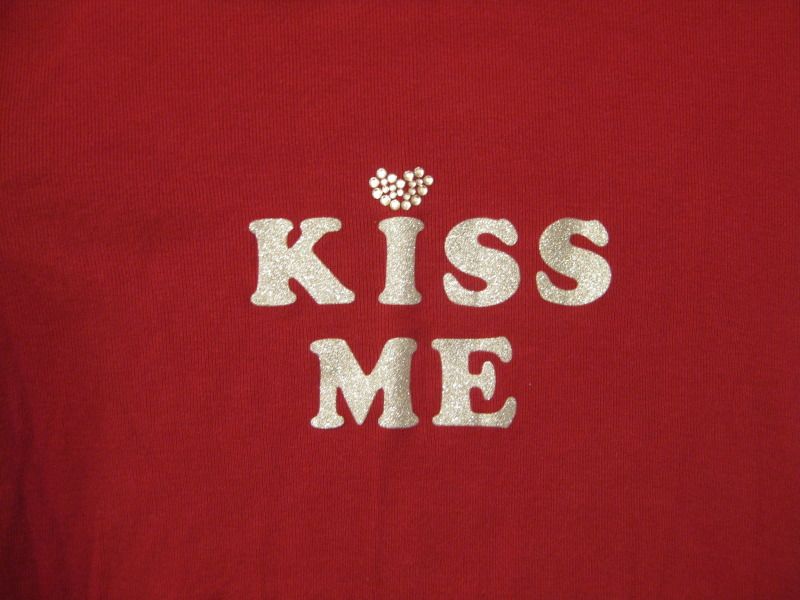
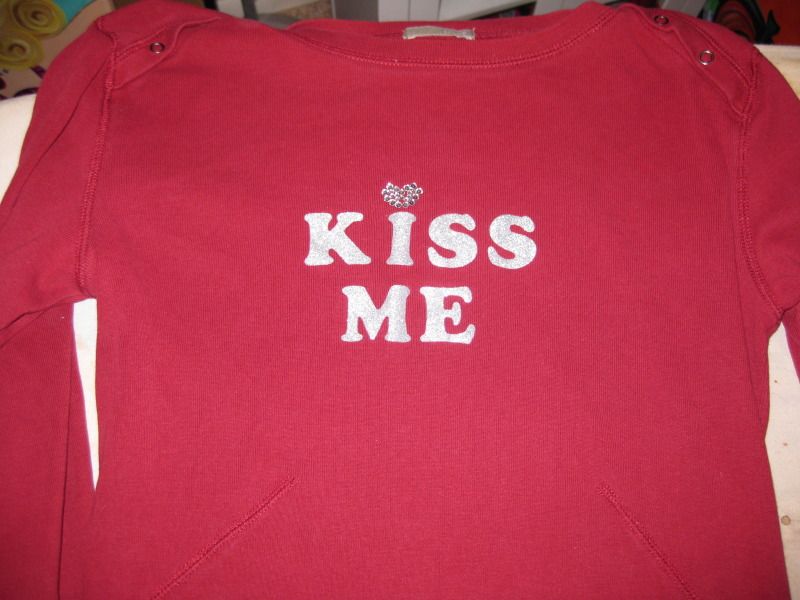
I thought this was plain and needed some bling. So I added a heart of rhinestones to dot the i and simply ironed them on! It was that easy!


Fabulous! Perfect for Valentines Day! Especially with this cold weather! Thanks again to Next Style for these craft products. Tomorrow is another easy project with their iron-on rhinestones.

xoxoxo,
Lauren
Thursday, December 27, 2012

Rhinestone Snowmen

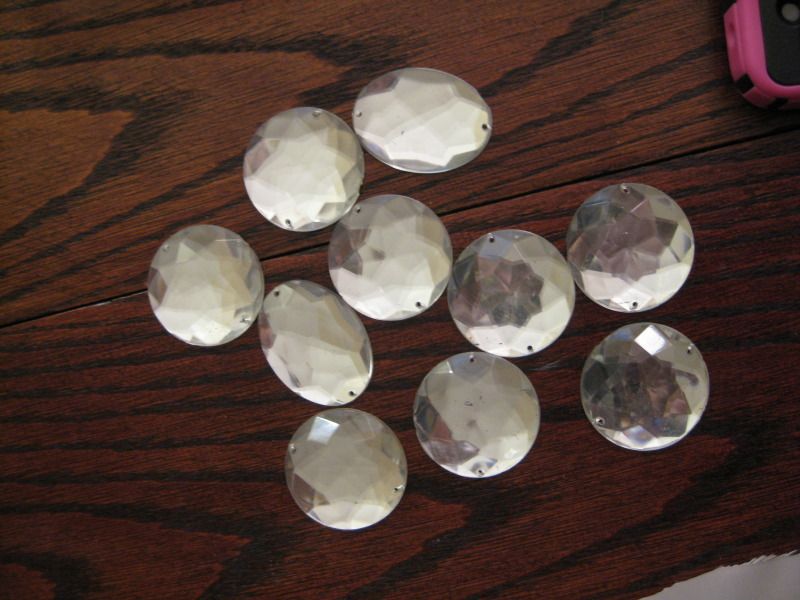
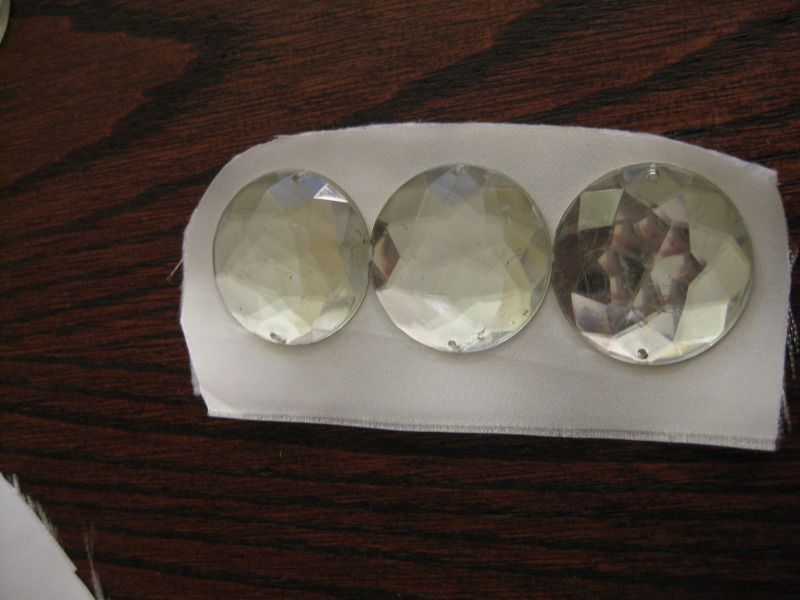
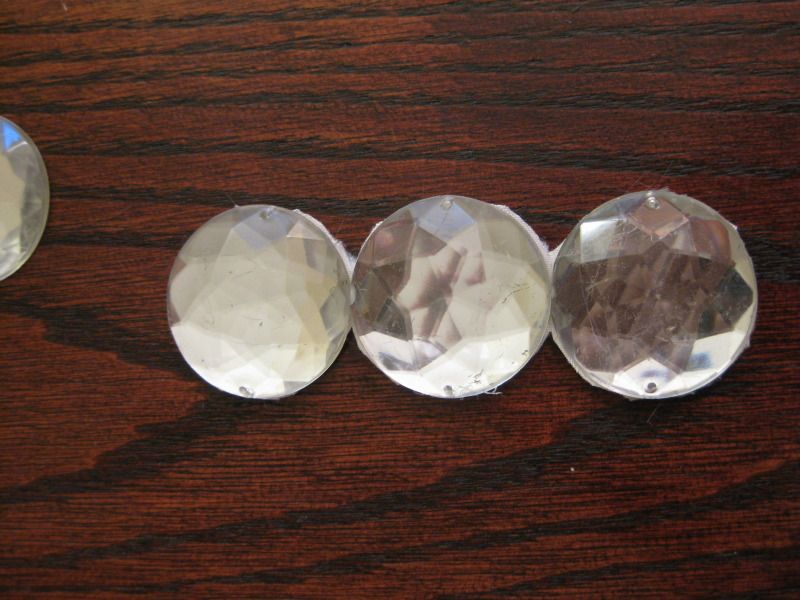
I had these large rhinestones that I didn't know what to use them for. I don't need another bellydance costume. Then I thought I would make snowmen out of them. And then turn them into ornaments. 

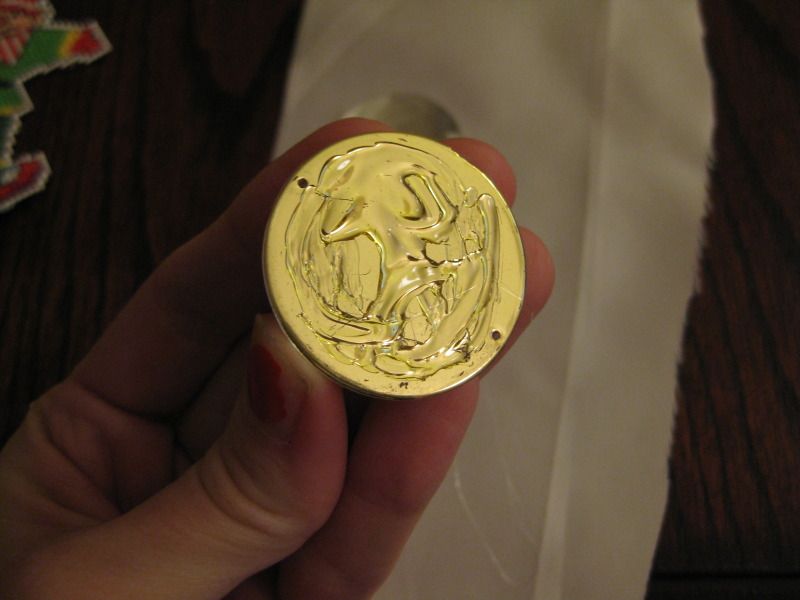
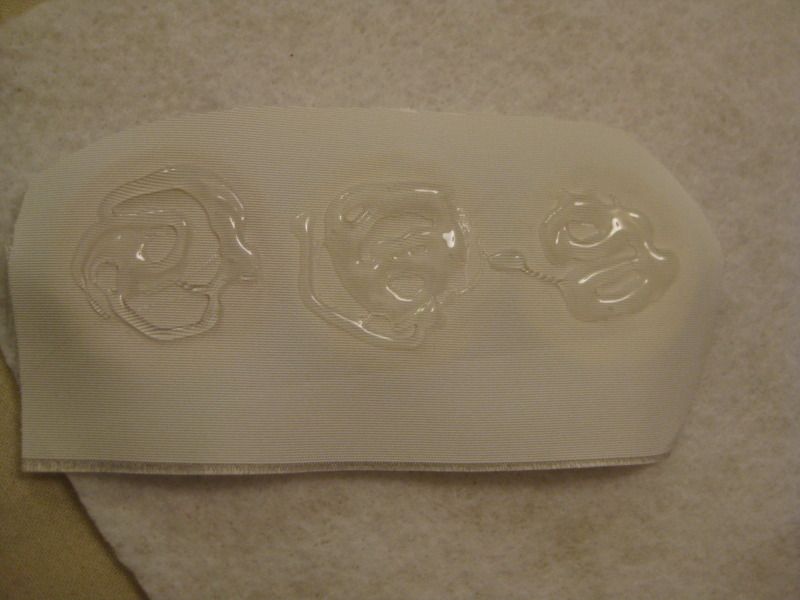
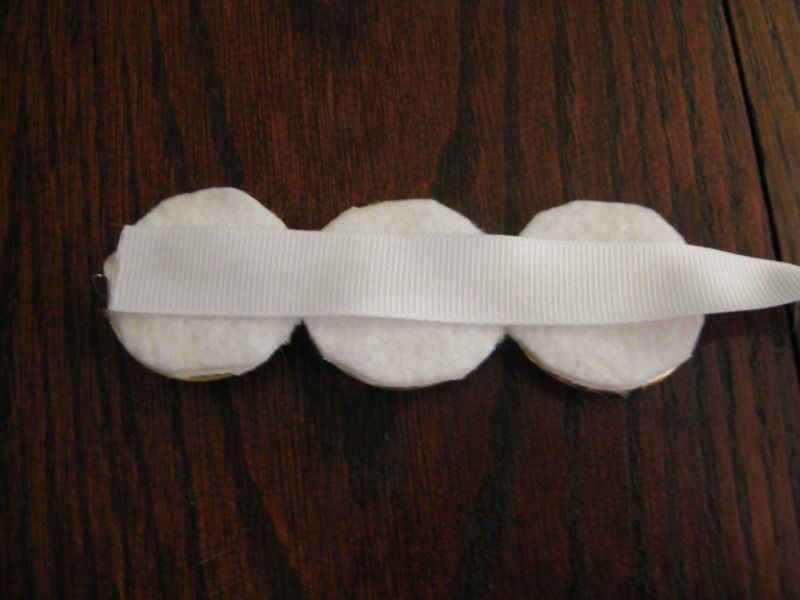
First add glue. Yay for hot glue!

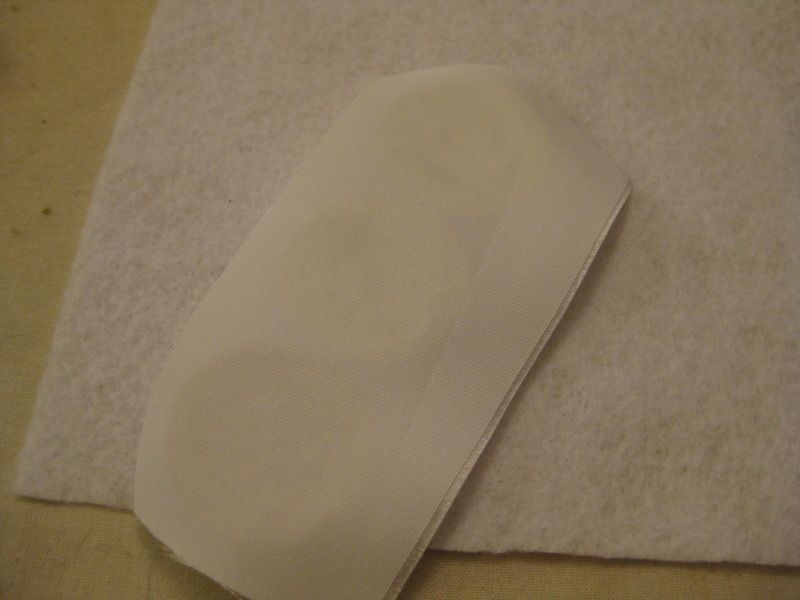
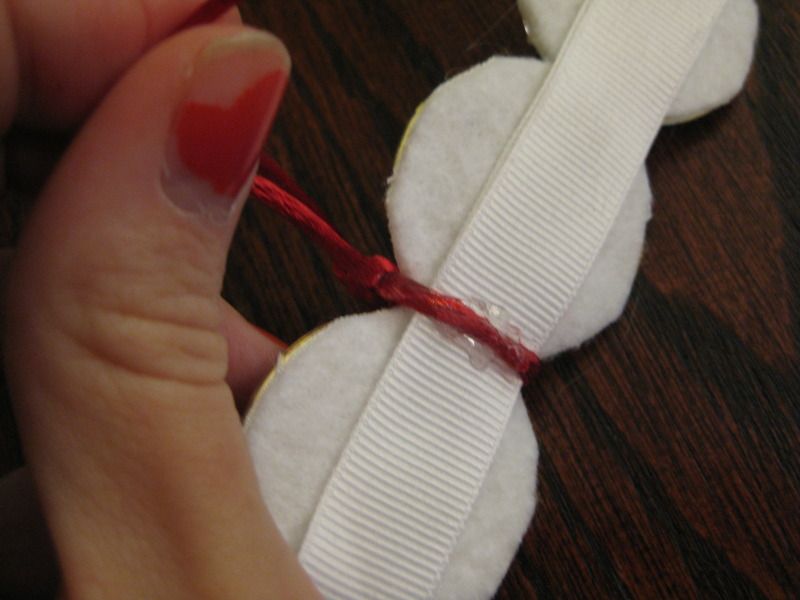
In the first one I made I glued it to some satin. I only did this once b/c then I had to cut it away. That was not something I wanted to repeat. 


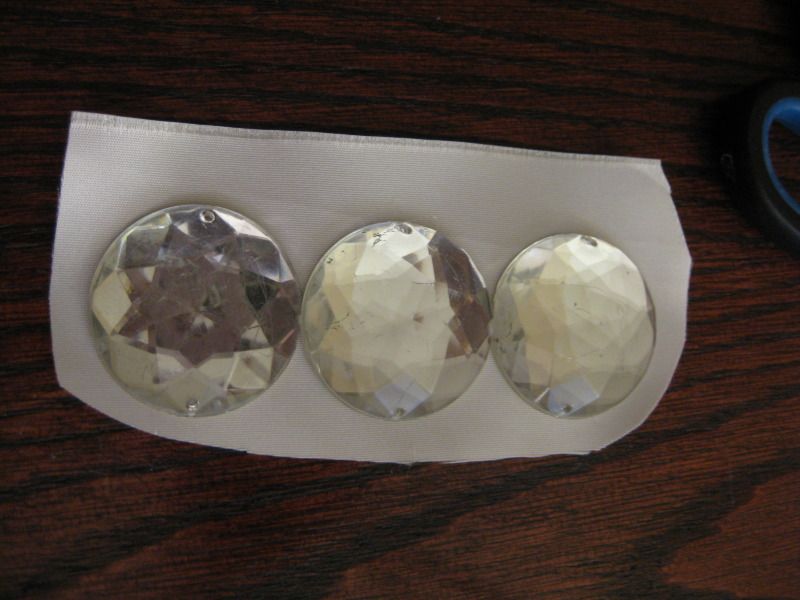
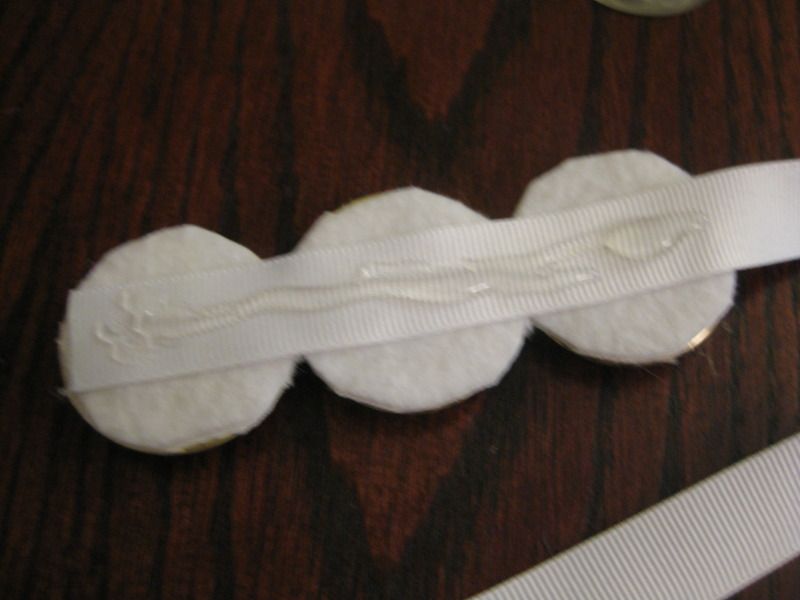
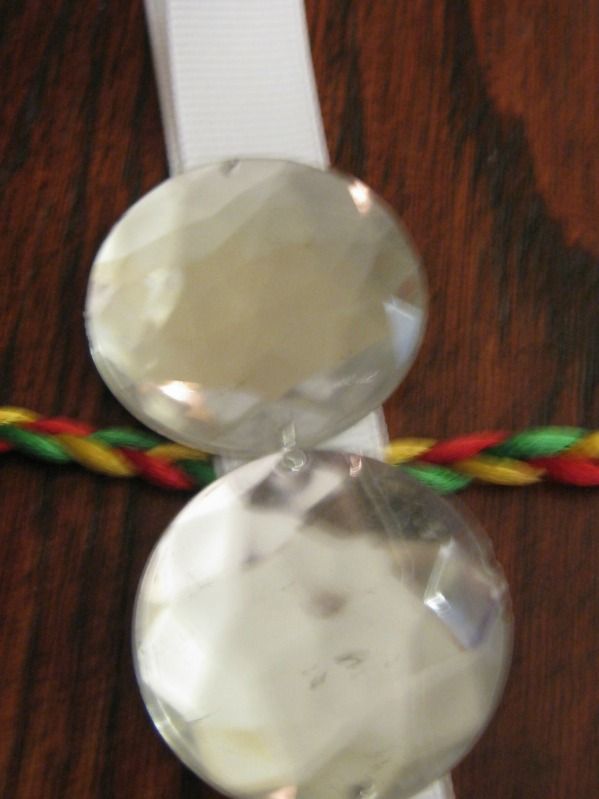
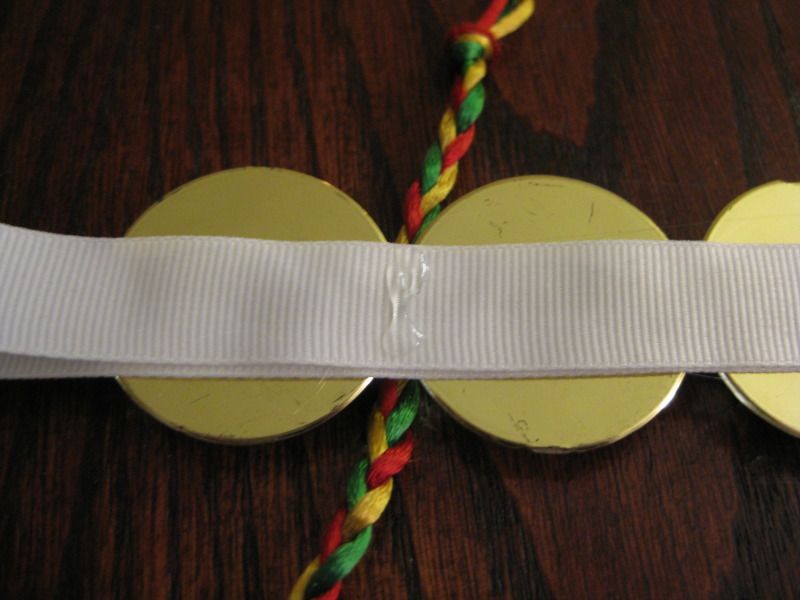
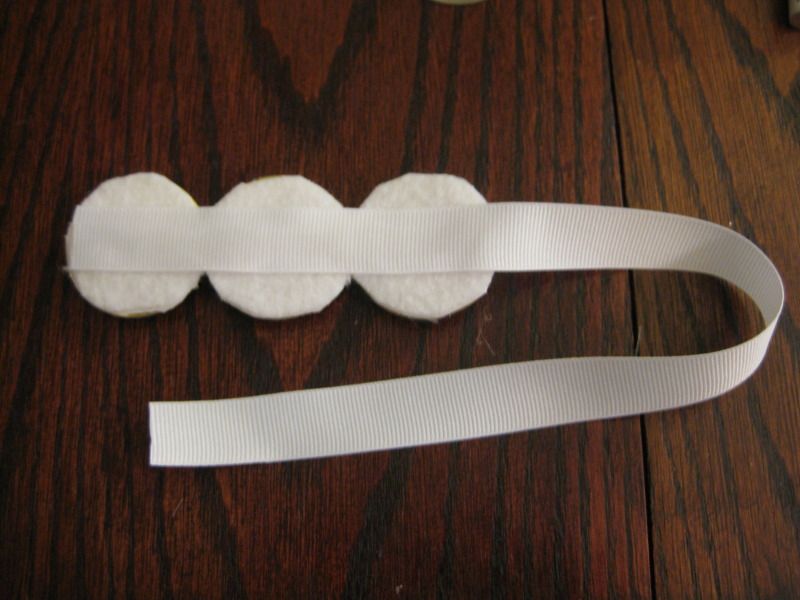
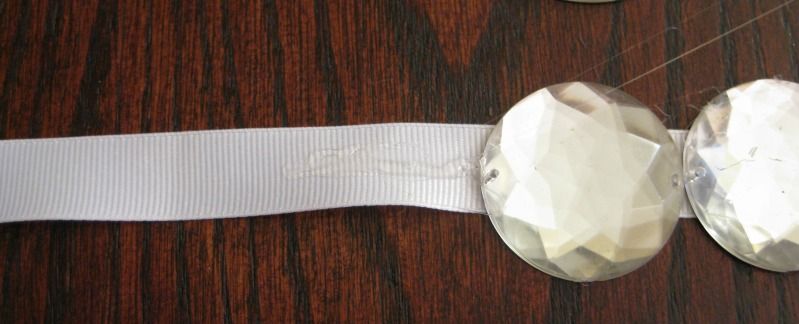
I used grosgrain ribbon to adhere the 3 rhinestones. Hot glue!


I drew a face and some buttons with paint pens. And then tried to make scarves for them. 


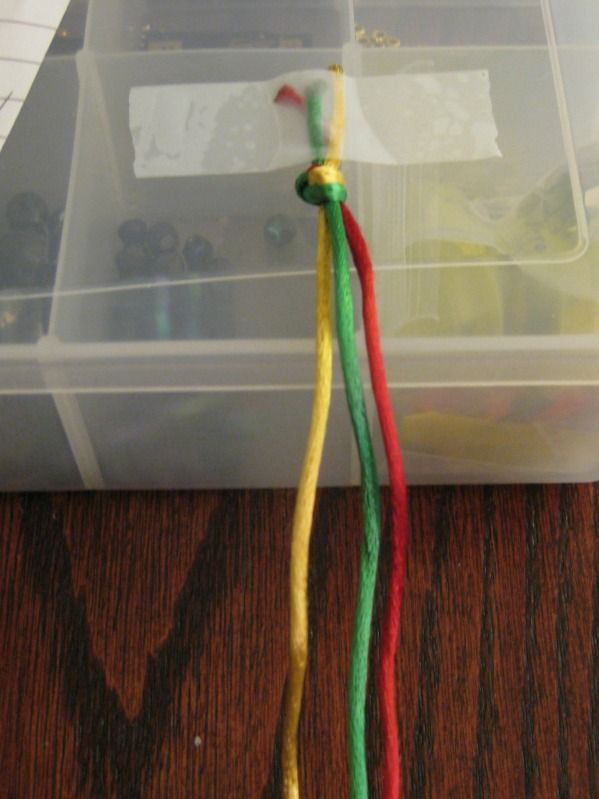
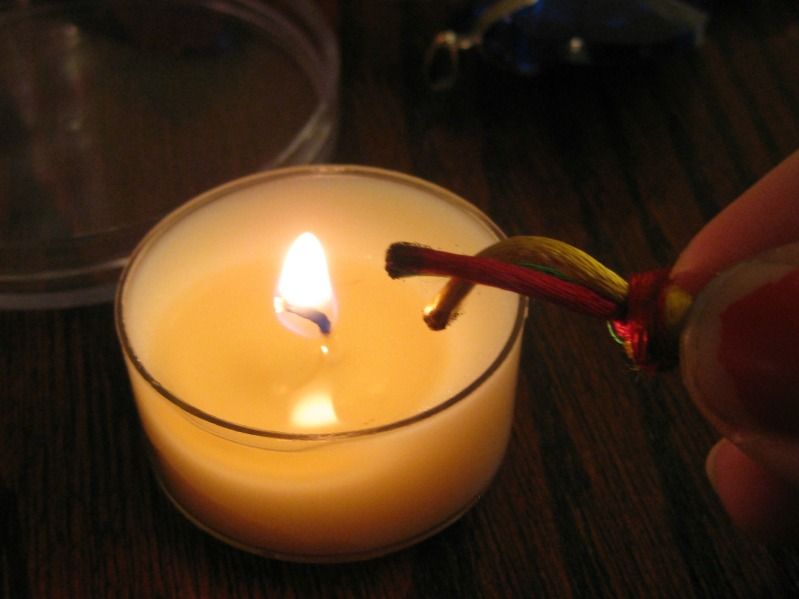
I also tried a braid. Which I had to burn the ends to keep them from fraying. Yeah fun!


Here is what I have done so far. I would like to give them hats. I need to find some black foam sheets or something. But with the bad weather out, I don't want to leave the apartment yet. Will wait. Stay tuned you may see these pop up later! :)

xoxoxo,
Lauren
LinkWithin
Related Posts Plugin for WordPress, Blogger...