What I used.....
I had a lot of everything in my craft boxes from many years so I actually did not need to purchase much
- pins with stick on backings
- coins (leftover from an old bellydance costume)
- felt in a variety of colors
- scissors
- glue- I used fabric fusion
- needle/thread that match your felt colors
First I made a template out of a piece of paper that I thought looked like a good size for a medal. I pinned it to the felt and cut it out.

I added a small piece of an additional color and glued it to the first piece.

I decided this was a good template and good size so I used these measurements (which wound up being wrong but I used them anyways). so I used my rotary cutter and my nifty ruler to cut out more of them.

Cut, cut, cut with more colors.

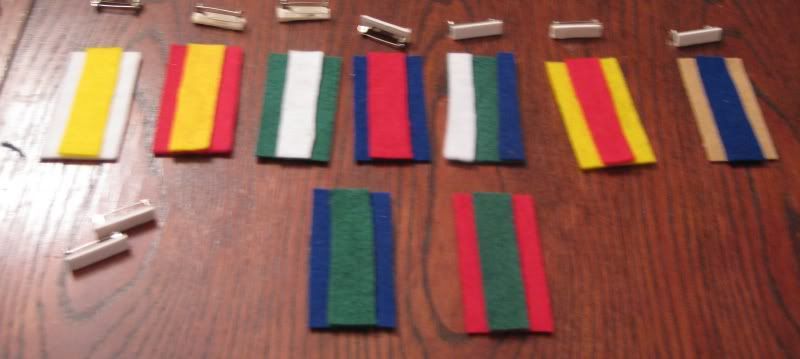
Next I used what I had and made a bunch of the ribbon portions.
Now we need to give them a point. Again I used my quilter's ruler/guide to help me out. So easy with a rotary cutter.
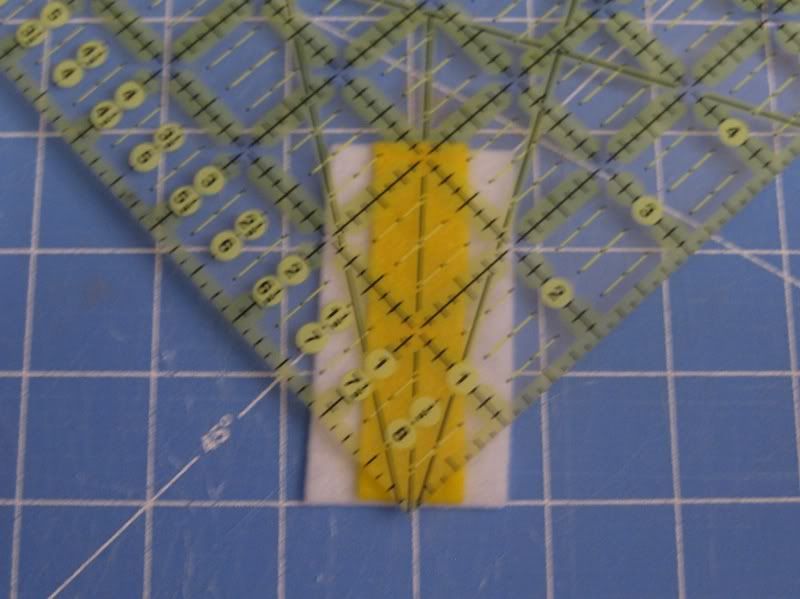
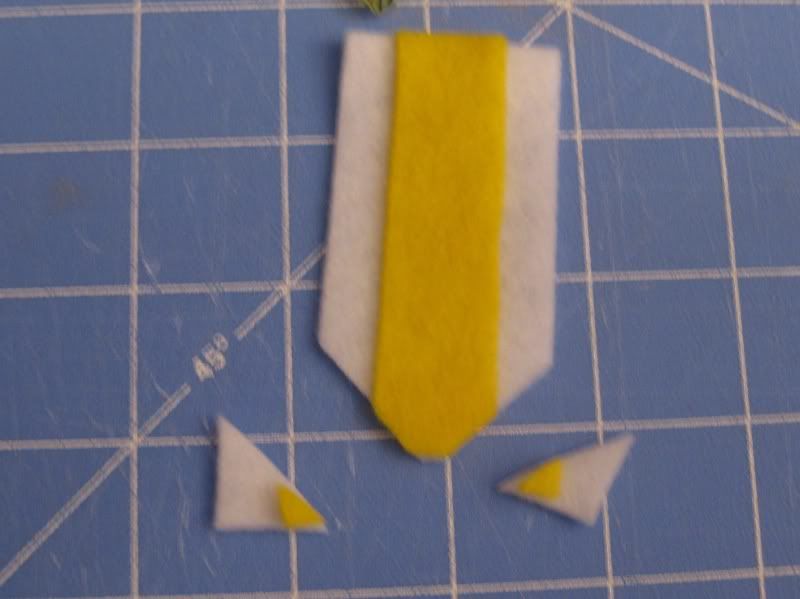
Do that for the rest of the ribbons.

Next time to add the coins. Just using simple needle and thread, I tacked right at the bottom of the ribbon part.
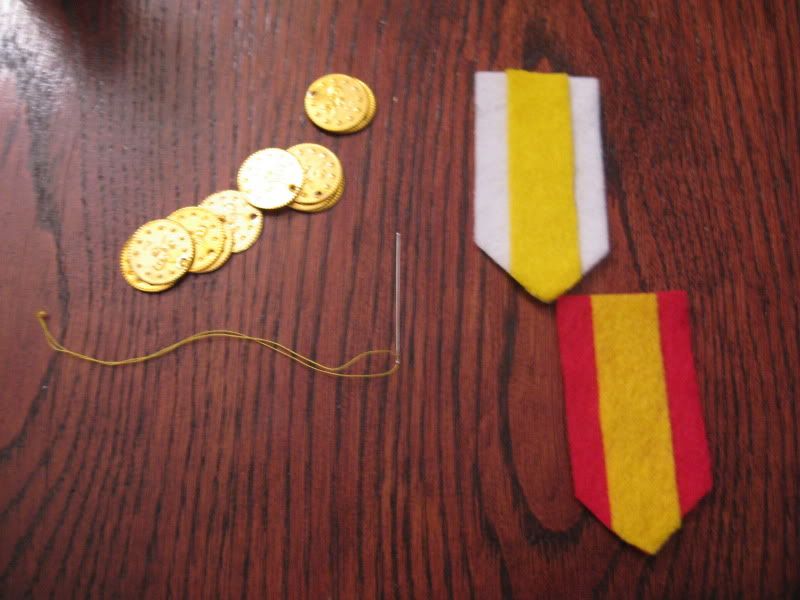
Take your needle from the backside while holding the coin

Add your coin and make sure it faces front. Put the needle down through the front of the ribbon, just a little up from where you want the coin to hang.

Repeat a few more timse to secure the coin and tie off in the back. Here is what one looked like!

Now we are ready to add pin backs to our medals! I used the sticky back pins but added glue b/c I don't trust that adhesive!

Place on the top of the ribbon. Here are all my pins waiting while the glue dries!

Done! Here are my end pins together!


Ok I don't have a final picture of the costume yet since we are not showing the costume yet (plus it isn't done) but stay tuned!! It will be posted soon! :)
But here are 3 of them on a jacket to see how they would look!
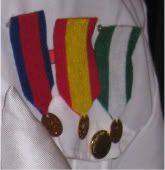
I probably spent a total of $1. Not bad huh? Perfect for your military hero, veteran, captain, or medaled person's costume for halloween! :)
I can't wait for halloween to be done and over with! So busy with costumes, I need to get my refashions sewn and posted too! After this weekend, things will be back to normal. I can't wait!
XOXOXOXO,
Lauren

2 comments:
Very awesome! Way to get creative to save money. Who cares if they aren't accurate. If anybody at the party goes up to him and says, "Those are the real colors for that medal" just have him tell them that it's a special medal. If they want he can gladly show them what he did to earn it:-)
Fantastic. Thanks for the tute!
Post a Comment