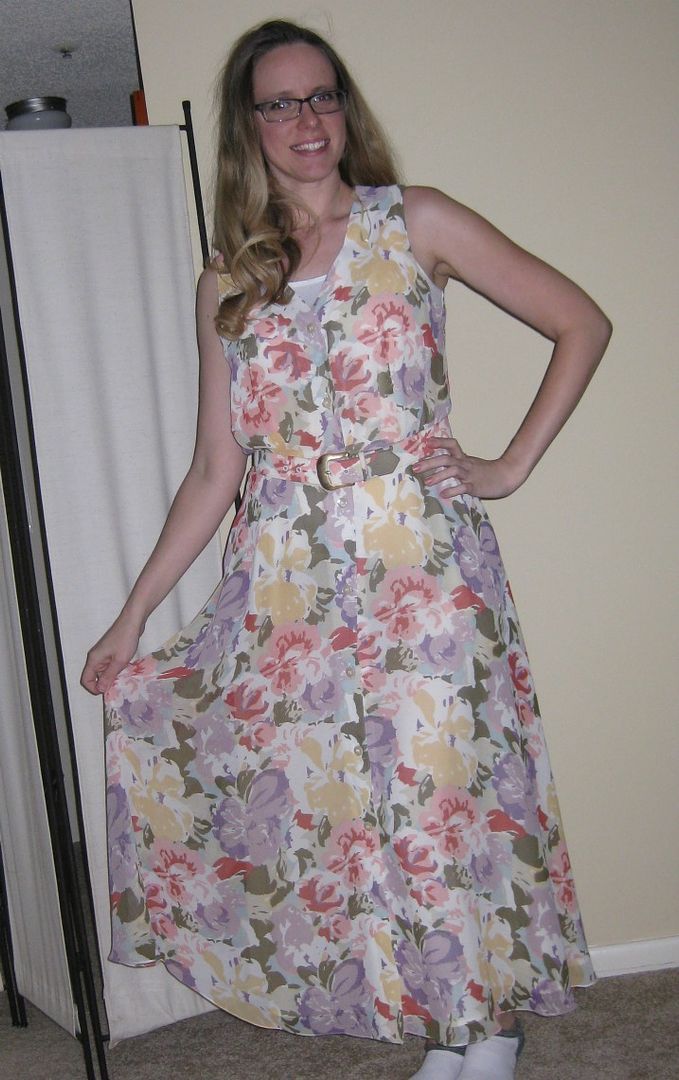
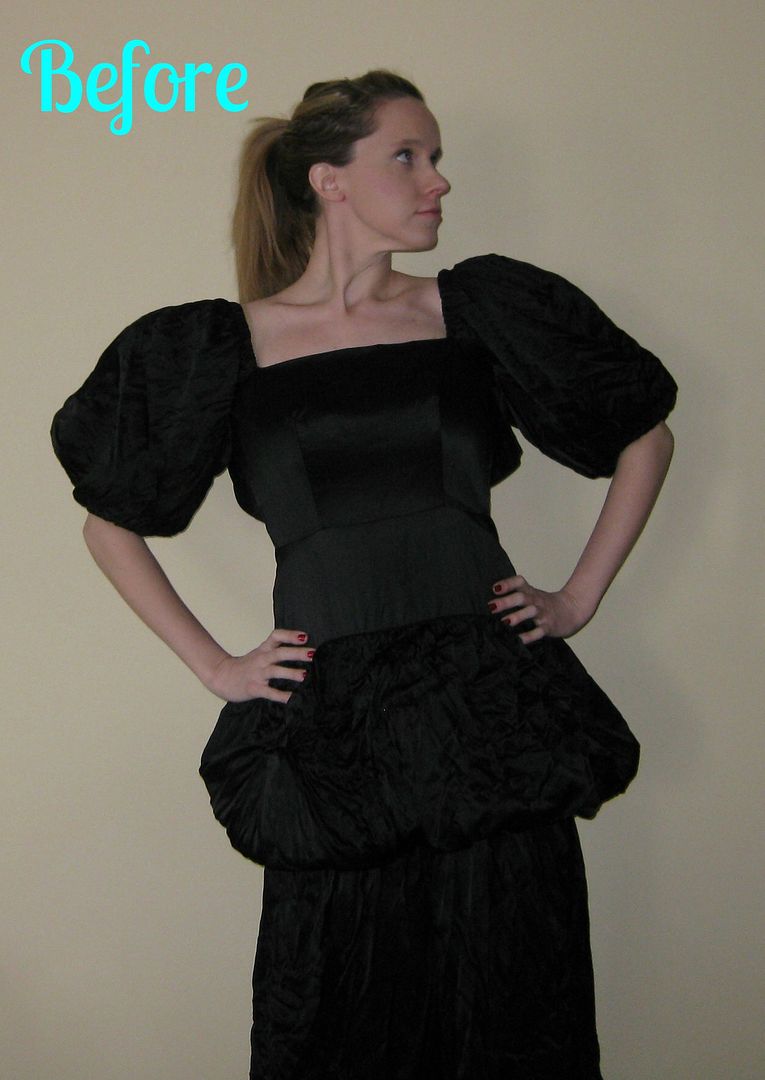
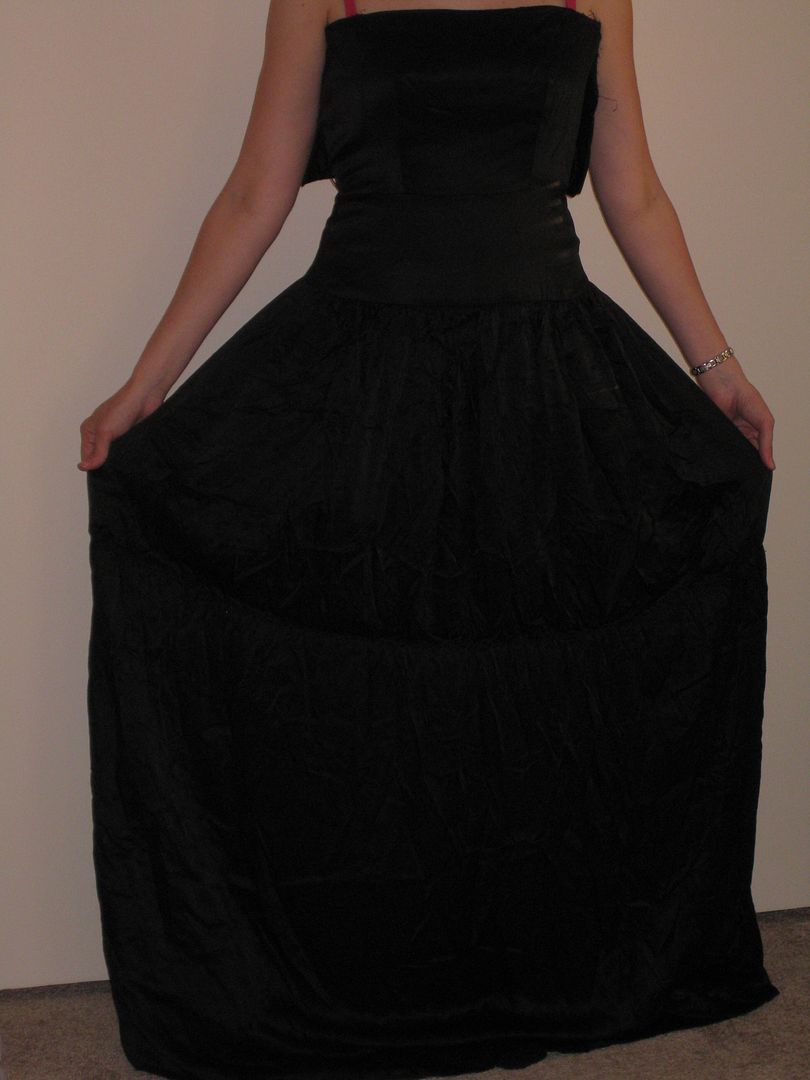
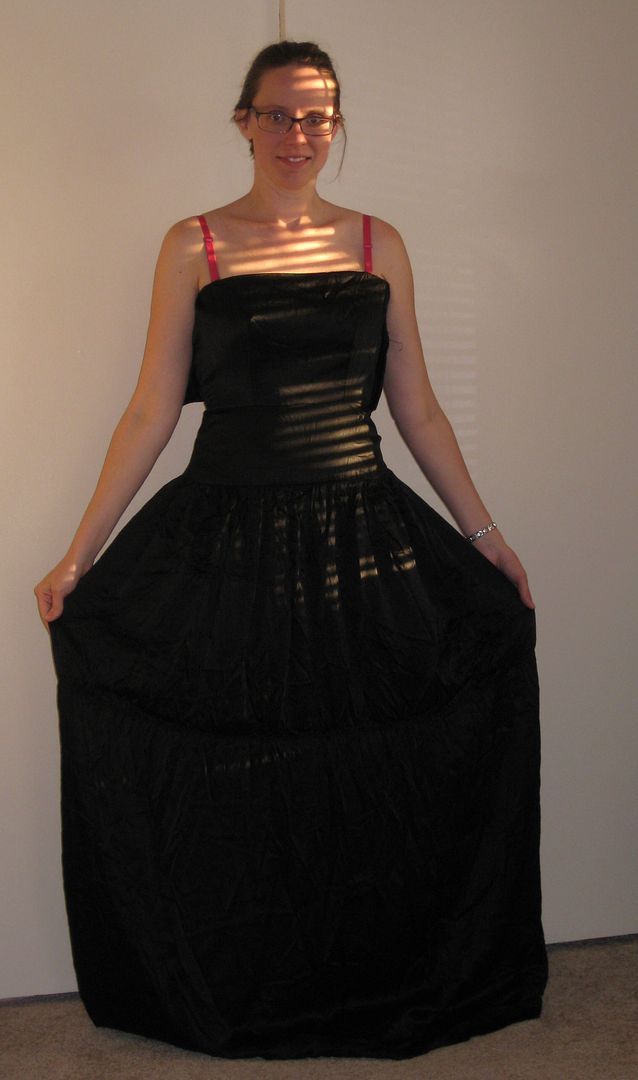
OMG I died of laughter when I stumbled upon this dress....
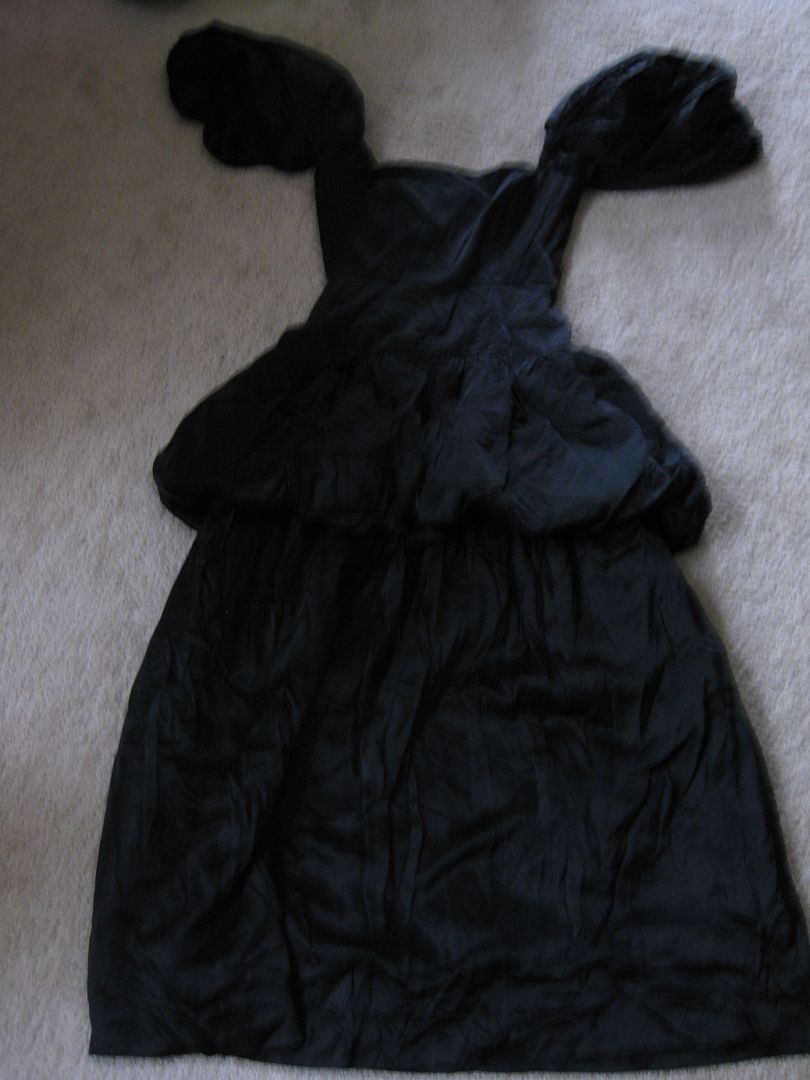
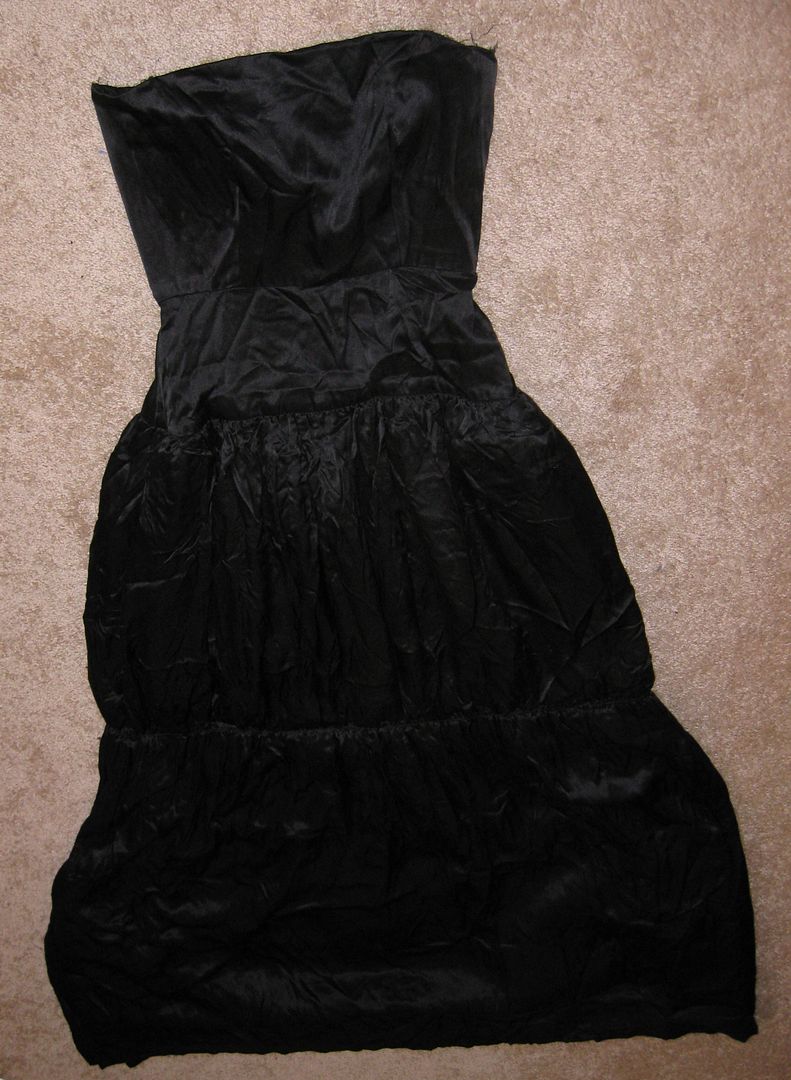
It is wrinkled b/c I washed it myself. I have no idea where in the world this dress came from. Like was it part for a play? Is it real? I mean please tell me your story dress, I want to know so badly!
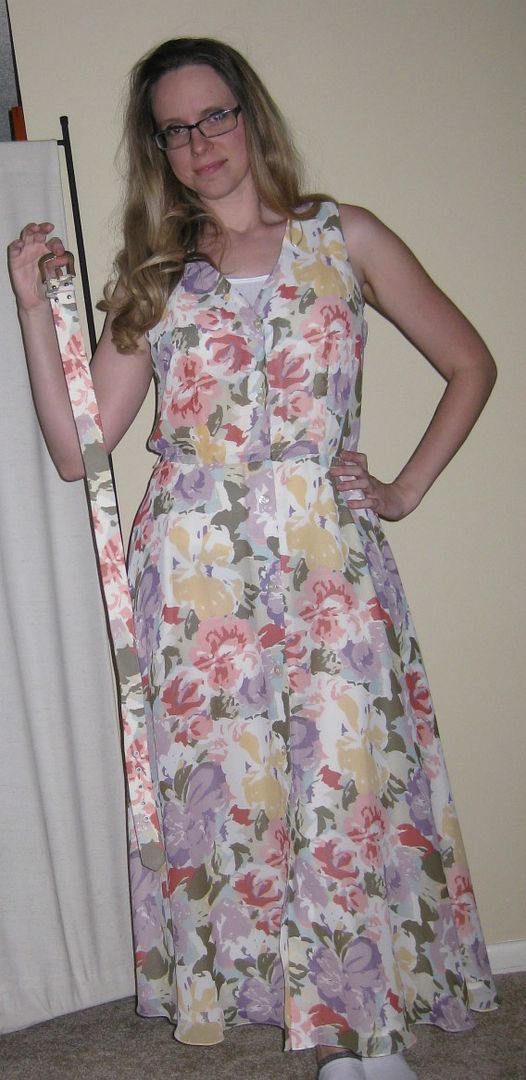
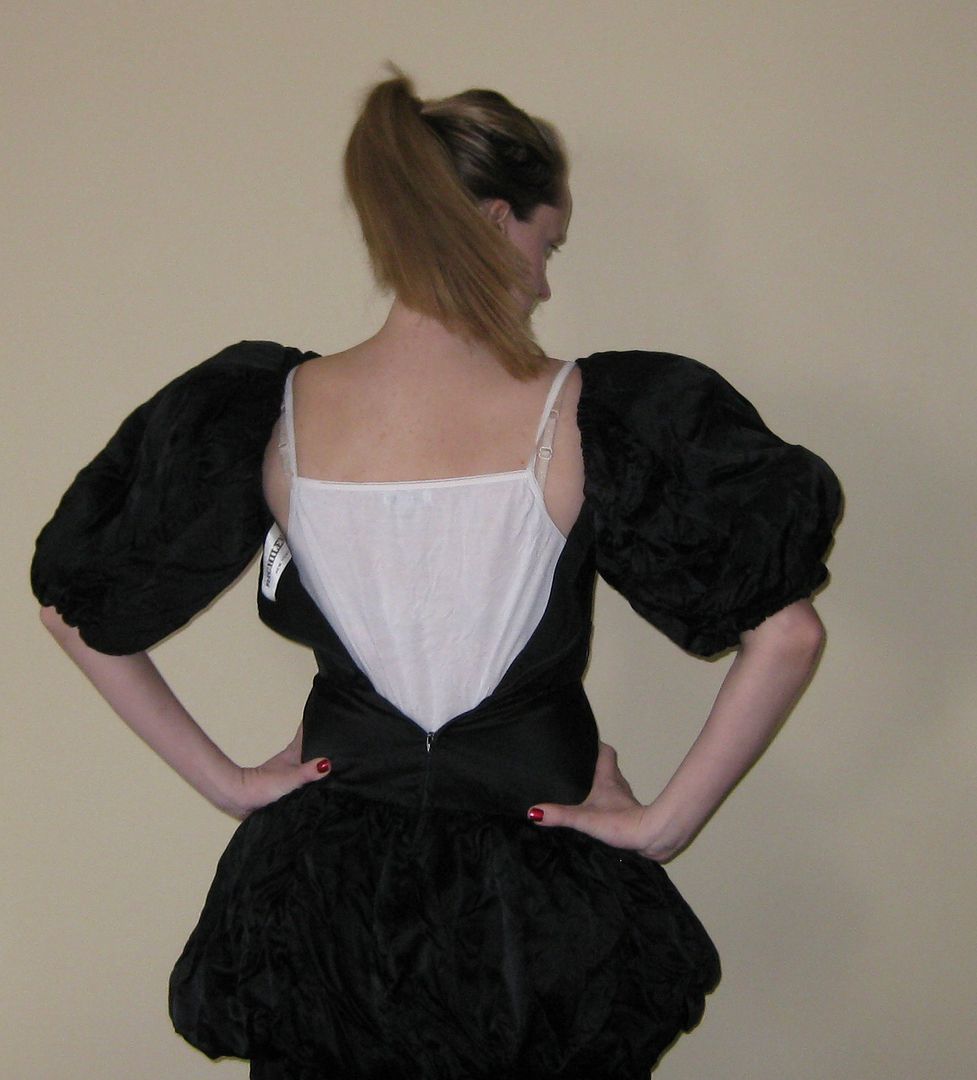
The odd thing about this dress is it fit my hips really easy, even my waist. But NOT my chest. Hence exhibit A the back..
No where near closing... no where near!!!
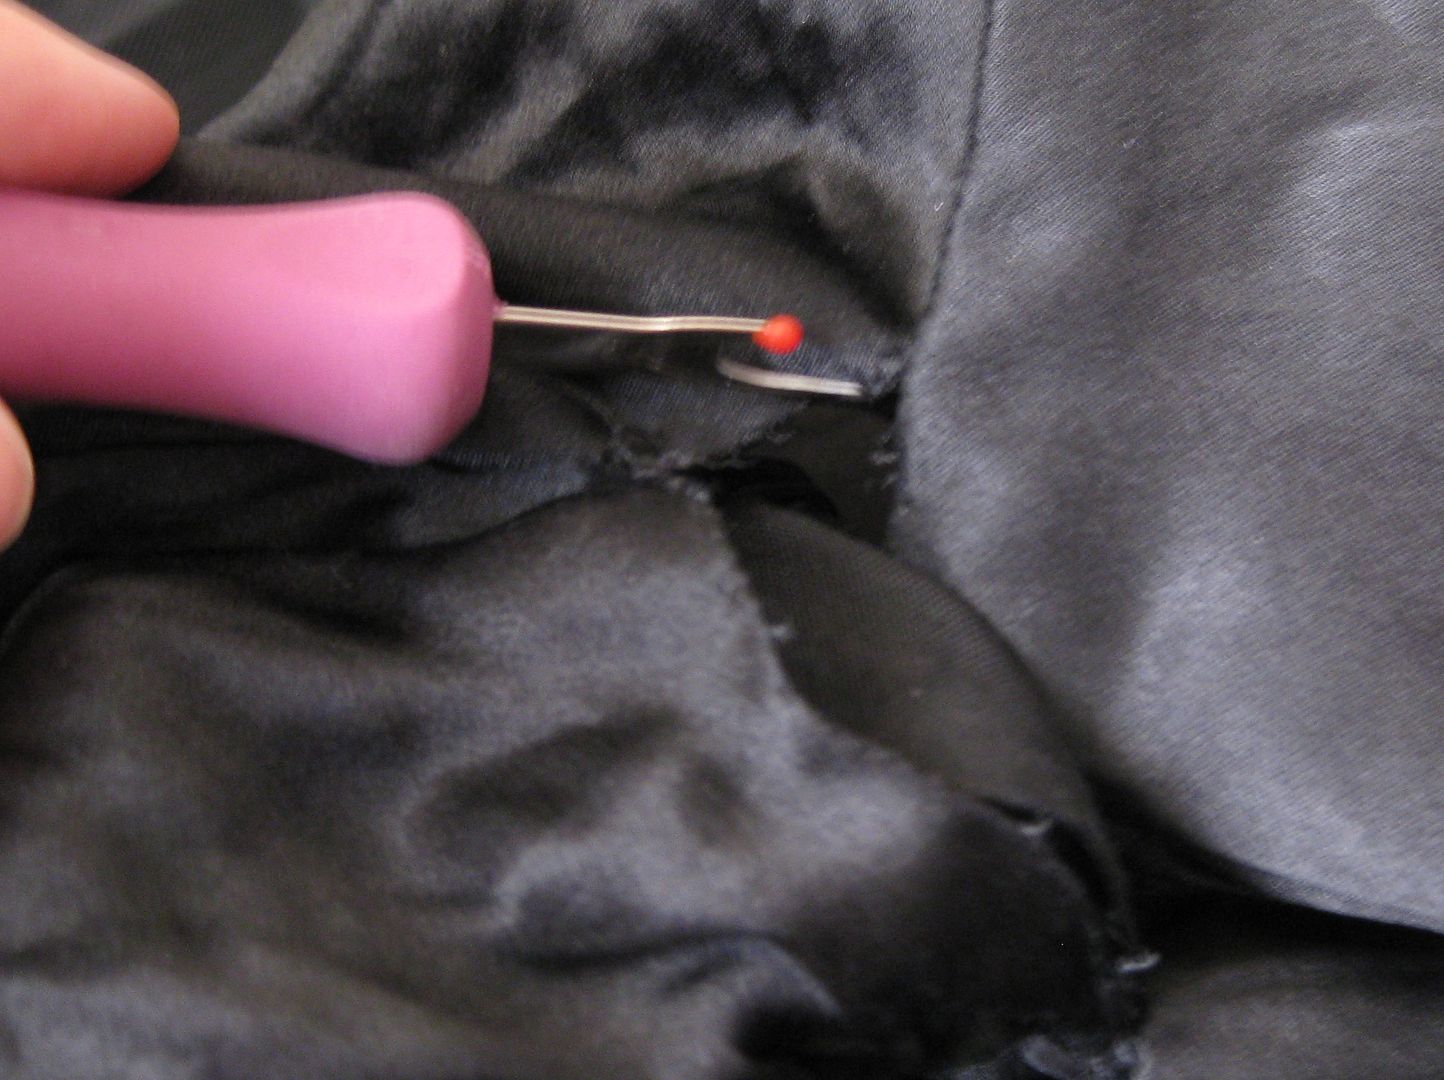
I grabbed my seam ripper, took my sick self, took a seat on my bean bag chair, and watched some football while I started on this dress. As you can see it had it's own built in peplum, or as someone called it a built in pillow to sit on. My plan initially was to just debulk the peplum shorten the skirt, and take off the sleeves. And I had thought about corsetting the dress to close it up. It would be EASY. Yeah I need to stop saying that. Every time I say this, it NEVER happens. NEVER.
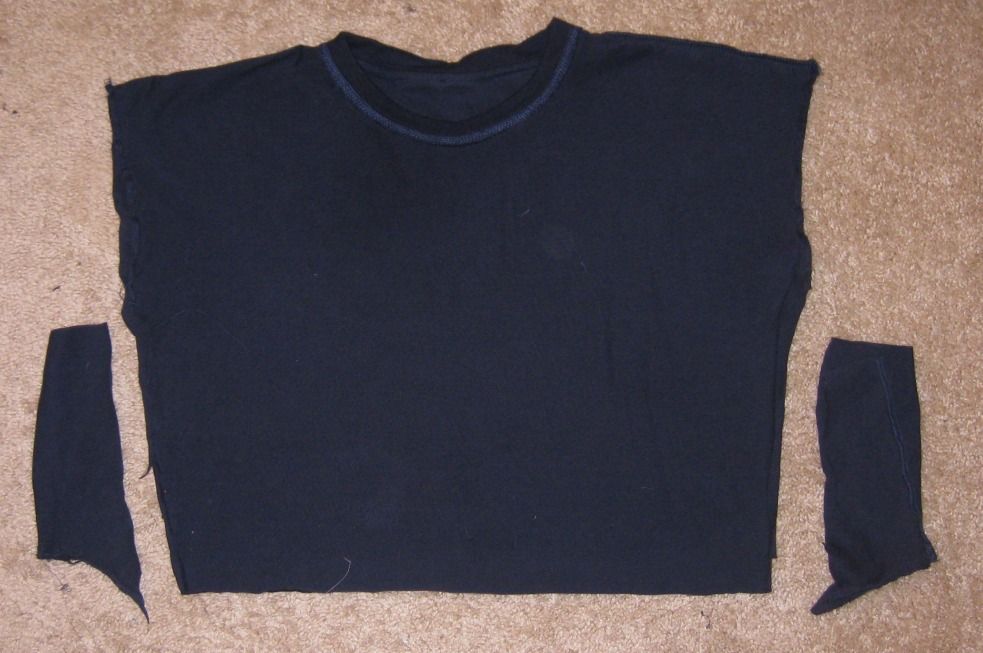
I started with the sleeves, I noticed they were just sewn to the bodice and could be an easy remove. In fact they were.
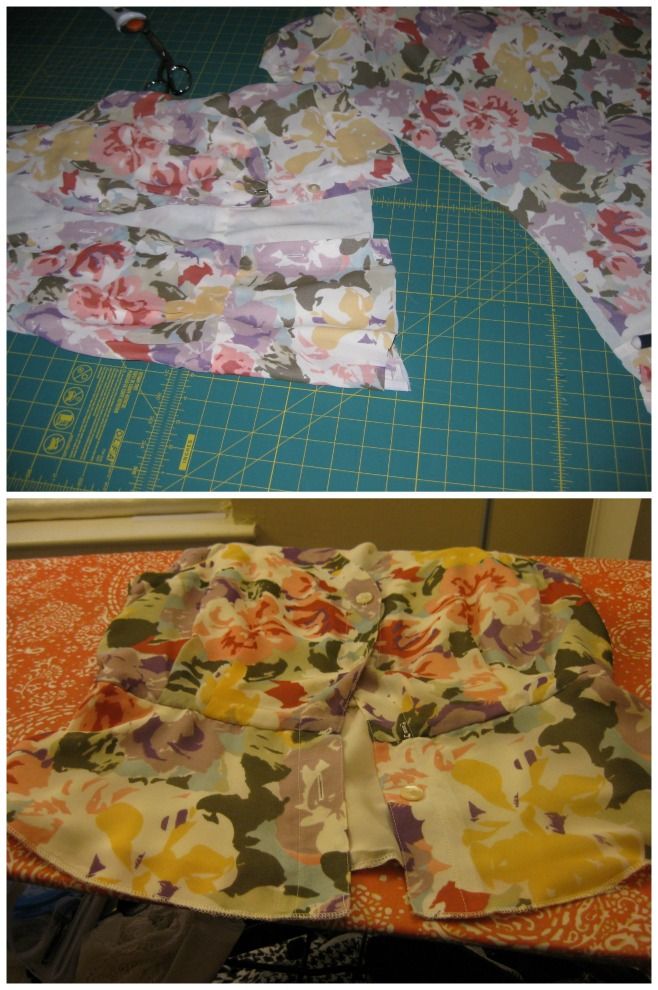
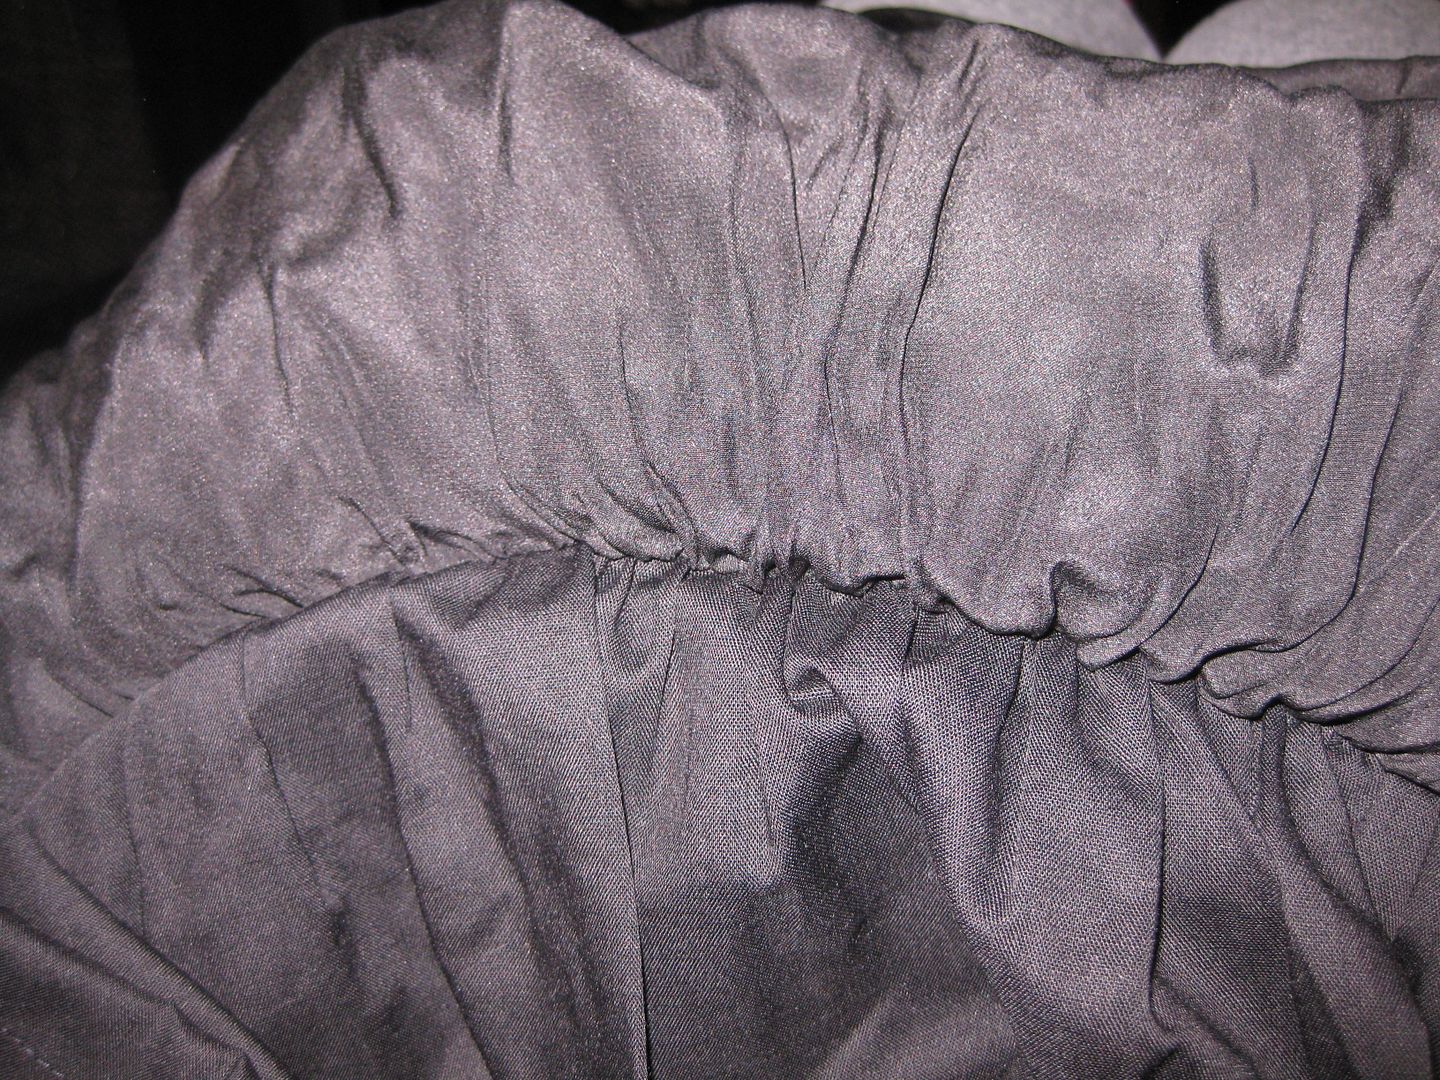
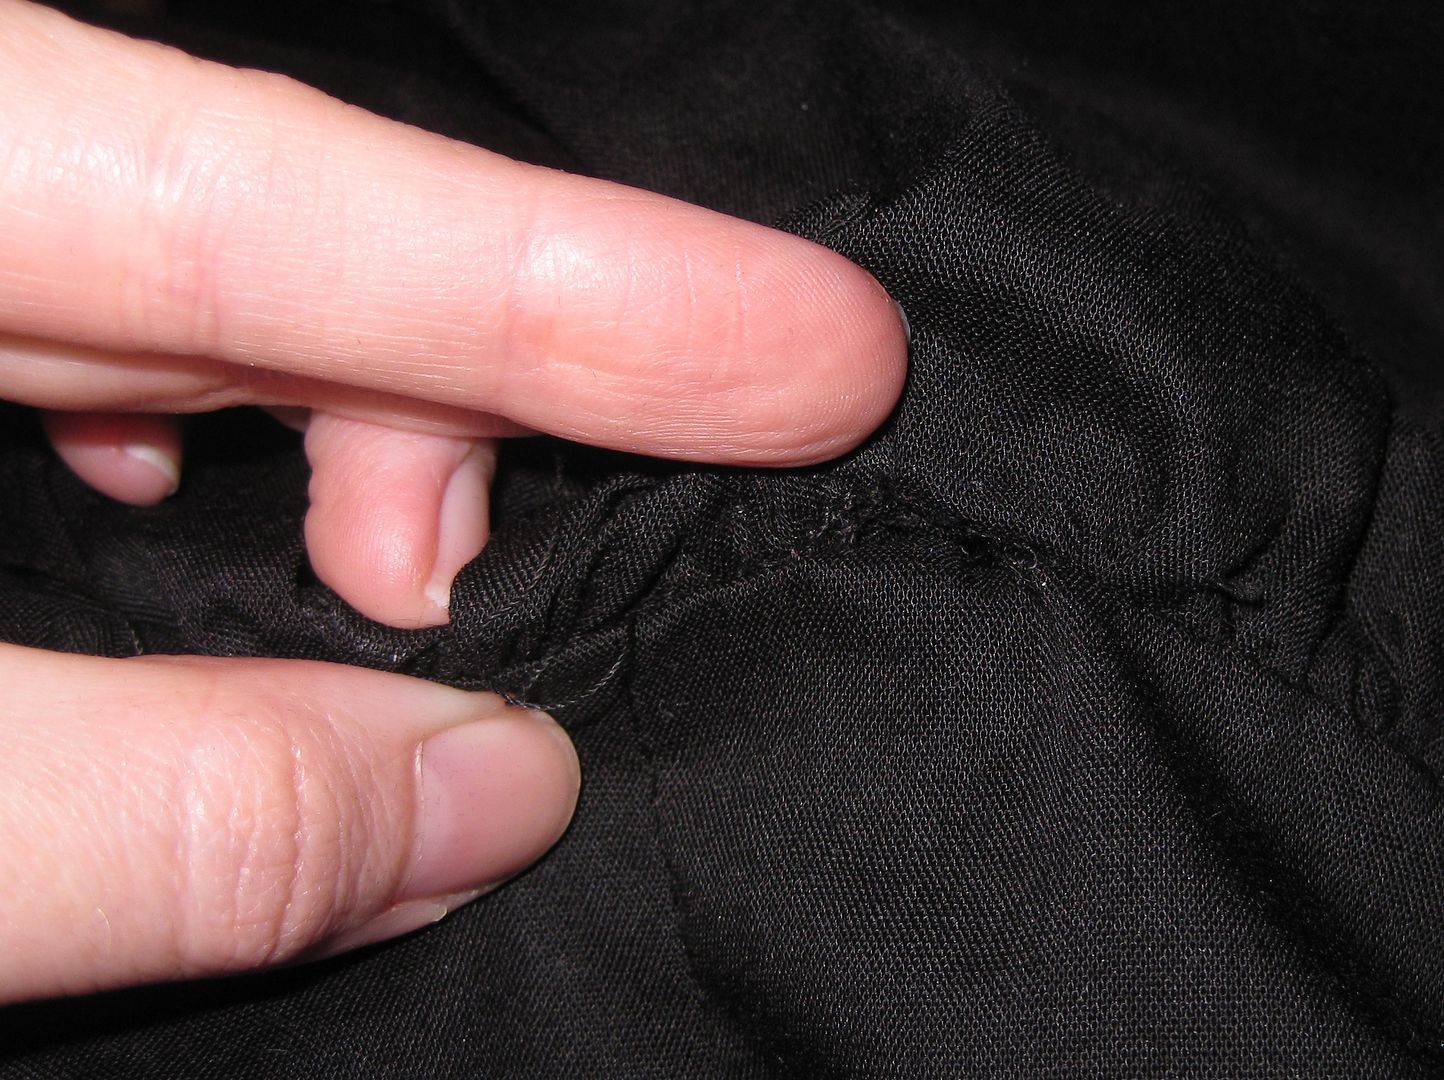
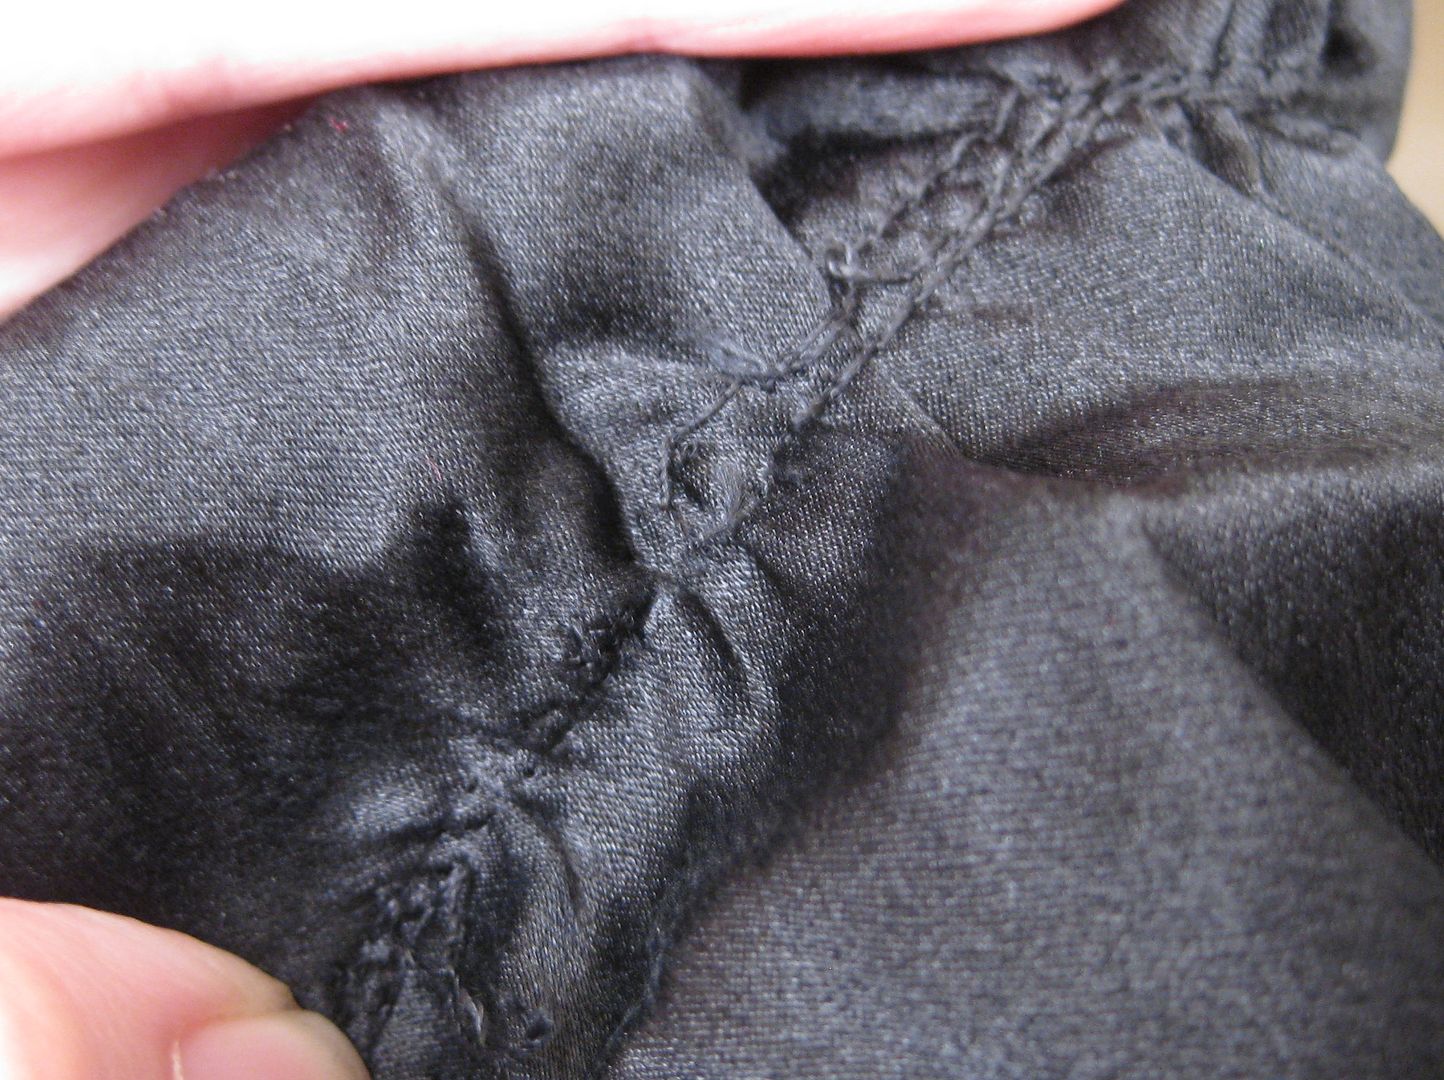
Then I started with the peplum and man there were so many stitches and just stuff everywhere. It was super confusing. There was like a circular piece of fabric that helped the dress bubble.
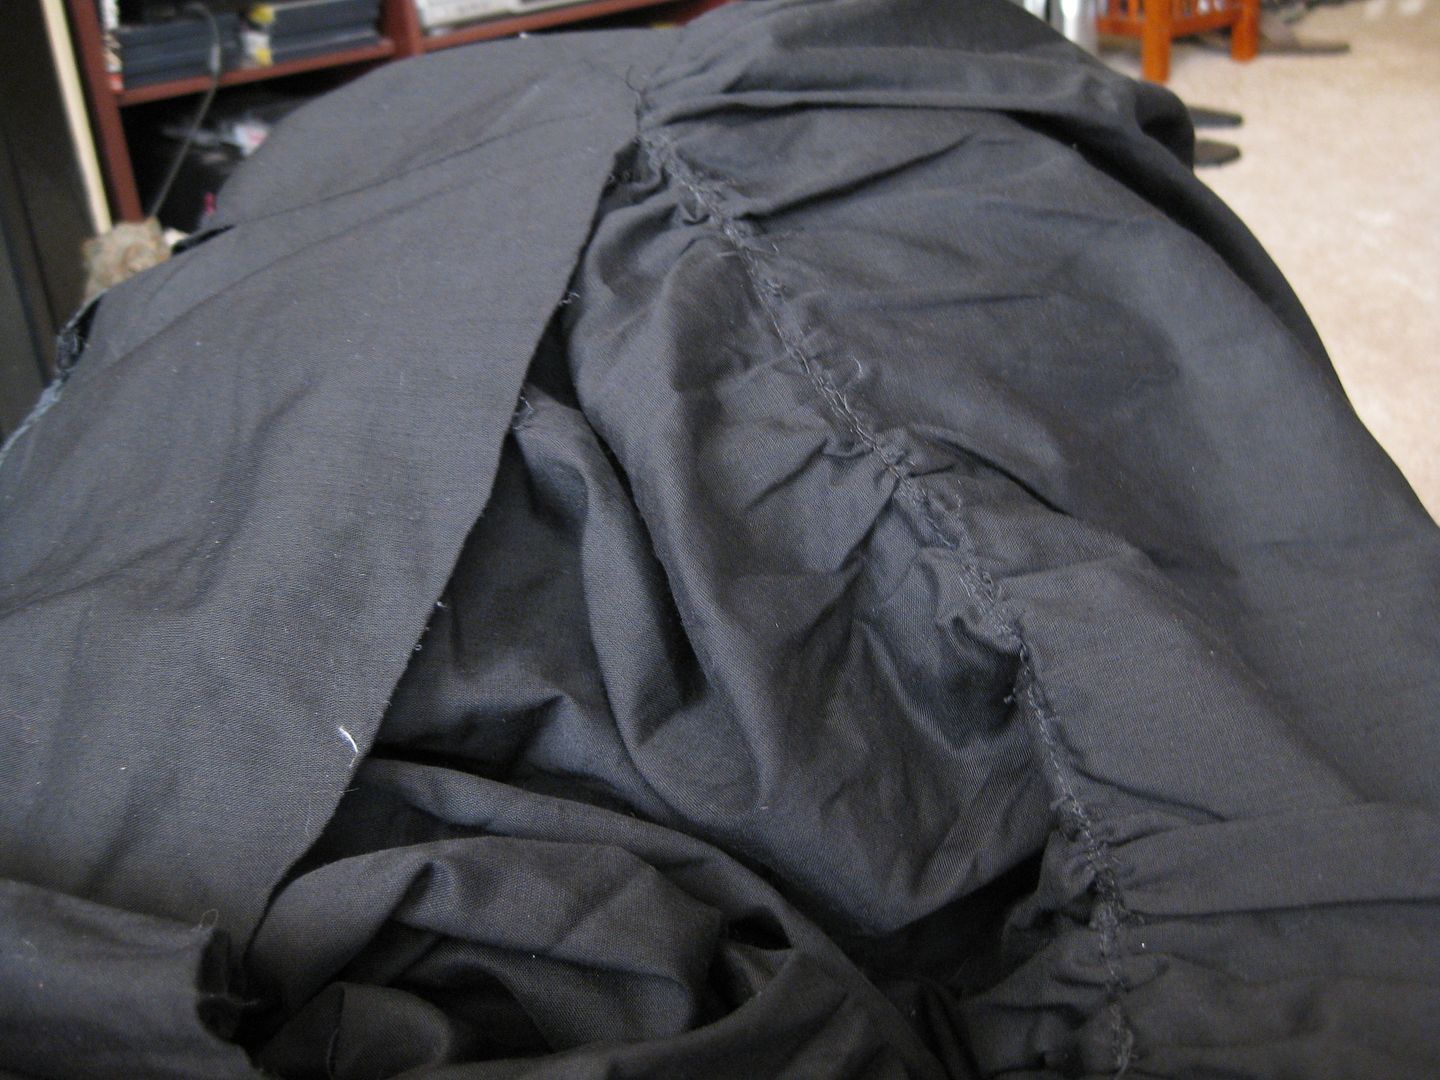
I just started ripping away and away. I noticed these were gathering stitches. Which made it easy to pull out. Actually I just pulled like I was Hulk Hogan.
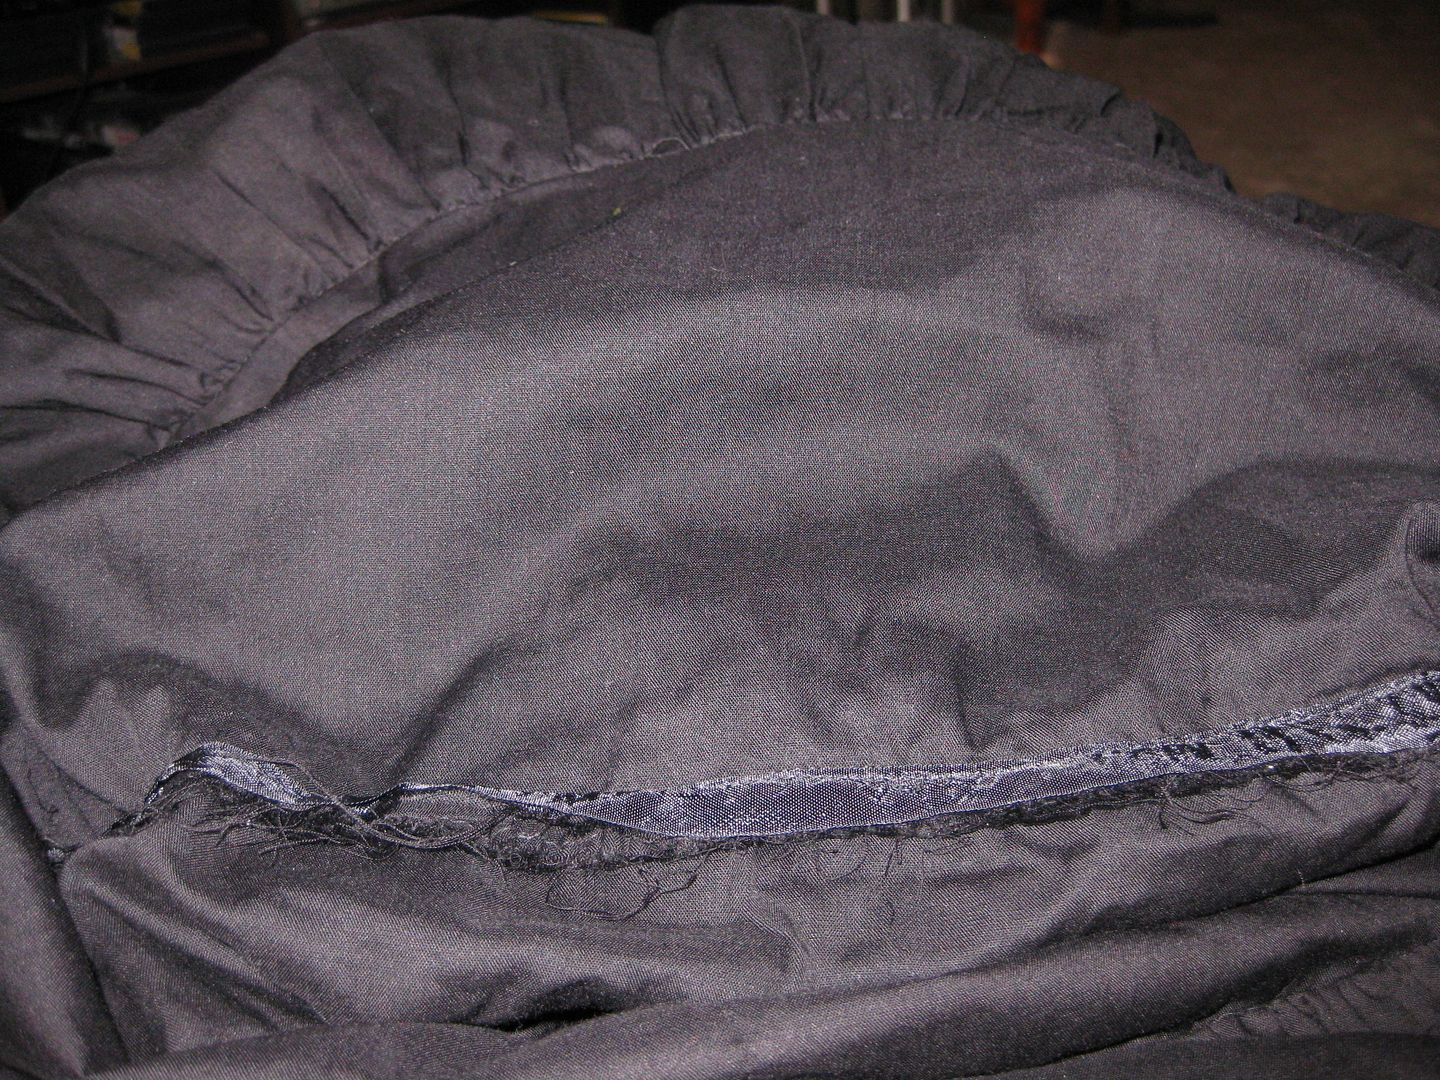
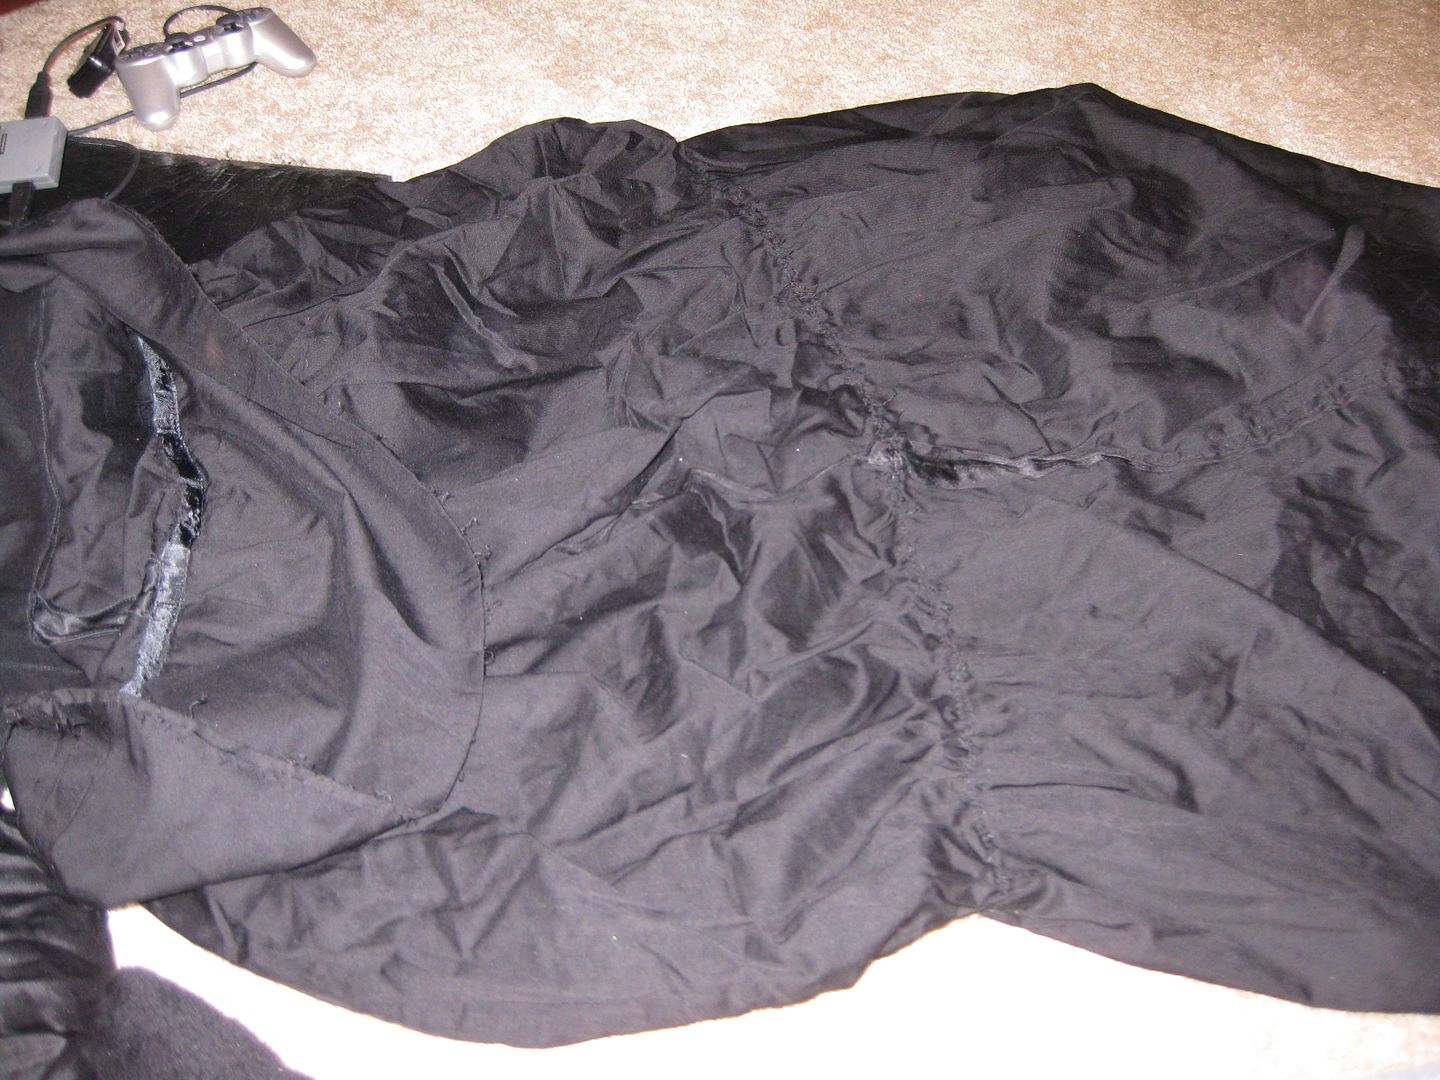
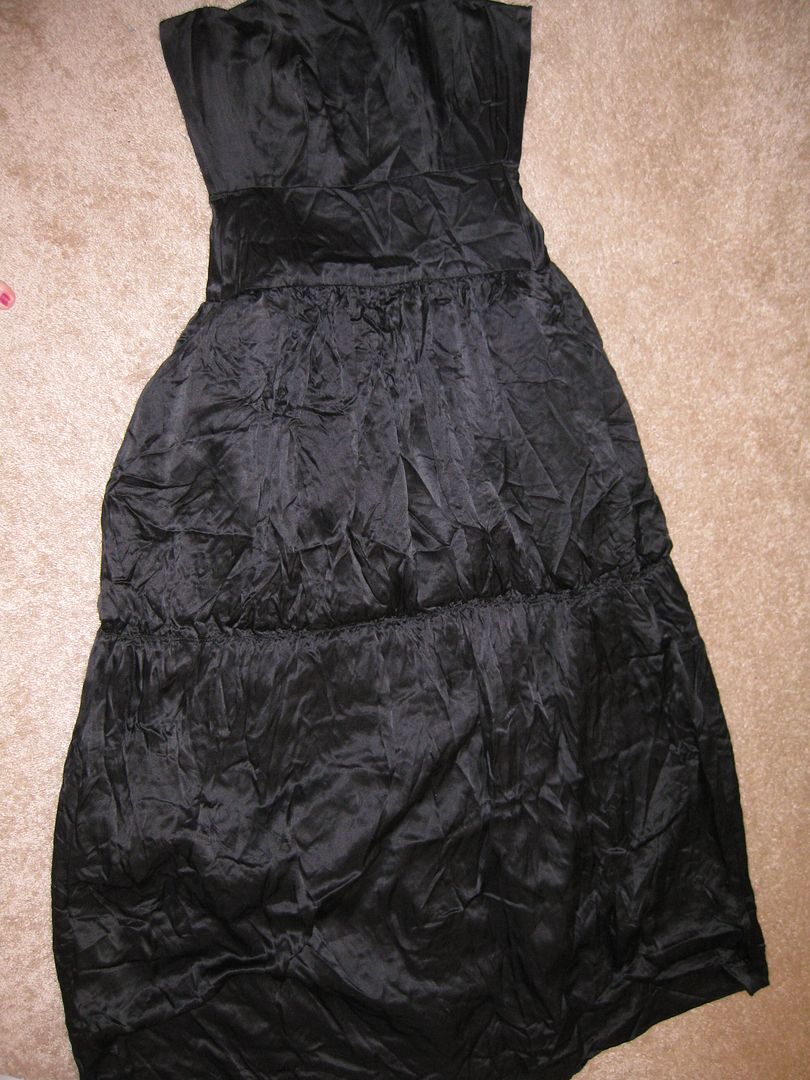
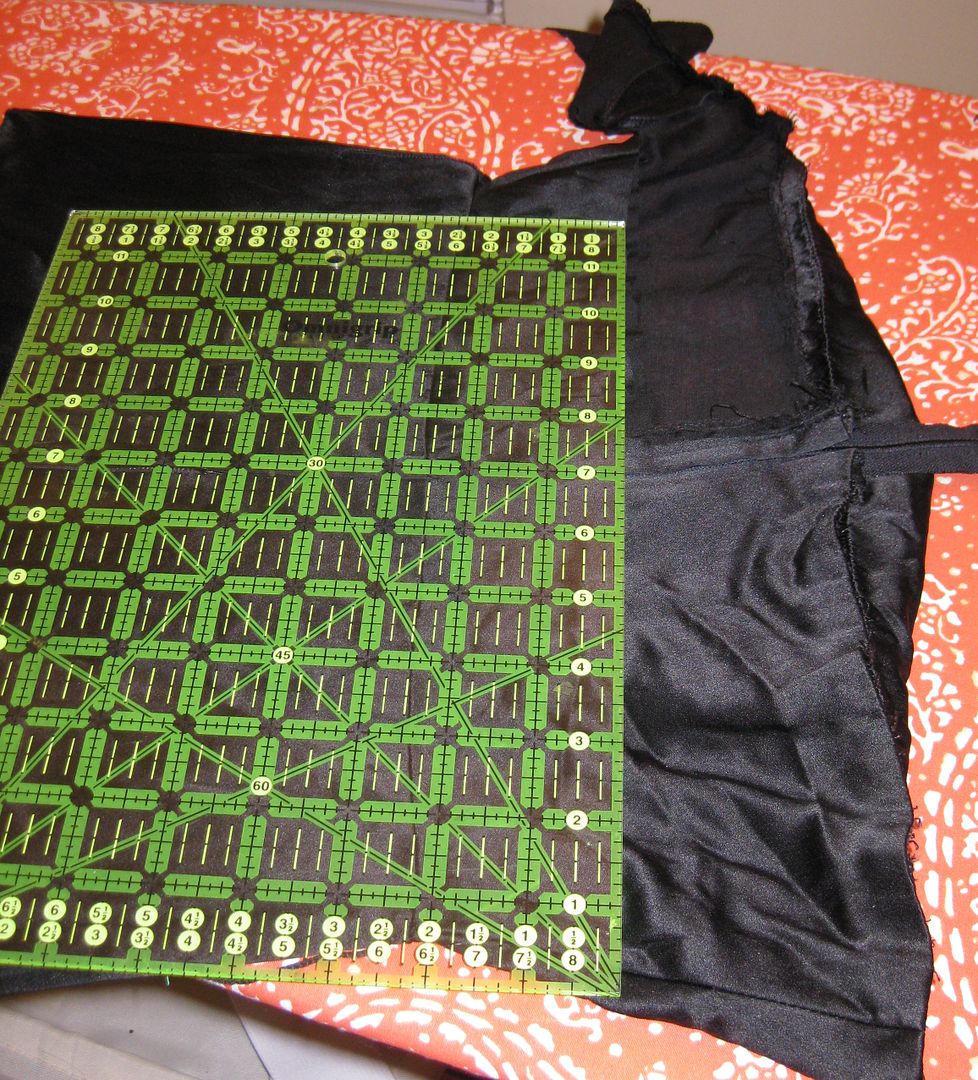
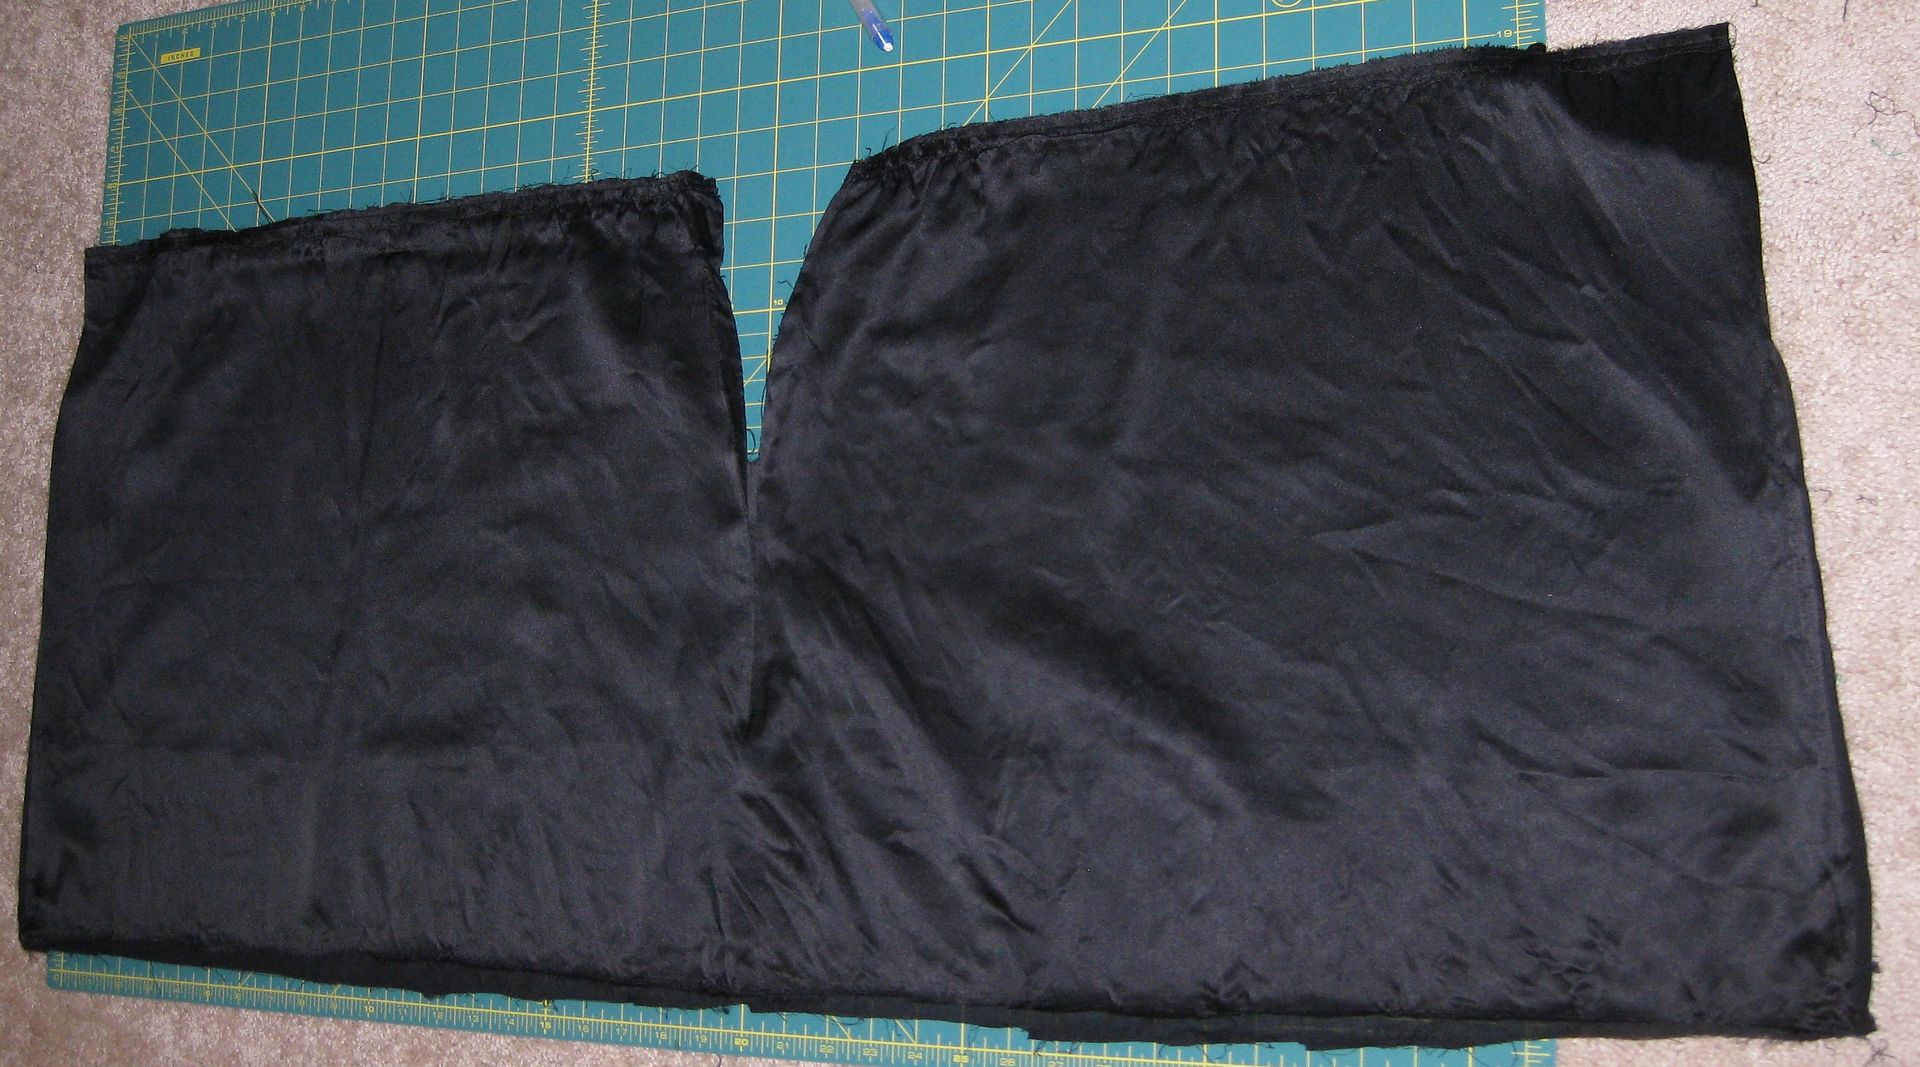
This is what I found, the peplum was actually a gathered part of the dress made to bubble. Wow so this was one really loooooooon skirt.
Just wow...... So no built in peplum. And no easy fix, especially considering I spent a good portion of my afternoon ripping out stitches galore.
This was no ordinary dress. The fabric was wonderful. There was a lot of work and was well crafted. I only had one tag on the dress. There was no size, no laundering information. Nothing. After my marathon seam ripping session, feeling sort of feverish, I took a break and relaxed and decided to search the internet for this company. Richilene New York.

What I found was jaw dropping. This company was no longer open but it was a small couture house based in New York City that specialized in evening and cocktail gowns. They either made couture and they sold at Neiman Marcus and Saks Fifth Avenue. I got a range of years they were open from 70s-80s-90s. Some of their vintage dresses still sold online now for hundreds of dollars. Wow. Just wow. So I had in my possession was a couture dress from New York City. This dress was found at the by-the-pound goodwill and I maybe at most I spent $2. And it was found in Alabama. Another shock. This dress must have a story!! I was excited I actually owned something couture.
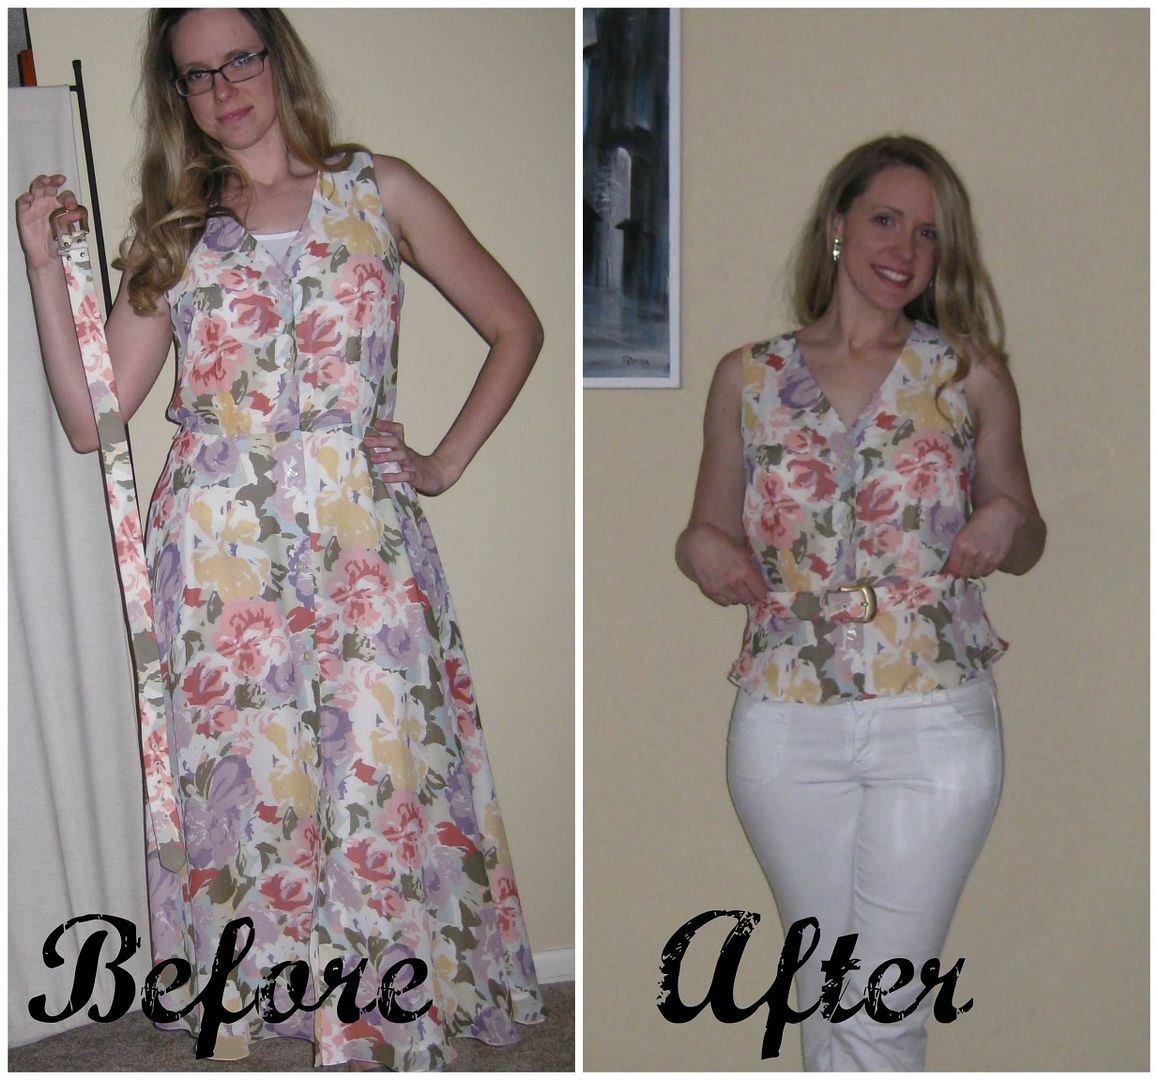
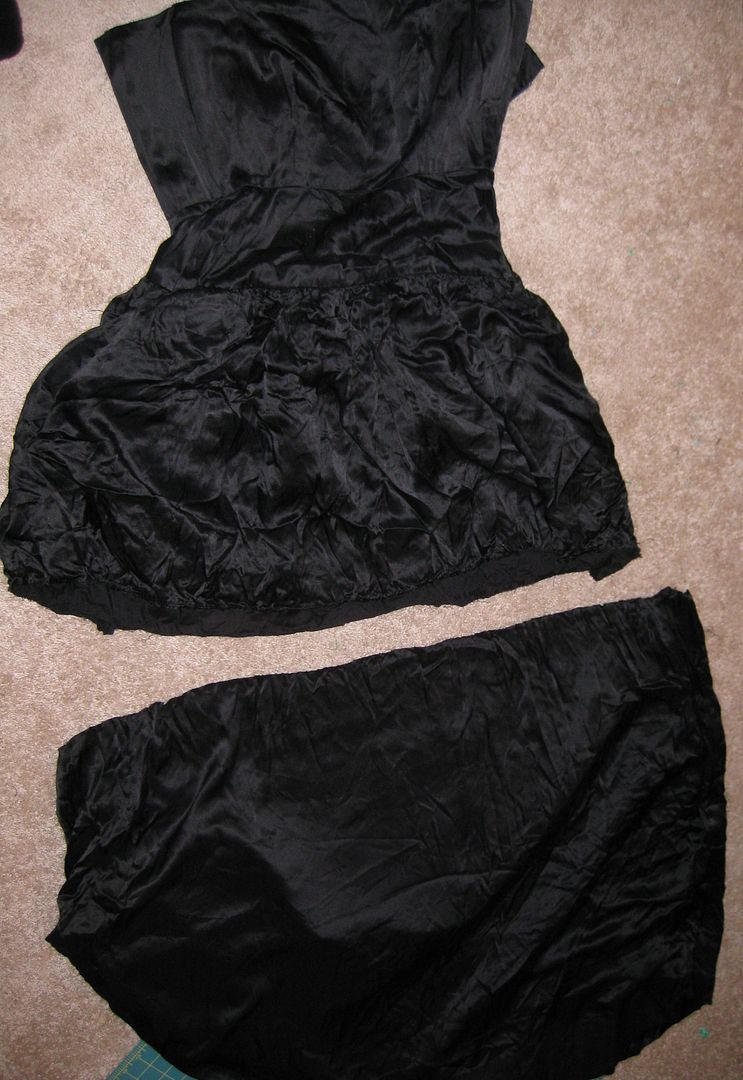
Ok back to that dress, I had to actually refashion this to something current and by a deadline too. After sleeping on how I was going to work this dress, I threw out my initial plan. If I cut at the gathering stitches the skirt would still be an appropriate length. Off the skirt went.
I actually still have the poof sleeves and the bottom of the dress untouched and will save for another occassion. I have so much leftover fabric that I can still work my refashion. Yes I have that much fabric!!!!!!!!
I disliked the long drop waist. It does nothing for my shape and just looks odd. So I dettached the skirt from the midsection. Then I basically cut it down, removing about half of the fabric. I will basically have a waistband now, falling at the right spot.
I also removed the zipper. I used the leftover fabric to fill in the gap so later I can close up the dress.
Now the peplum. I actually looked this up in one of my sewing magazines and here is the definition.
Peplum: a skirtlike extension of a bodice below the waistline. It can be flared, gathered, or pleated, and cut with the garment or separately. Here is the dettached skirt- the back part of it. The middle part is where the zipper was. The front part I used for the skirt (I had enough fabric to have walking ease!!) the rest of this skirt will be the peplum. I cut of to where the zipper used to be....
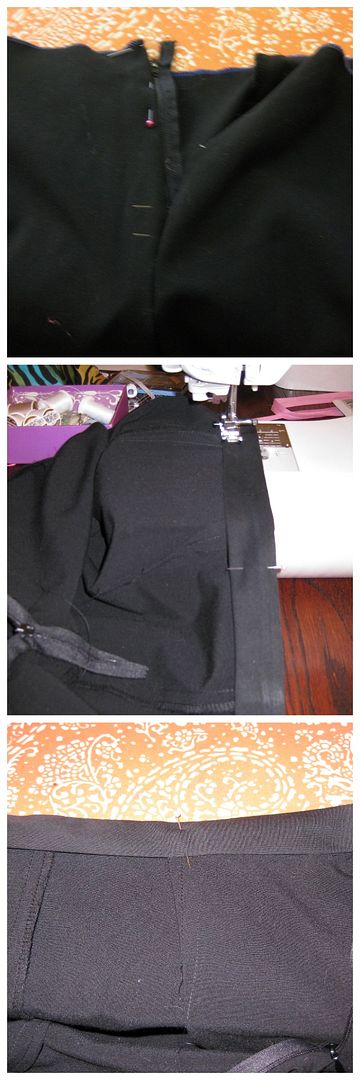
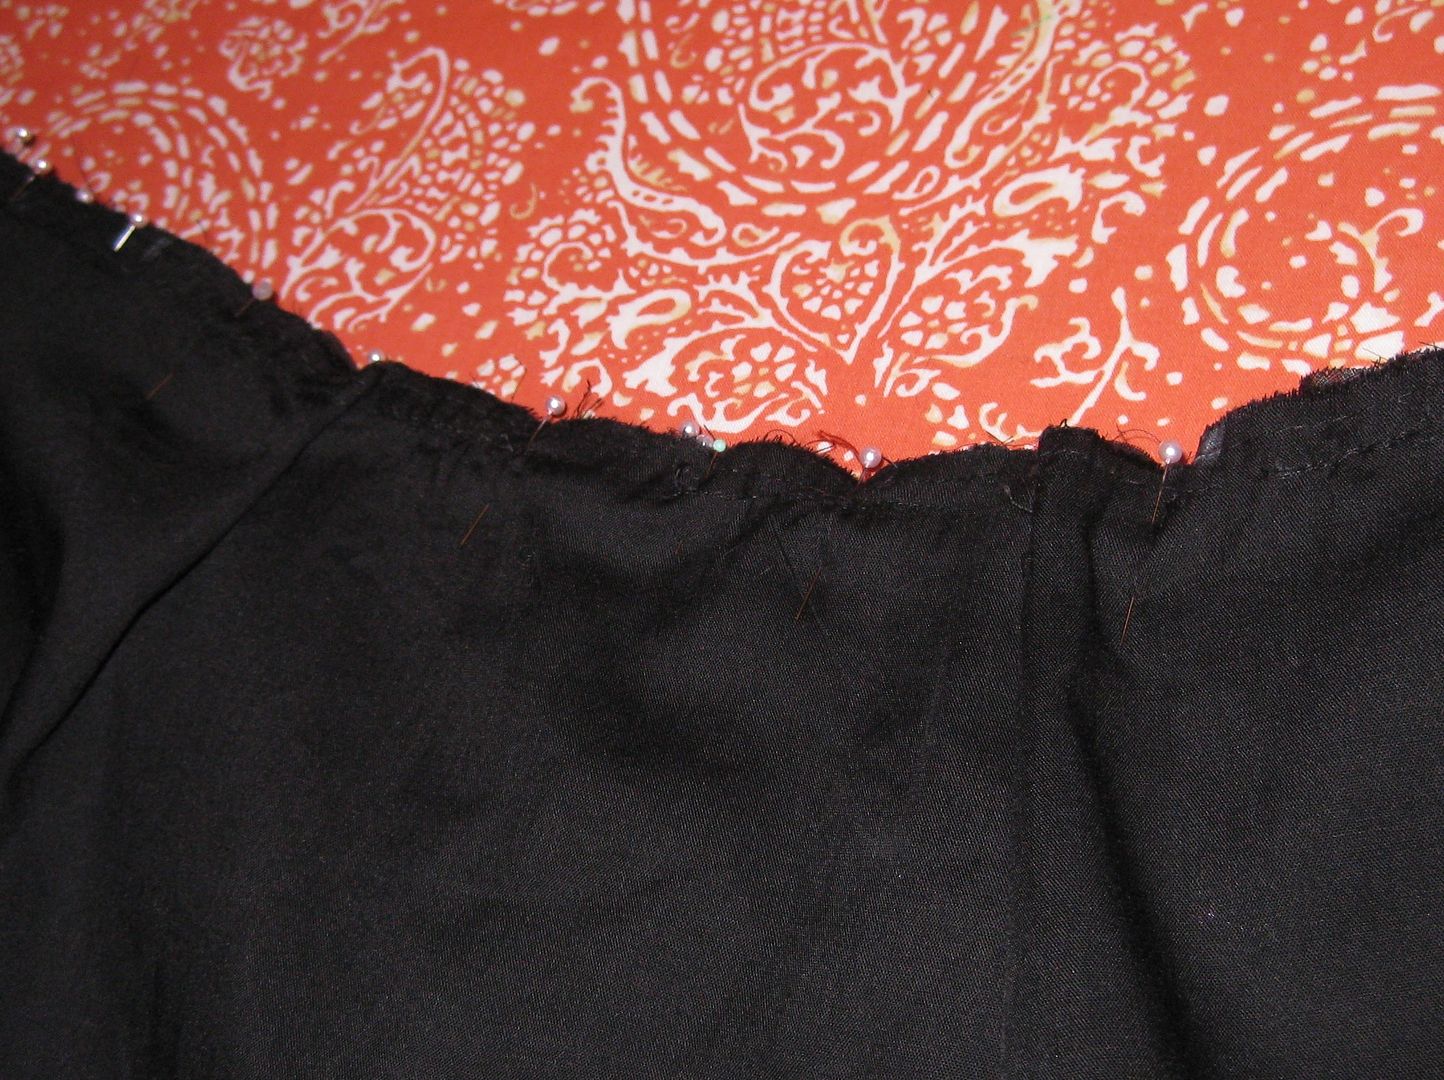
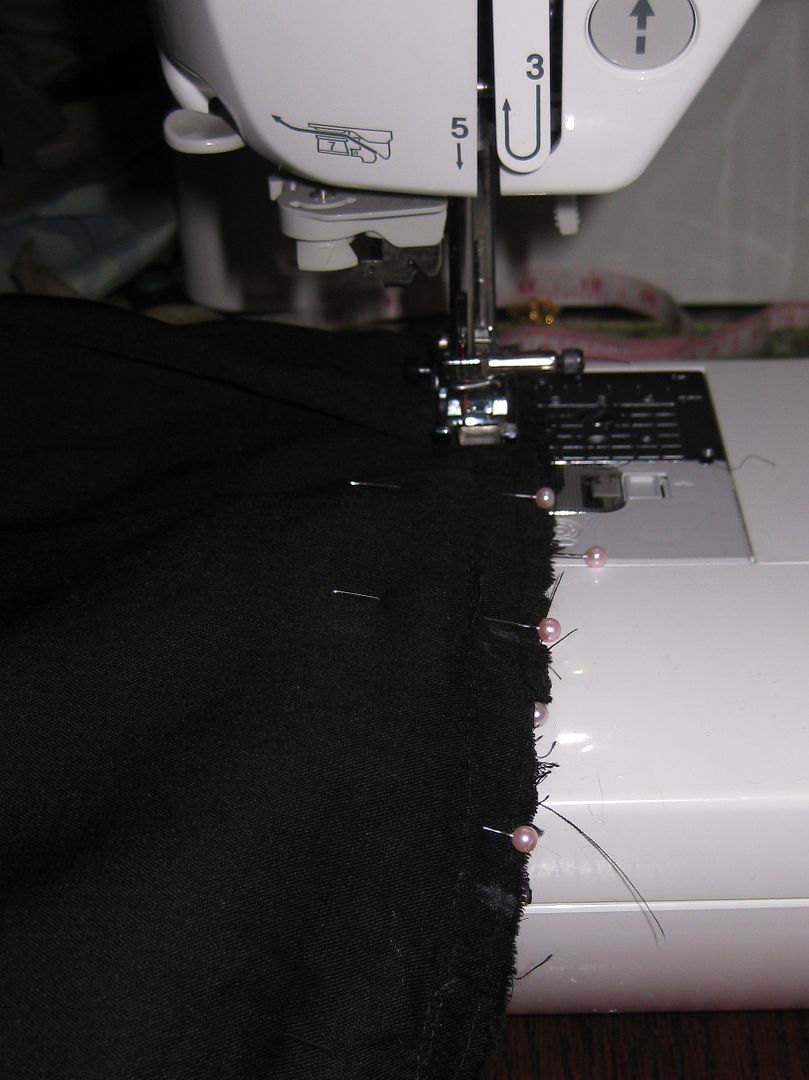
Before I could go forward with the design and how it actually looked ON, I needed to connect the top with the peplum and the skirt. I put them together and basted. I baste thing now before I sew them now. It is a habit I have incorporated in my sewing. things don't slide around while sewing. Things are less crooked..... and I tend to have to pull my seam ripper back out less since I can check things before I commit to sewing. So baste and pin. Sew
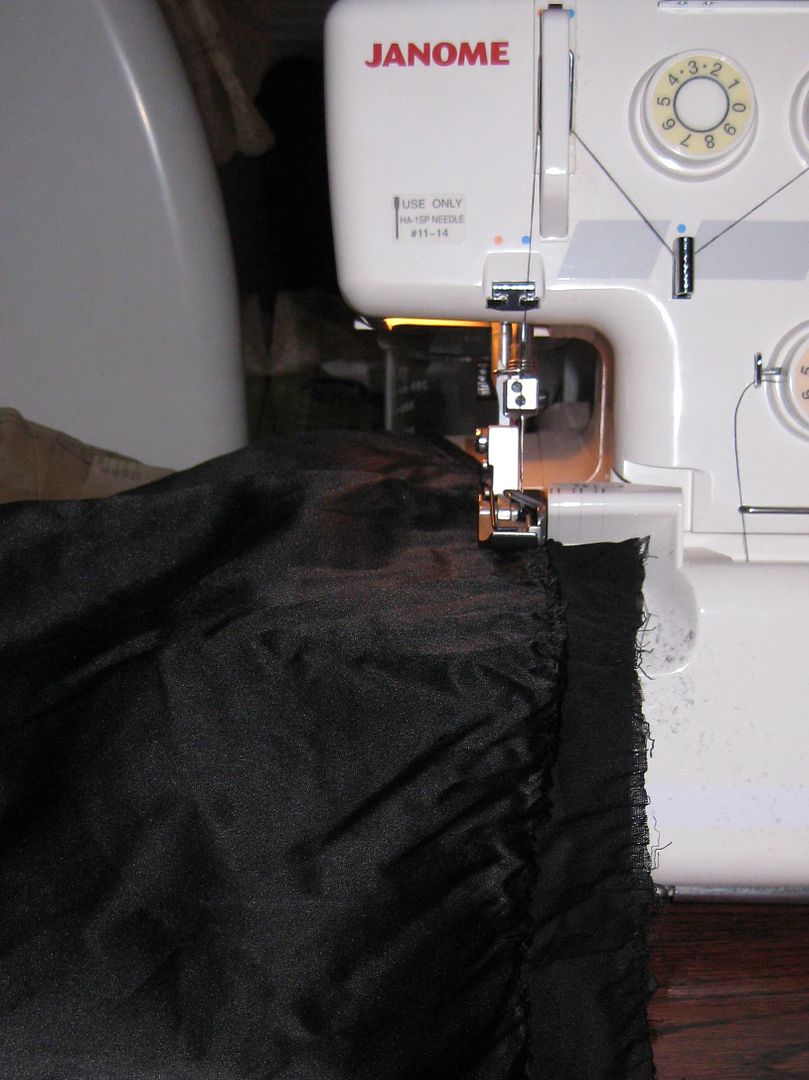
Not looking shabby. I then serged my peplum. It is actually longer then what I wanted but then I could then adjust the length to where I liked with my body shape.
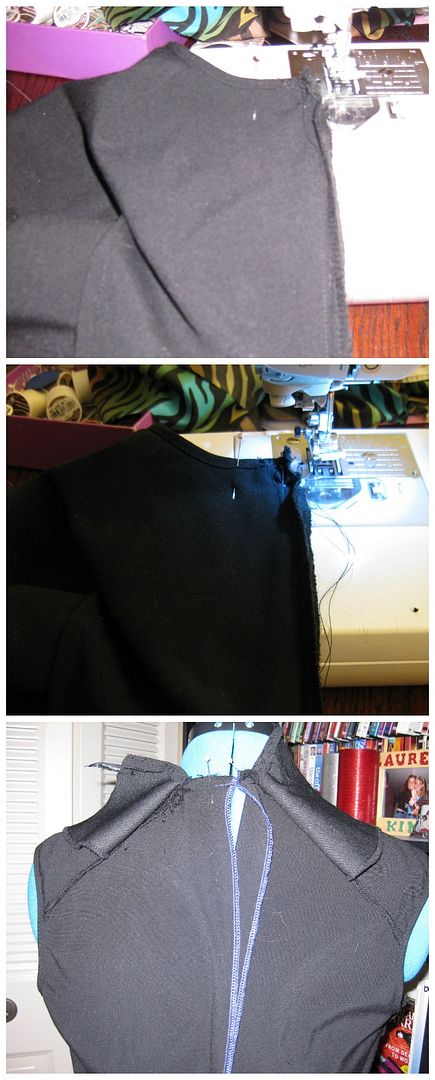
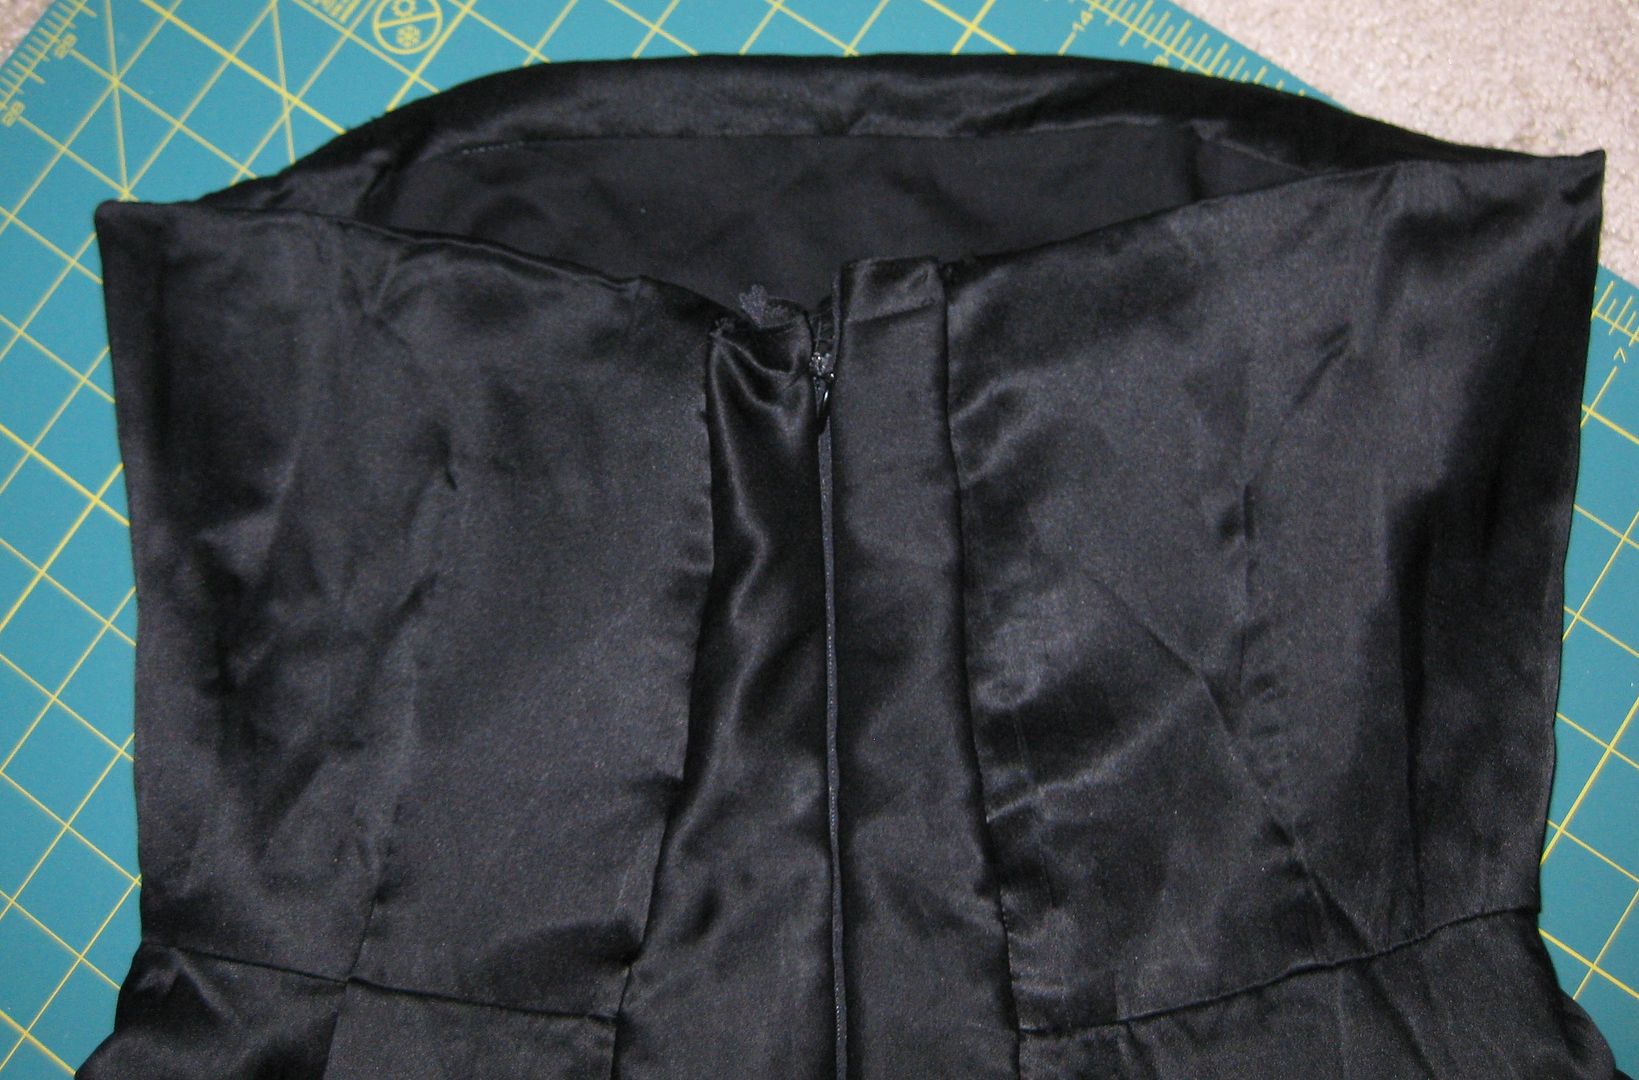
But before we can do that, I need to put the zipper in and get a fit and see how things fit on my body. Again I basted the zipper, I love basting!! You can see my insert that I added to extend the back. I added to the back and not the sides b/c the sides had boning. I didn't want to mess with boning. I don't have enough experience with boning to put it back in when I was done. No use reinventing the wheel.
After that, I systematically took in the back to fit it to me. It took me about 4 times sewing in. My dressform is not to my body so I literally had to keep trying it on, taking it off, and then sewing. Finally I had it just right.
Here is my done and fitted bodice. I still had the lining attached to a part of it. I needded to even out the back of the dress and make it symetrical.
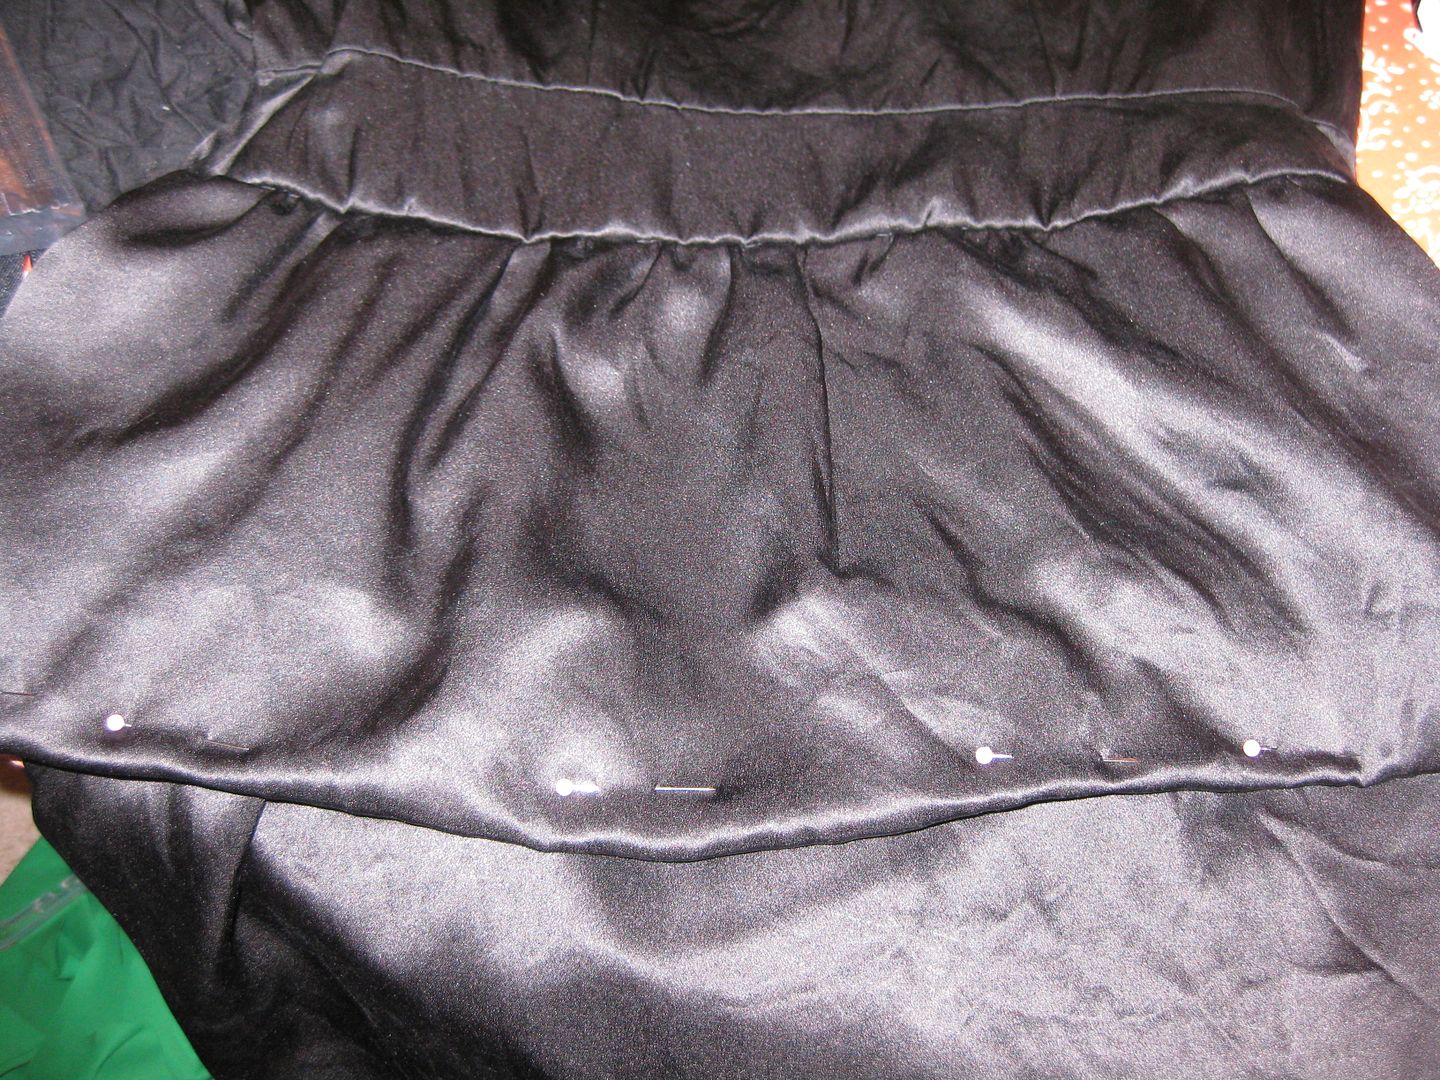
Next was the peplum, I found the right length I wanted and pinned it.
I went back and forth on how I wanted to finish this. Do I cut it and serge it? Do I hem it? Because of the shinniness of the fabric if I stitched it with my machine it would not look good. Serging would be dicey b/c fixing an uneven hem would probably drive my crazy. Then it hit me. I had kept the lining with the fabric for everything including the peplum. I realized I could hand sew the bottom of the peplum that was folded under to the lining and not be seen from the outside. Bingo! So a hand stitching I went.
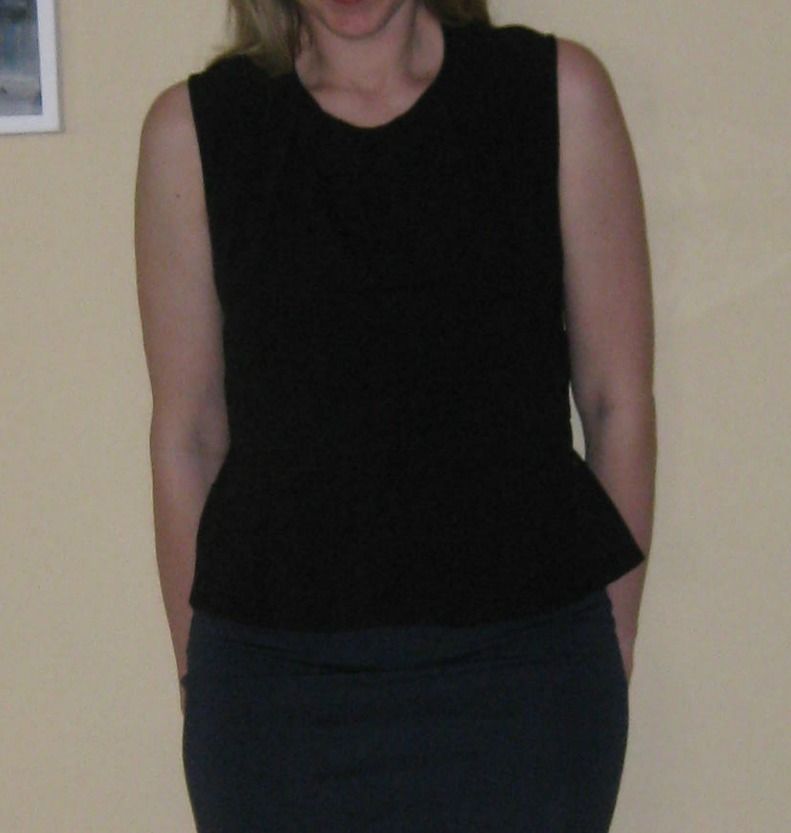
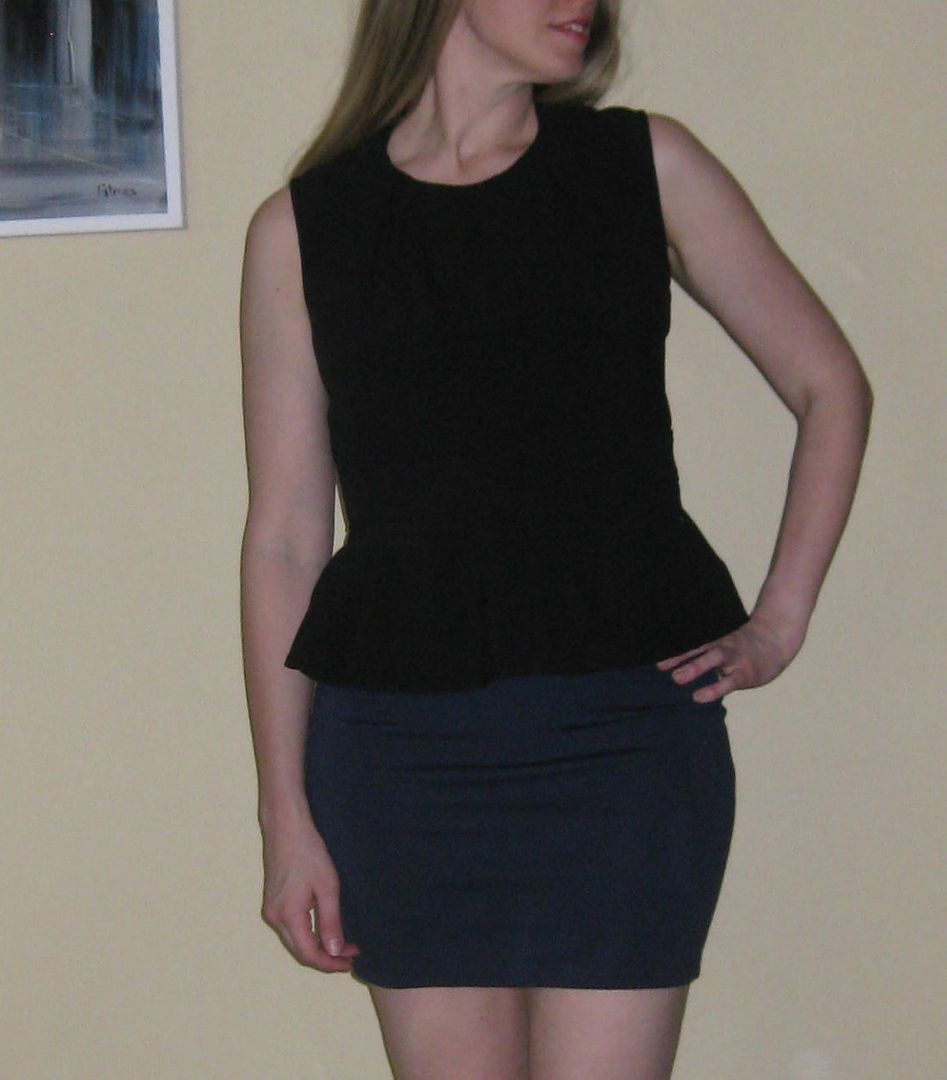
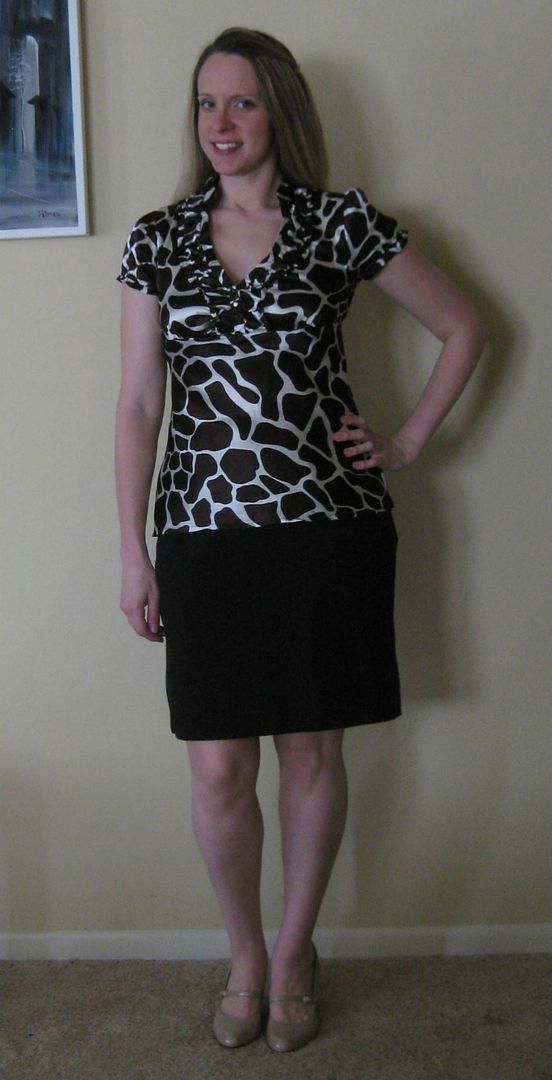
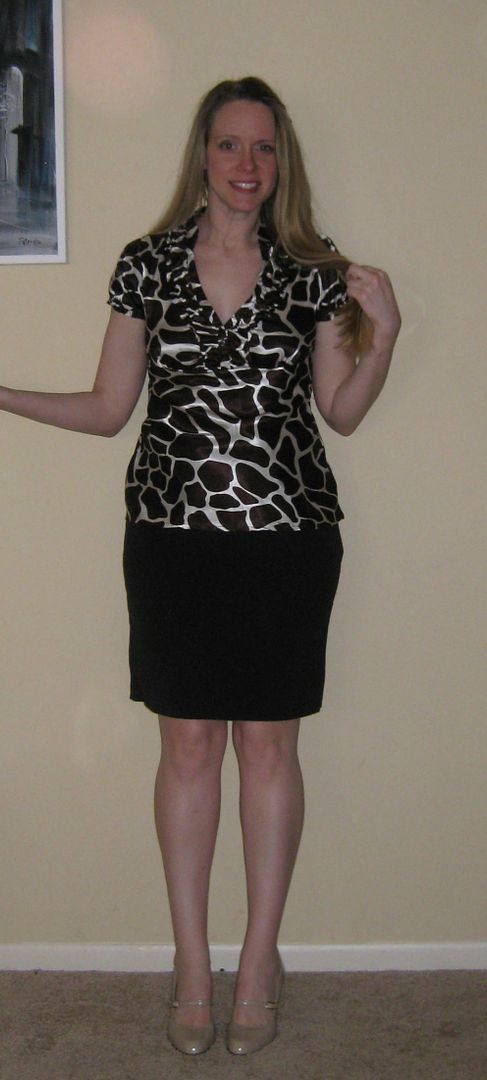
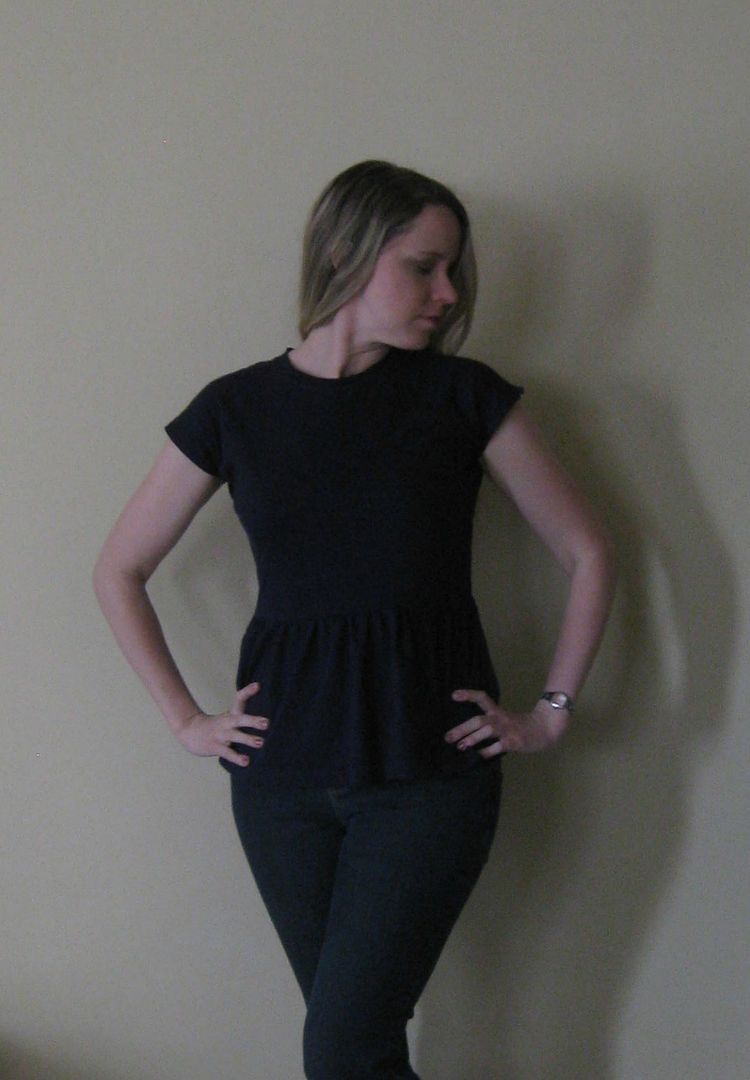
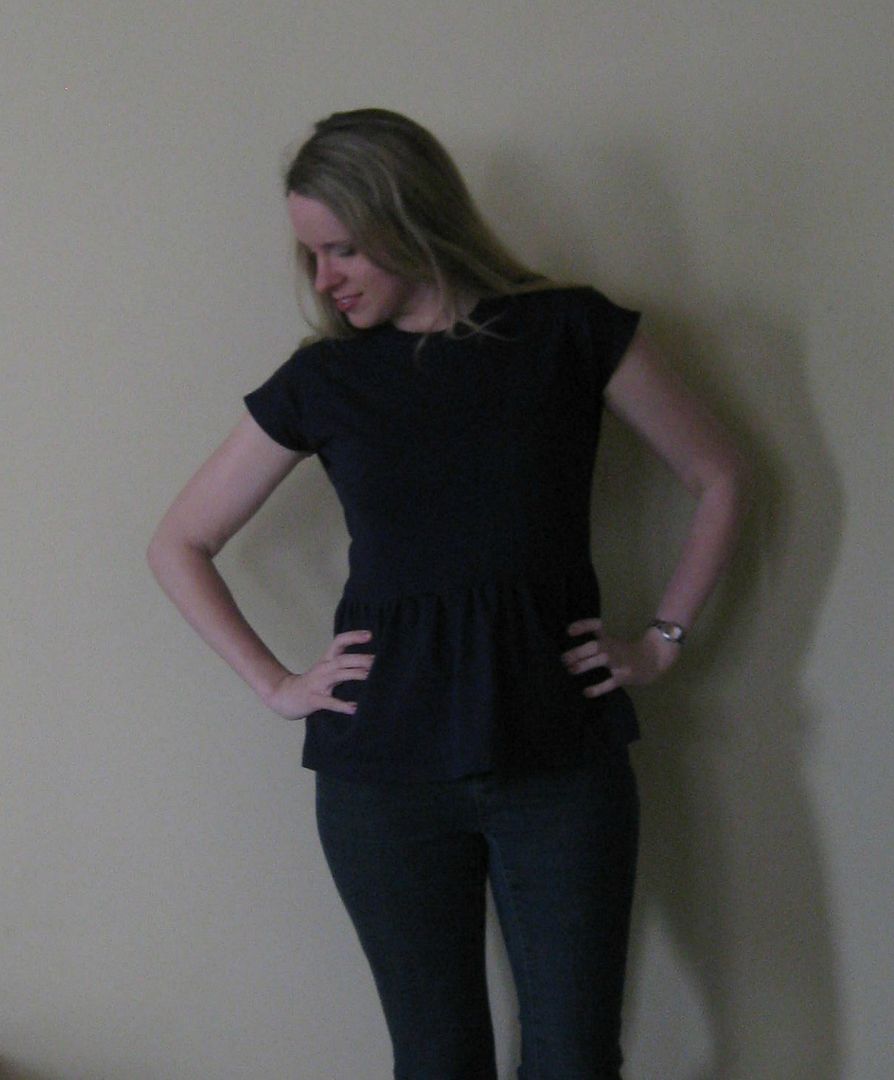
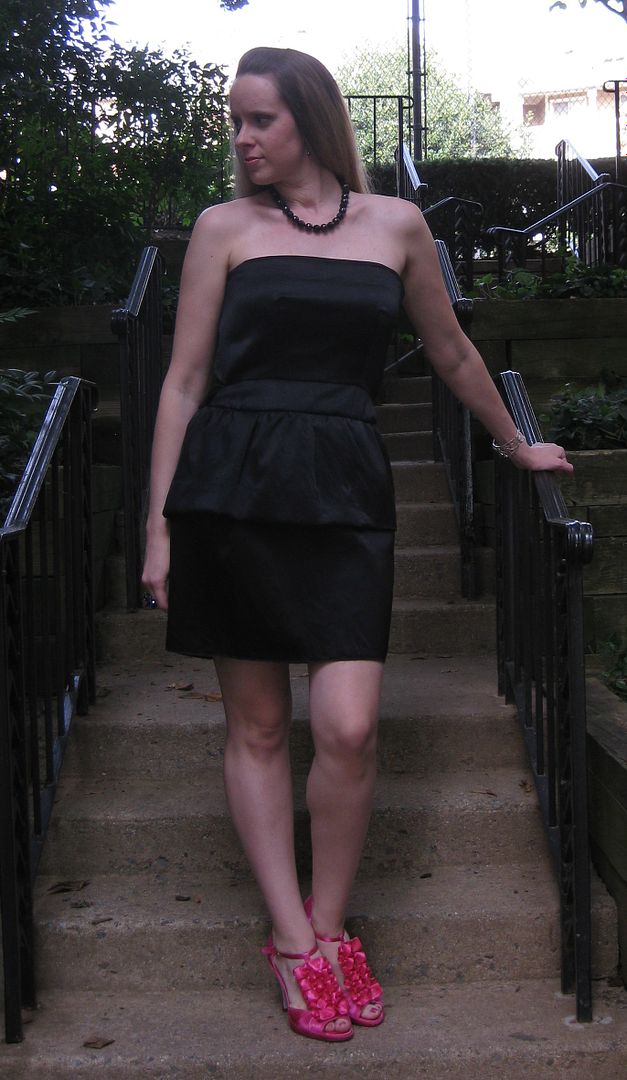
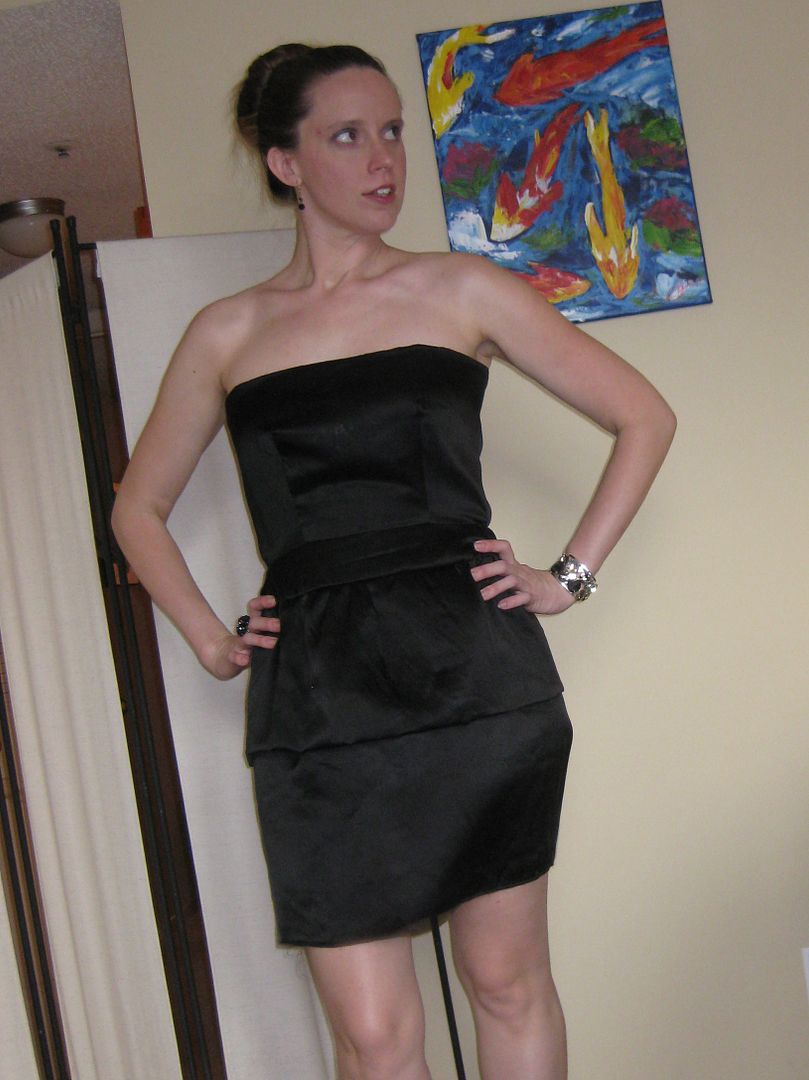
Ok nearing the end! Yes!!!! I simply serged the bottom of the skirt and blind hemmed it, it was very tiny hem. Done!!!! Ahhhhhhh relief. Now if I could get some sinus relief and fix my raw nose. I managed to pull it together, hide my blistering nose and take some end pictures.
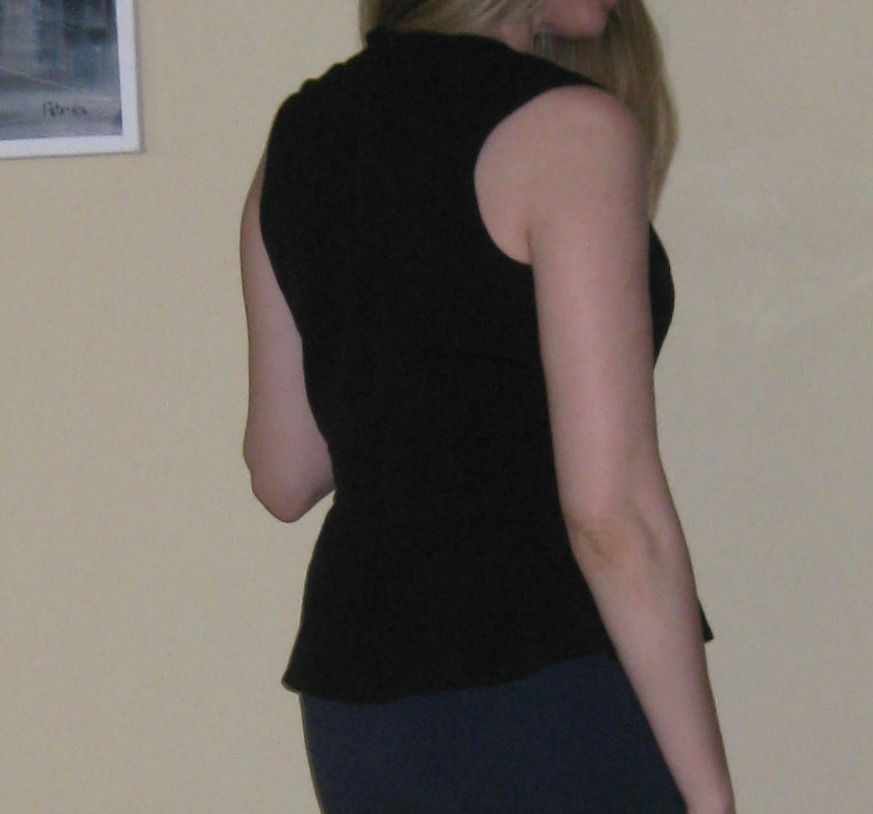
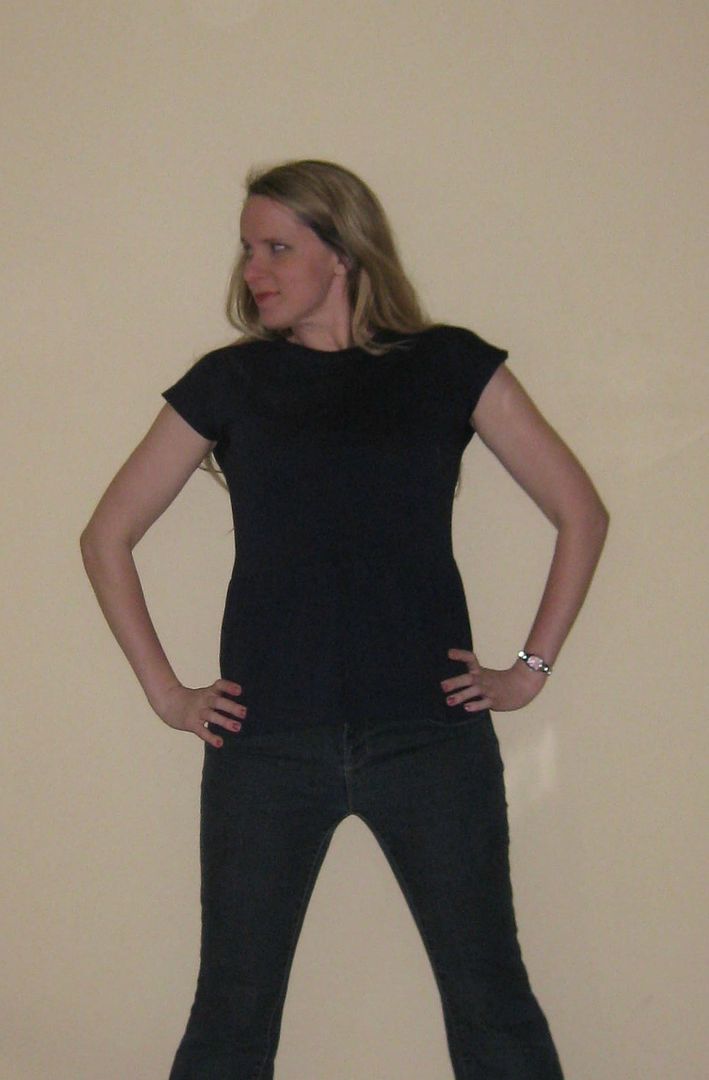
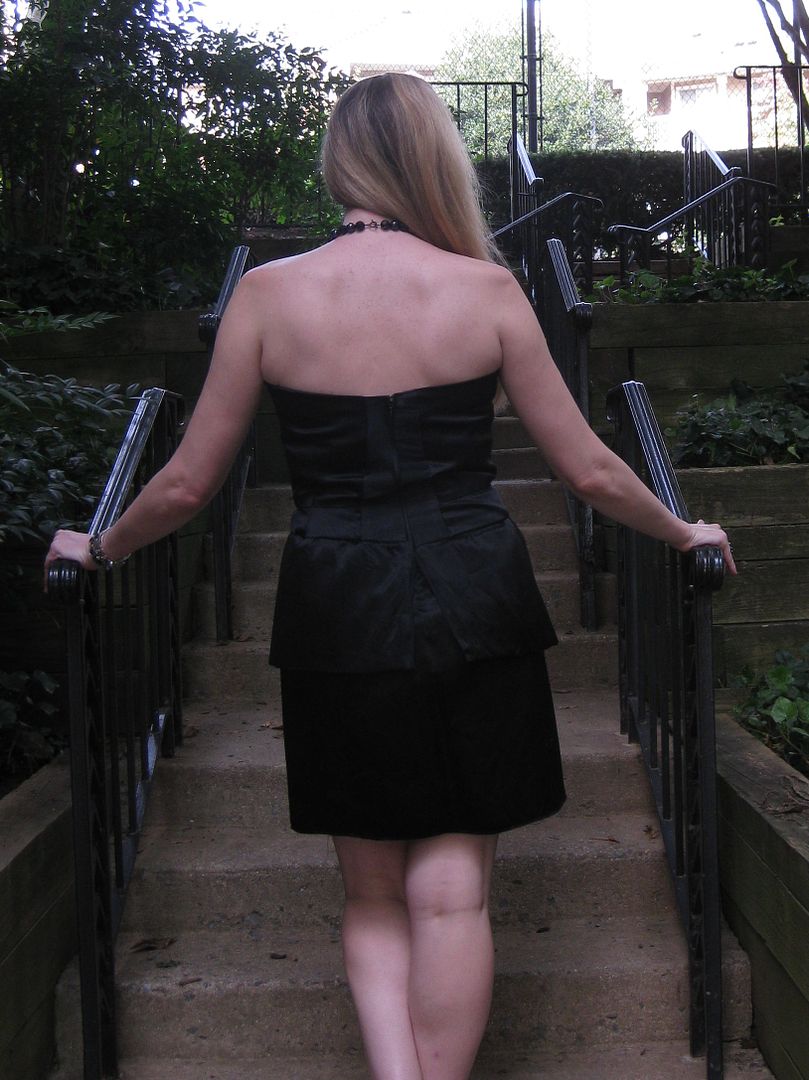
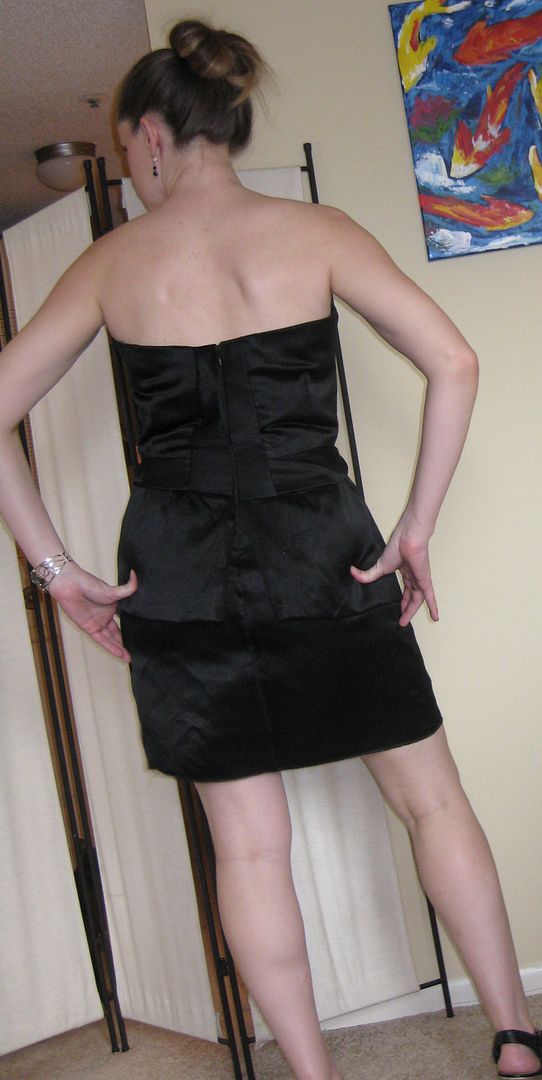
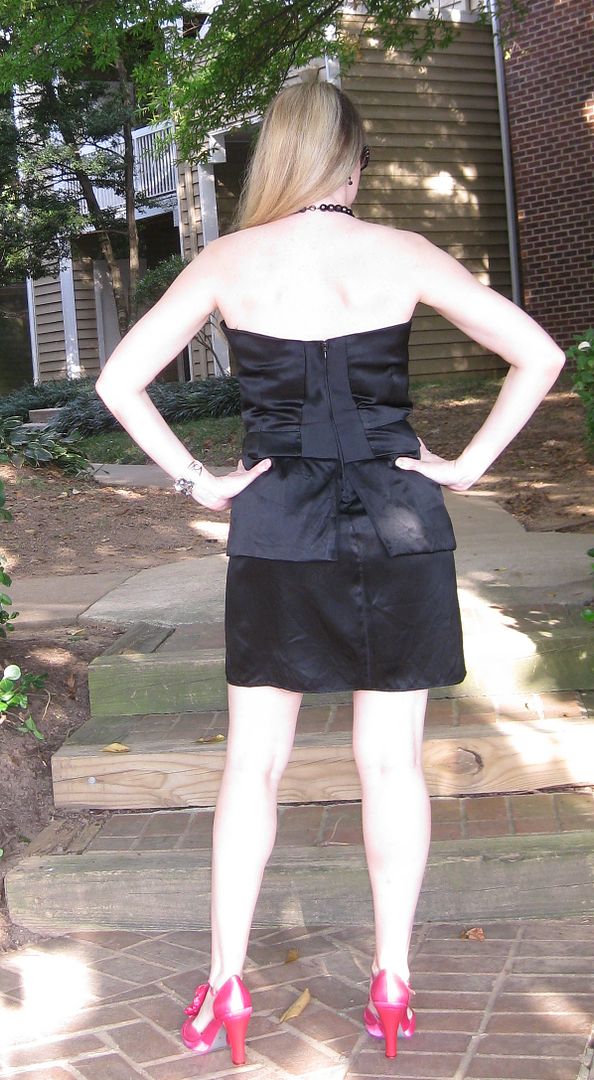
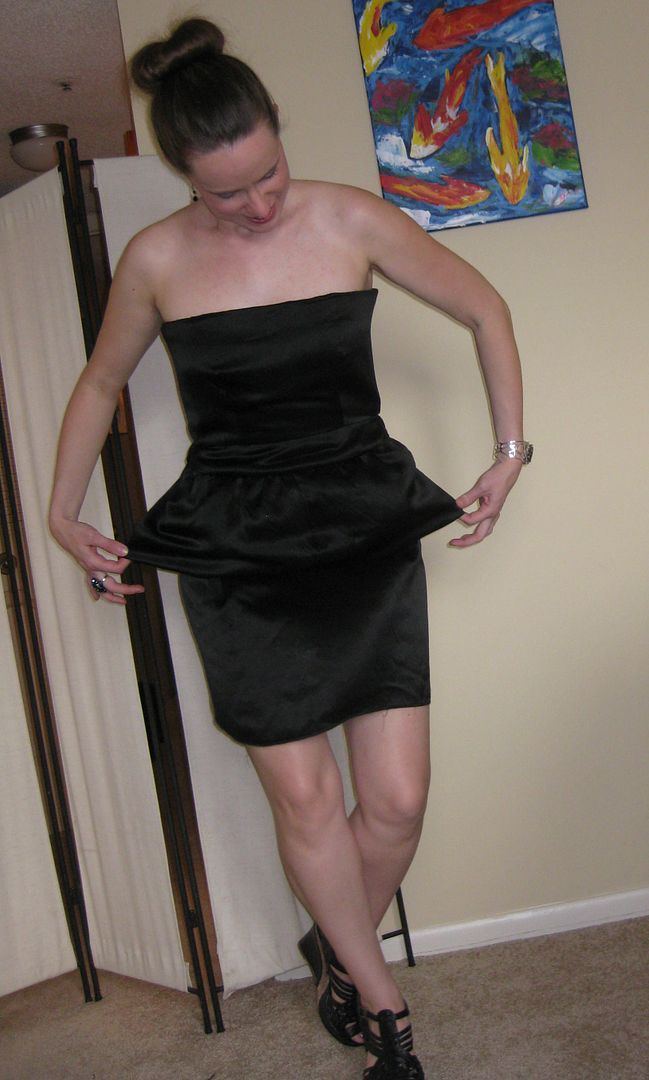
The back... it wound up even yay. It does not connect as I have a zipper and I need to be able to walk.
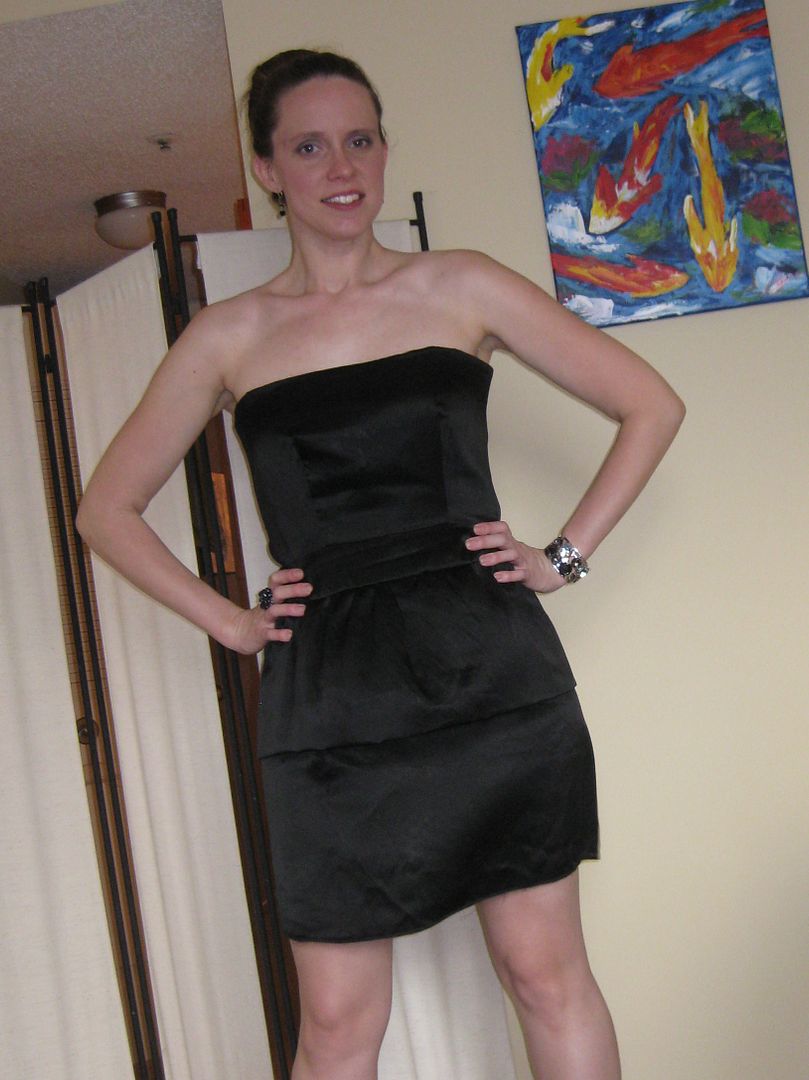
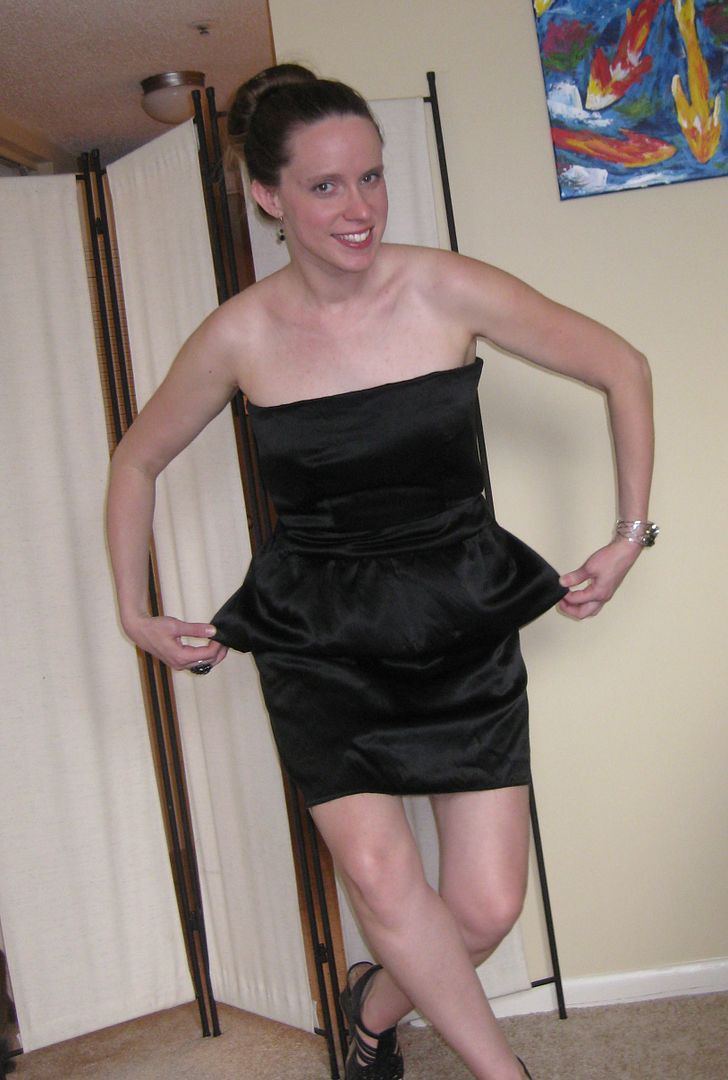
Oh the peplum...at least it is holding its own.
Really happy with this dress. This was a lot of work. It will be perfect for the rehearsal dinner I need to attend in a few weeks. And the best part is I have a lot of luxurious fabric leftover I can make something else entirely. Also really happy you can't fully tell I was so sick this week and my nose is raw. I am hoping that things clear up soon, this was a doozy of a head cold. Fingers crossed we don't progress to bronchitis or pneumonia! I am teetering right on the borderline. I am trying to take it easy.
No for the obligatory asking for you to go and vote! Check out
Refashion Runway for the other contestants for their peplum submissions. There is some fierce competition going on, everyone is on their A game. There is some great creativity going on and I hope we all inspire you to go and start refashioning something ugly to something beautiful for yourself!!
Next challenge is leather. Which I am freaking out about. I have zero experience with leather sewing. Leather is a one time sort of sew. The hole is there and won't disappear. It requires it's own needle. And there are things you need to do with sewing leather. Freaking out. This may be the challenge that may lead to my demise. This will have to be a simple refashion. Breathe in, breathe out.
Cheers and good luck to the other contestants!!!
Lauren