When I found this dress, really there was nothing wrong with it. The fit was really good. The only issue was really, I have enough dresses and I won't really get any use out of this dress.
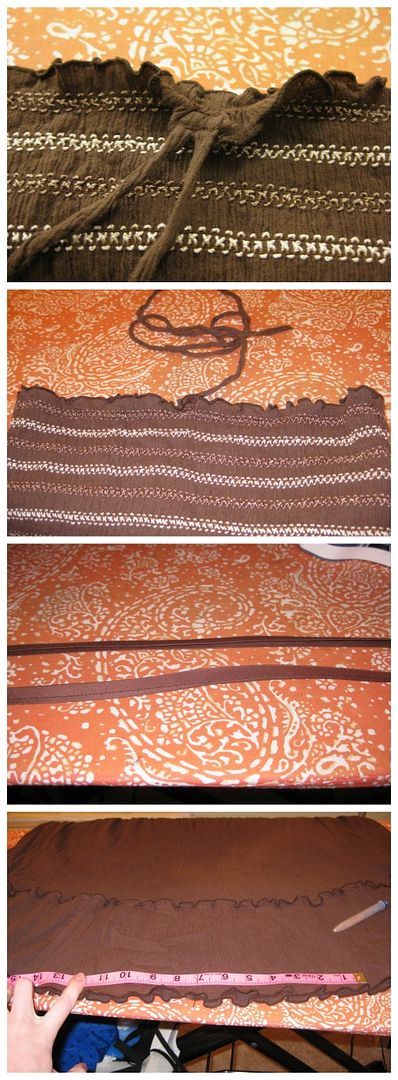
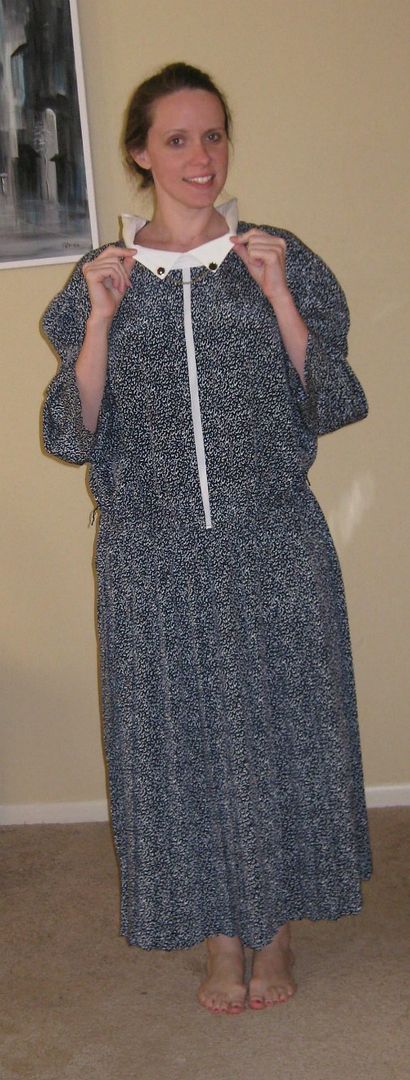
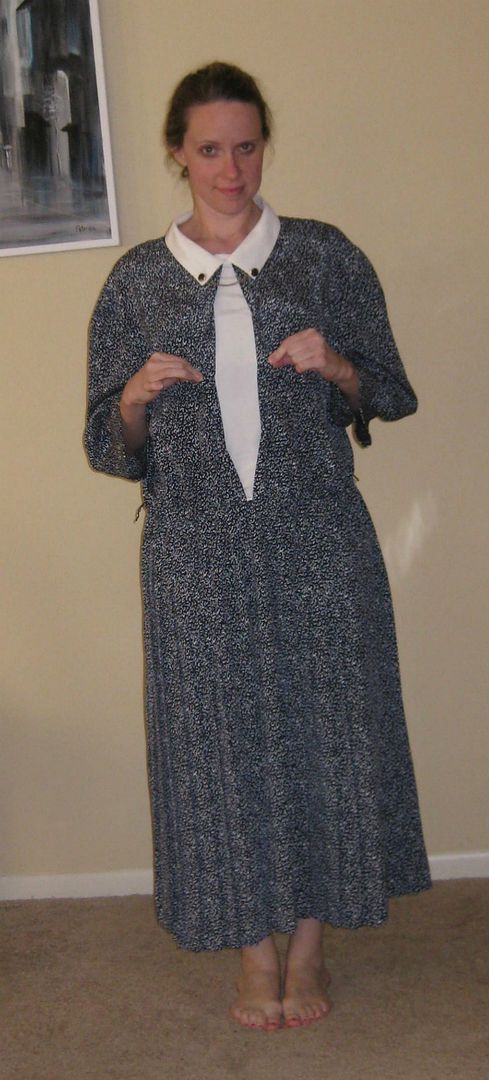
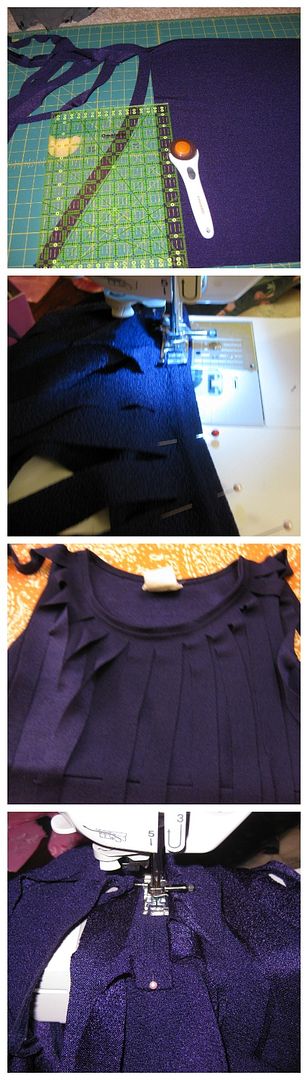
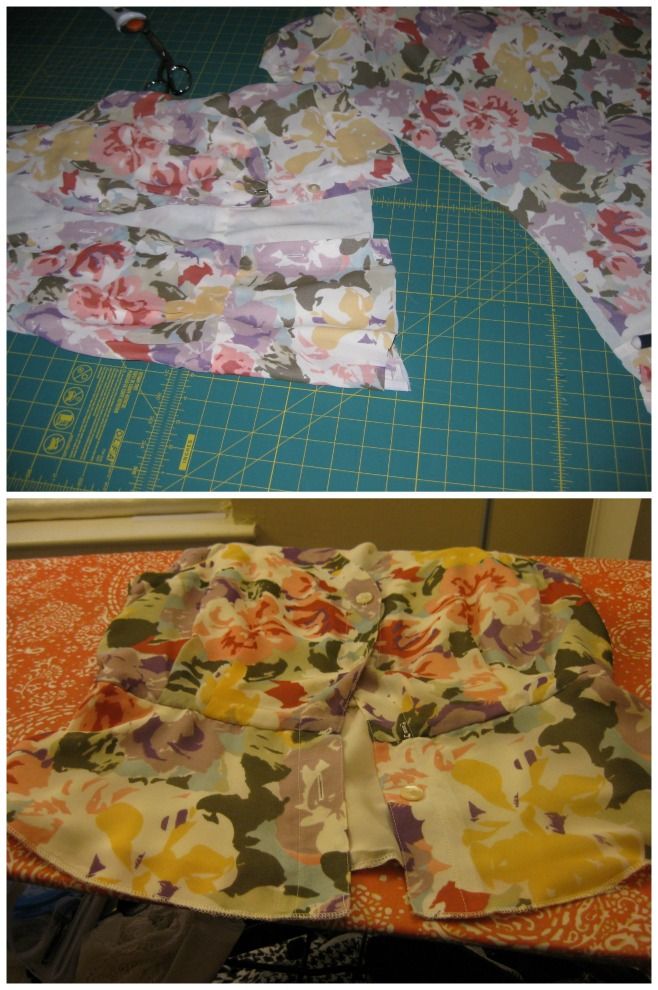
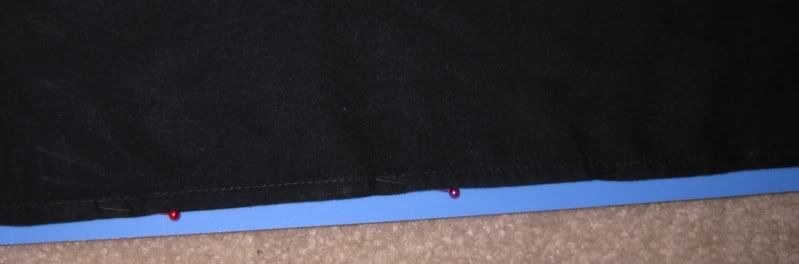
I will get more use out of it, if it was something else. Like a top. So I decided to turn it into a top with a slight peplum. I started off first with removing the back seam and separating the zipper as well. I want to keep the zipper intact. Then I found where I wanted the waist to be. Since the dress lined up really well, I followed it across the dress.
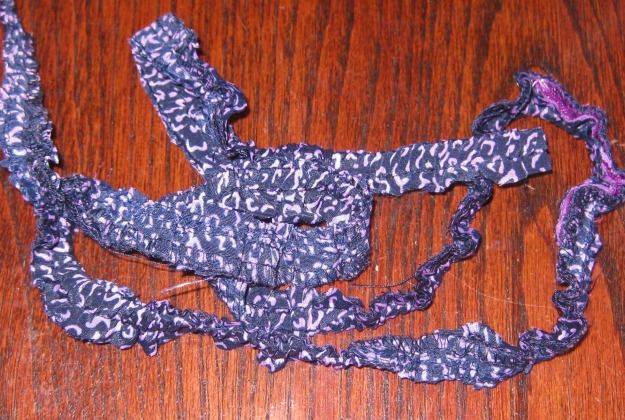
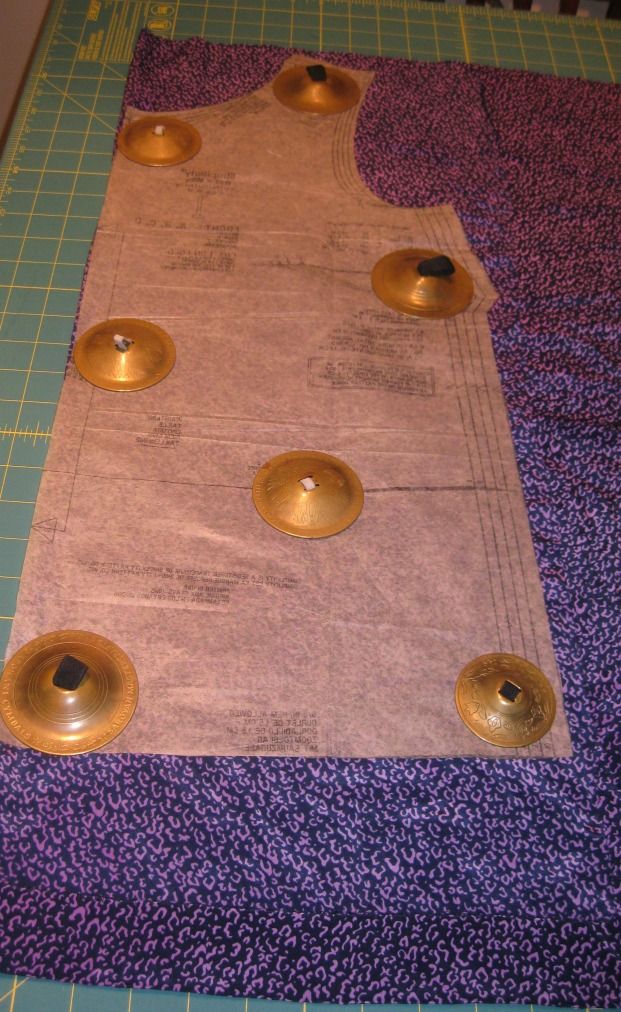
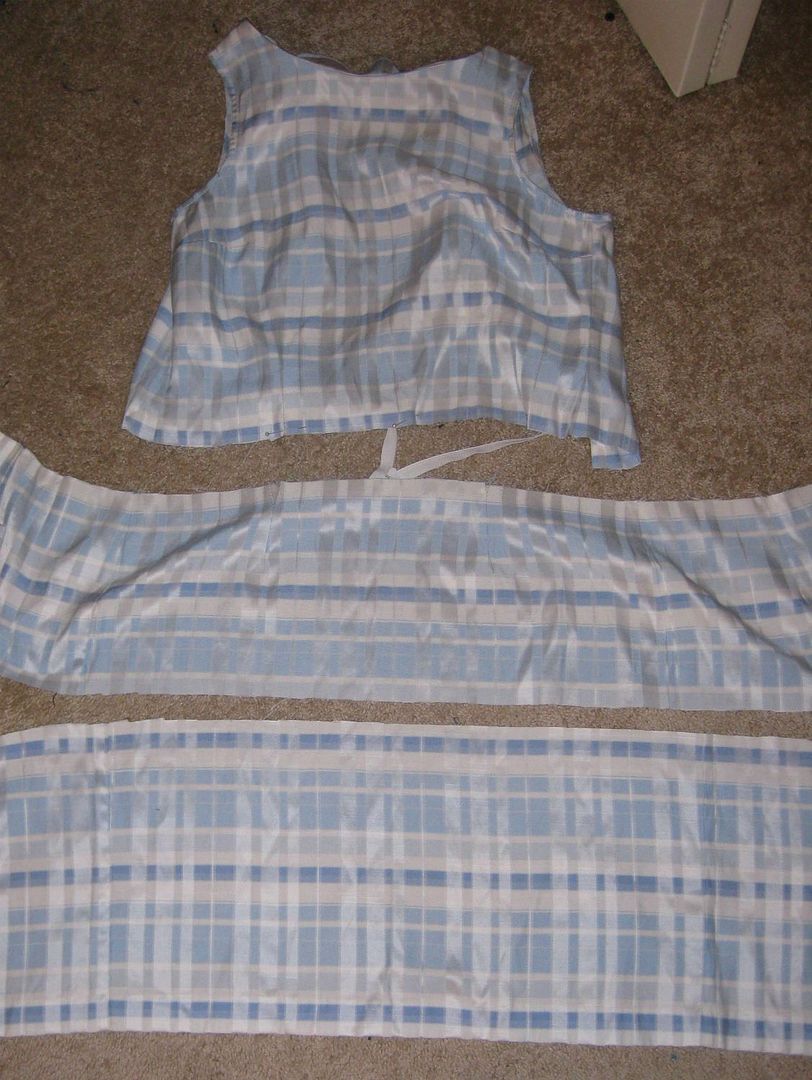
I cut off some of the fabric from the bottom. So the dress is is 3 pieces. I am going to use the very bottom. The middle I won't use at all.
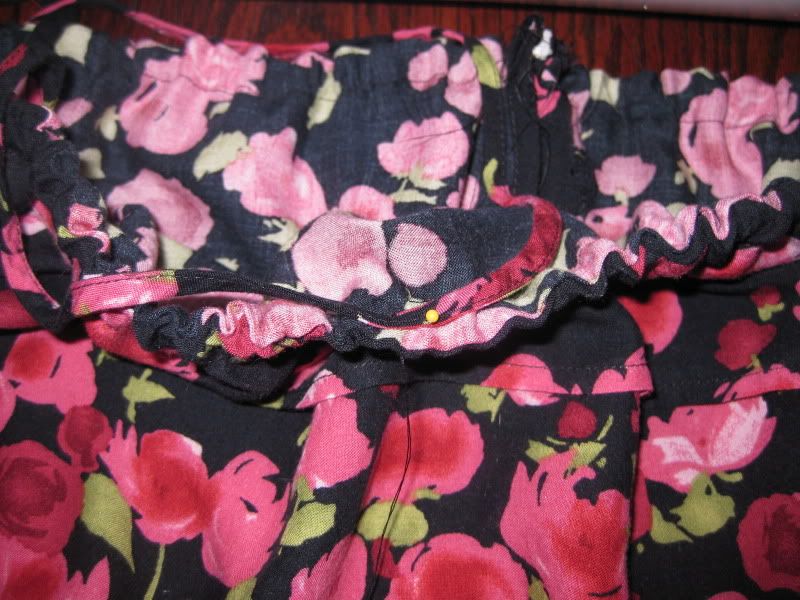
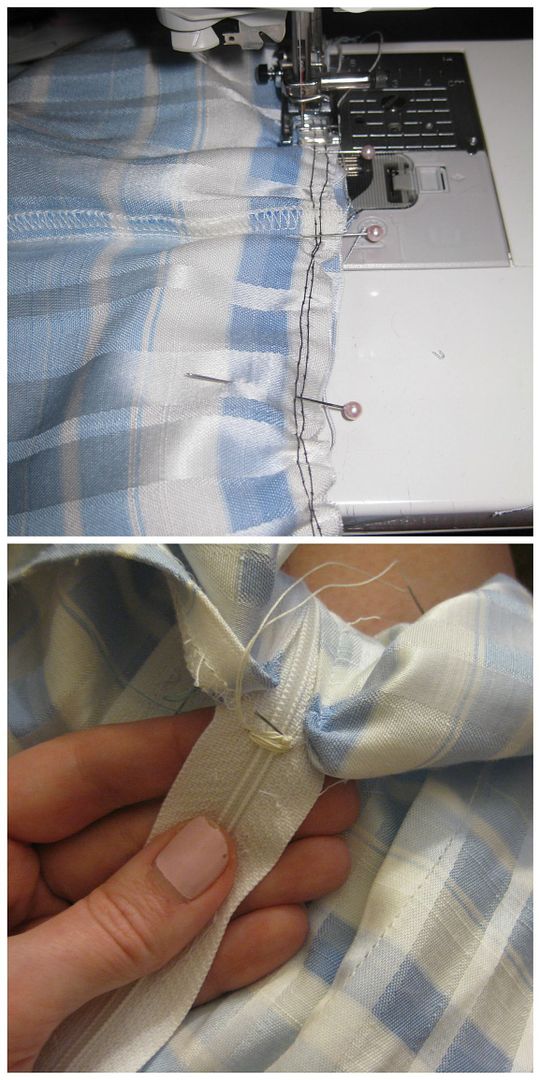
I gathered the top of the fabric and then attached it to the bodice. Pretty easy. I serged to clean up the threads. After trying it on I realized that the dress tapered and I had to keep some of the back open. So I cut the zipper so you could not see.
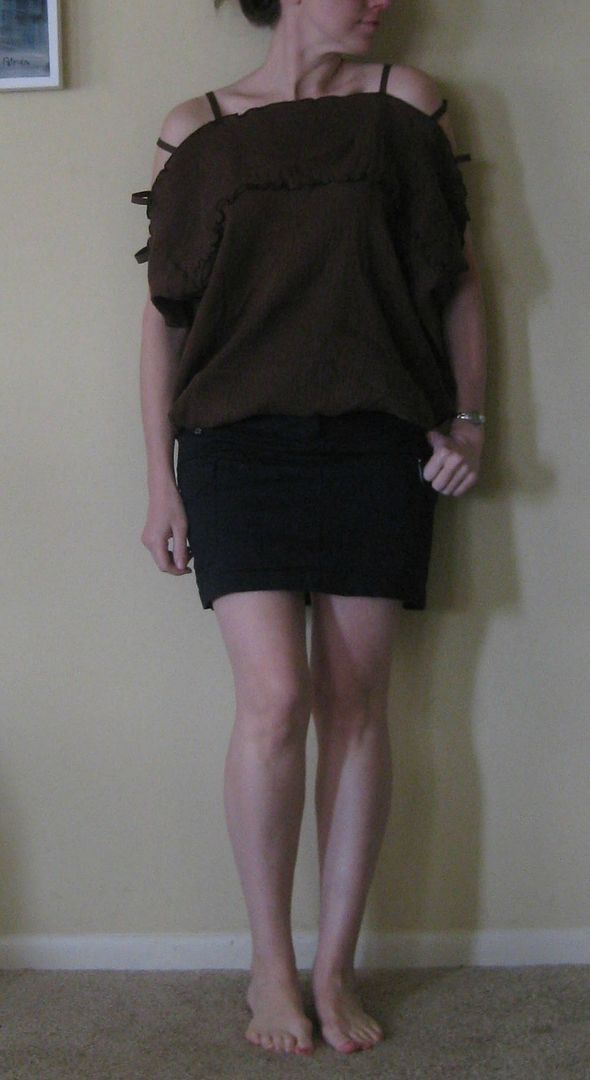
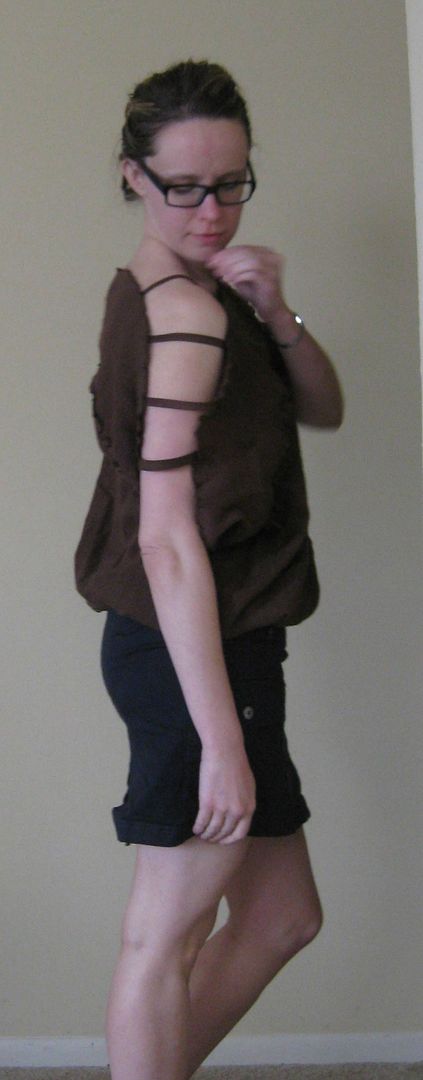
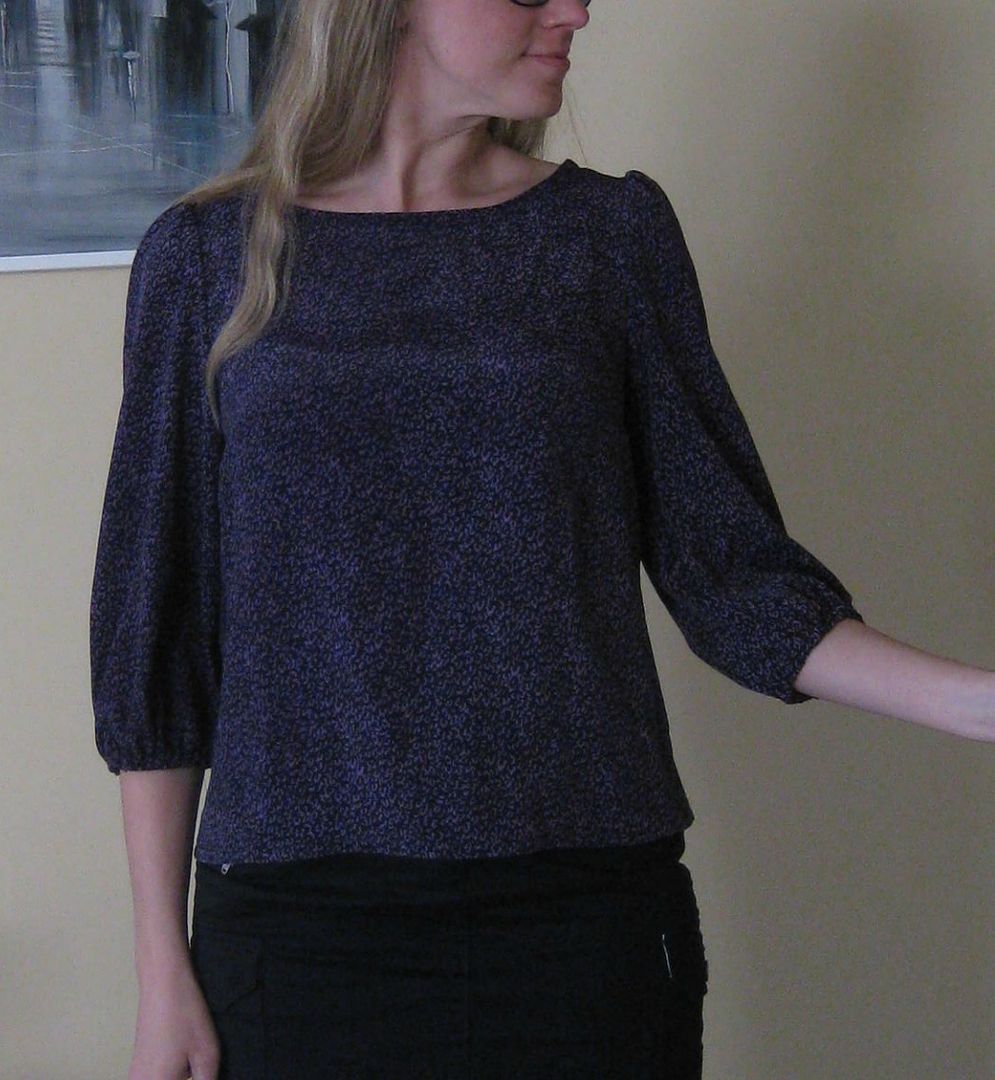
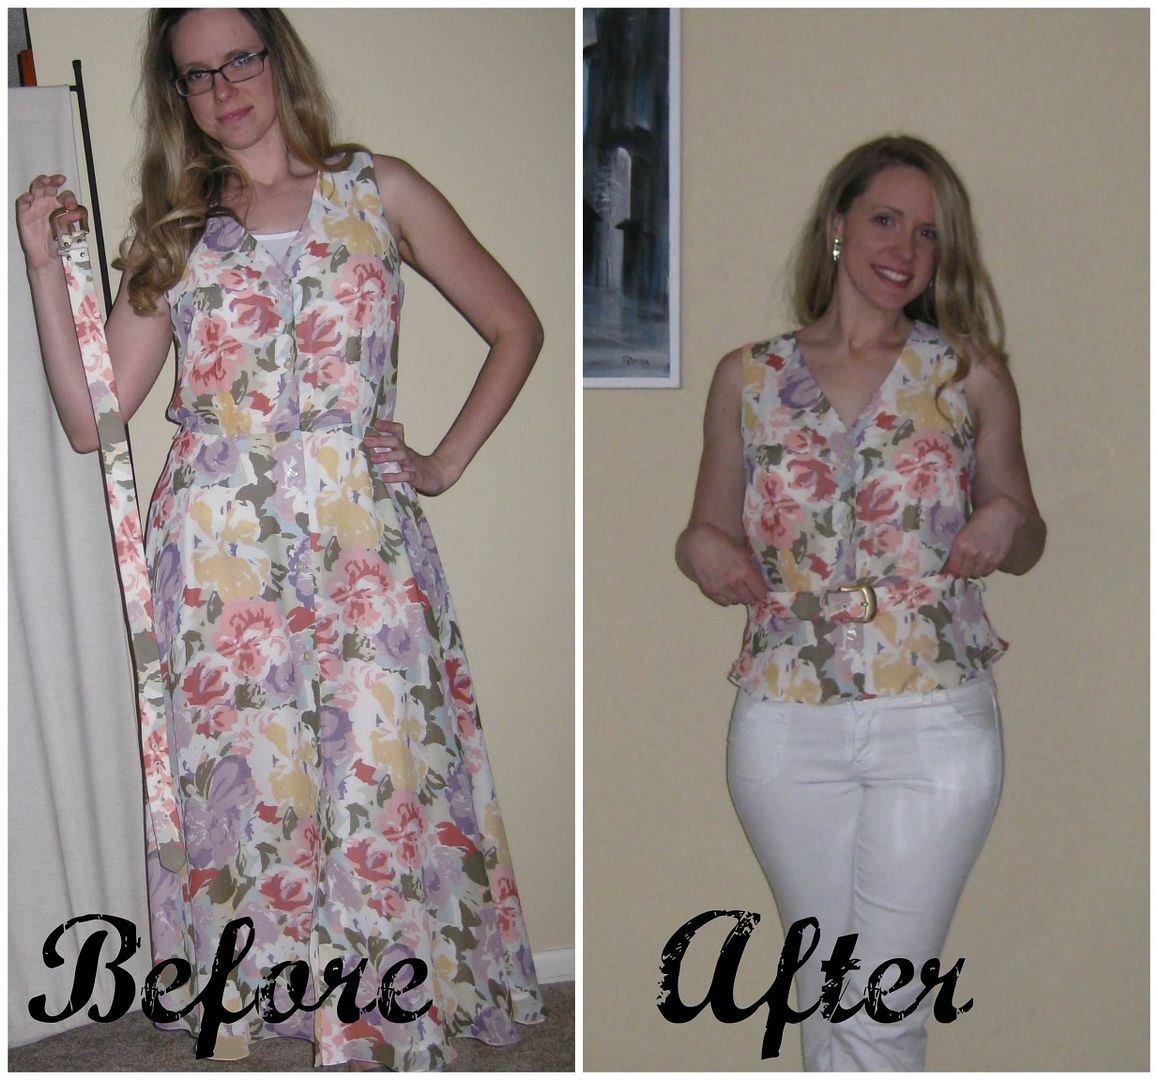
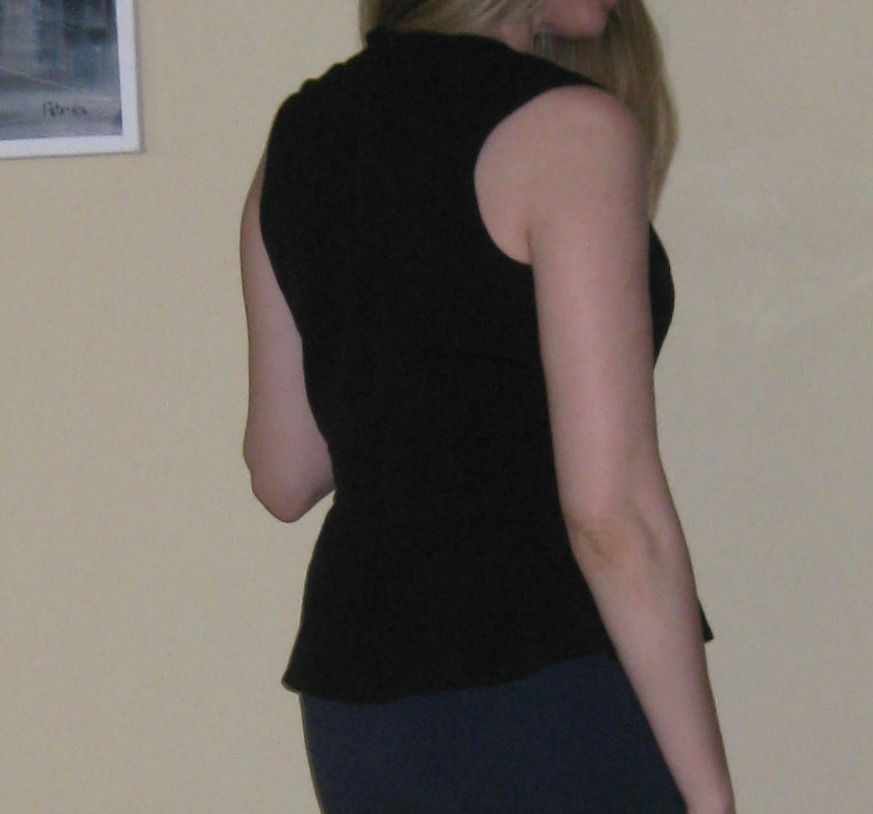
Done! I threw on a pair of shorts, it is not really season to wear a tank top but this would be great for next spring. I like how I kept it long as I want longer tops for work.
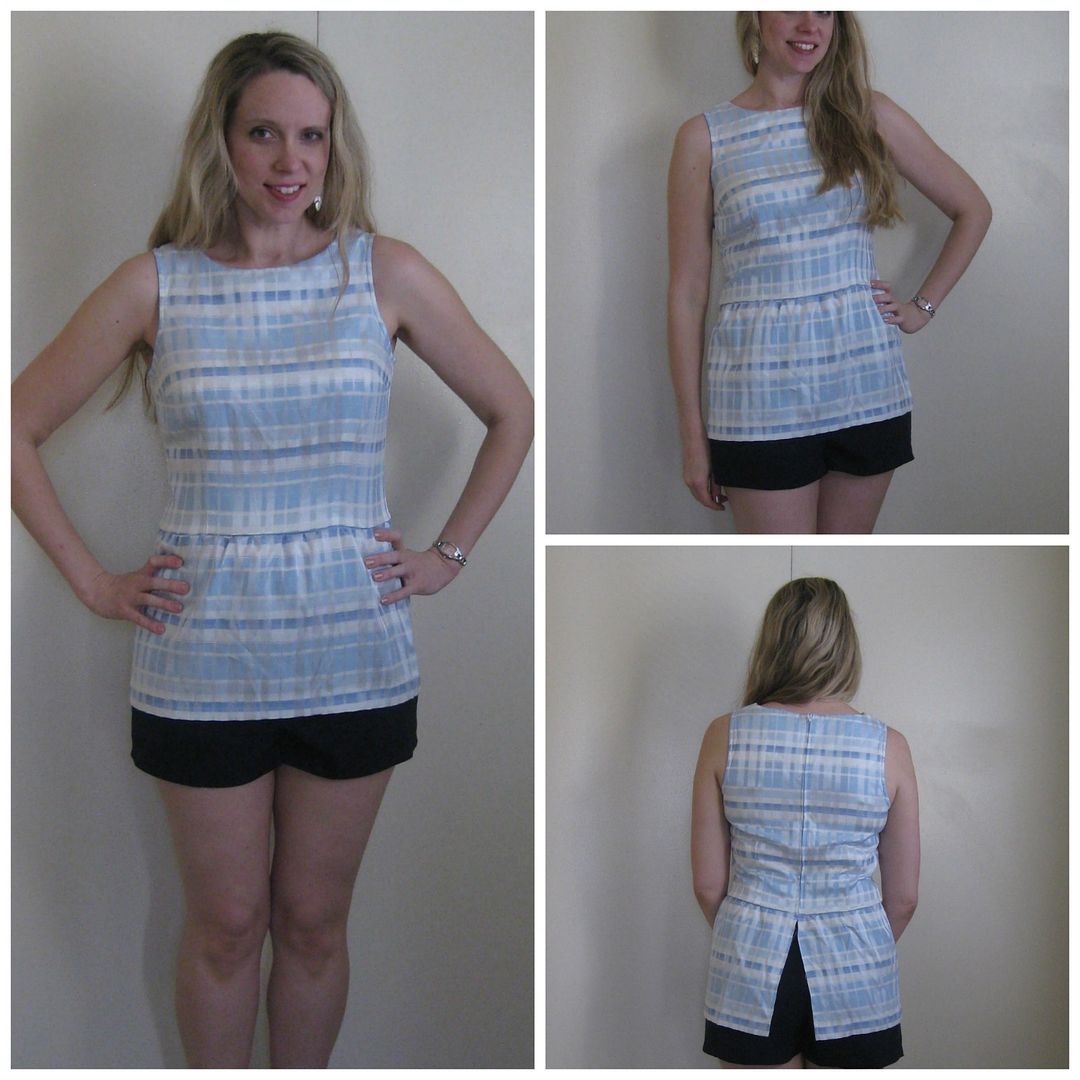
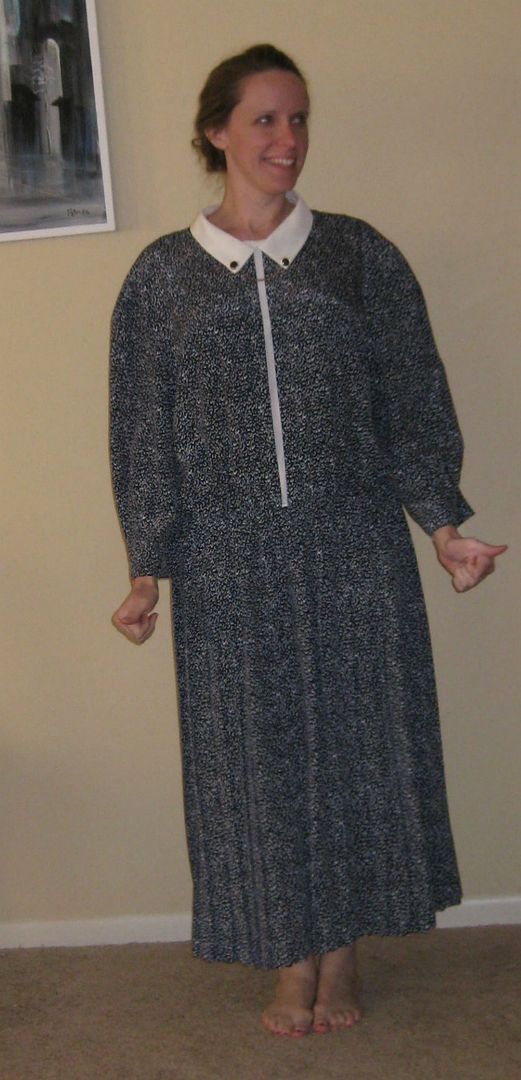
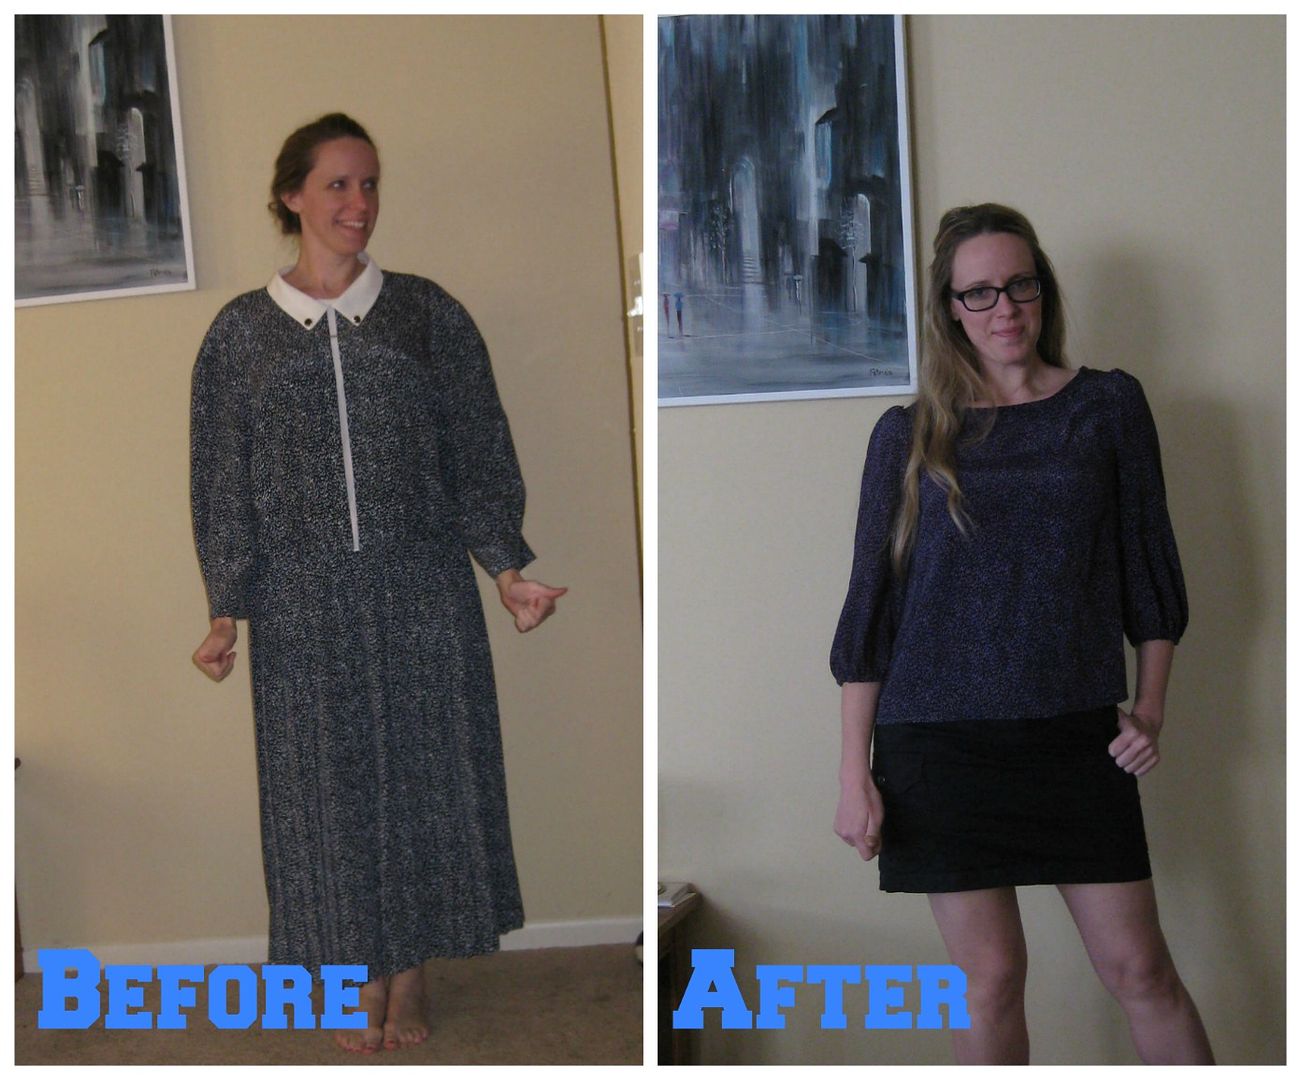
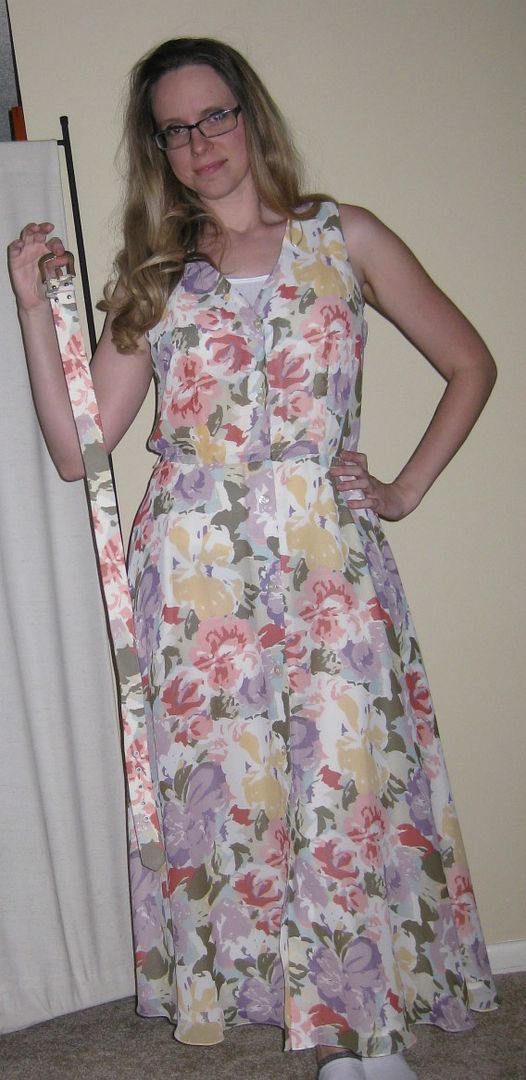
Here's the recap! Even though the starting dress was great, I would never wear it since I mostly wear pants for work.
BTW next week will be my Halloween costume. It is pretty epic and something I threw together very quickly. I have a lot of photos so this post will take me longer to write about it. :) So next Monday! Stay tuned.
Cheers,
Lauren
Well hi welcome to my little blog. Just my little corner of craftiness, sewing, and refashioning. I am also a newly gluten free eater so you have a little bit of recipes mixed in here.
Showing posts with label dress to top refashion. Show all posts
Monday, November 9, 2015
Sunday, December 28, 2014
Mom's beach coverup, refashion #93
Alright well my break has been nice and I have been playing catch up with my personal life. And even began to sew and take pictures. Some of the last of my 99 refashion challenge were completed, I just needed photos. I have just been so slow with doing things!
This beach coverup was from my mom and a challenge to see what I could do with it. The shirred top with cotton gauze bottom was a bit of a challenge.
It hit me one day to turn it upside down and utilize the shirred band for a waist. First, I pulled off the front tie.
Next, I used brown bias tape and made strips to create an open shoulder/arm look. I measured so they would be even. I sewed them on. I additionally took in the sides some. But I don't have a picture of that. Here's my new piece! Totally different and unexpected huh? :)
The shoulders....
This would be perfect for walking around the beach during the summer. Here's the recap!
6 more to go! Can you believe it? I can't believe I have sewed that many clothing items. But I also can't believe where the time has gone!!
Cheers,
Lauren
Wednesday, November 12, 2014
Kristina's Dress Challenge, #86
I went on a group thrifting trip (more info coming on this!) and at the very end, my friend Kristina said alright I challenge someone to fix this dress. Challenge accepted. So let's check out this dress.
Well it is big and has an elastic waist.
First, I dyed the fabric with pink iDye to change it up. What I got was a purple color with bright pink accents. It was almost like magenta. Interesting. (sorry no pics).
Cheers,
Lauren
Well it is big and has an elastic waist.
A lovely metal embellished collar
and a peak-a-boo faux middle placket. This was built in.
First, I dyed the fabric with pink iDye to change it up. What I got was a purple color with bright pink accents. It was almost like magenta. Interesting. (sorry no pics).
I cut the top from the bottom. Out came the elastic.
I used this pattern from simplicity 1693, and changed the sleeves to the longer sleeve option.
The skirt itself had a lot of fabric, even for long sleeves!
It was an easy sew. I tried to keep the collar but it didn't work. The metal had chewed up the fabric. :( I really wanted to keep the collar part. Instead, I left it as is. Here is my new shirt. :)
Here is the recap. The change in color is subtle but nice. It is an easy blouse for work. :)
Cheers,
Lauren
Wednesday, August 20, 2014
Purple midi dress to fringe fun, #59
I had this purple dress forever, my inital plan was to use it for part of a costume, But that never happened. so now what?
First, I cut off the bottom and decided to make a top out of it. It is not cute enough to be a dress. I could work with a top. The next thing I thought about was, I wanted something less boring. Fringe! Oh! That would be cool. I used the bottom part of the dress and cut strips up to the hem (hey instant seam and stability) every 1 inch. Easy enough.
Then I followed the neckline from the shoulder seam to the opposite shoulder seam. Sew down. Cut. Still had plenty of excess so I kept going. I had 3 rows of fringe.
This shirt is soo much fun. Just want to twirl in it!
Hey recognize those shorts? :)
Here is the recap!
I will wear this until it gets cooler. It is just so much fun! Yay! I am so happy to be over halfway done with my 99 challenge too! Whew! Tired!
Cheers,
Lauren
It is awkward short with a bad side slit.
Then I followed the neckline from the shoulder seam to the opposite shoulder seam. Sew down. Cut. Still had plenty of excess so I kept going. I had 3 rows of fringe.
Yeah it got kind of crazy with sewing at the end. Strips of fabric everywhere!!! Here it is done!
This shirt is soo much fun. Just want to twirl in it!
Hey recognize those shorts? :)
So happy with the final outcome, it is so much fun!
I will wear this until it gets cooler. It is just so much fun! Yay! I am so happy to be over halfway done with my 99 challenge too! Whew! Tired!
Cheers,
Lauren
Monday, July 7, 2014
Flowered dress to peplum top, #49
This lovely chiffon-ish dress came with its own belt!
I mean it is just full of win!
And now my peplum top is done! Unfortunately I could not wear the jeans I wanted to wear with this top, either my bright pink or my dark green ones b/c they are skinny jeans and it rubs on my bruise. So I settled with my white ones.
Yeah I was enjoying my smoothie.
the recap!
This makes 49! Which means that I am about halfway done! Yay!!!
Cheers,
Lauren
I mean it is just full of win!
This dress is really too much. Just too much. Too many flowers for a dress. I actually did like the belt. I decided first that I would do an easy refashion and turn it into a peplum blouse. I just cut below the button after the waistline. Then I did a simple serge. Fold up. Sew down-easy hem.
Yeah I was enjoying my smoothie.
With the belt...
the recap!
This makes 49! Which means that I am about halfway done! Yay!!!
Cheers,
Lauren
Friday, May 30, 2014
Mom's peplum dress part 2 (refashion #41)
Part 2 of this dress is converting the top portion of the dress!
First, I took out the side zipper. Closed up the side seam. Next, I unpicked the center back with my trusty seam ripper for the new zipper to go in. Now, one of the issues I realized was there was like a big pile of fabric at the neck that stuck out. Like If I was the Hunchback of Notre Dame this would work. For me, not so much. You can see the pin marks where I needed to have a neck be placed. But I also did not want to loose the width. I could afford to look inches in the waist and busst but not as much as the neck. Essentially, I sewed a diagonal while putting in an invisible zipper.
That previous statement would almost warrant a merrit badge but I got it to work. I closed up the top binding. Done!
Recap! This was a wonderful 2 for 1 refashion!
Cheers,
Lauren
First, I took out the side zipper. Closed up the side seam. Next, I unpicked the center back with my trusty seam ripper for the new zipper to go in. Now, one of the issues I realized was there was like a big pile of fabric at the neck that stuck out. Like If I was the Hunchback of Notre Dame this would work. For me, not so much. You can see the pin marks where I needed to have a neck be placed. But I also did not want to loose the width. I could afford to look inches in the waist and busst but not as much as the neck. Essentially, I sewed a diagonal while putting in an invisible zipper.
That previous statement would almost warrant a merrit badge but I got it to work. I closed up the top binding. Done!
Neck hump gone! Close fitting top here!
Such a versatile piece!
Recap! This was a wonderful 2 for 1 refashion!
Cheers,
Lauren
Labels:
99 refashion challenge,
dress to top refashion,
LBD,
peplum
Monday, August 8, 2011
Iron Craft #32: Strapless top from a dress refashion
This week's Iron Craft challenge is Summer. Just summer (use your imagination). Now when I think of summer I think super hot weather. When I think of this summer I think hot temperature and the summer of sewing. Just in case you didn't know back in May I suffered from a hairline fracture in my back that took a long time to heal. It was incredibly painful and I was put on NO physical activity. Basically I went to work, came home and laid on my back b/c that was the only relief I could get. When I was able to sit long enough, I would sew for a bit. Being inactive has paid off, the crack has healed and I am in physical therapy to regain my flexibilty and core strength. Also painfully ripping some scar tissues :*(
So for me this summer has all been about the hot weather and sewing. So I decided to sew something for this challenge. I actually refashioned a dress for this challenge, because this year has been all about refashioning also. :)
Take a look at what I began with... a very large flowered dress from goodwill just $1. Loved the fabric, hated the mom dress/mumu. I could work with the fabric. Also a plus, the material was light and airy. A plus for this heat! Sorry this is not much of a tutorial!
I decided to use the fabric on the bottom to make like a strapless flowy top. I cut 17 inches from the bottom off, then another 5 inches to create a ruffle. I hemmed the ruffle, then pinned it right side ruffle to wrong side top. I sewed a narrow seam b/c I did not have a lot to work with length wise (d'oh!). Then I flipped the ruffle over so the right side of ruffle was right side with fabric. I sewed about 1/2 from the top b/c I was making a casing for elastic.
I looped some elastic through and sewed it together. Next was sew down the back center of the top to finish it. I did not need to hem b/c the bottom part was already a hem! ;) There was some forthought here.
I then used one of the side ties to make a neck tie by finding the center of the top and tacked it down by hand. Poof done! :)
Now I still have the top portion of the dress that I am trying to decided what to do with. Currently on the back burner. But this top symbolizes my summer 2011- hot refahsion sewing! ;)
Can't wait until next challenge for iron craft!
So for me this summer has all been about the hot weather and sewing. So I decided to sew something for this challenge. I actually refashioned a dress for this challenge, because this year has been all about refashioning also. :)

Take a look at what I began with... a very large flowered dress from goodwill just $1. Loved the fabric, hated the mom dress/mumu. I could work with the fabric. Also a plus, the material was light and airy. A plus for this heat! Sorry this is not much of a tutorial!
I decided to use the fabric on the bottom to make like a strapless flowy top. I cut 17 inches from the bottom off, then another 5 inches to create a ruffle. I hemmed the ruffle, then pinned it right side ruffle to wrong side top. I sewed a narrow seam b/c I did not have a lot to work with length wise (d'oh!). Then I flipped the ruffle over so the right side of ruffle was right side with fabric. I sewed about 1/2 from the top b/c I was making a casing for elastic.

I looped some elastic through and sewed it together. Next was sew down the back center of the top to finish it. I did not need to hem b/c the bottom part was already a hem! ;) There was some forthought here.
I then used one of the side ties to make a neck tie by finding the center of the top and tacked it down by hand. Poof done! :)

Now I still have the top portion of the dress that I am trying to decided what to do with. Currently on the back burner. But this top symbolizes my summer 2011- hot refahsion sewing! ;)


Can't wait until next challenge for iron craft!
XOXOXO,
Lauren
Lauren
Lauren
Subscribe to:
Posts (Atom)