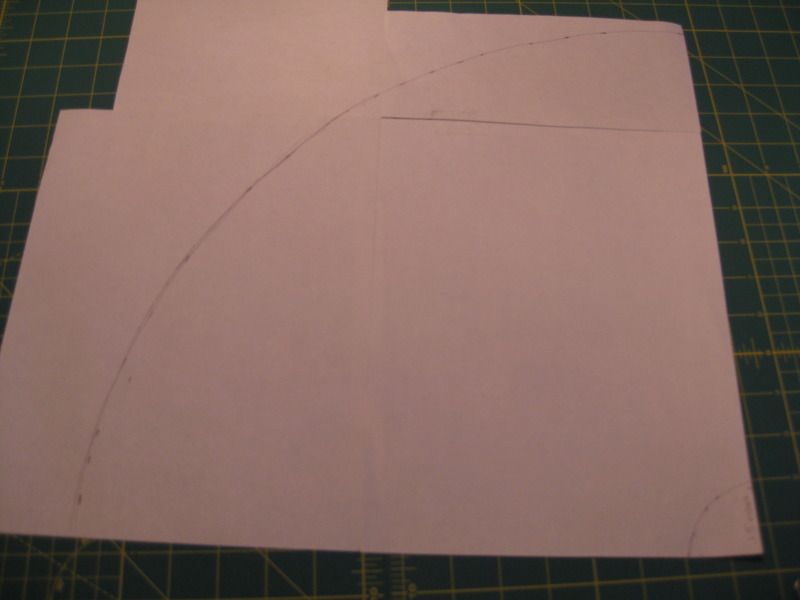
First I need to draw a circle pattern. I measured the inner circle needed to be 3 inches across. And I wanted the rest of the circle to be 13 inches longer than that. So basically the inner radius is 1.5 inches and the outter was 14.5 inches. Now time to draw. I taped several sheets of paper together and used the corner of the paper to be the center of my circle which I am folding into 4ths.
Mark several points and then I just simply connected the marks to form a curved edge.
Cut it out!
Next I folded some scrap sating fabric in half 2x (so its 4 thick) and placed the pattern on it. I used my zils as pattern weights they are great!
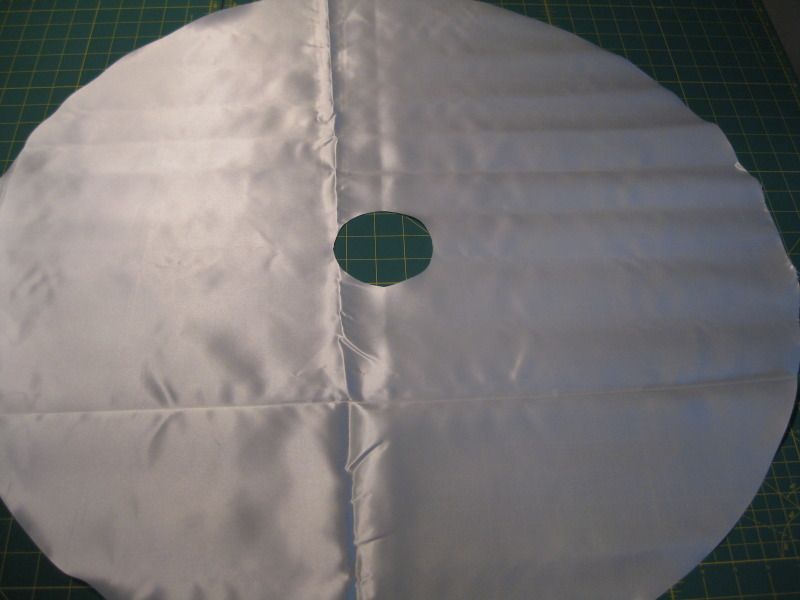
The result.. a perfect circle
Now I need a way to make sure I can add the skirt to the tree so I just cut a line down the circle.
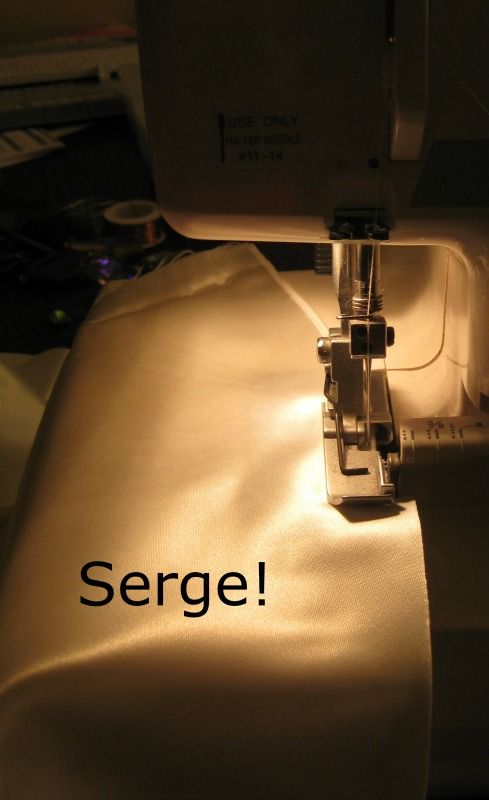
Now I just wanted to finish the edge of the circle so I just pulled out my serger and did a simple rolled hem.
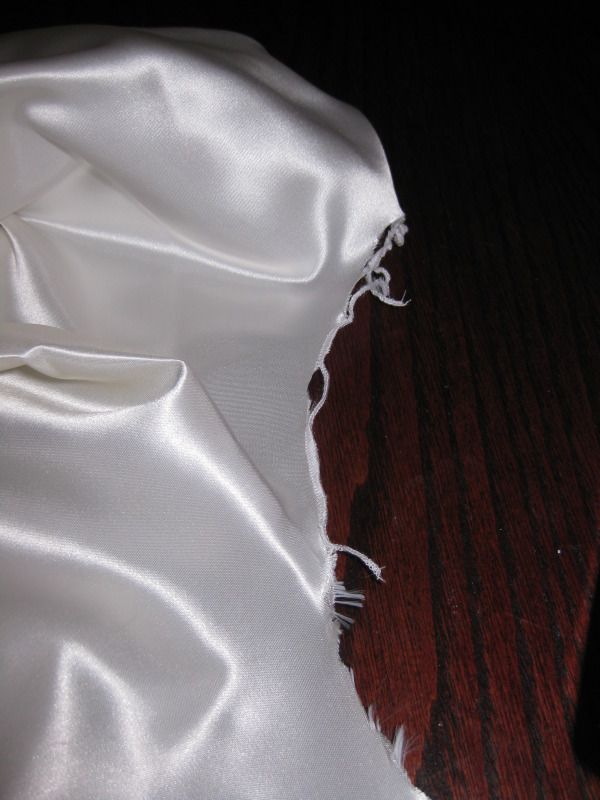
Now my attempts to serge the inner circle failed.
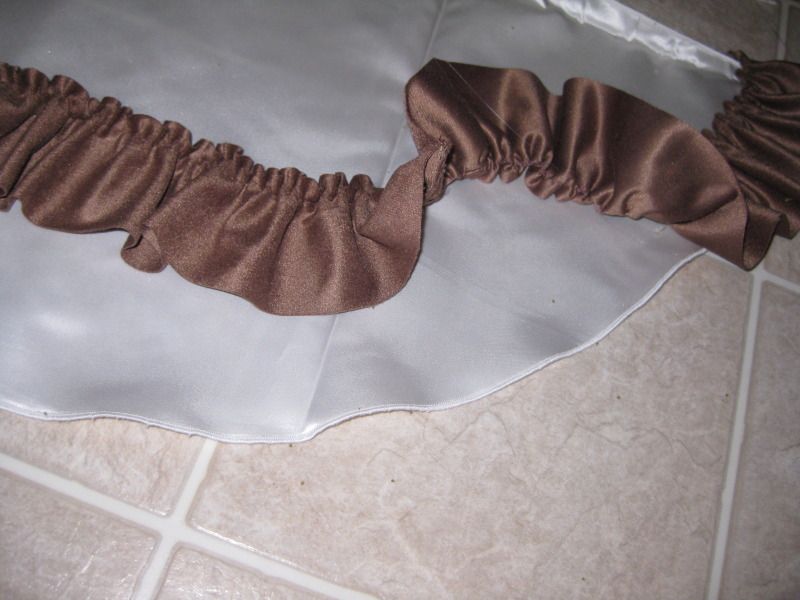
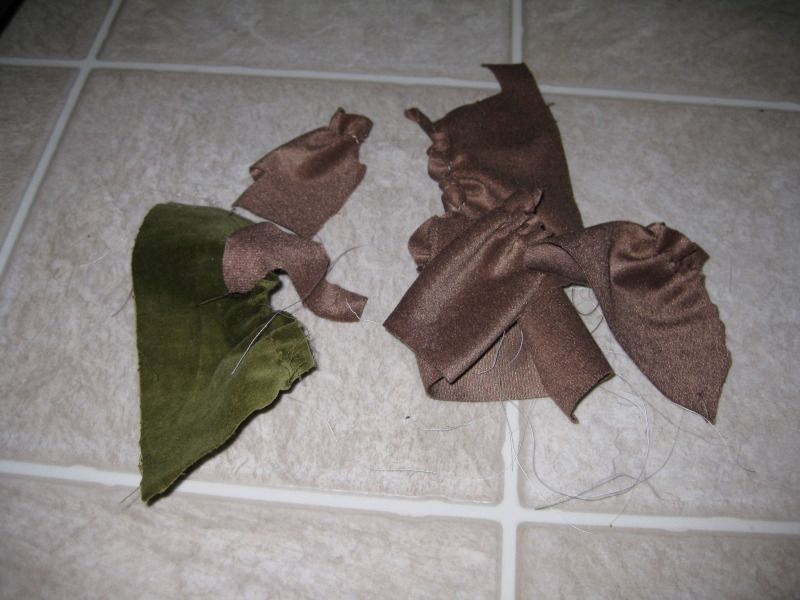
Better luck next time! Now I need to make some strips to ruffle! I simply cut the fabric 3 inches across. That is it! Using a long stitch and a low tension on the bobbin I ruffled the strips, which I connect at various sizes. My cat got a hold of them and resulted in a mess. Thank you Natasha bear!
So I just started with the outer row. I had more brown so that is the color I started with. Oh and BTW the green fabric flaked little green balls everywhere when I ruffled each fabric. And I hot glued it! everything is hot-glued on after I initially made the ruffles!
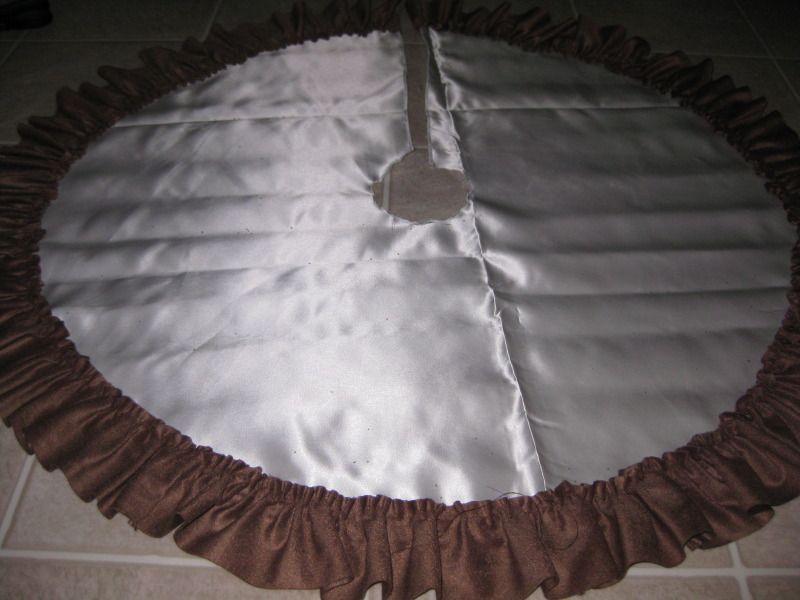
Here was after my first row. Wow this took awhile.
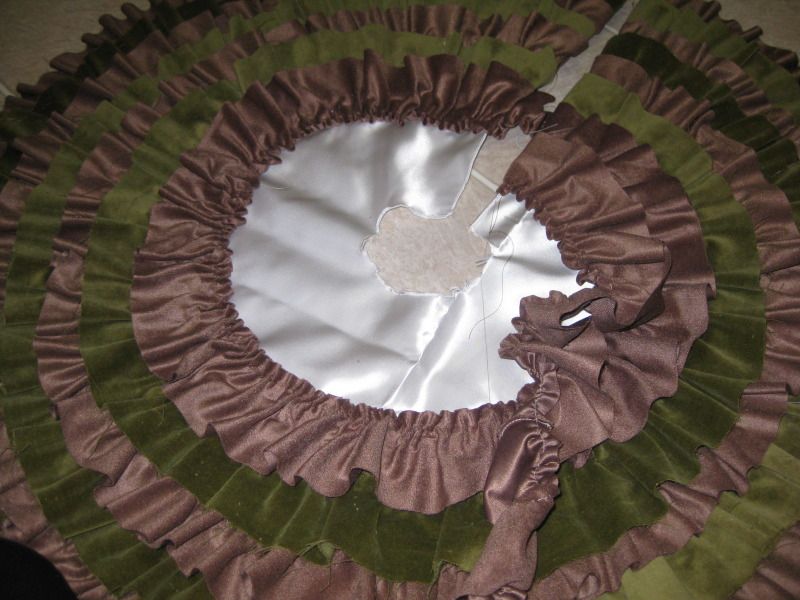
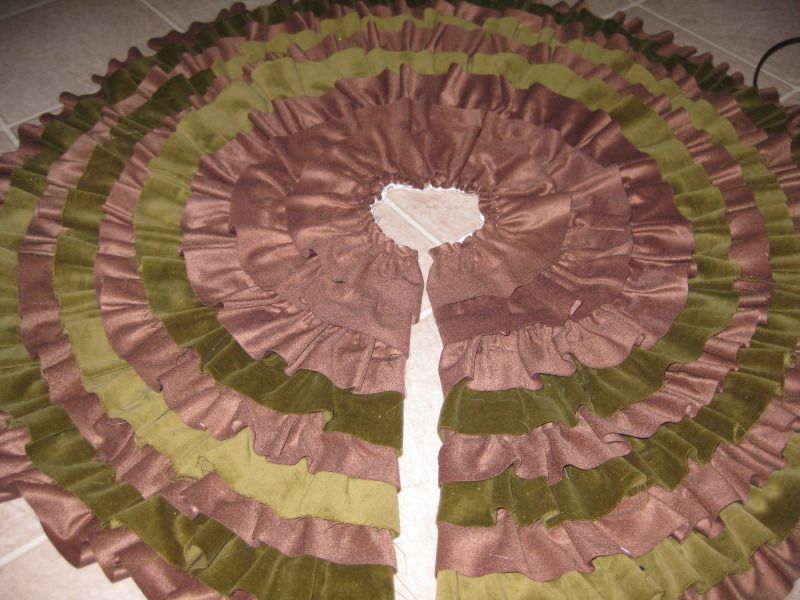
Now I just continued to add ruffles one color at a time. I did a good overlap b/c I knew that the tree stand my have it hang differently and I didn't want the base color to show.Oh yeah I did this in my kitchen on the lineoleum so I didn't get hot glue in carpet!
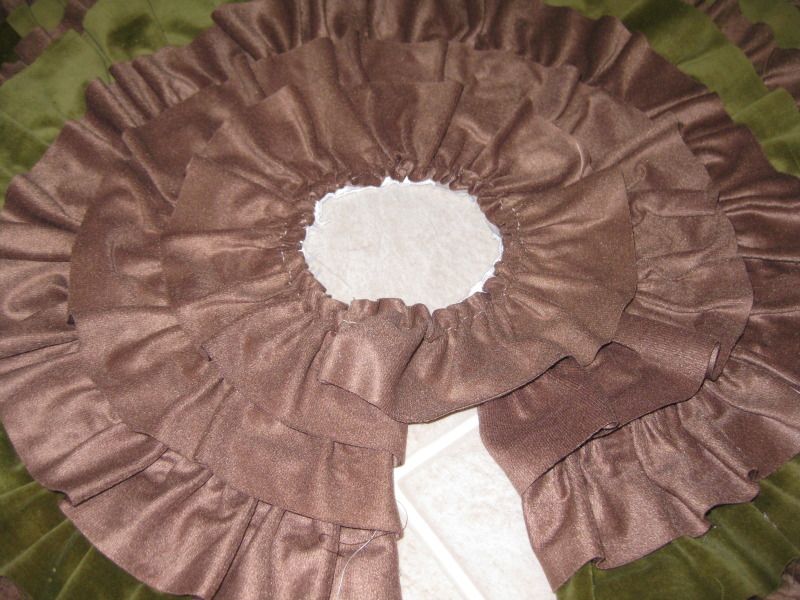
So I ran out of green fabric and still had to cover the remaining circle. I decided to use the very dregs of the brown fabric that was left and just repeated the brown. I also watched the spread so they were slightly spaced wider than the rest (which bugs me but no one else notices, but I had no other fabric options)
Now if you are wondering what the back looks like here you go. I had just a slight bit of excess which then i cut off. Done!
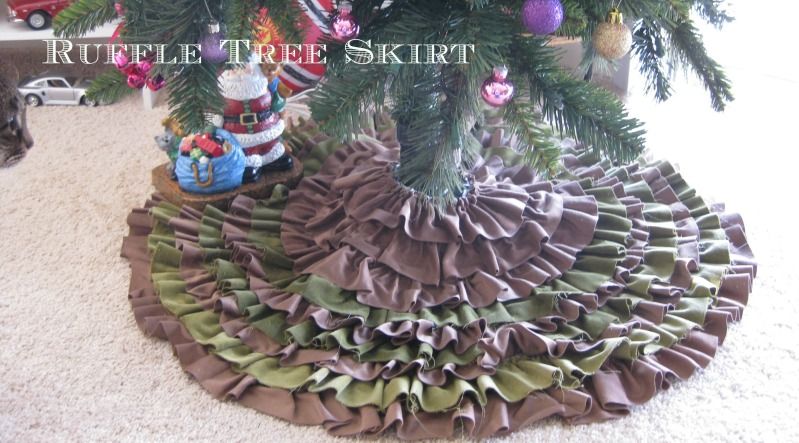
Here it is under my tree. Love it! And for the price of new glue sticks, I am a happy girl!
Yes that is Sebastian is peeking his face in. :) Photo bomber!
Here's to more posts about Christmas crafts! :)
xoxoxo,
Lauren














1 comment:
=) I love it! (that idea could make a cute skirt, with the right sweater!)
Post a Comment