Well hi welcome to my little blog. Just my little corner of craftiness, sewing, and refashioning. I am also a newly gluten free eater so you have a little bit of recipes mixed in here.
Showing posts with label sweater refashion. Show all posts

Thursday, October 23, 2014

blue sweater refashion + bonus, #77 & 78

Just a blue sweater. Plain, boring... blah blah blah
I think this was towards the end of the picture taking b/c I look delirious! This was a good time ago! This sweater has just sat! No inspiration whatsoever!

First I just removed the sleeves. I just didn't like them!
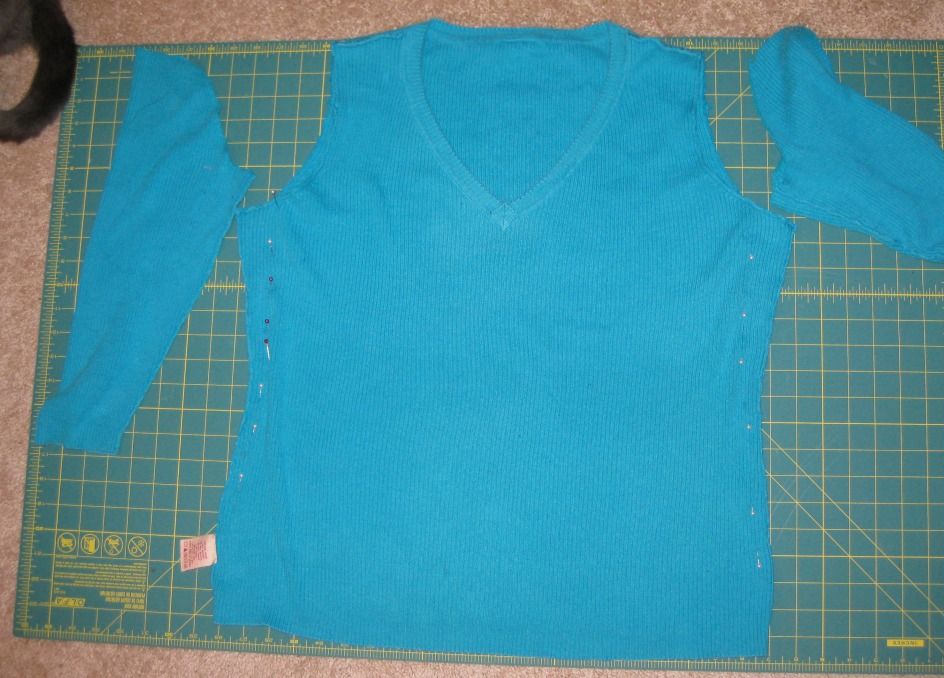
Remember that blue dress I refashioned and removed the sleeves? Let me refresh your memory... click here for the post

I used the leftover sleeves and added them to the top. I even removed some of the sides of the top but it didn't do much. After seeing the photos,  need to take it in even more. I promise you, the shirt grows after wearing it! Here is my new top!

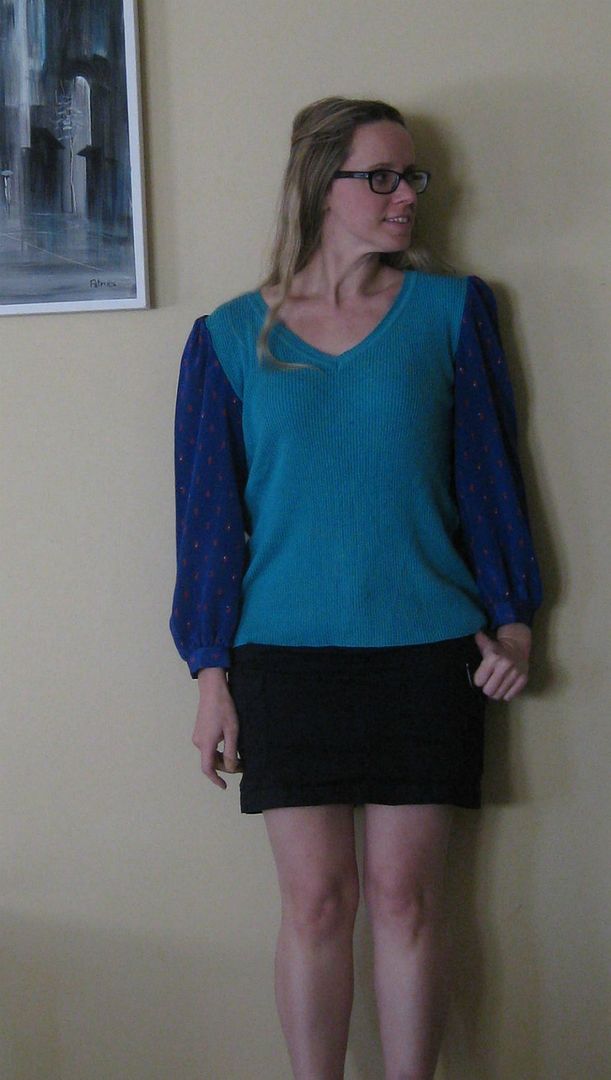
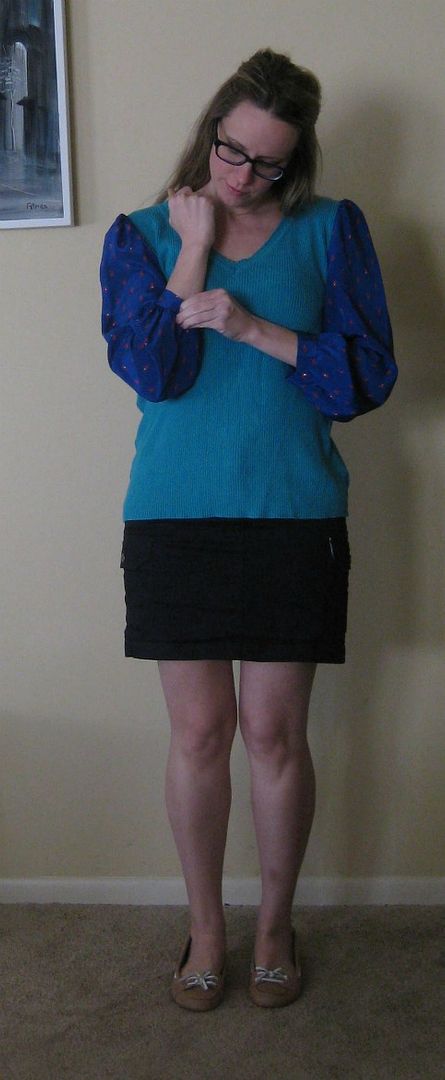

Not bad huh? Something now visually appealing.

But wait.... there is more! What about those sleeves? OH yeah this is another 2 for 1 sort of blog post!!
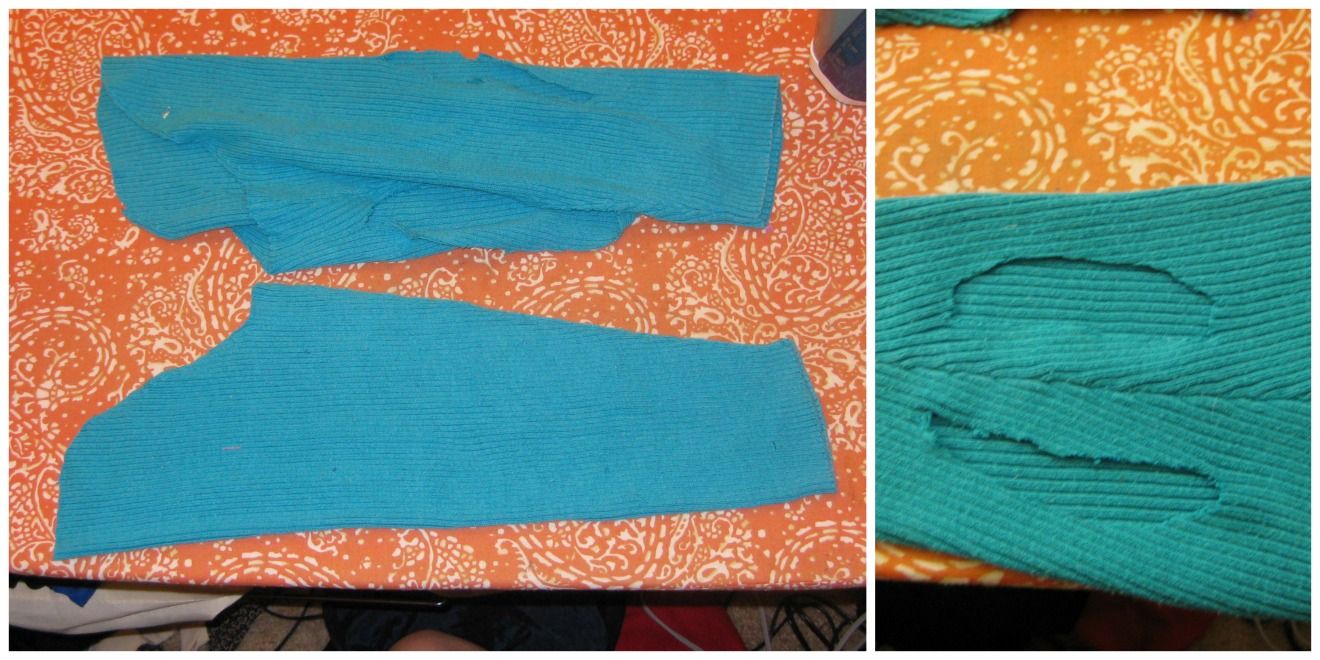
Fall is here and winter is coming. That means my poor older cat who has a heart condition gets cold. As a result, he follows you like a puppy and has to be in your lap all the time because he is cold. It sounds cute but really having a cat in the lap won't work. But he is cold. I decided to convert the sleeve into a sweater. The wrist will be the head and the arm hole will be the bottom of the sweater. I cut some holes big enough for him to move (learned this with the first one which is sort of mangled from scissors). He absolutely loves it!!! I mean he was walking around so happy that I could not get a photo out of him. 
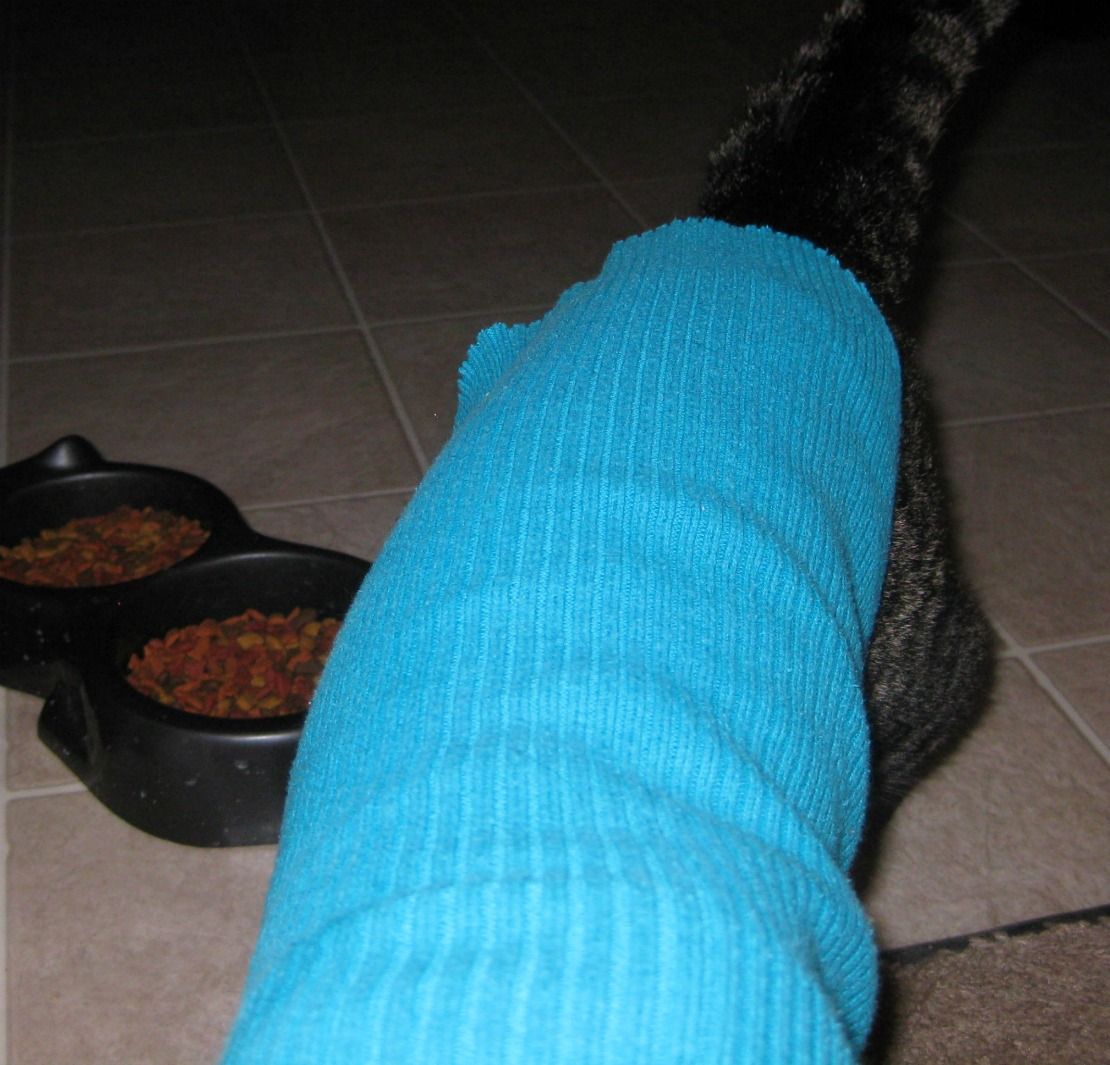

I promise you it is in now way tight on him- cats are poofy with lots of fur. 
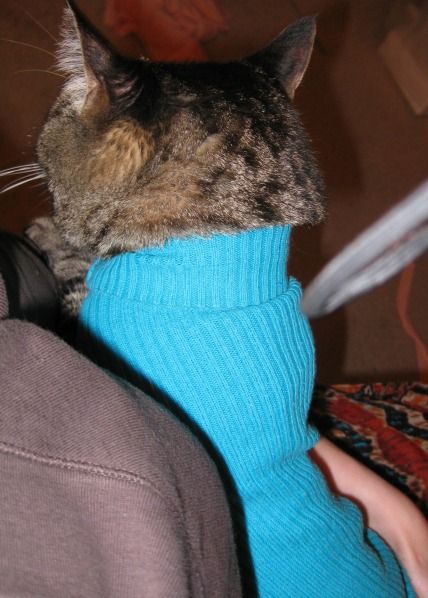
I got him to go and eat. Finally some sort of photo. 
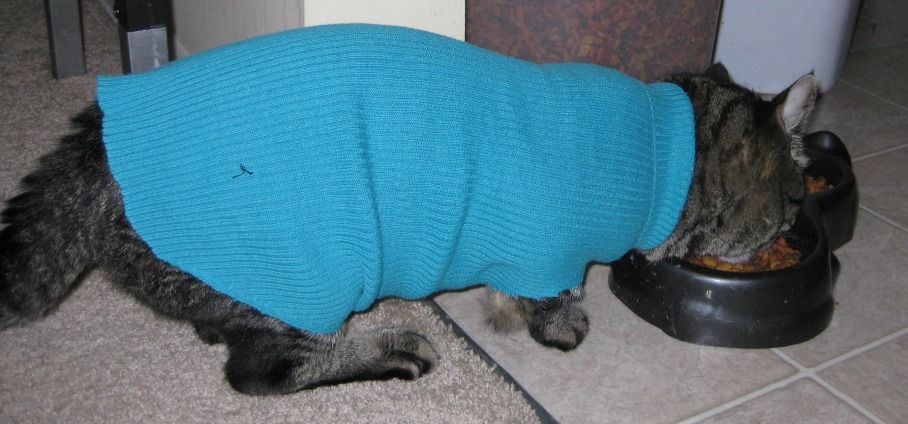
But my Sebastian will stay warmer this winter. 

So 1 sweater = 2 sweaters!!! (and a happy cat)


Cheers,
Lauren

Wednesday, September 10, 2014

The ruffled sweater, refashion 68

This sweater when I picked it up made me scratch my head. Actually, I was with 2 others and they thought- why? So this is the WHY? sweater!
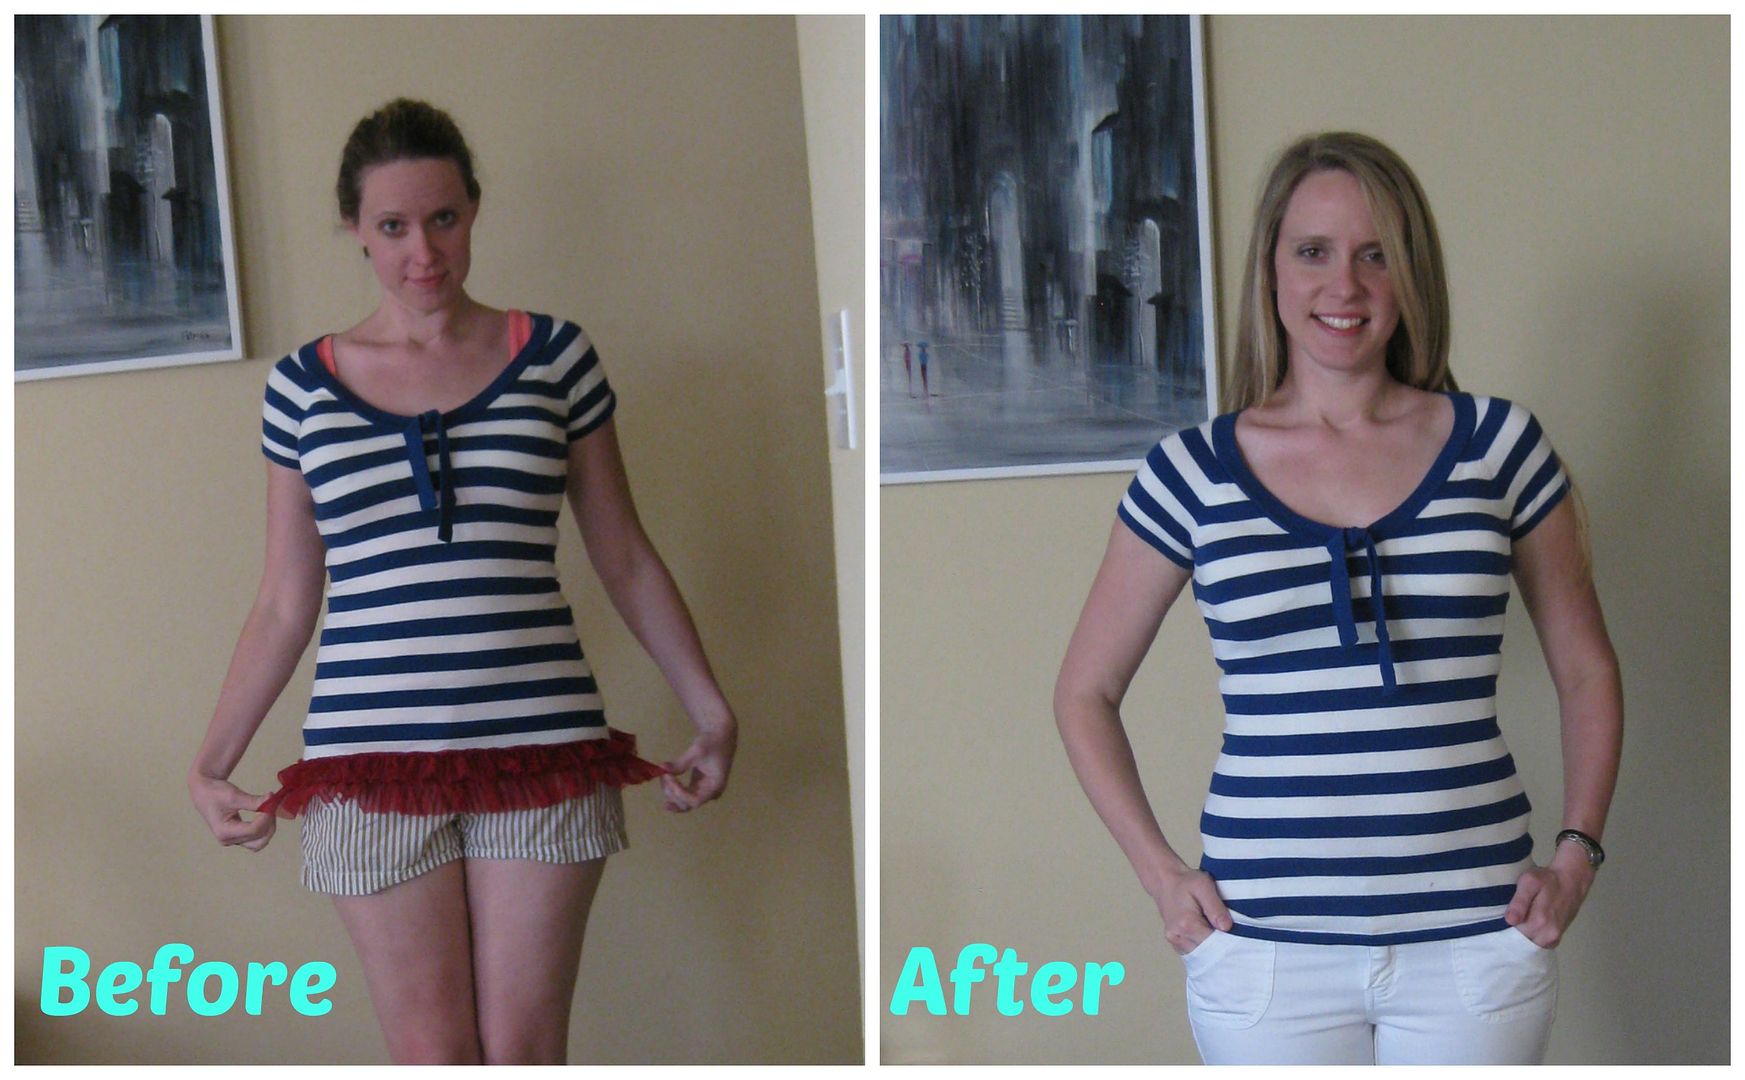
It is not a kids sweater obviously b/c it is not tight. Actually it has soft bra cups inside. But why would you add this ruffle to the bottom. Bc what happens when you put this sweater on is this...
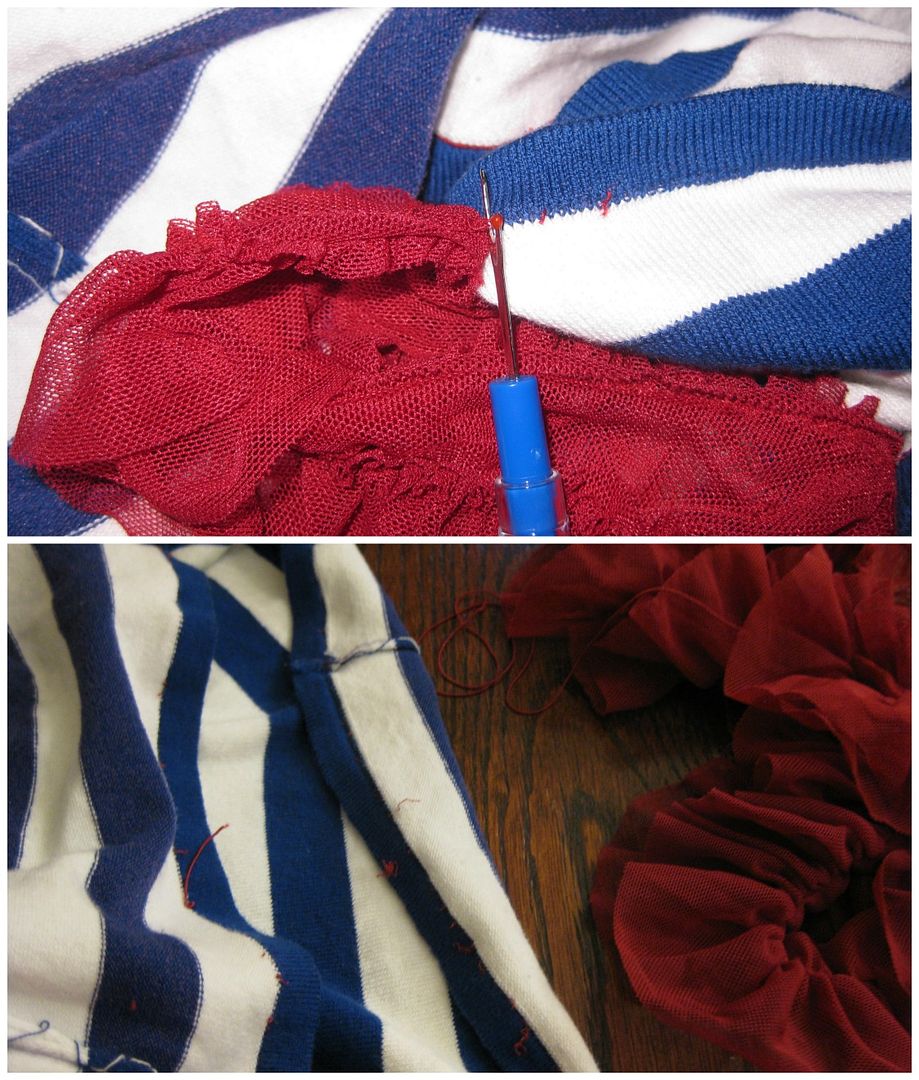
Bum ruffles!!! After inspecting the sewing it turns out the ruffle is sewn on the bottom of the sweater with some red thread elastic. With some precise unpicking the sewing I was able to pull off the ruffle. Very slowly. LOL.
Done!


Recap. Easy fix! Love this sweater!

Cheers,
Lauren

Wednesday, February 5, 2014

Large Striped Sweater Refashion, Refashion #9

OMG I am so excited about this refashion. I can't take credit for it much but it is such a great idea!!

First started with this large knit sweater. It was large but man just love that pink and navy blue stripes! But what was odd about this shirt was the sleeves were tight starting mid arm. Which if this top was for a larger lady how could they get their arms in this. They just fit MY bony arms.
 After seeing this post from Oh Everything Handmade. She turned a sweater into an open front cardigan. After seeing this tutorial I KNEW I HAD TO DO THIS AND THIS WAS THE PERFECT TOP TO DO THIS!

I basically followed her tutorial. Basically take off the sleeves, sew across the top to create the back, created arm holes. I evened out the new top and bottom of the cardigan.

Now I serged the top and bottom but as you can see, since I have a thinner knit-if I don't have the right setting on my serger I was going to have lettuce ripples. I added some iron on tear-away interfacing to stabilize the fabric while I serged it. As a result, I had a nice even edge. That made me very happy. 

I then sewed the 10 cm on each side to create the shoulder seams but while doing that I also added stabilizer to prevent it from sagging. Again it was a thin knit, it will pull over time with the weight. 
Then I added my sleeves, which I didn't have to alter, I would say if you are working with a thin knit that you should probably do some stay stitches before you add the sleeves. That would have helped me b/c it STRETCHED. But boom! I am done! I know have a fabulous new open front cardigan. Giddy!!!


OMG what an improvement! And thank you to Oh Everything Handmade for such a fabulous tutorial for this refashions! I even tried a belt . 

91 left to go (not that I am counting!)

Cheers,
Lauren

Wednesday, January 29, 2014

Reindeer Sweater Refashion, Refashion #7

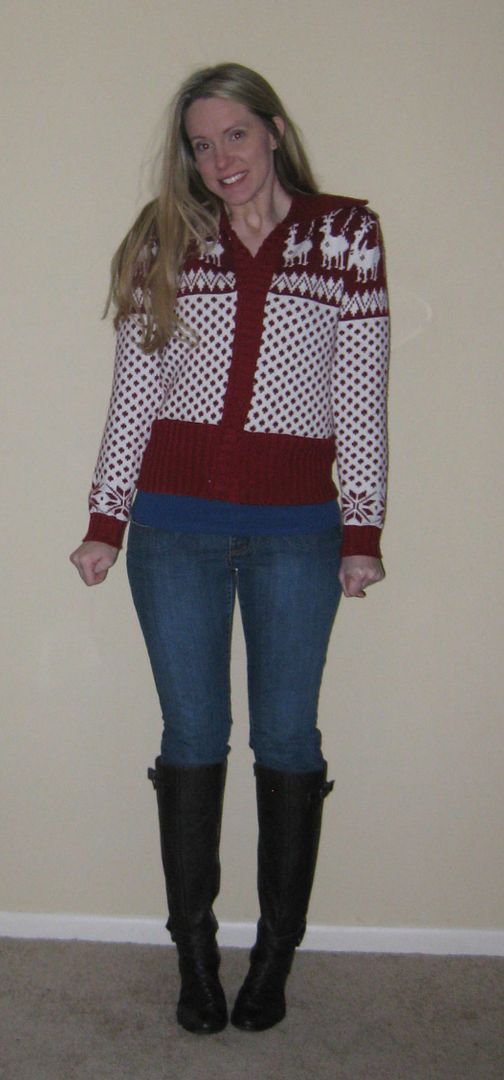
I was probably the only one who got excited when I saw this sweater. I was giddy.it was soo lovely! And it is just so cold outside that I need warm winter clothes!

There were a few problems. The "buttons" (claws?) immediately started to fall off as soon as I put it on. The sweater was too long and didn't cover my hips at all. 


So we need to shorten it and fix the middle. 
basically what I did was
- fold up the bottom and sew off the excess. now the bottom band has just moved up. And now I don't have to worry about fraying
- then I removed the buttons
- lastly I converted it to v-neck top by overlapping the original middle band. I sewed down one side, across, and then up the other.

Done! A really easy refashion!


Love my new sweater! An easy fix! Perfect for these cold temperatures!

Cheers, (92 left!!)
Lauren
Wednesday, January 22, 2014

Burgundy striped sweater, refashion #6

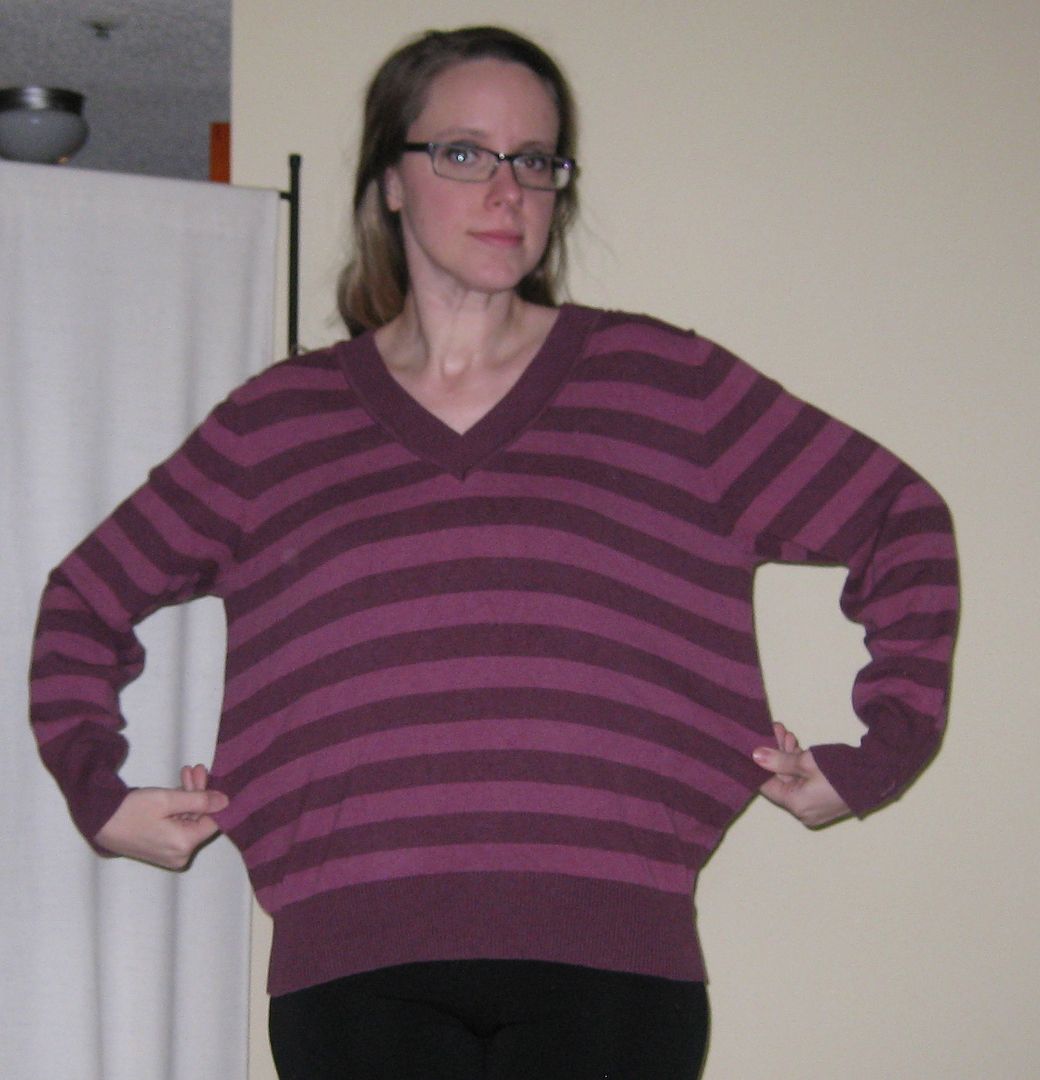
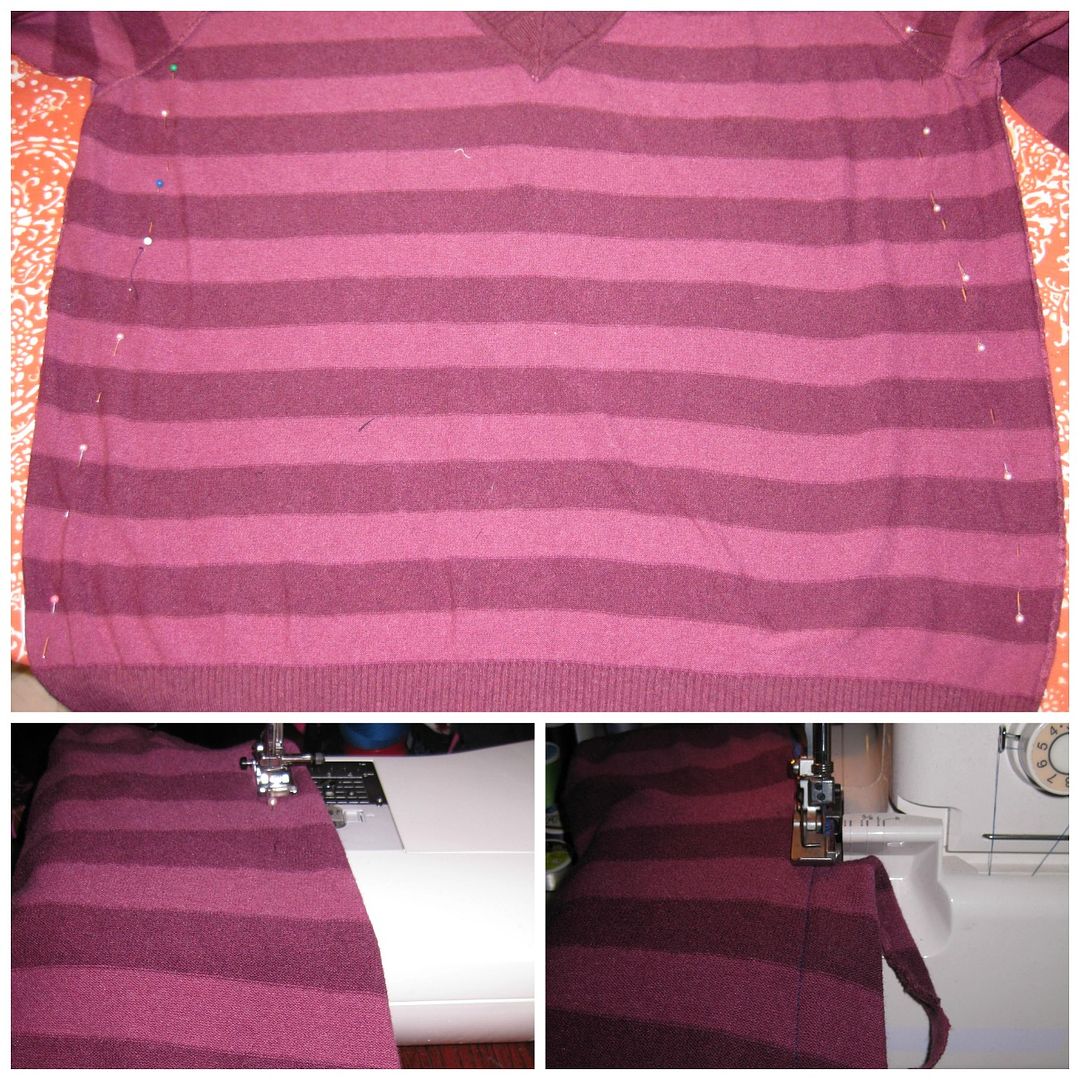
This too big burgundy striped sweater was nice but just too big. Bleh. It does nothing on me for my shape. Just too big.


This is a simple fix. I pinned it to the shape of my body. Sew. I then serged off the excess. 

Done!

Look excess gone and so is the excess in the sleeves. 

I have no idea what my camera decided to do this... but this was interesting. 


Here is the composite shot! Much nicer and I'll get wear out of it in this weather!

93 left to go!!!

Cheers,
Lauren

Wednesday, March 20, 2013

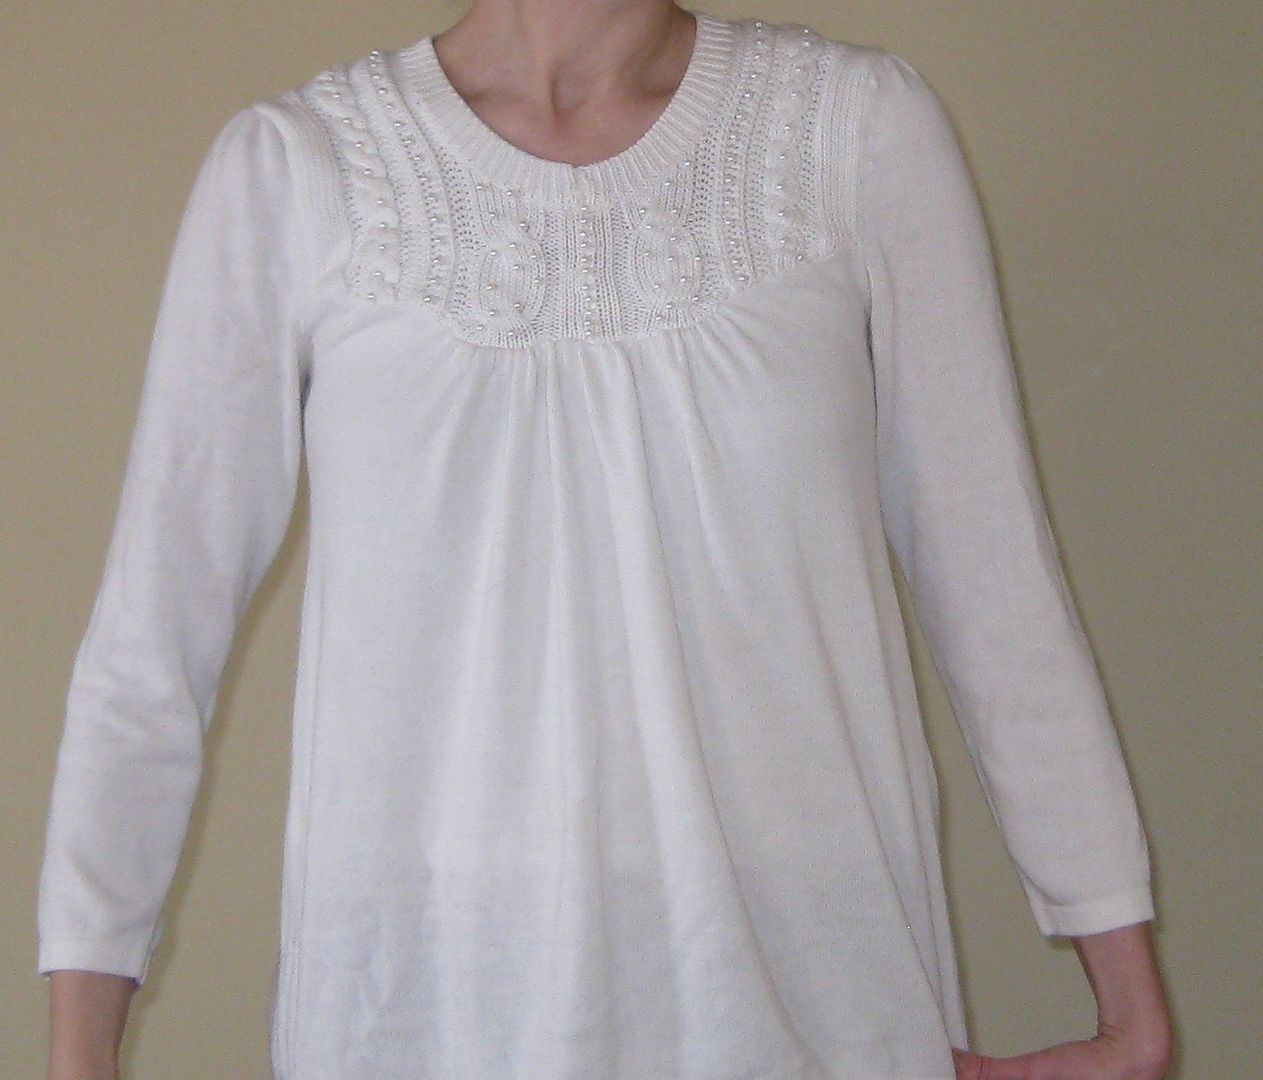
White pearl sweater refashion

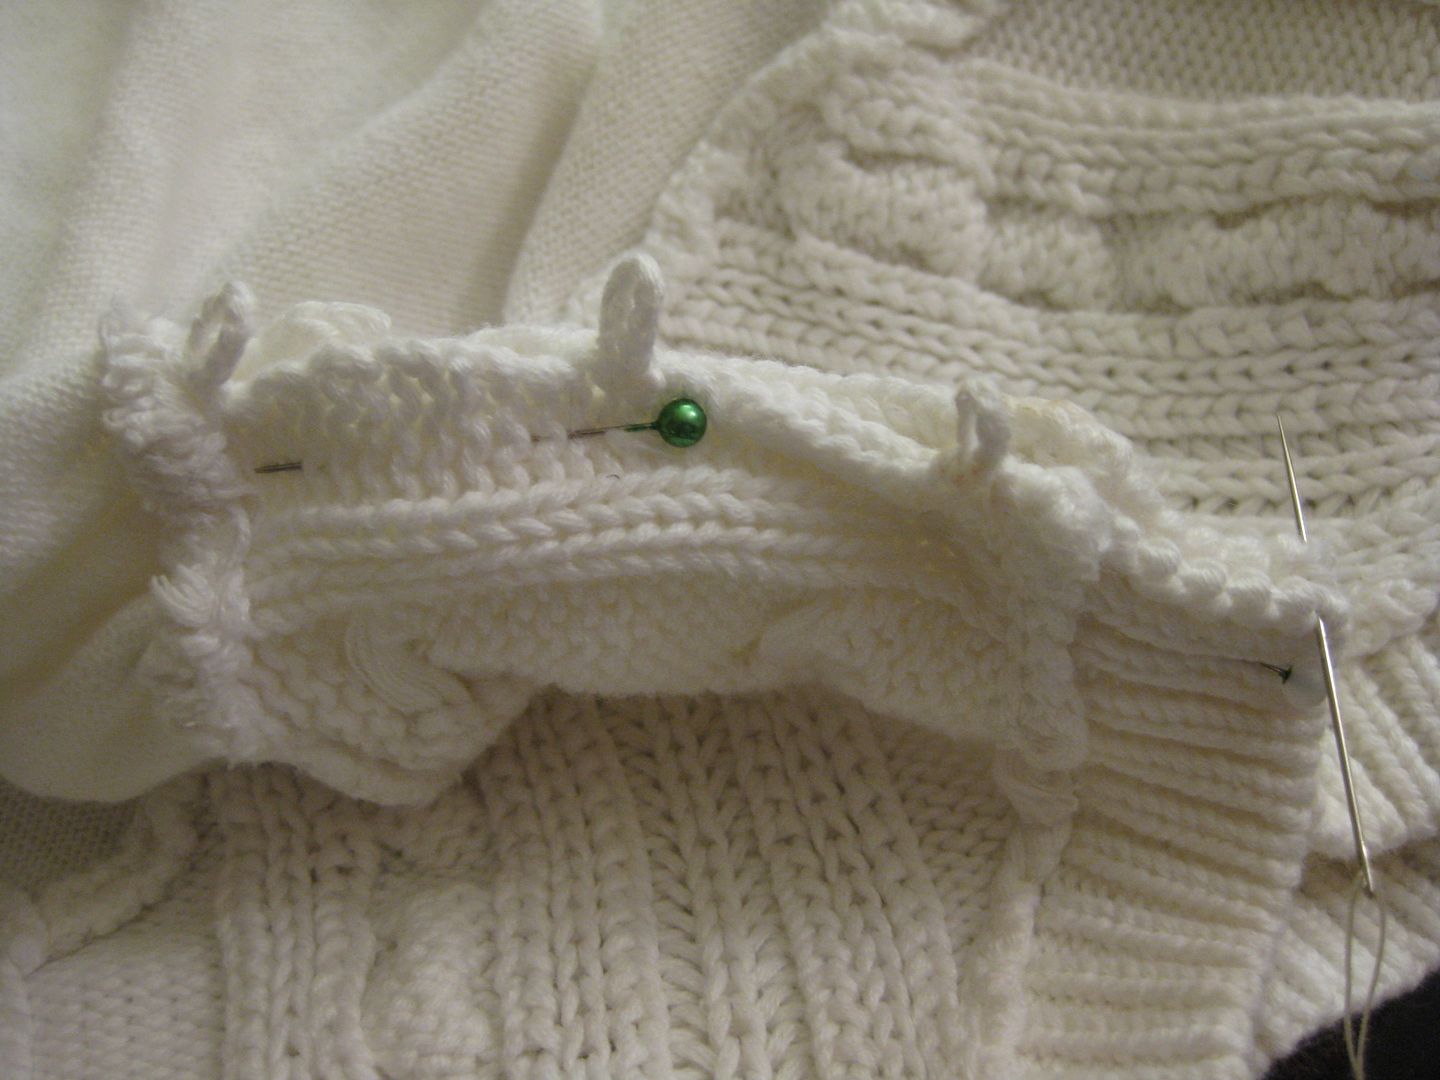
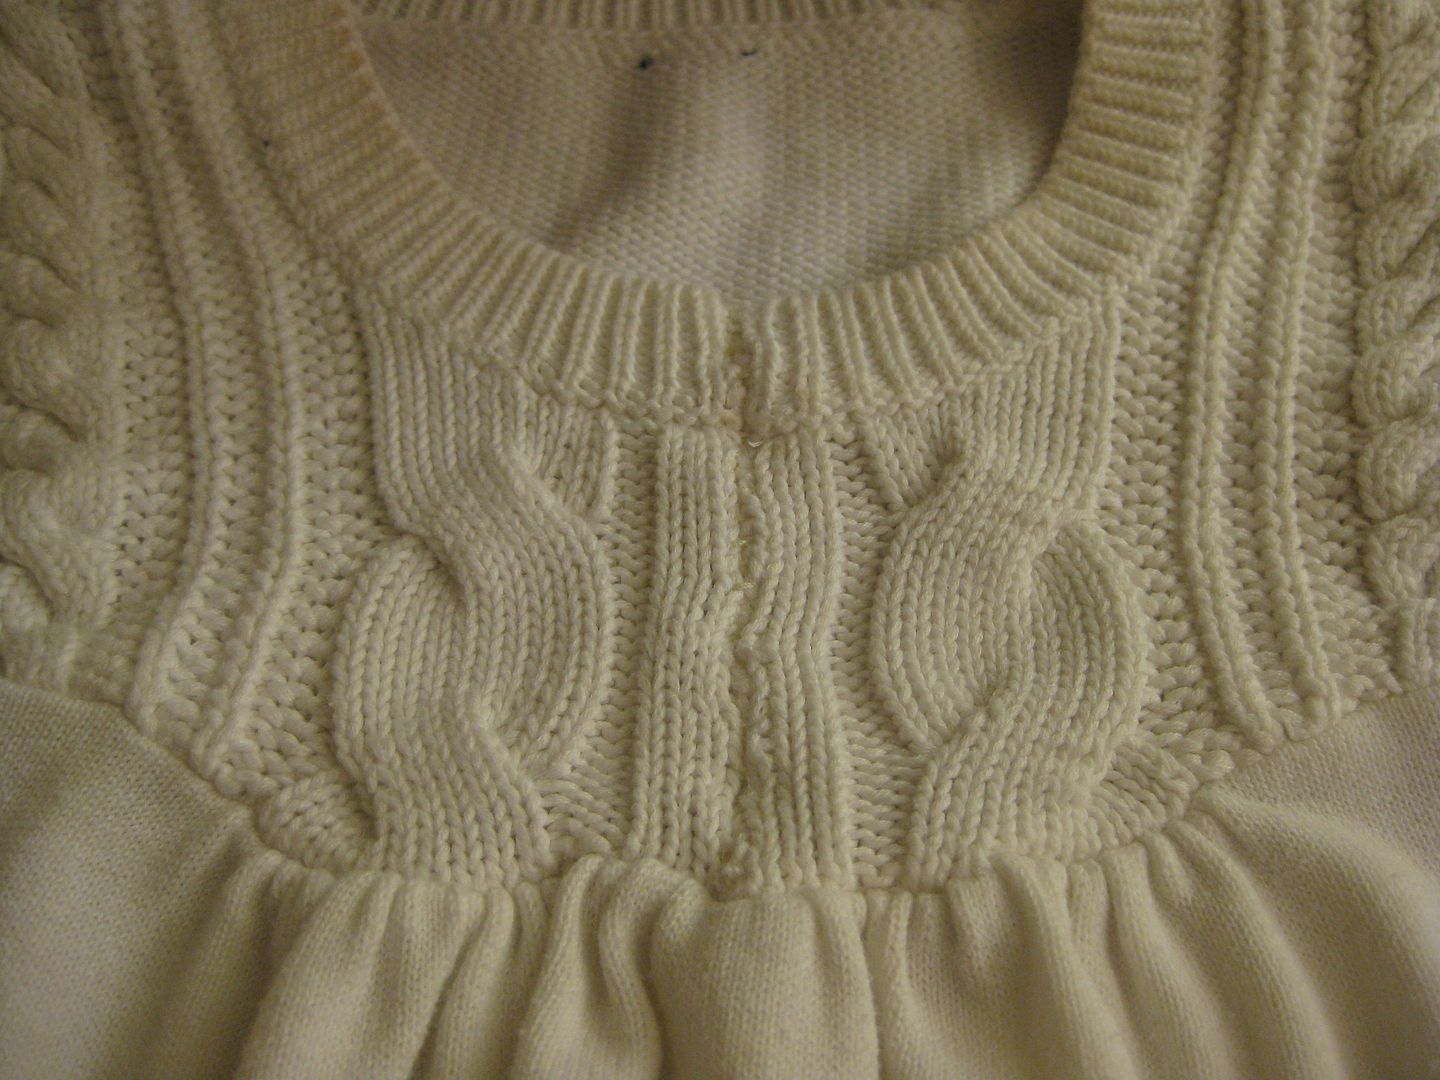
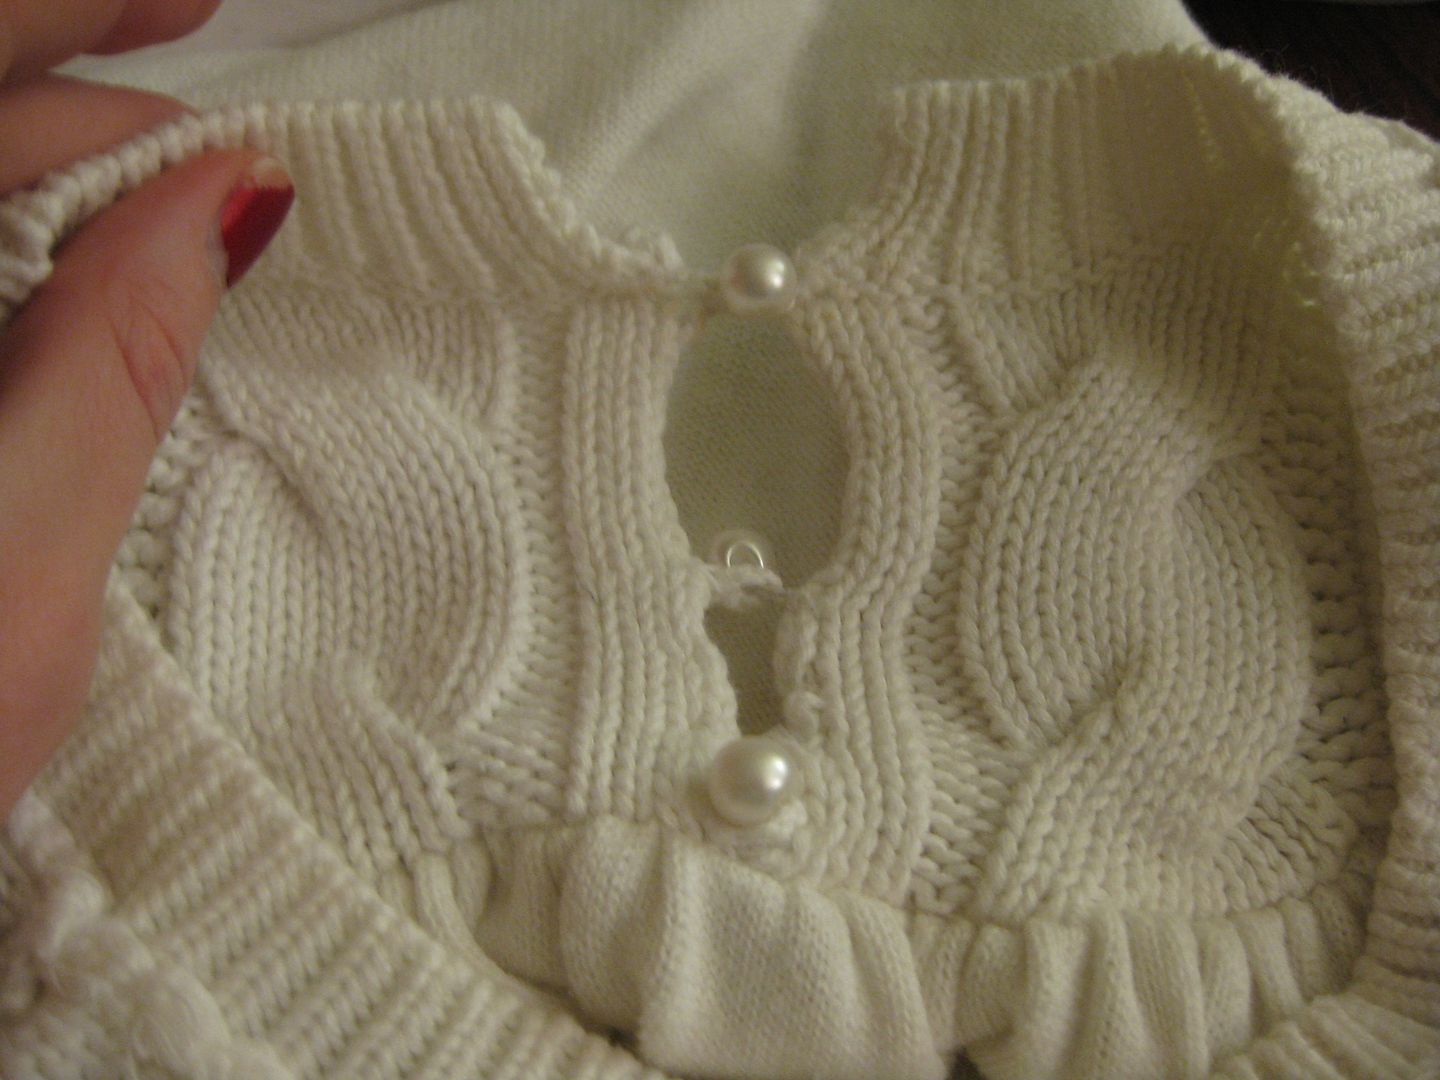
Lo... before I cute sweater but it had some weird holes on the top of it.

Actually the previous owner didn't like it either and when I turned it inside out there was a safety pin closing the bottom portion up.

If I took it out it was a bad attempt at key holes. I decided to close it up and get rid of the big beads. 


I pinned the parts together after I removed the pearl buttons. 

Here it is done. But.... it looks a little off and I decided I missed some pearls. 

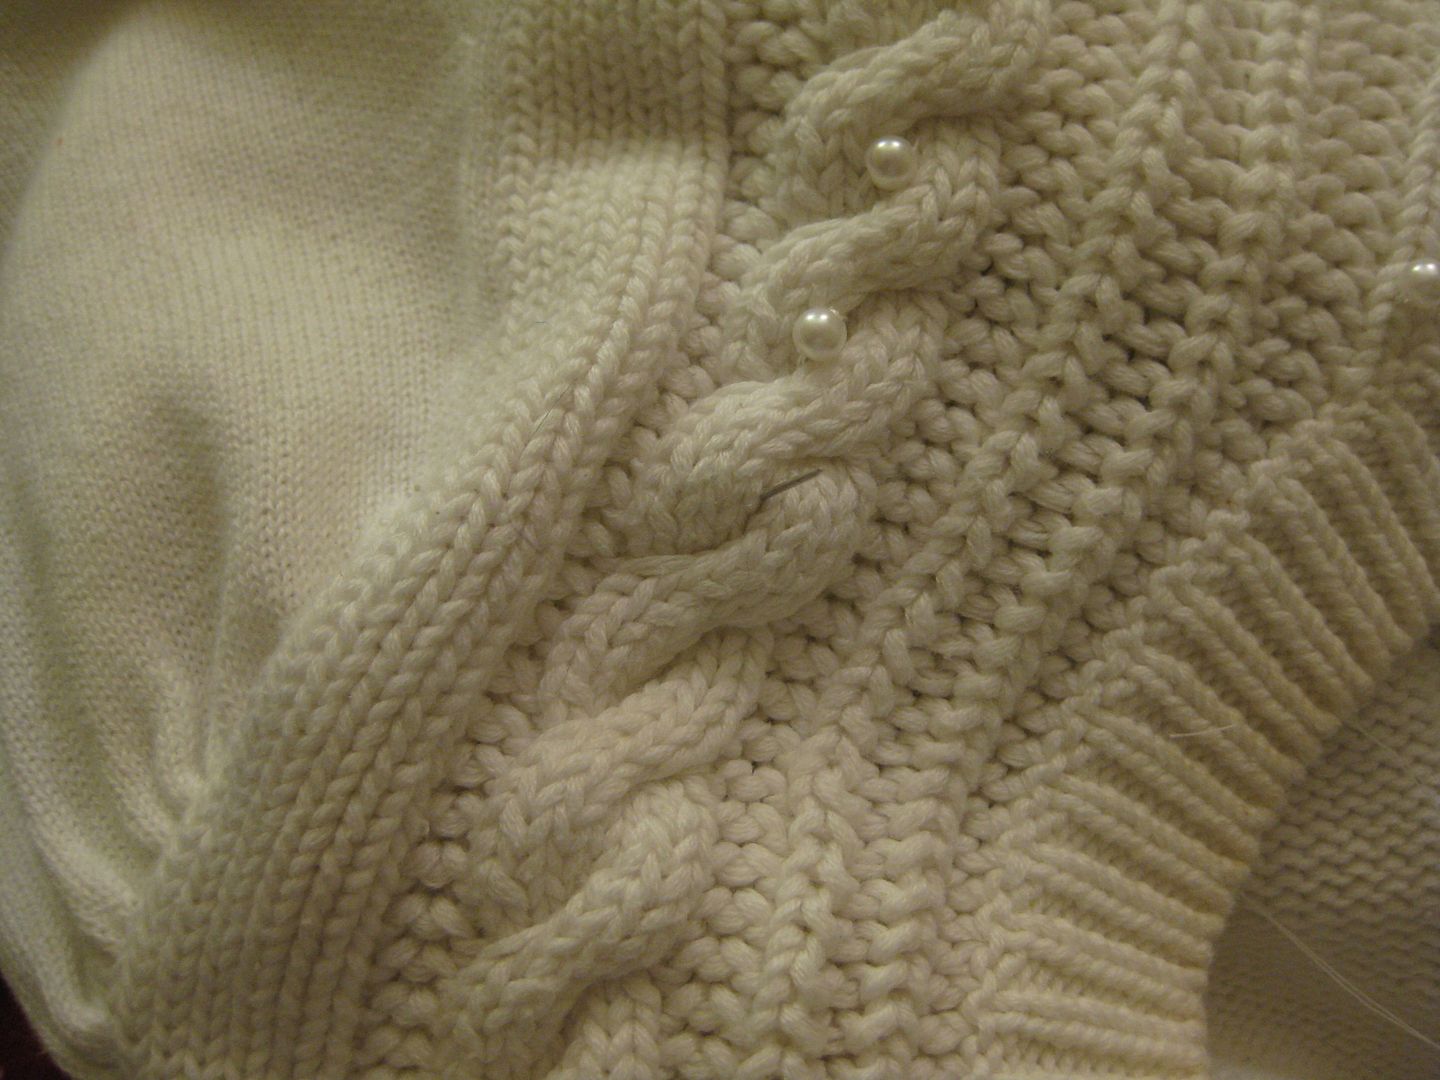
So I started to add them back using the existing pattern in the knit. 

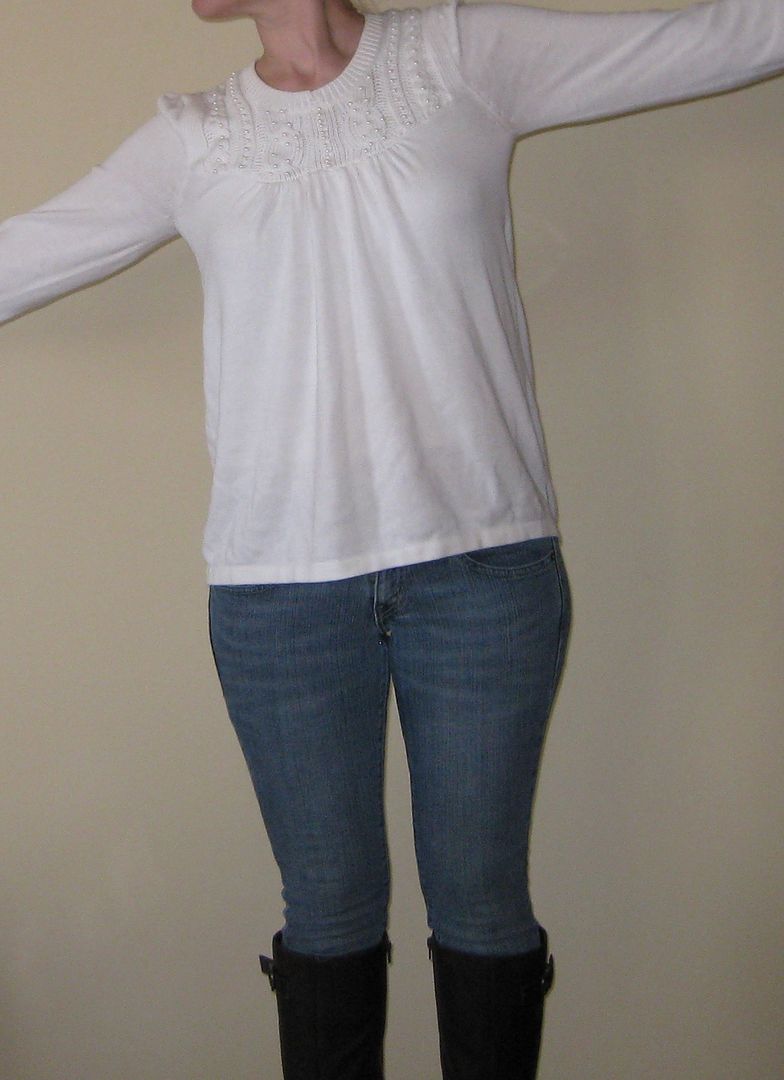
Done!!


I love my new sweater now! It looks much more cohesive. 


I didn't really loose much sewing the parts together. Yay now I have a new sweater. I am counting down the day to spring warmness.....

xoxoxo,
Lauren

LinkWithin
Related Posts Plugin for WordPress, Blogger...