
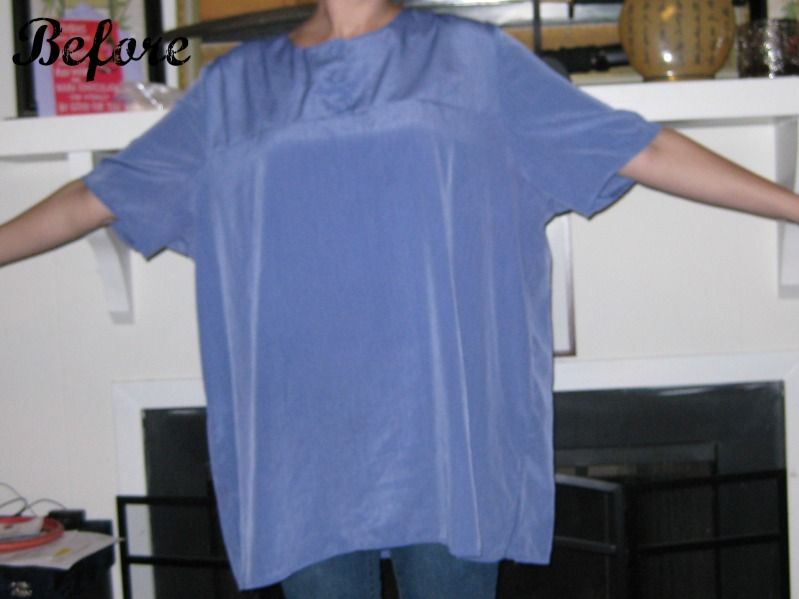
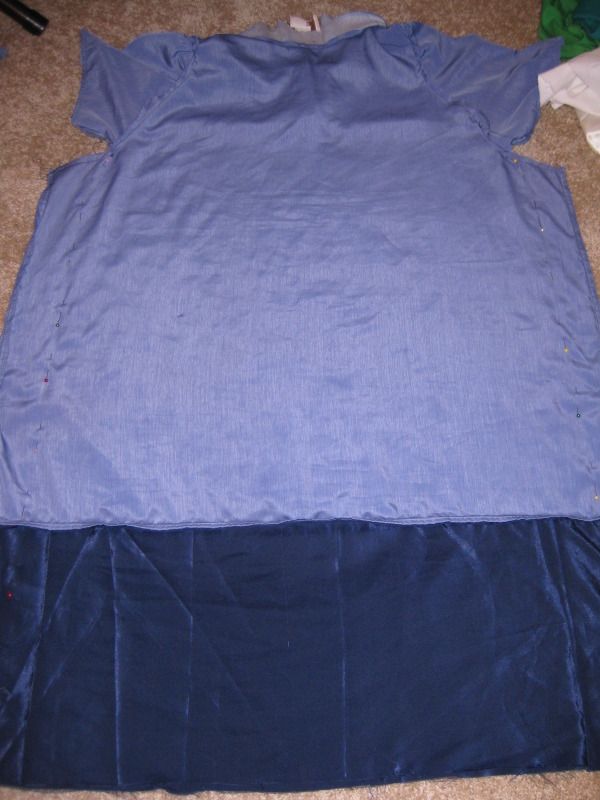
I decided to try my hand at color blocking and use a piece of navy silk/satin fabric I had in the stash. I started out by attaching it to the bottom on the dress.
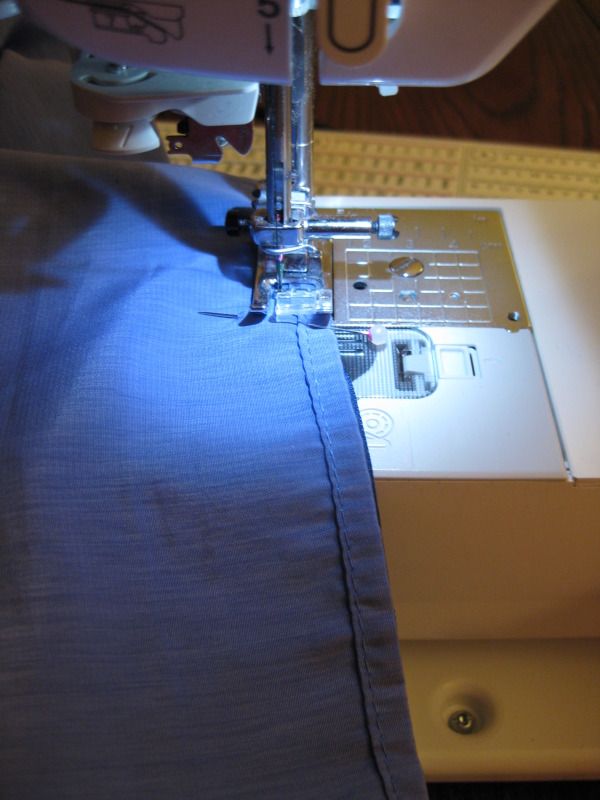


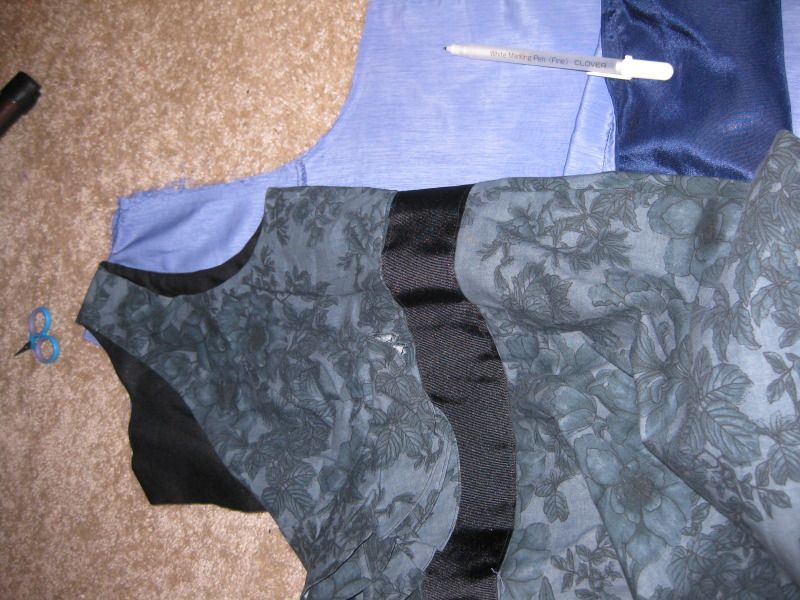


I didn't necessarily finish the tube per se of the bototm of the dress b/c I knew I was going to take it in.
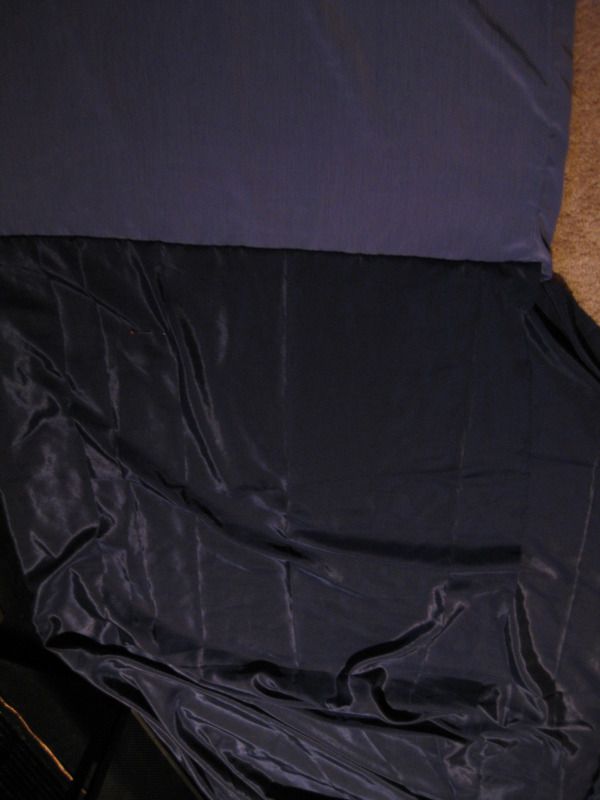
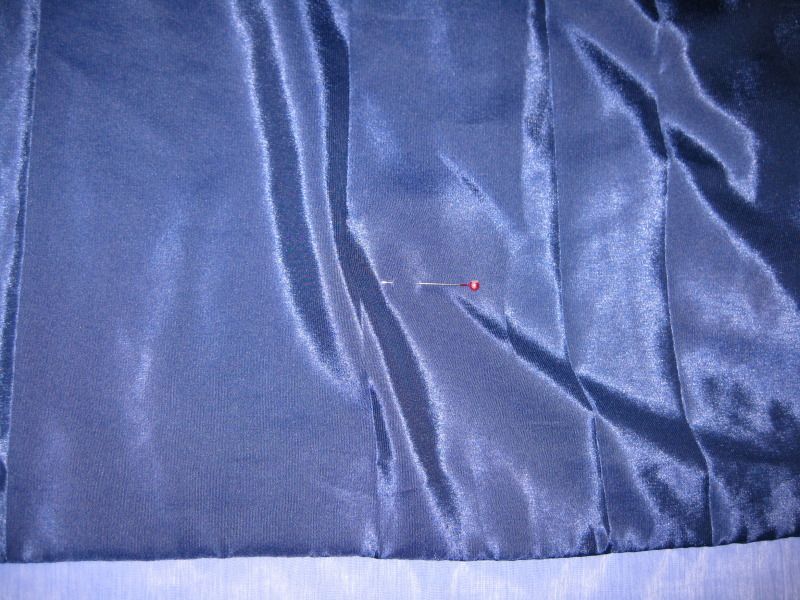
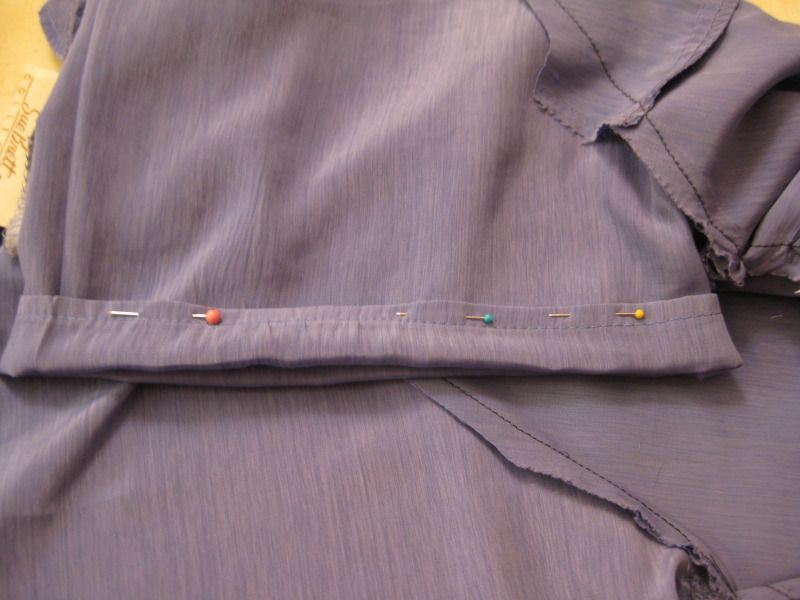
Now I marked off with a pin how long I wanted the dark blue part of the dress to be.
I drew a line and marked where I wanted to cut. Basically I wanted about a 4 inch wide band, but then I wanted to have it fold under the dress and not have a straight up hem. I wanted to hide everything. So 4 for the front, 4 for the back part, but then I wanted to hide the seam and not have any fraying so I added 0.5 inch to that number. So I cut 8.5 inches off.
Here we go!
Now I need to fix the armhole. I pulled off the sleeves b/c I was going to use them later. Warning I screwed up. LMAO!! I used the sleeve from another dress. And I picked the wrong dress.
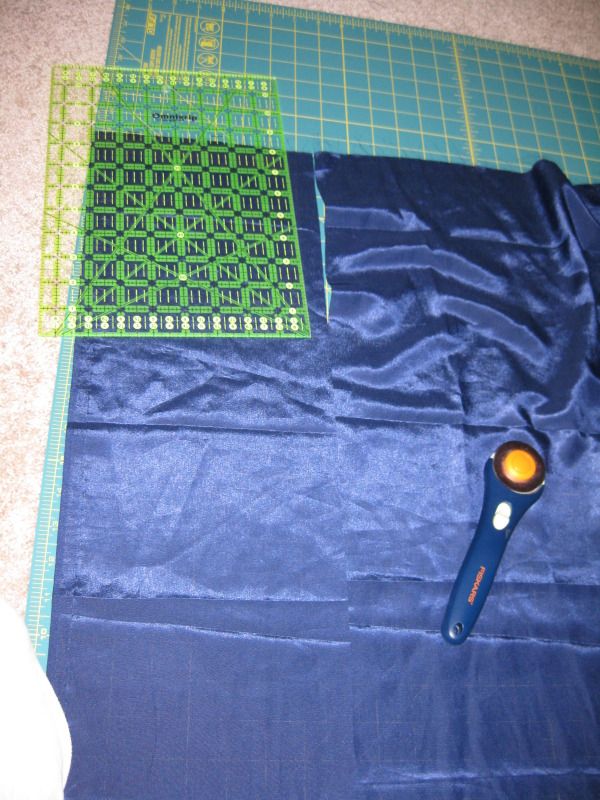
Mark and cut out.
When I put it on my lovely model, Vera (yes I named my dress form) it would be a little tight in the arm hole and I had to readjust on my own.
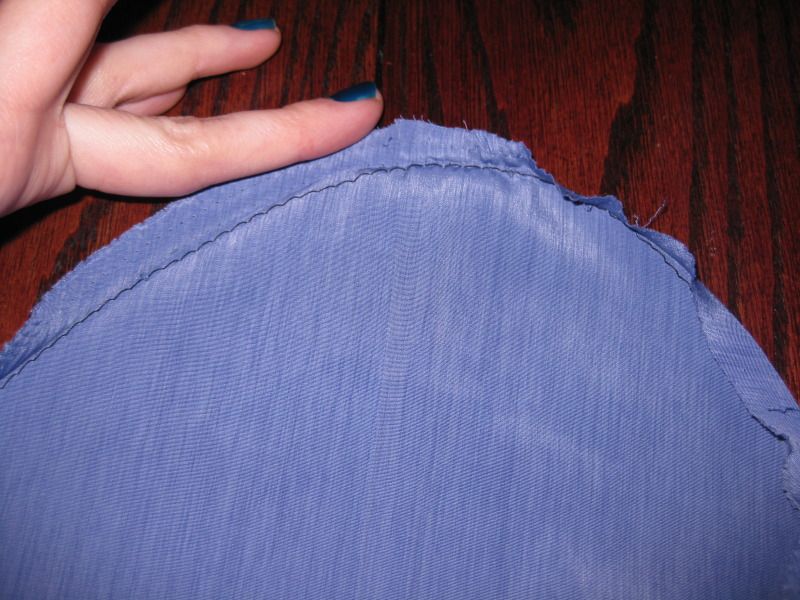
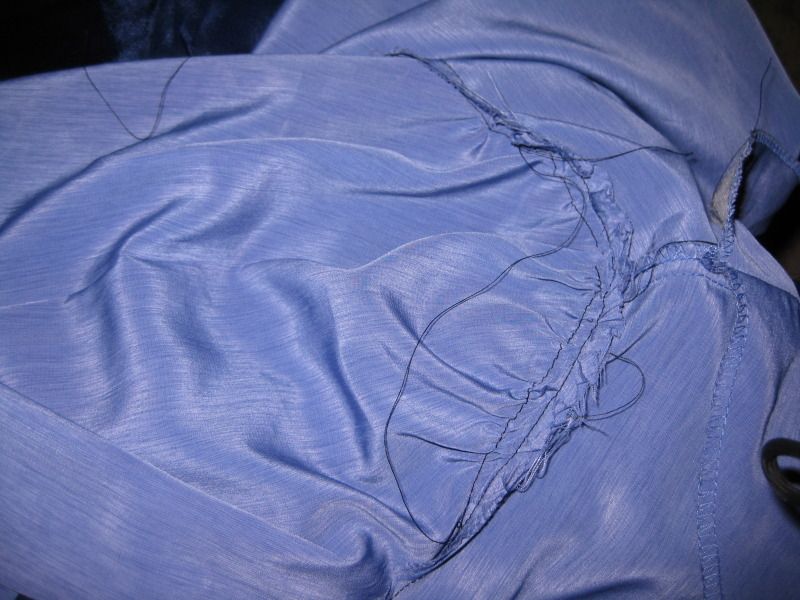
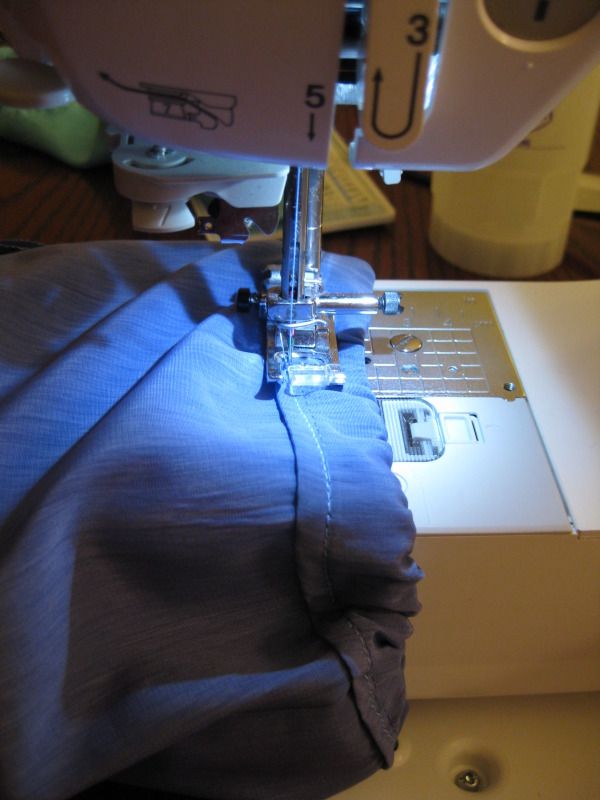
Sew out the mess. Now time to add back the sleeves. I tried to figure out how to make the sleeves better but my brain was just not working! Forget that! I sewed a long stitch across the top of the sleeves b/c I decided I would gather the sleeve and make it fit into the newer and smaller arm hole.
Here is the stitches... now we have to pull the bobbin thread.
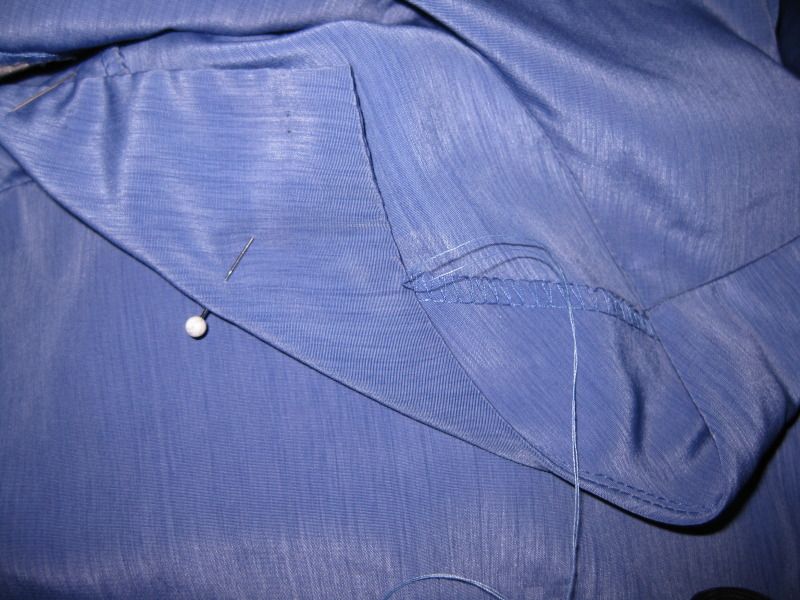
Time to sew back into the armhole. I adjusted the gather to fit. Sew!
Here is the new sleeve in the new arm hole! Now time to remove the gathering stitch.
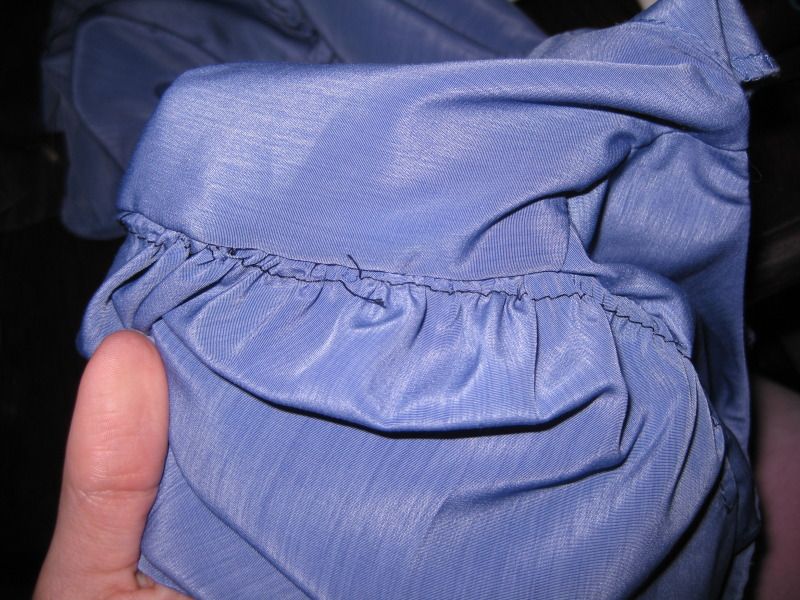
I did not still like the way the sleeve looked so I made a casing to fit in some elastic. So folded over the bottom of the sleeve. Sew, leave opening for gap.
Add elastic, sew it together.
Close the casing on the sleeve.
Ok sleeves better now to take in the dress. It was still huge. But b/c there is no zipper, there has be enough room to get it over my body and have wearing ease.
Sew it down then I used my serger and removed the excess fabric and give it a nice finish.
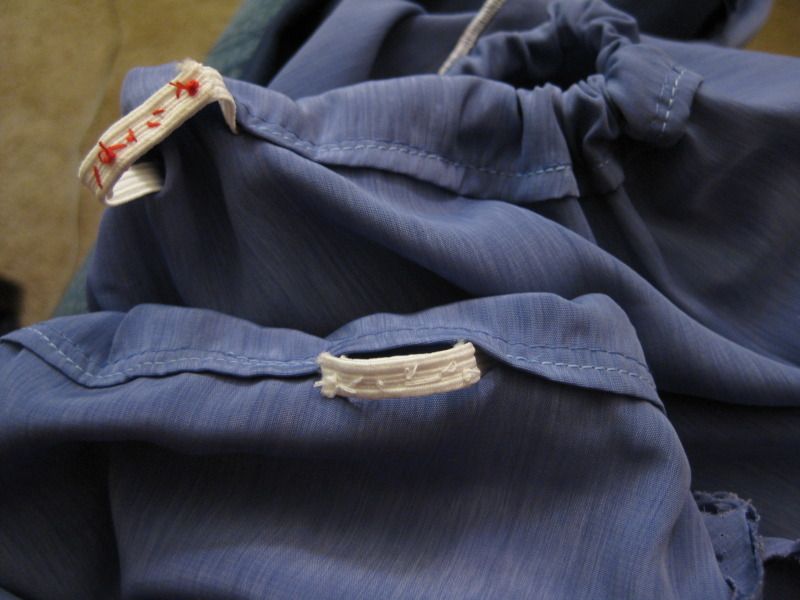
Now those buttons! Oy! Removed them!
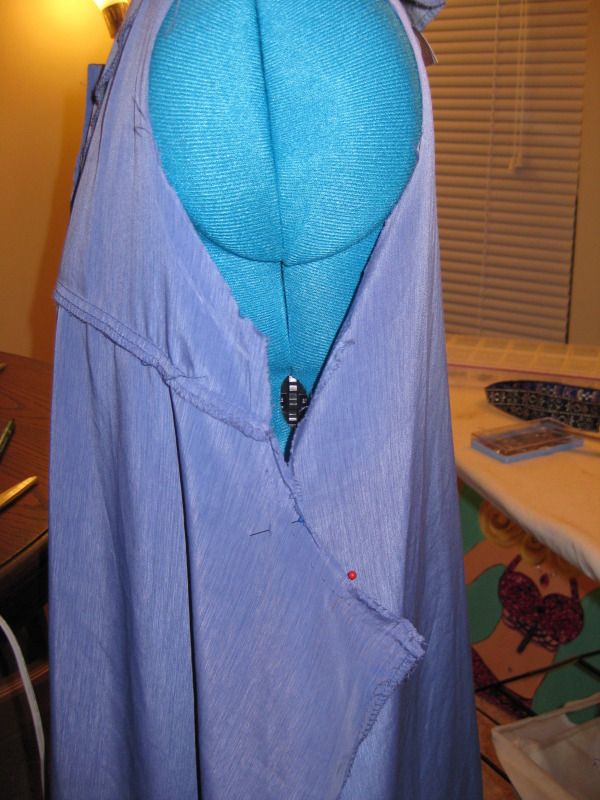
I gave the dress a V neck just to update it some but there was a problem. B/c this is such a thin fabric if I simply fold it over and sew it will pucker and give me all sort of problems. I came up with a clever way to get around this... sew it to the interface! Folded over the flap and then I hand sewed a tack of the top edge to the interface.
See here...
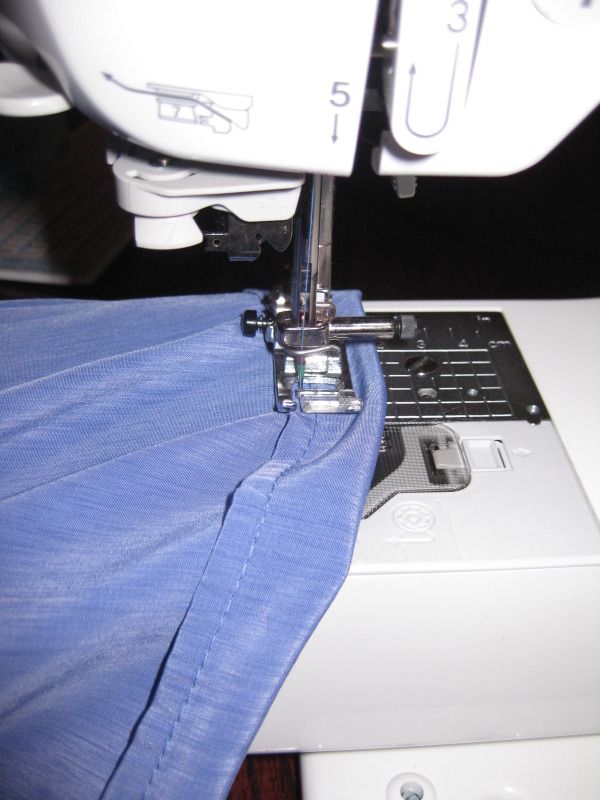
Now to fix the bottom. I folded up about 0.5 inch. Then folded it up to the bottom of the original periwinkle dress. Sew
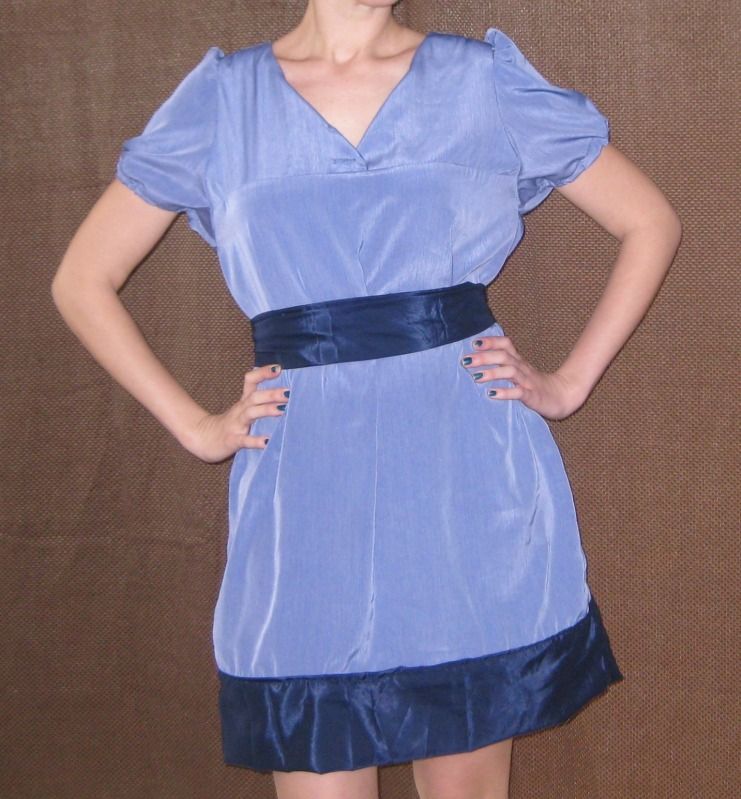
The dress needed something else.- a tie for the waist to take it in. Cut a strip. Sew down the tube and done!
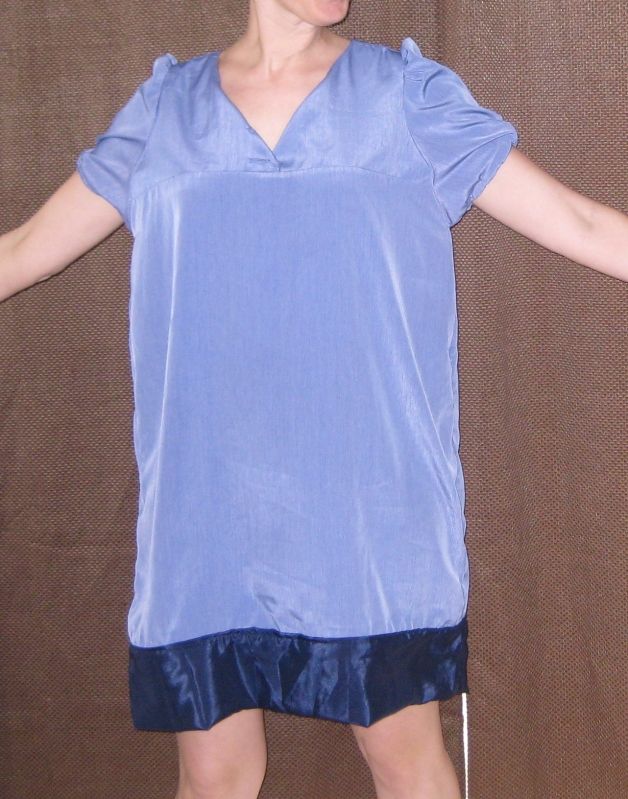
So here is dress with out the tie
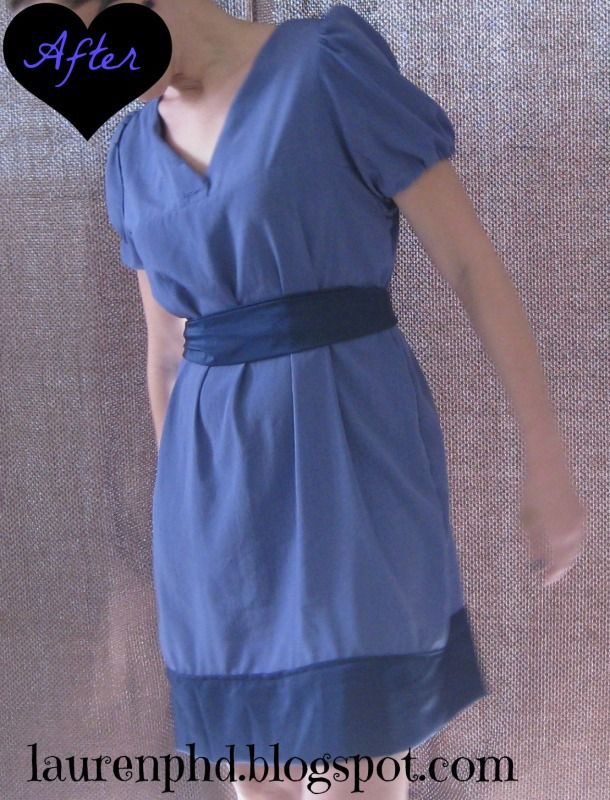
Still super big, but alas add a belt. and it really ties in the bottom navy blue..
The end dress is really a cute dress. I wish it was warmer here so I could wear it out! It is way too thin to wear right now! Ahh how I miss the warm weather... day dreaming over here!
xoxoxo,
Lauren
4 comments:
The sash really does make it work! Nice job with the sleeves.
I agree with Lovely- the sash really connects the dress visually. I sort of wish I could feel the material; it looks so silky!
This is super, Lauren - well done. The navy complements the lilac perfectly.
Lovely dress! Really suits you too! You have inspired me to do a similar job on a large sillk tunic in my thrifted stash.
Post a Comment