
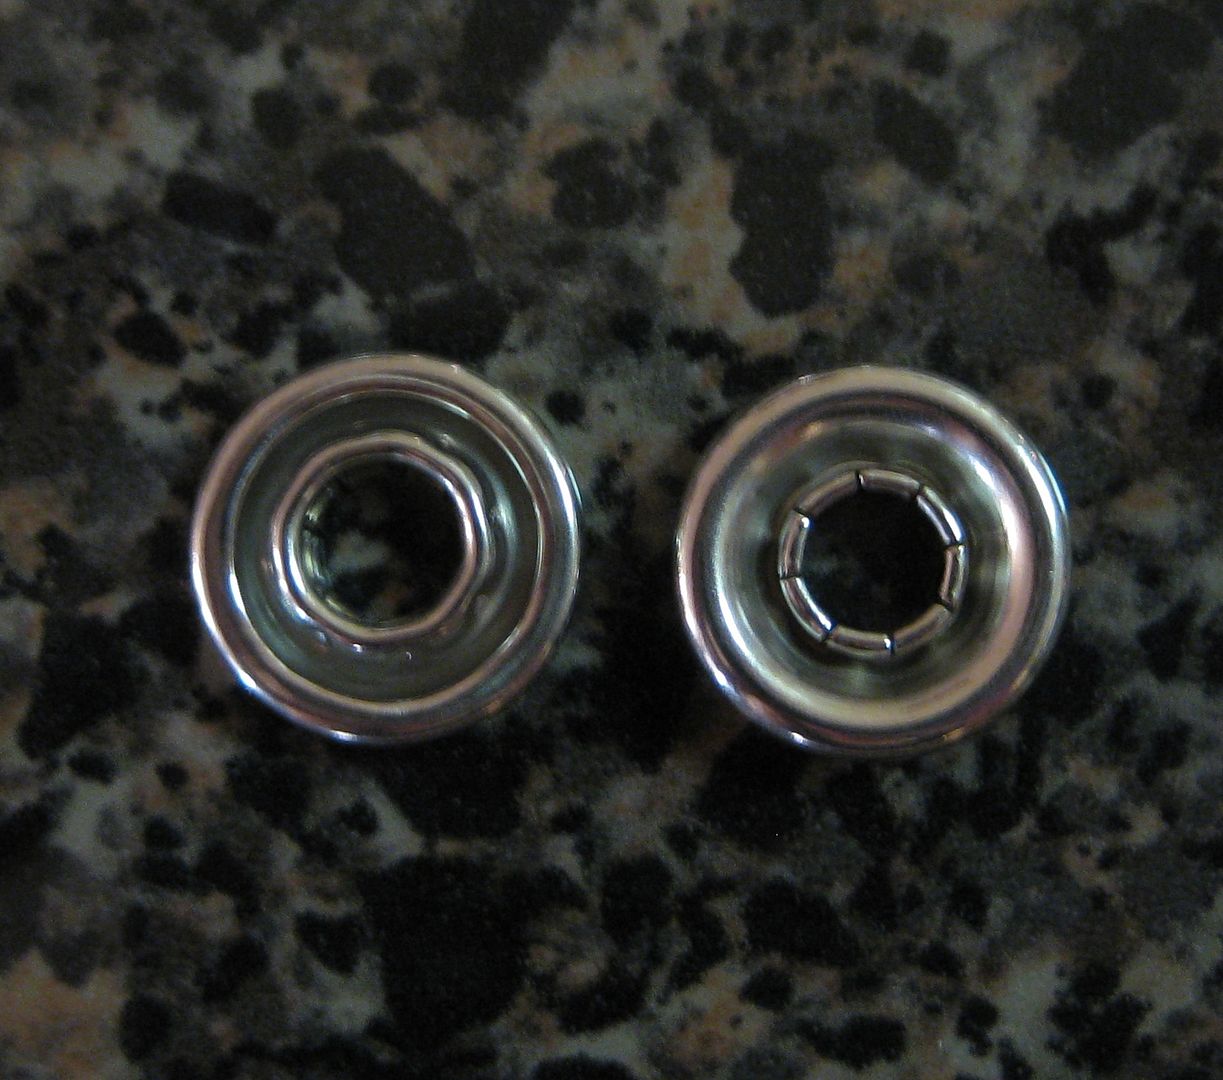
First here is one component of a snap. There are 2 sides to this. One portion of the snap is raised. It can make a difference on which part you use. You always want the raised middle part to be on the outside. More to come with that.
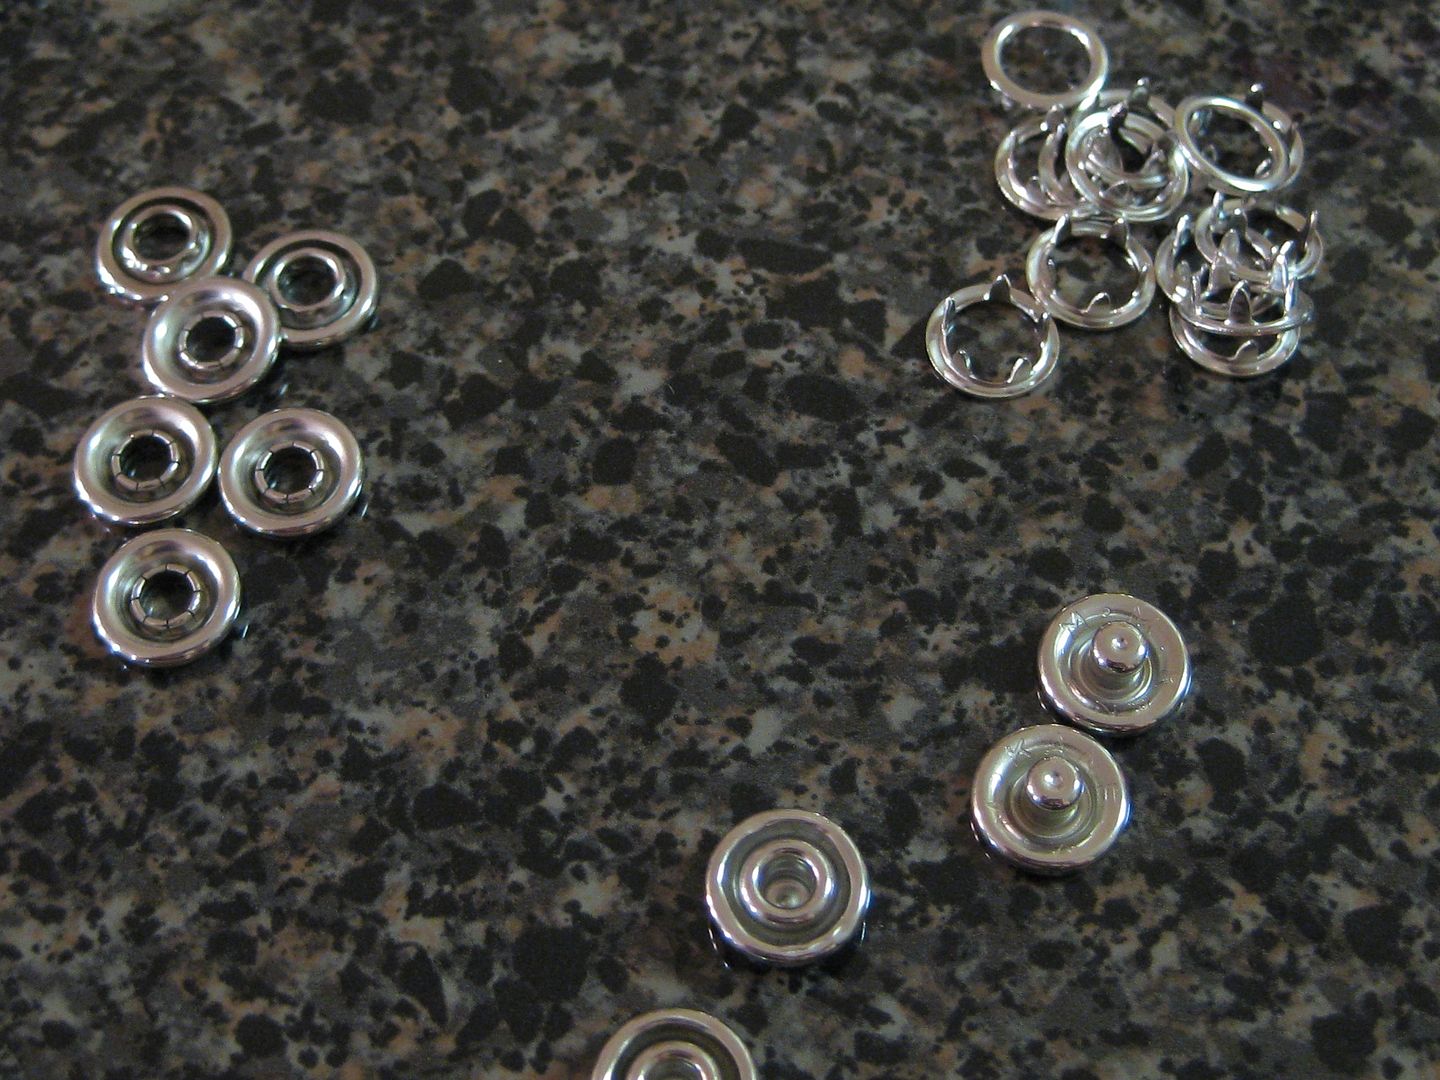
Here are the other pieces. You have the pronged portions and knob parts too. I will call the open circles "receptacles" and the knob parts the "plugs". You will use 1 pronged piece with each of the other pieces.
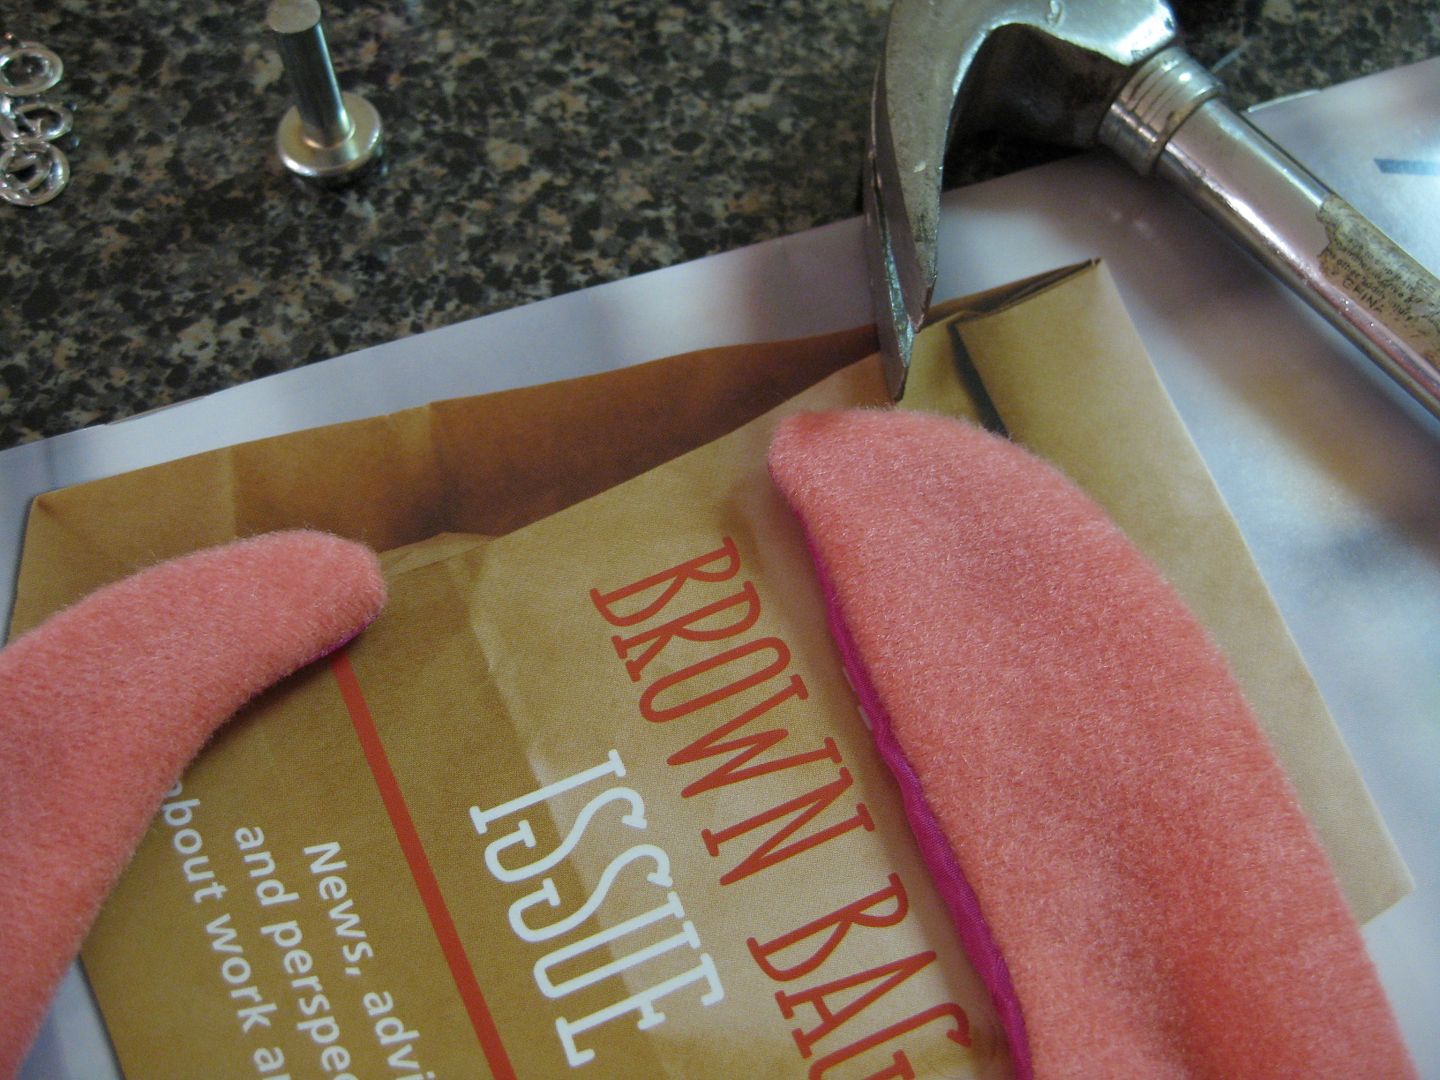
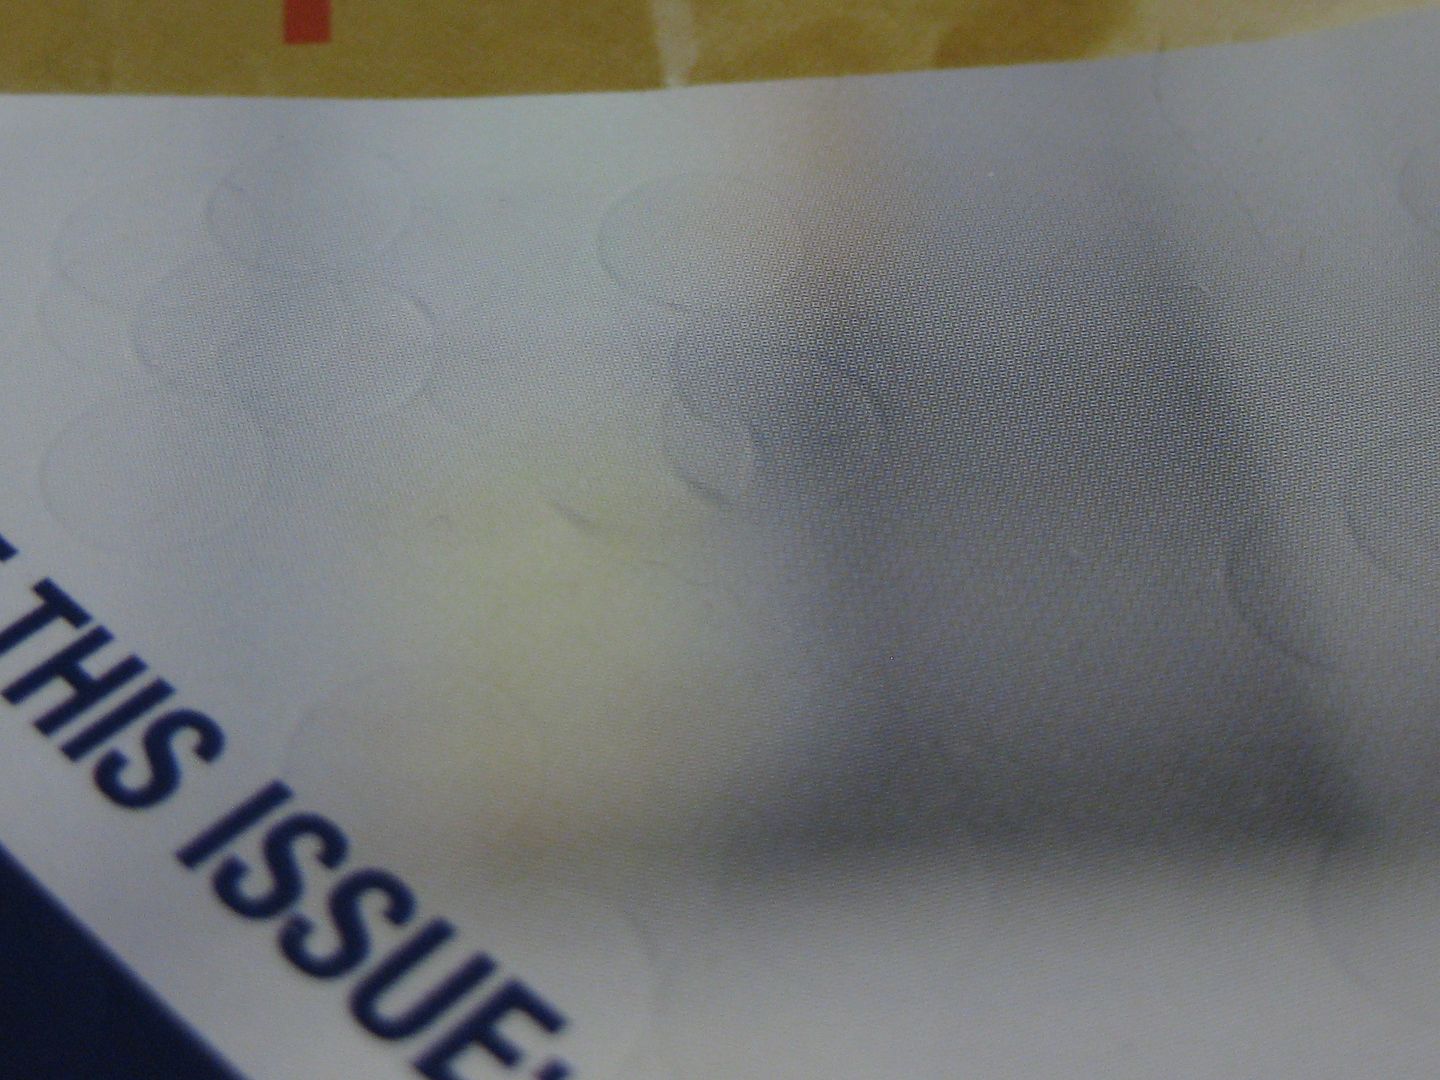
So here is my bib. I grabbed my hammer and also my metal tapper. In preparation for hammering you want to cushion your surface with something. I used a magazine. Or else you will leave marks in your countertop etc.
Insert the prong on the backside of the bib.

Get all pointy objects through the fabric.
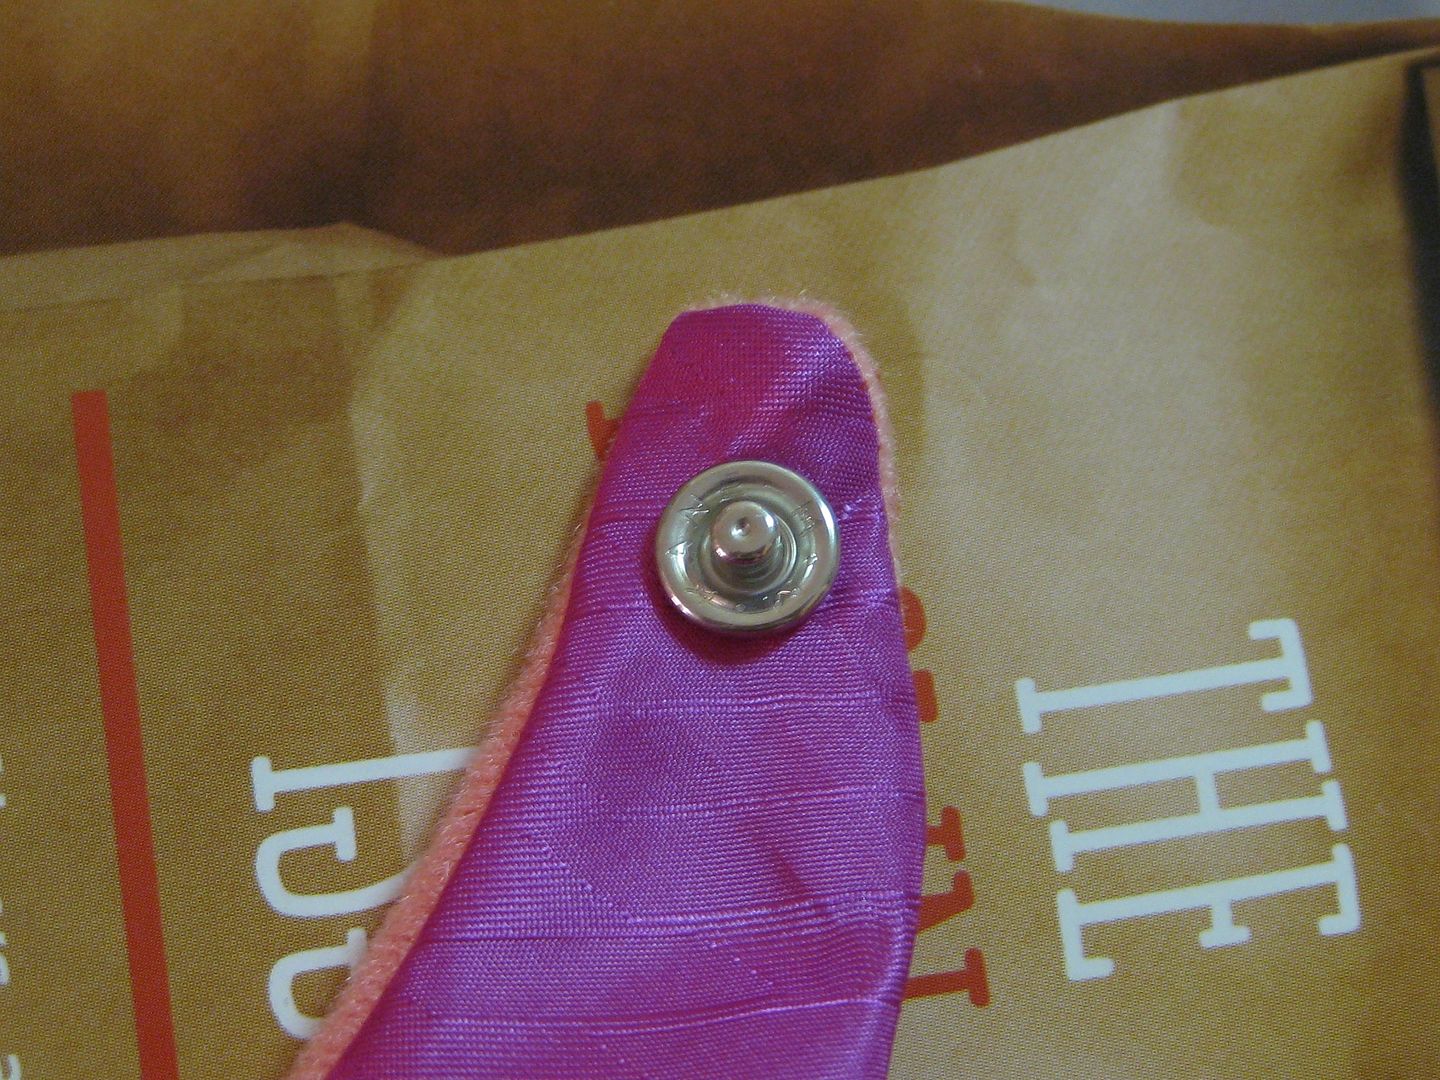
Add your receptacle piece with raised middle towards you
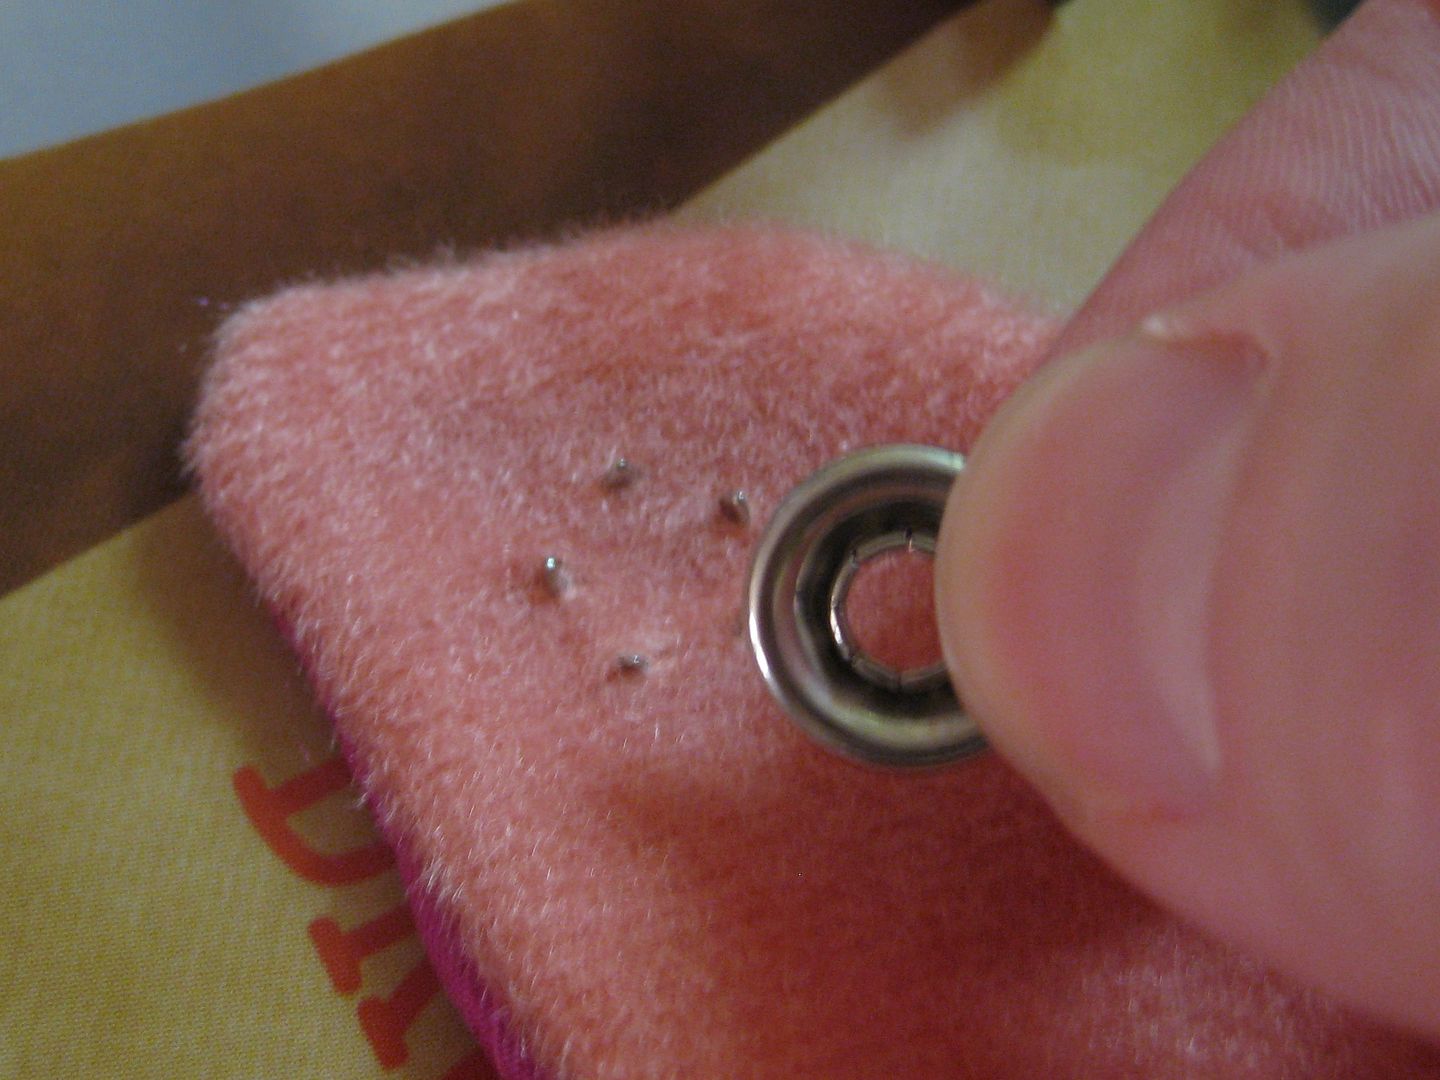
Make sure it is evenly spaced on the prongs.
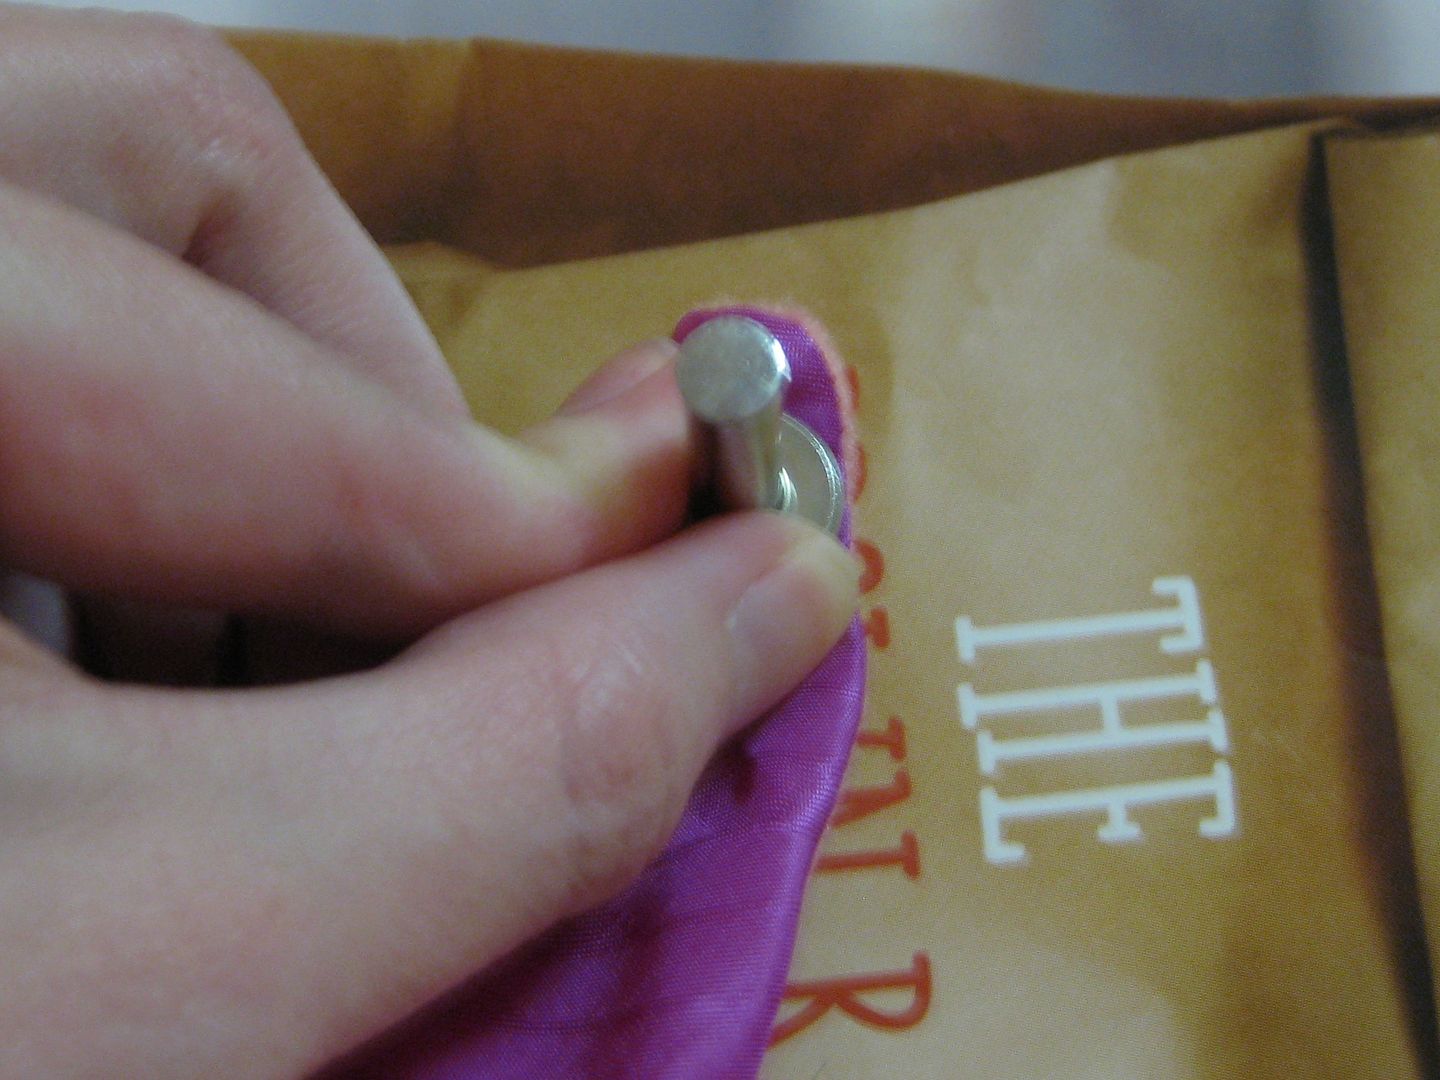
Add your awl (?). Prep for hammering. Make sure it is evenly over all the prongs. This is really important or else it won't be properly affixed. And the pieces will detach and the prong piece is no longer good... as me how I know!

Give it a good whack.

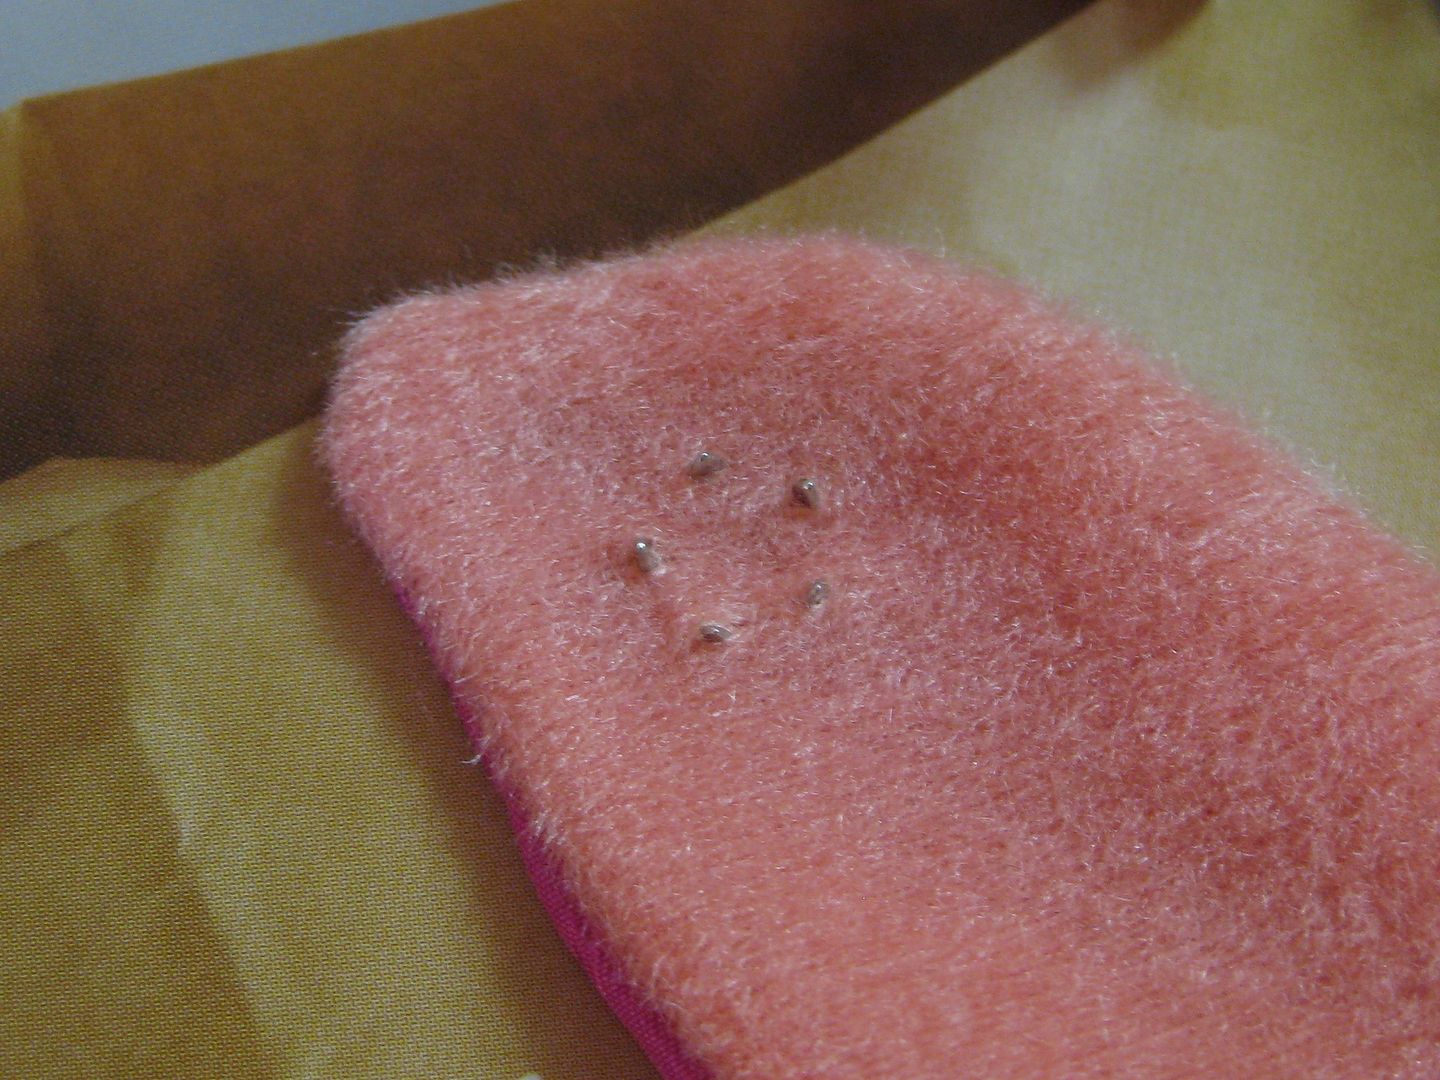
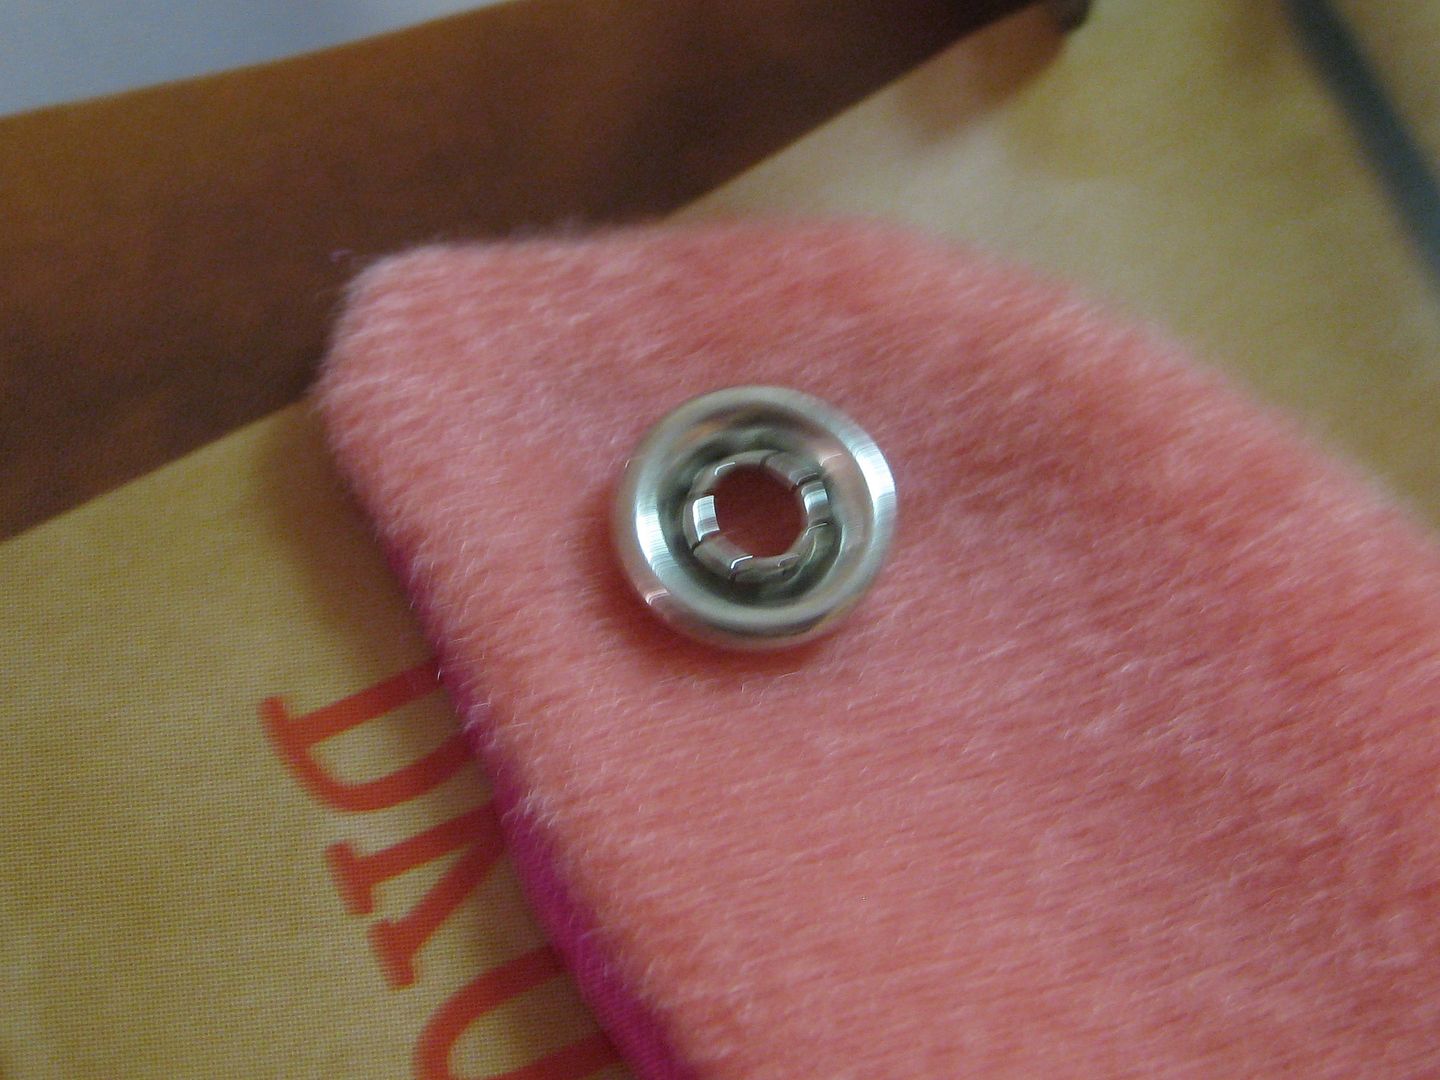
Done here is the view from the back side. Everything went nicely through the front.

From the front.

Now to complete the other side. Pay attention with this b/c you want the snaps to overlap.
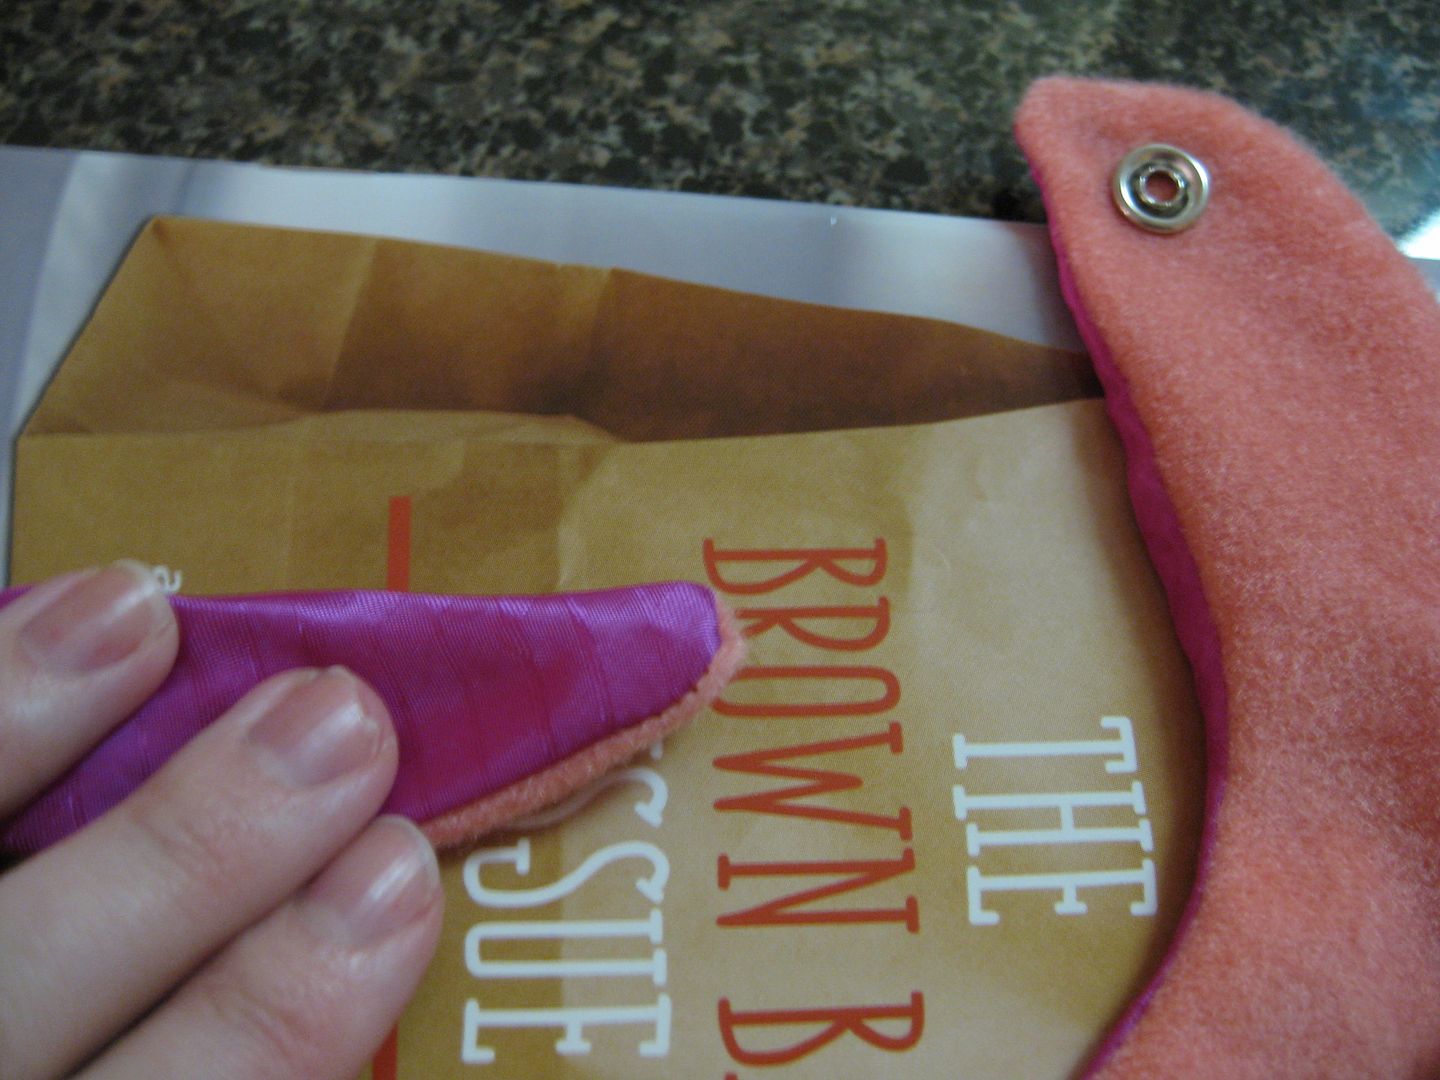
Now add the prong to the Right side of the fabric. Pull the prongs to the WRONG side of the fabric. Make sure again all of them are through the fabric.
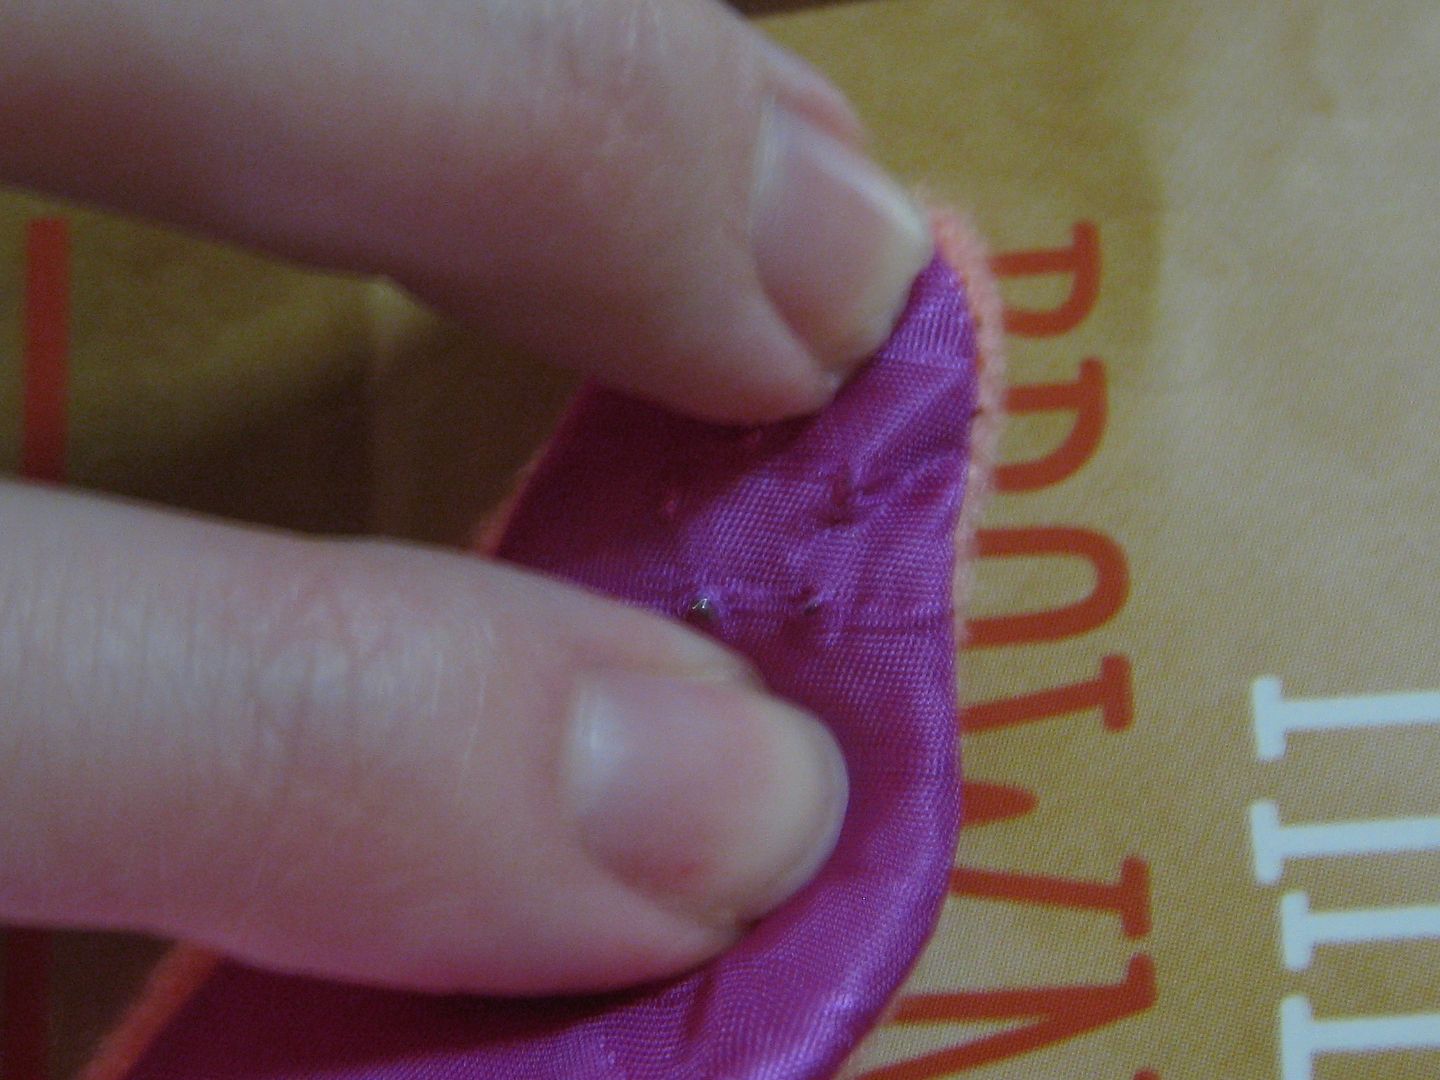
Center your plug to the WRONG SIDE OF THE FABRIC.
Add awl to prep for hammering, again evenly over the prongs. Whack with hammer.
Done!

From the other side.

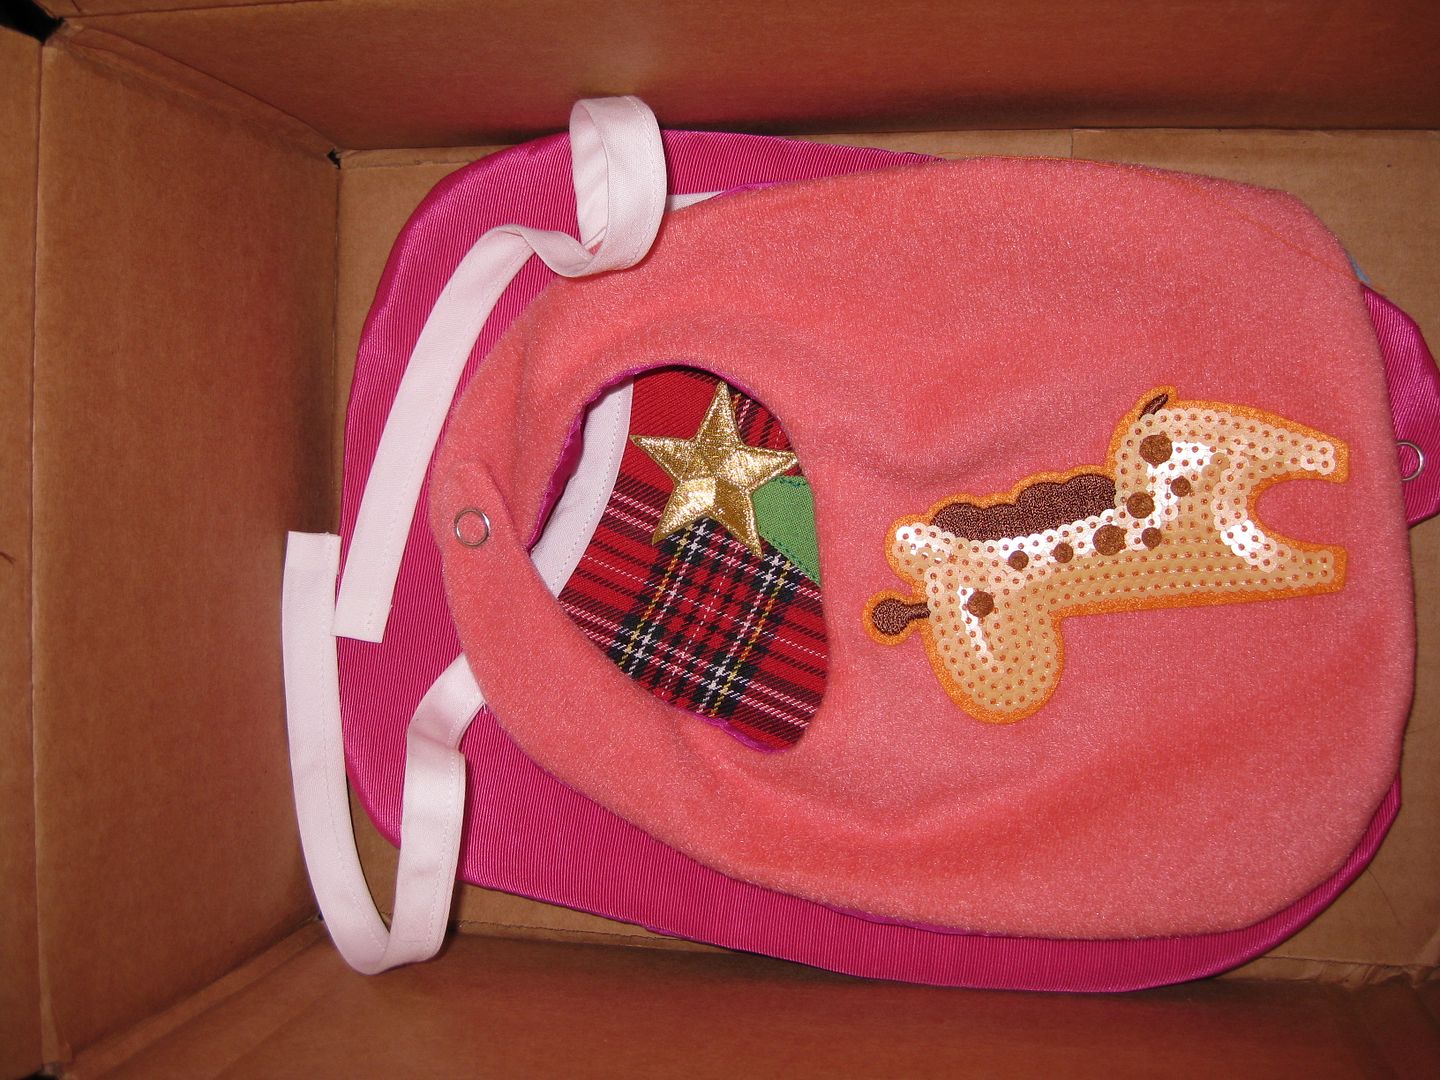
Now the bib will close and overlap correctly.

You can see you will leave marks!!!
Insert into donation box for charity! :)
Receptacle- RIGHT SIDE Prong- WRONG SIDE
Plug- WRONG SIDE Prong- RIGHT SIDE
That is the key to success. Happy snap adding! BTW I have used the snap pliers. I do not reccomend. I tend to get more unevenly added snaps with them. With the awl, I get better centering with a variety of the sizes of snaps. I loose less snaps too from less errors. Plus it is fun to hammer. :)
Cheers,
Lauren
No comments:
Post a Comment