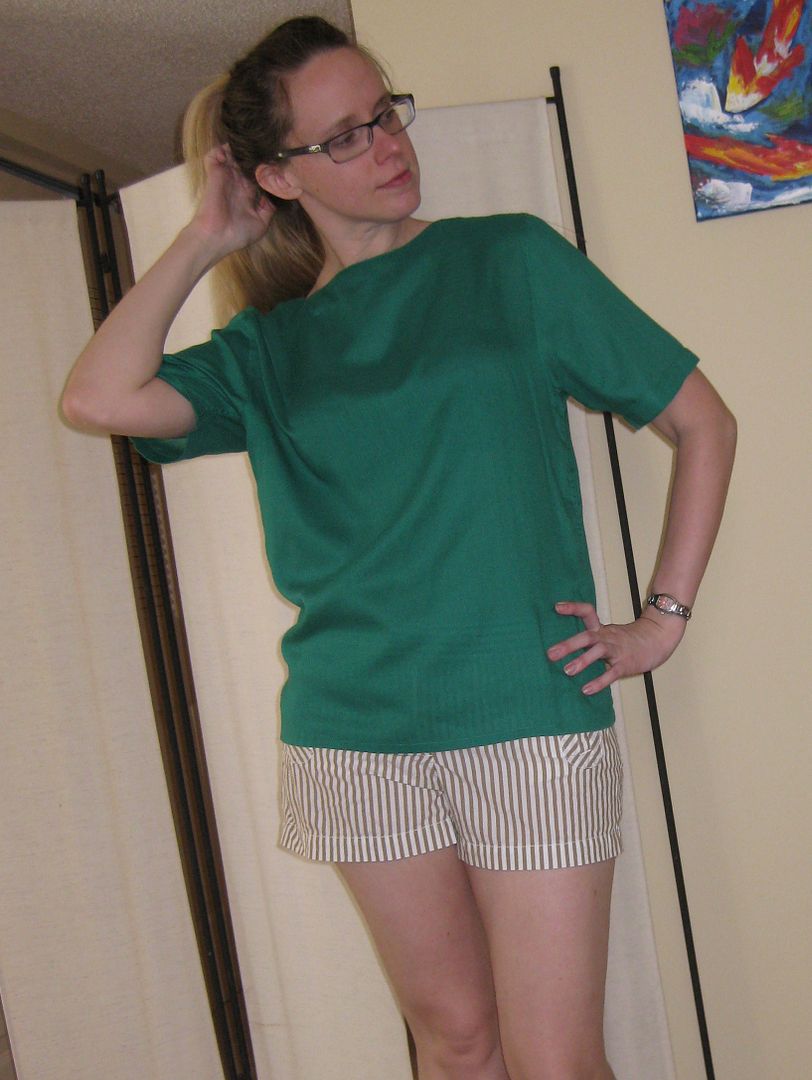
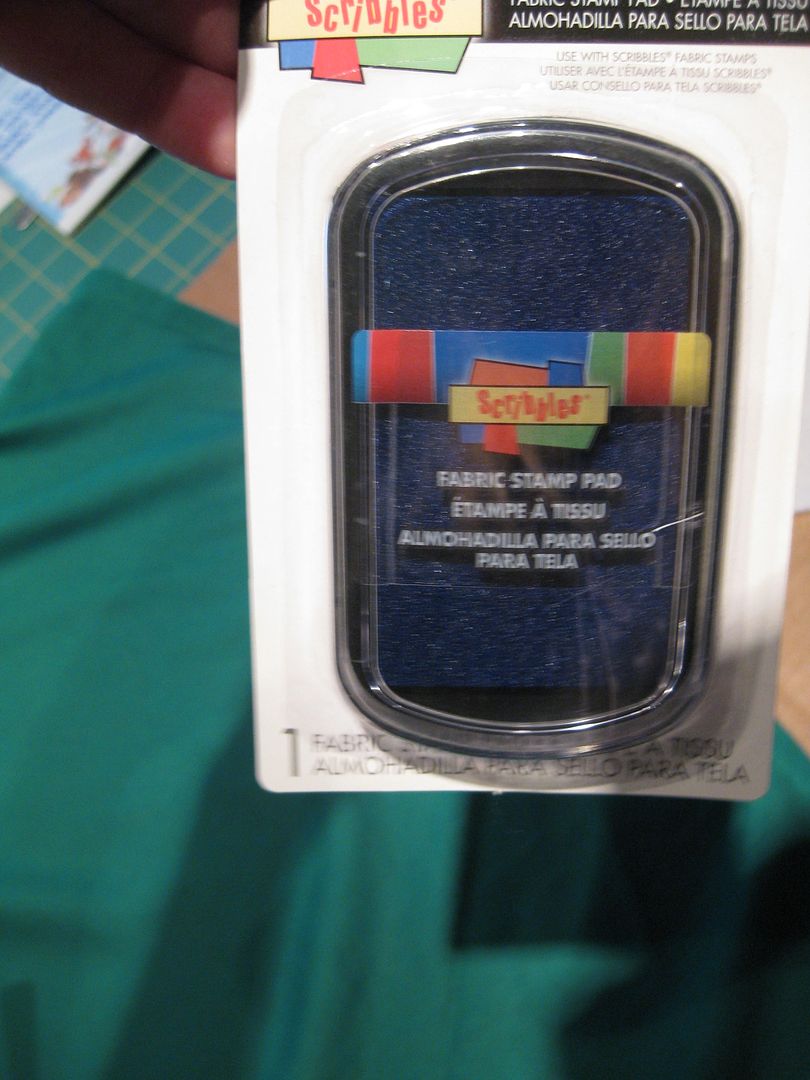
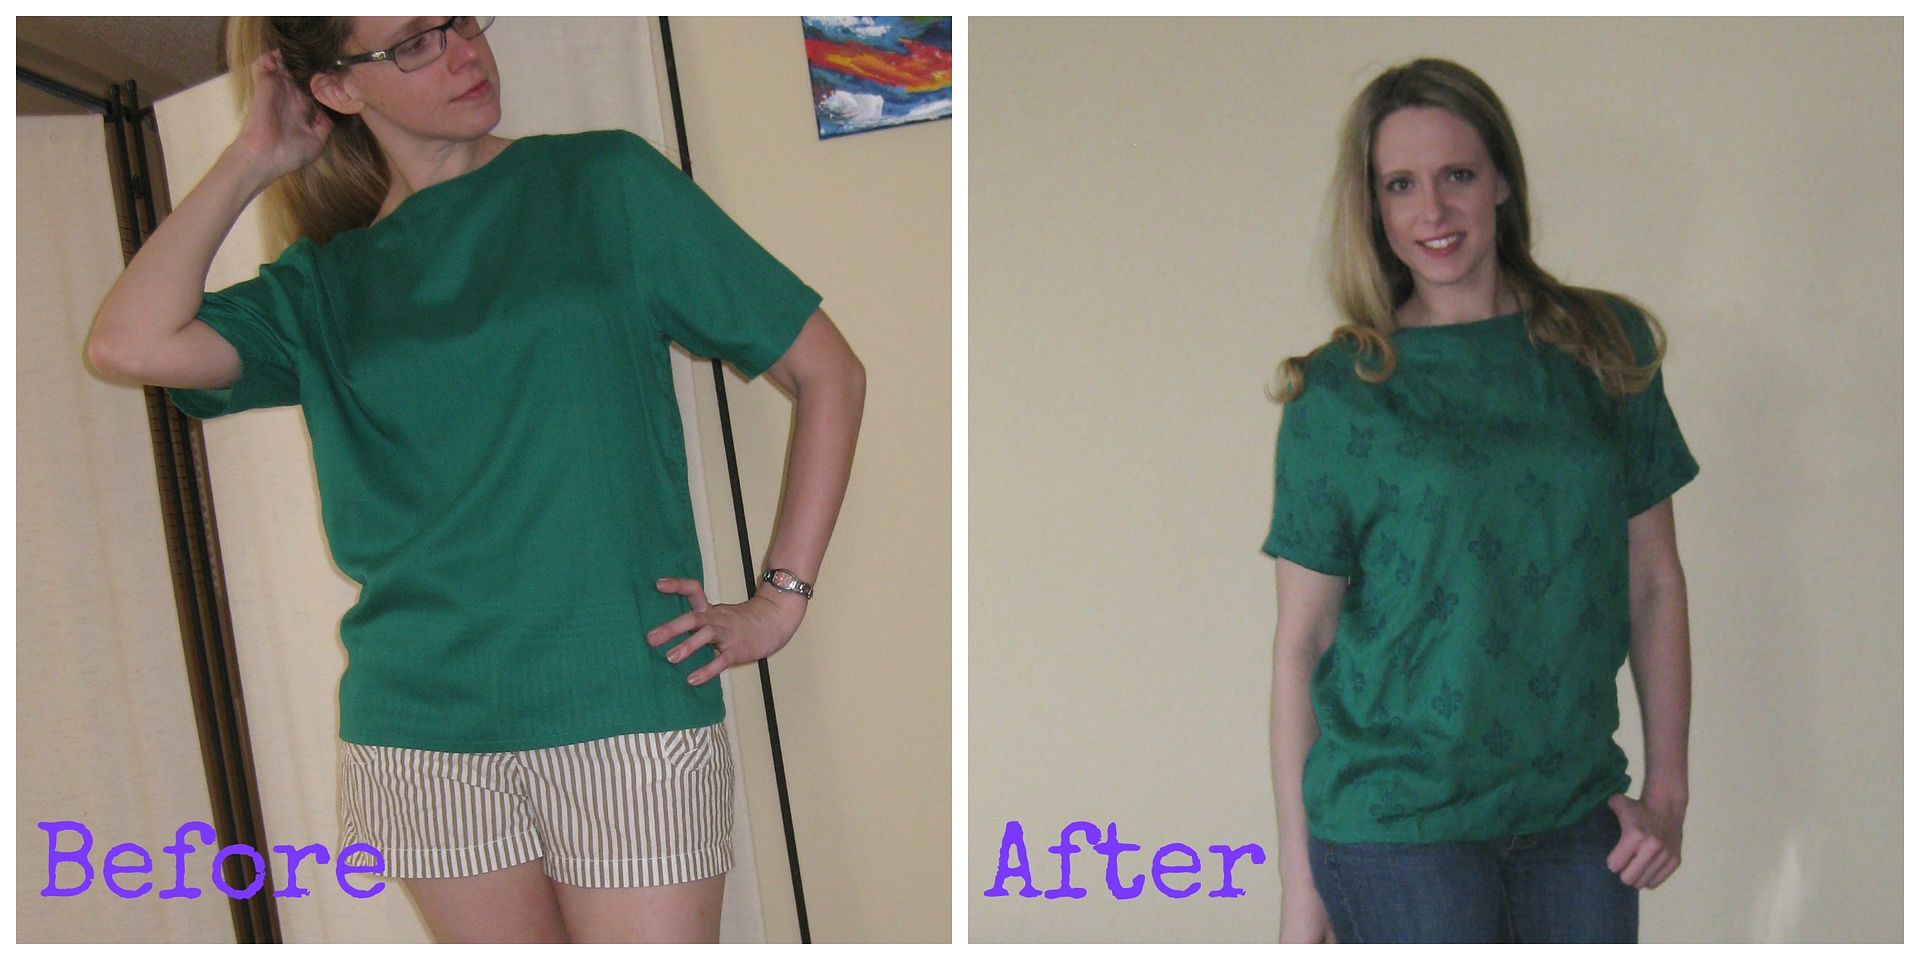
I didn't want to wear it "as is" b/c I thought it was boring. Cleaning out my supplies, because that just seems what I do all the time when I am not doing science, I found these fabric ink stamp pads from Joann I purchased on sale and thought I would try. I thought hey let's create a print!! But then got stumped on what I wanted to stamp. .....
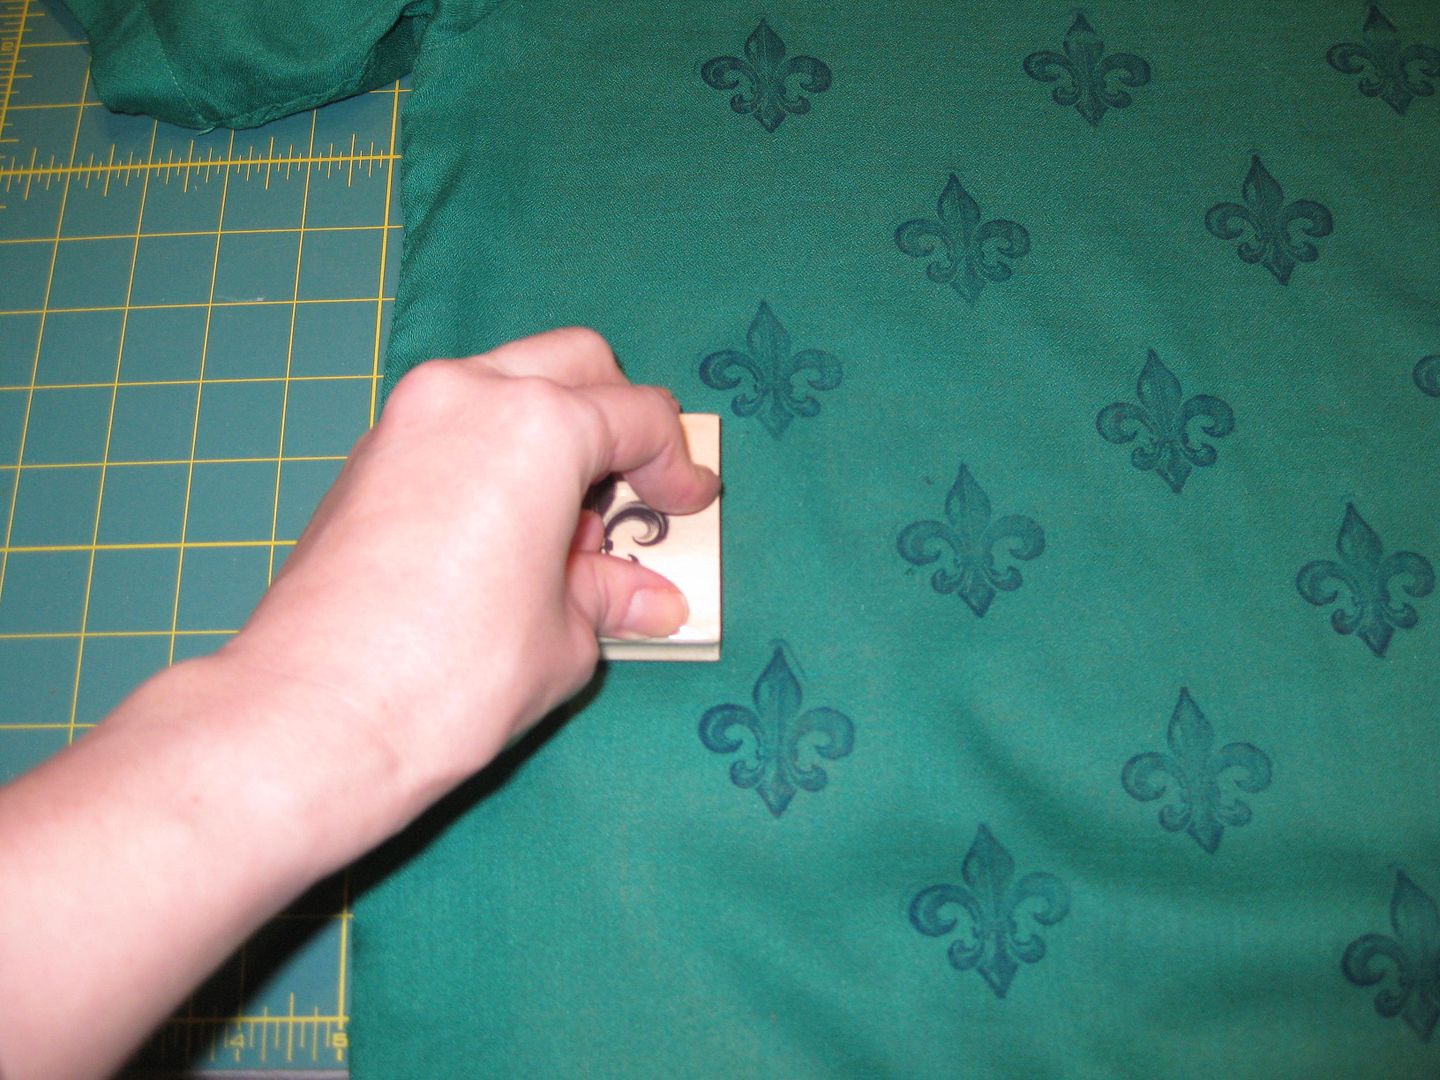
I found this fleur de lis stamp for $1 at Michael's and it hit me! This is what I want to use!! I got all excited while waiting in a checkout line, I know I got looks. It was slightly distressed looking so if I was not perfect with my stamping it would still work. First before I started to stamp away on my shirt, I had no idea how this ink was going to work. Was it going to run? Was the pad even good or had it dried out already? Can I make a top out of it? How much ink do I really have? So many questions. Luckily I quickly got the hang of it.
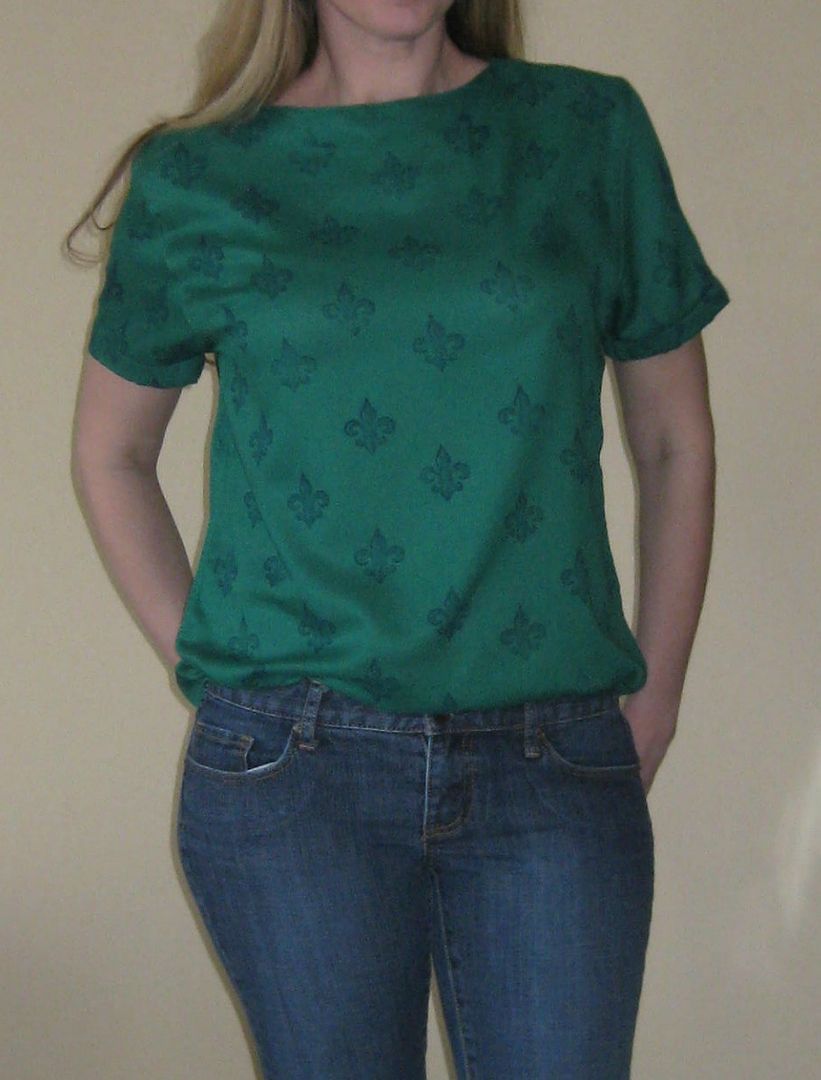
Away I went with stamping. I placed a piece of cardboard in between my top so I didn't get transfer to the other side. Actually I didn't need it b/c the cardboard never turned any bit blue. So this doesn't bleed or run. I started at the neckline and worked my way down, I sort of alternated the stamp. I did this all by eye (which isn't bad!).
Luckily this dried fast to the touch and I could quickly turn it over and work the other side.
Now I let the ink dry for 24-48 hours and then heat set with an iron and a press cloth.
Didn't like the sleeves. Folded under 2x the hem and sewed down.
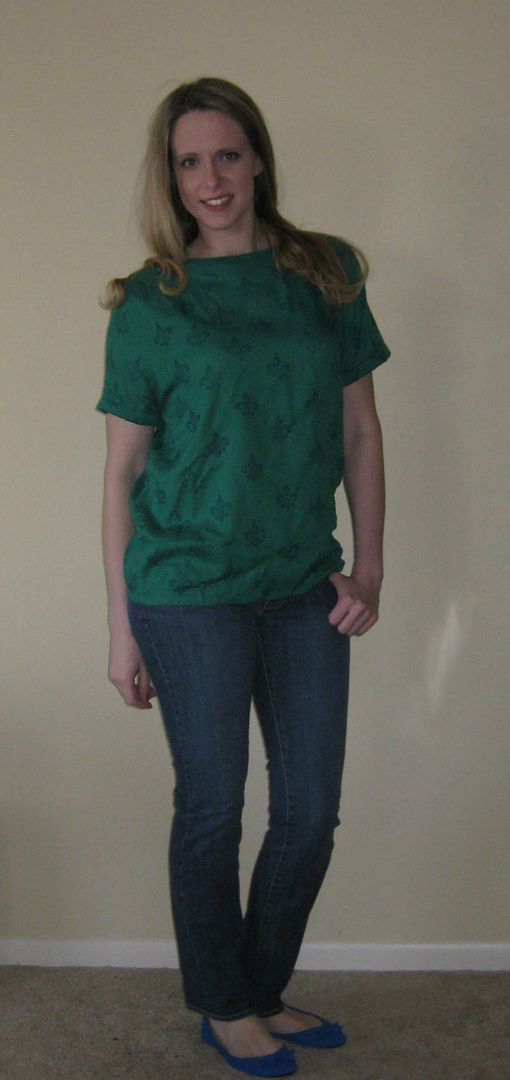
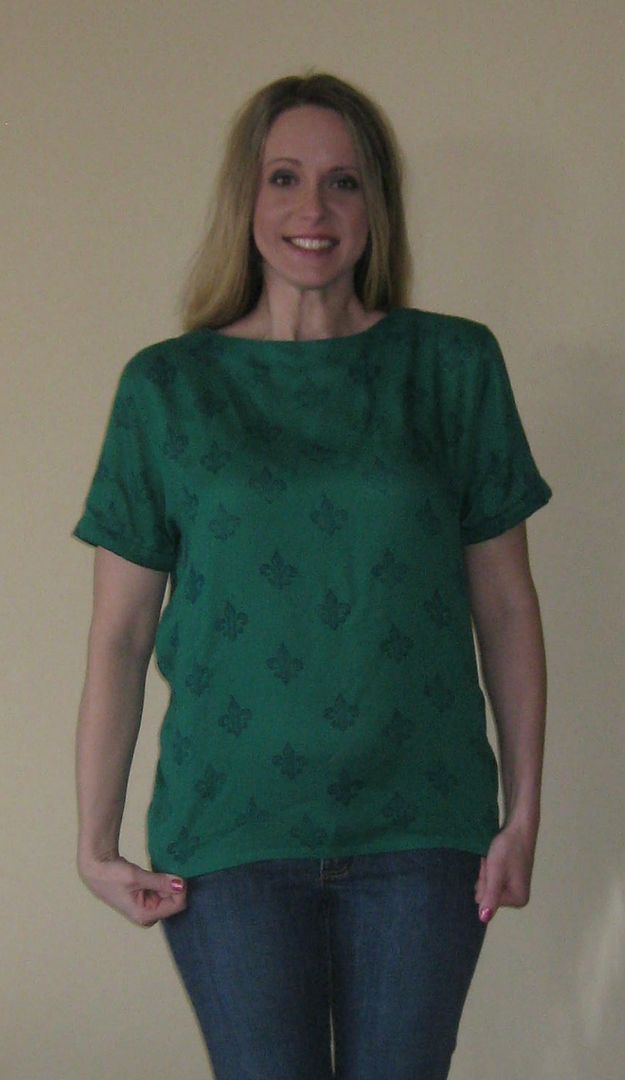
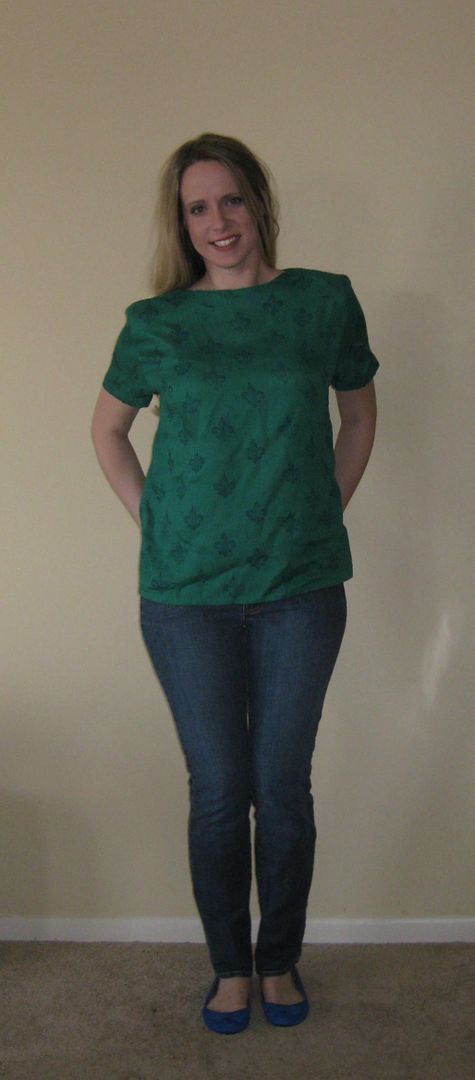
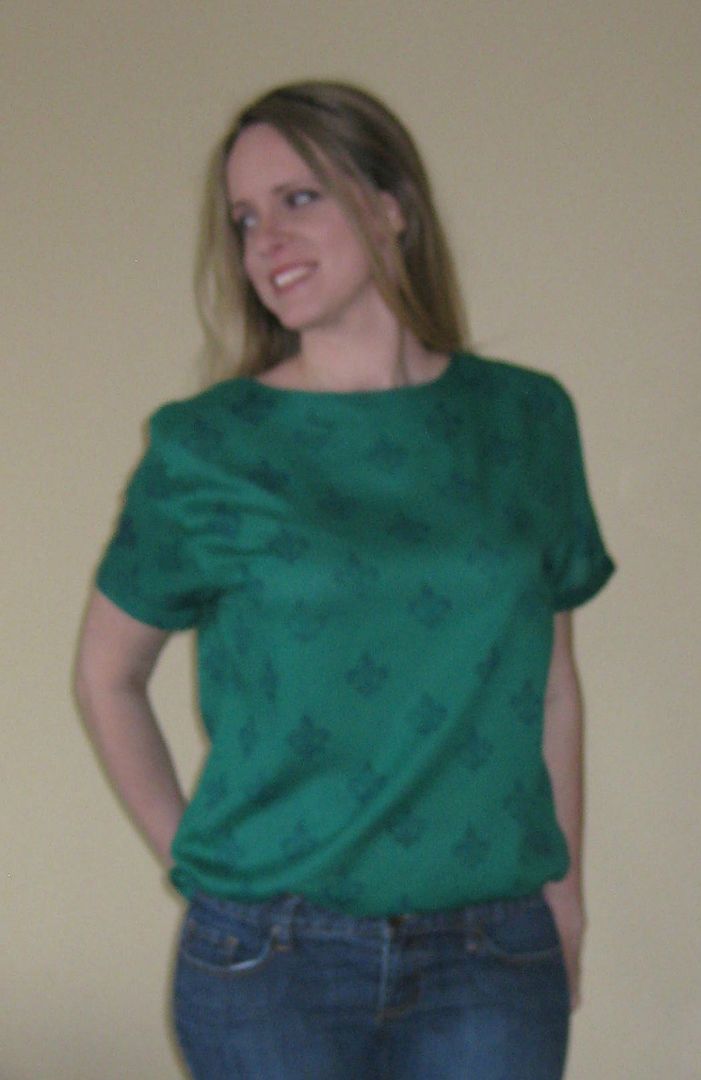
Done!! Yay! Love my new shirt.
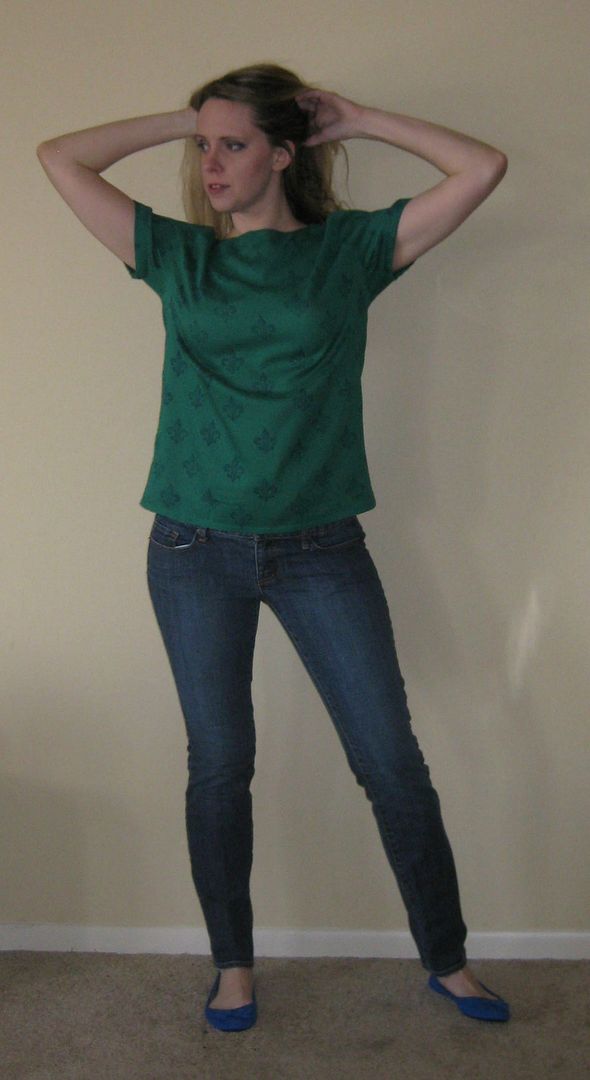
here is my obligatory goofy shot...
Yeah it needs an ironing.
Not bad even tucked in. This would look great in a pair of shorts (though they are all packed away b/c it is January!!!).
All in all very happy with my new printed top!
Take one down, sew it around..... 96 refashions left!
Cheers,
Lauren




No comments:
Post a Comment