
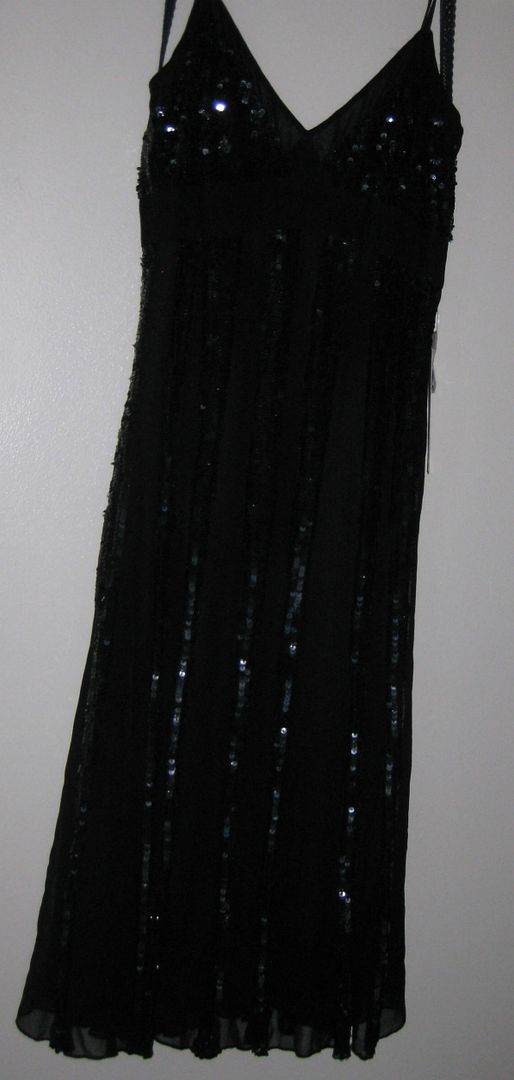
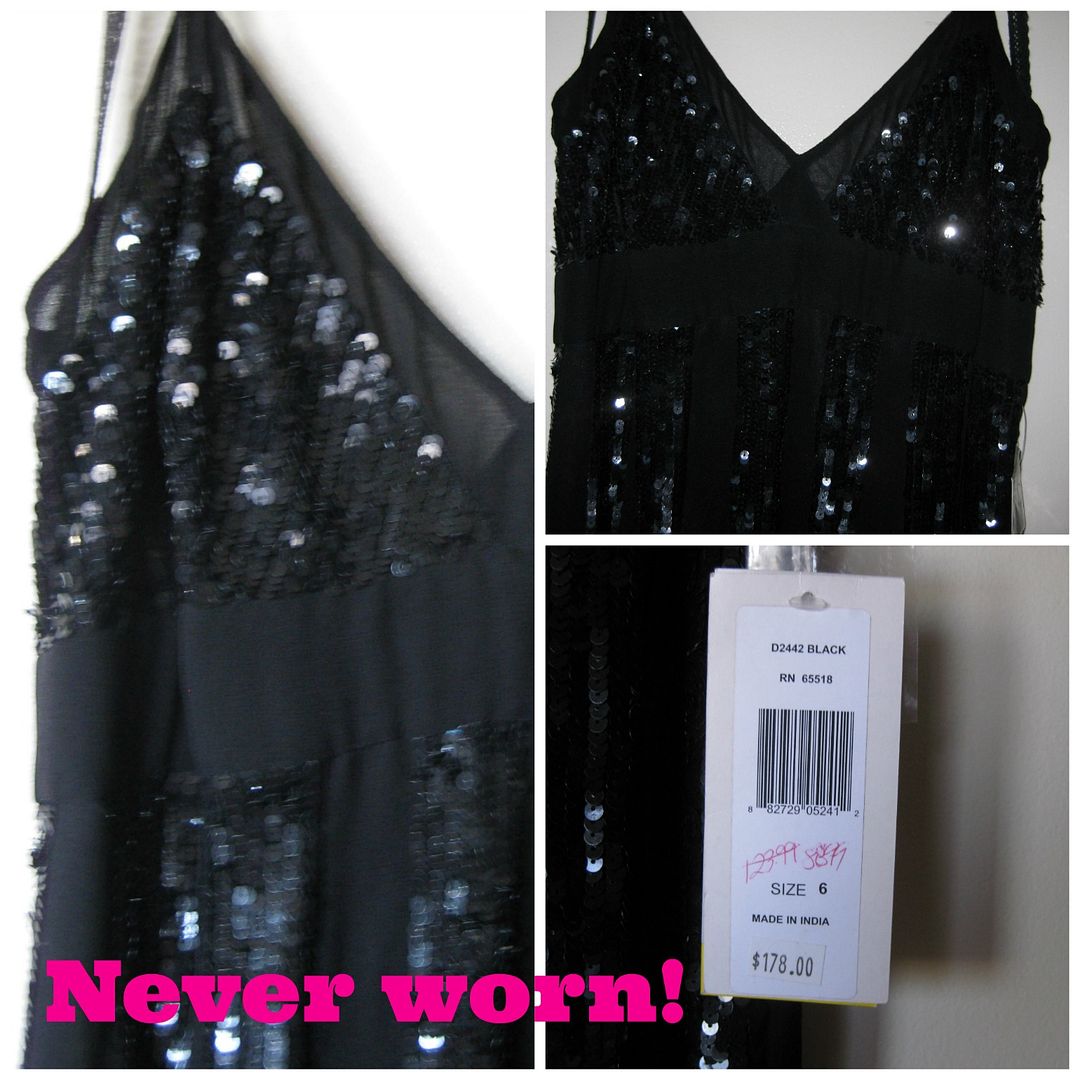
NEVER wore it! For some reason when I put it on it was sort of bleh. It just didn't work for my body. I think it was the high waist with the bodice. Yes the tag was still on ... BTW it was actually even less, the red writing says $88 but it was $53 but then I got another 40% off. When I had gone to the cashier the dress at the store was slightly less than $20. Not bad for a dress originally $180! So yeah I was always a bargain shopper.
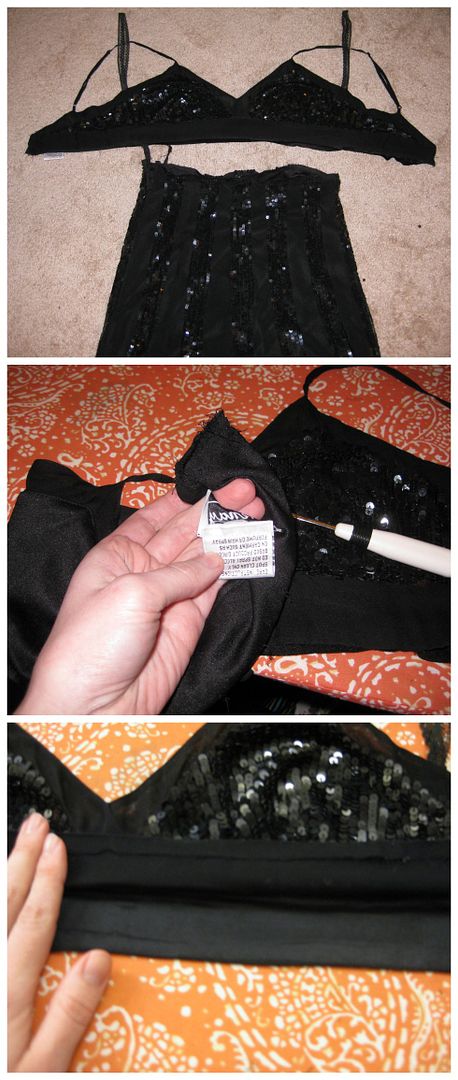
First I VERY CAREFULLY unpicked the hem with my seam ripper the top from the bottom of the dress. Also pulled the zipper off too.
Took off the tag.
Then I used black lightweight fusible interfacing to stabilize my new band. I delicately ironed it on.
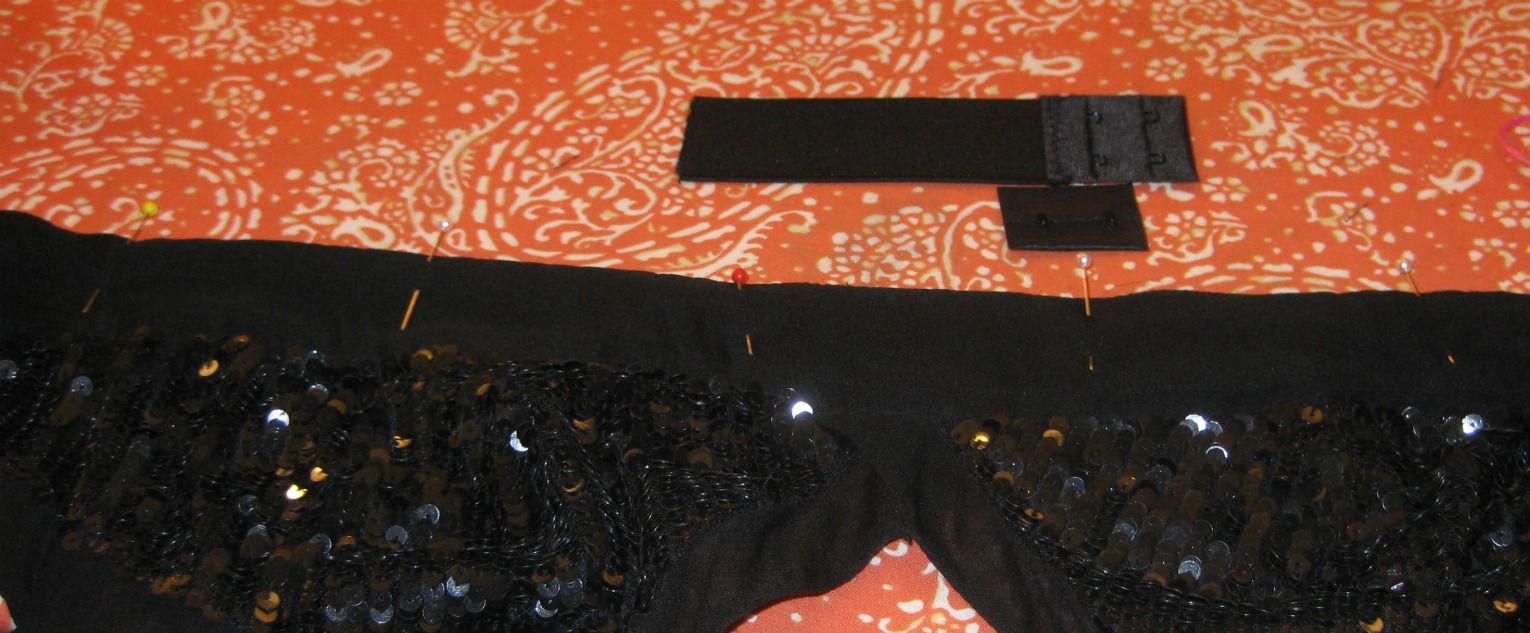
I pinned the bands together and sewed across. Now its time to convert it to a bra with some bra hooks. FYI finding bra hooks when I first started this project was impossible. I wanted to have a black hook/eye bra kit on the back but it was impossible to find in ANY store here. They had white. They had bra extenders but neither of these items was going to help me. I wanted black. Sigh. I searched and searched the internet and on the verge of giving up I stumbled upon Sewing and craft Club, a store that was based in the US (b/c the other items I found where UK or Australia). They had white, black, and nude in multiple sizes. I bought all 3 colors in all their sizes. Oh yeah. I am not dealing with this again. Plus I didn't know the size I needed for this project. The 1.5 inch bra repair kit (that is what they call it in order to get both sides for a bra). I then attached it to my new top. FYI check before you sew! I had my hooks completely backwards. It was my weekend brain puzzle-putting hooks and eyes on a bra top. LOL. Done!
Unfortunately since it has been really cold here, any sort of summer tops I would wear this with are still packed away. And I am an not taking a pic on as is... So right now you will get a hanger
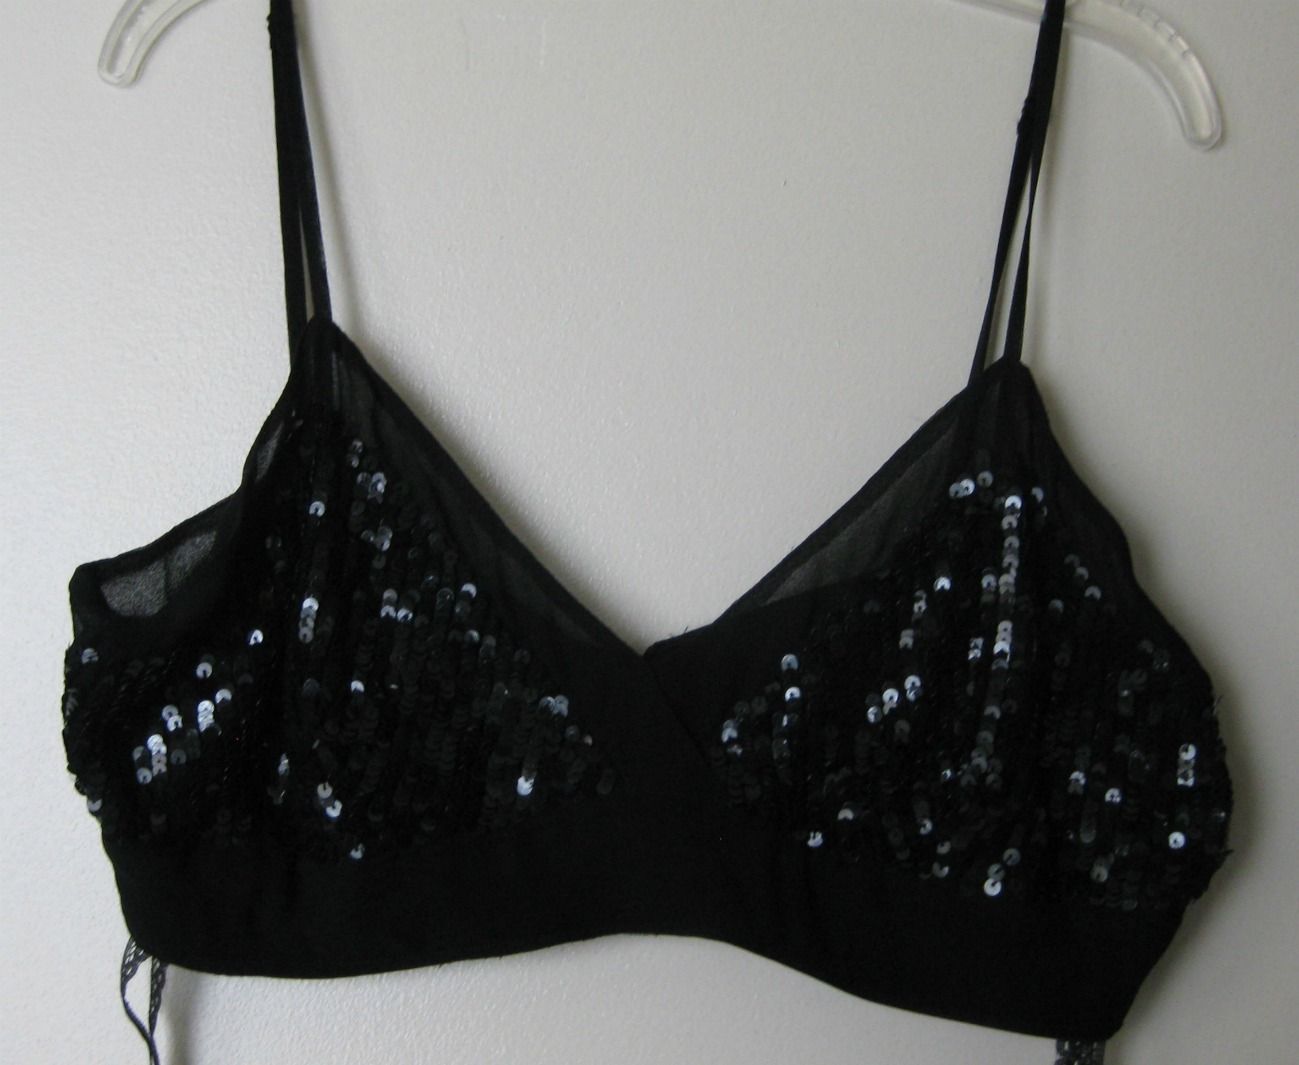
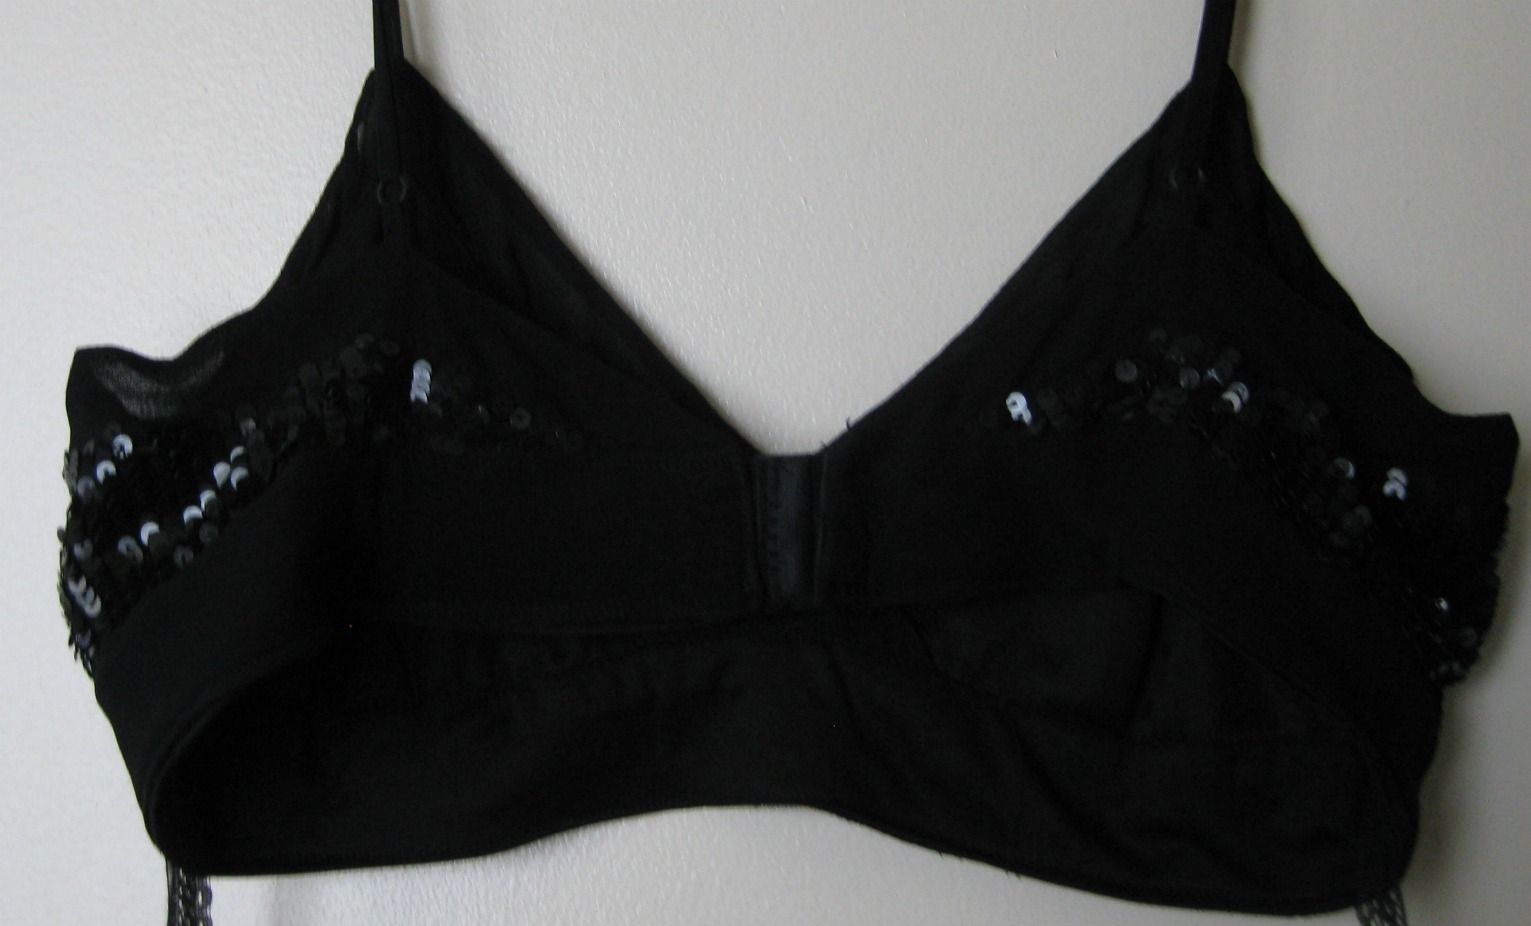
The back. It has a slight, smidge stretch. But I also have 3 eye sets to adjust. I will still wear something underneath. for a just in case

Cheers,
Lauren
2 comments:
Hello Lauren:
I visited your blog, and as you are a sister MAGAM sewist I nominated your blog for a Liebster Award . . . http://sewcroandquilt.wordpress.com/2014/04/10/liebster-award-nomination/
Cheers,
Lyric
That is a great idea! I like that it would be possible to make the side bands wider than a regular bra-for those of us that have too much skin around the sides ;)
Post a Comment