
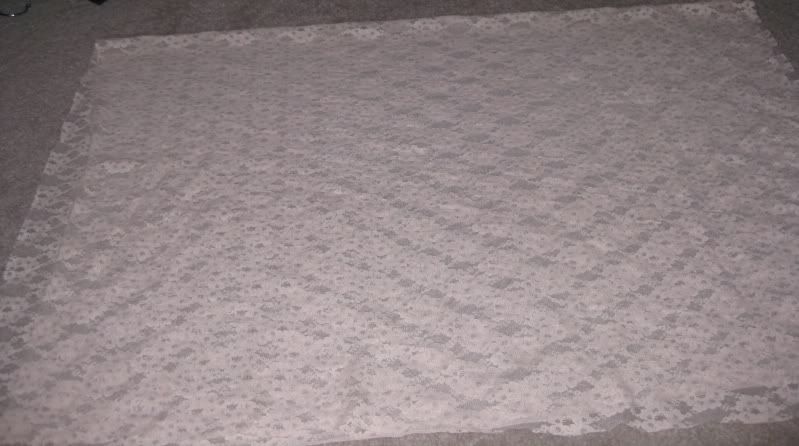
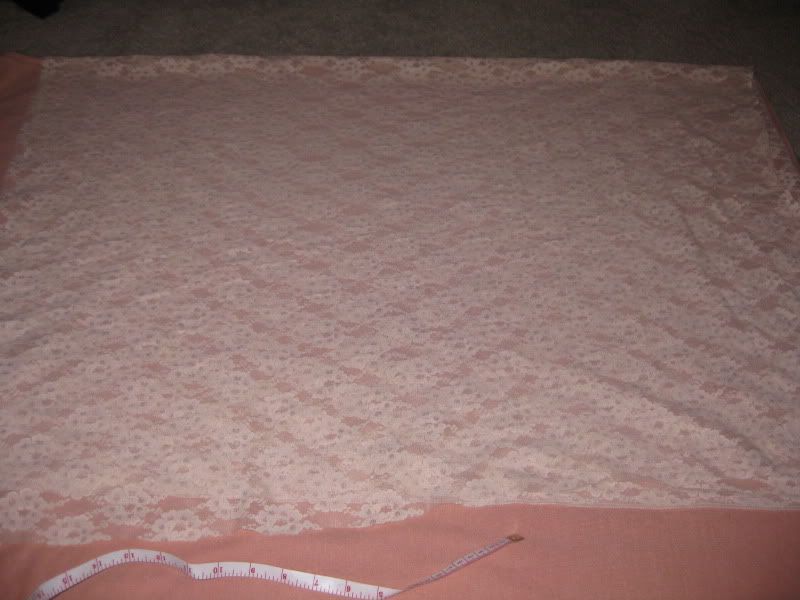
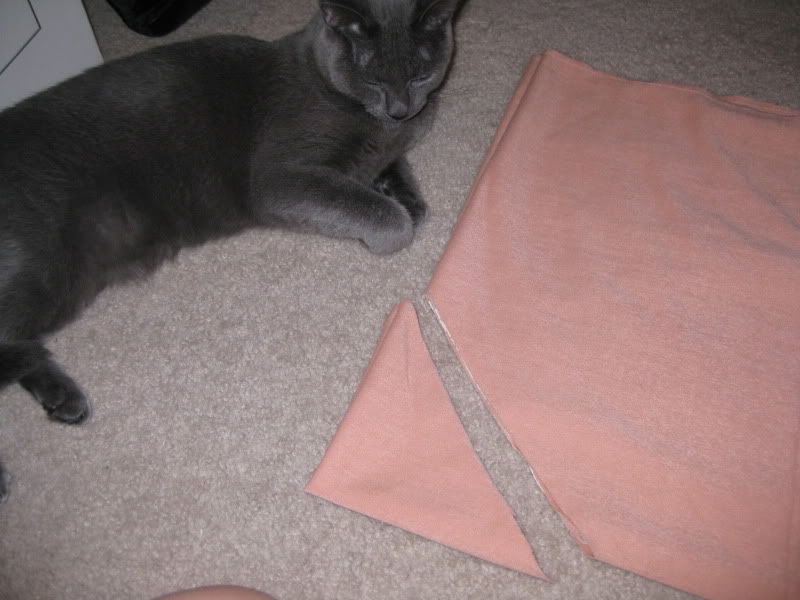
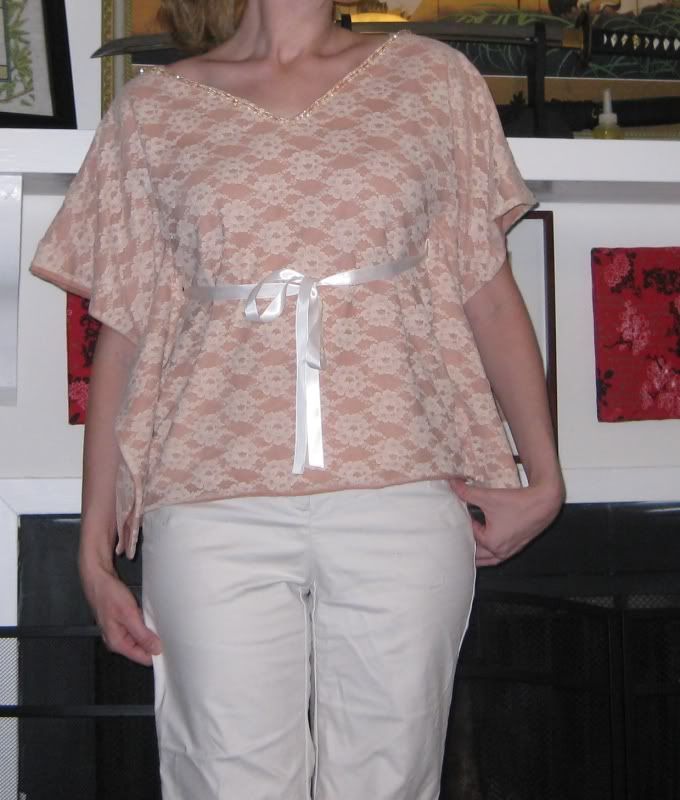
Ok finally coming back from not blogging! LOL I finally got the end pictures I needed. I was also on hiatus from my knee but I am officially done with back PT just in time to start knee PT. blah! This is a sewing project that just sort of randomly happened the other weekend. I was rearranging the big ole fabric stash and I came across a piece of beige lace. And I began to think... I just finished a top with a lace insert and was wondering what other refashions I could do with this lace. It just so happened that part of my fabric stash tumbled in the closet and some of it was on the floor (yes I know I have a lot of fabric!) and I found a piece of peach knit. Up to this point, I had no idea what I was going to use this peach knit for, I don't have the skin tone to wear it separately. But underneath the beige lace it would be fab!!!
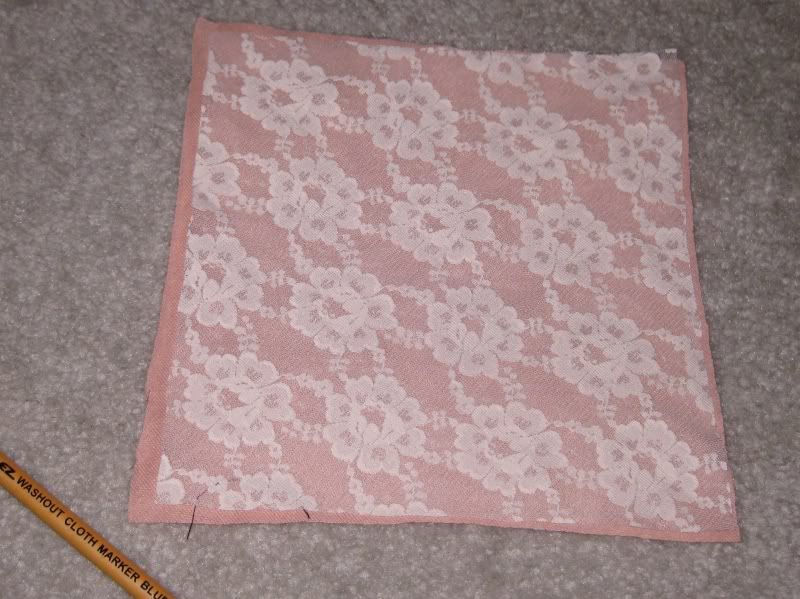
Next question, well what should I make? I have limited amount of this beige lace so no dress and a skirt maybe pushing it too. If I used all of the lace I could have a top, sort of like kimono style. That is what I aimed to do! I thought I had enough width with the top for sleeves and the length was right at 25 inches which could work for a top. Fingers crossed and a hail mary and off I went!
First I evened up the lace so it was not crooked by folding it in half. Next I took the folded material and placed it on top of the peach knit and cut it out to match.
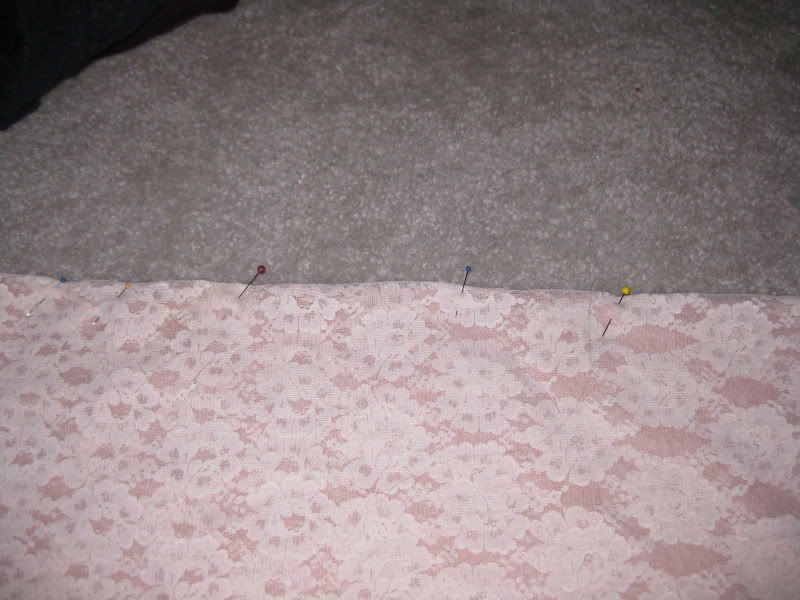
When I even it out, I pinned the material together so it won't move!
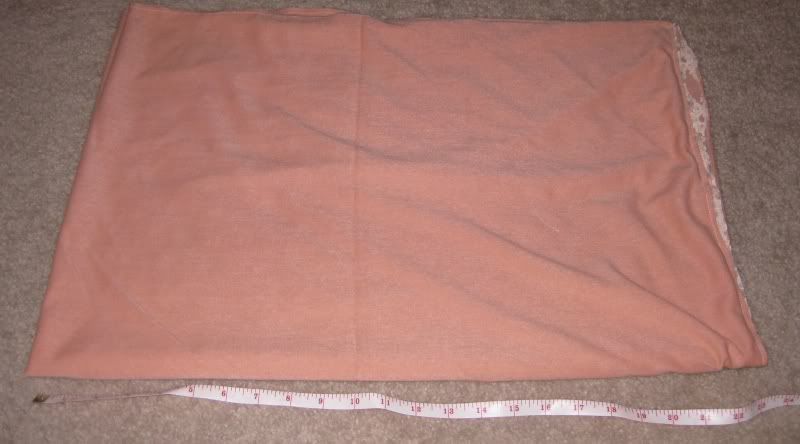
Next I opened up both panels. I need to have a finished seam on the arms and bottom b/c if I did not sew the panels together it may hang weird. I sewed every side together. Fold the material over in half to prep for the next part.
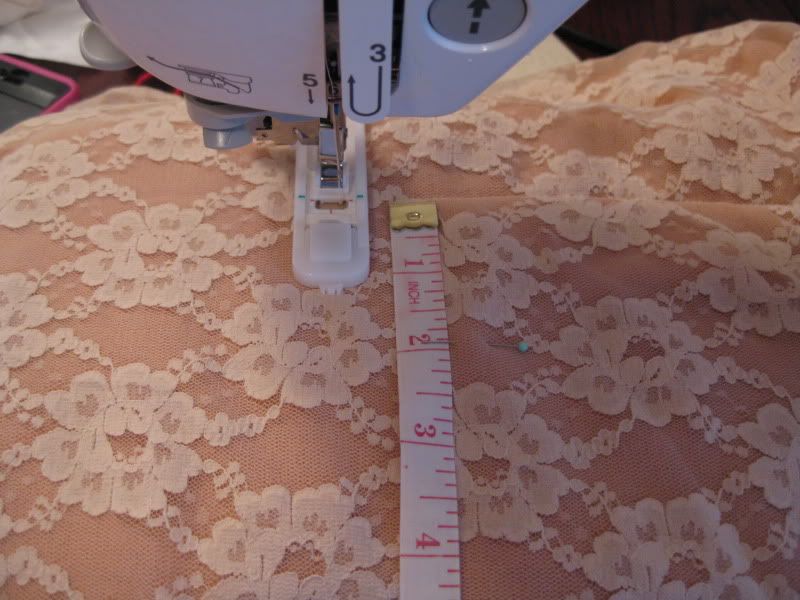
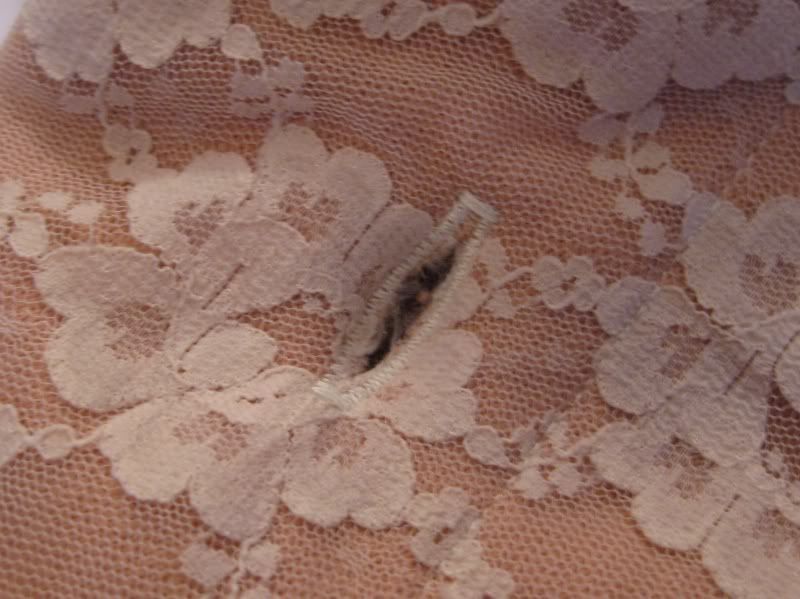
To create the neckline and turn the fabric right side out. I folded the fabric together and measured 6 inches by 6 inches from the center point. Cut it out. Note to self 6 inches deep is fine for V neck, 6 inches wide is a bit too wide for my work comfort. It made a perfect square. Wish I would have done 4 or 5 inches. Still workable though. :) Turn the fabric right side out and iron down all the seams to let it sit correctly. Yes Natasha wanted to watch me make a mess of things!
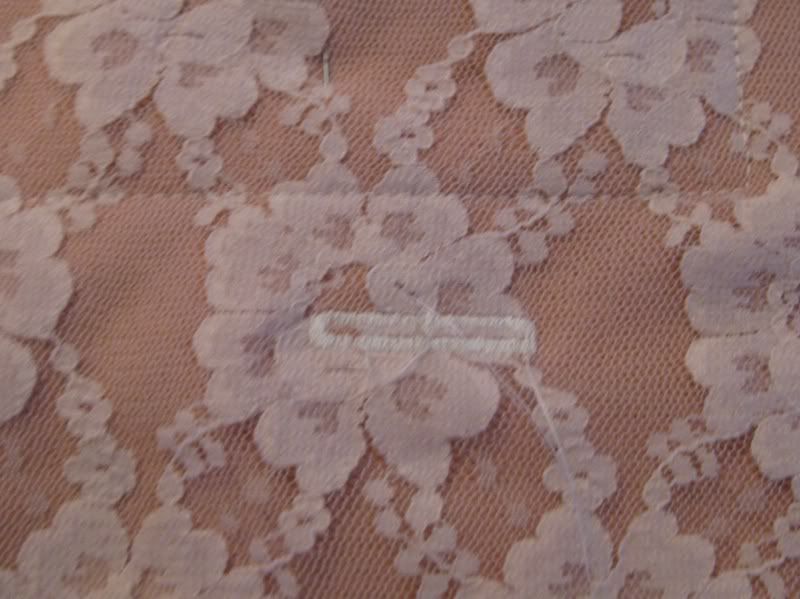
Next I needed something at the waist to cinch it in and also create arms. I thought about elastic but had issues. Thought about not putting anything around but that wasn't going to work either. What I wound up doing after measurement after measurement, scratching my head like a monkey I went in 6 inches on each side followed by 10 inches up. Anything else and I had no sleeves or it would not fit across my chest. To add a ribbon that would stay I added button holes with my new sewing machine. Man I love 1 touch button holes it is amazing! Actually this was the first time I have ever made a button hole in my life. Not bad huh?
Next I added some cream satin ribbon for the waist through my nifty button holes and I was done! It actualy worked out this shirt, holy cow! Oh yeah forgot to mention, I sewed down the top of the shirt by top stitching. Making a hem would show more skin. I covered up my stitches with some champagne beads I had in my stash. The colors blend really well together. They are hard to see but add a subtle bling to it.
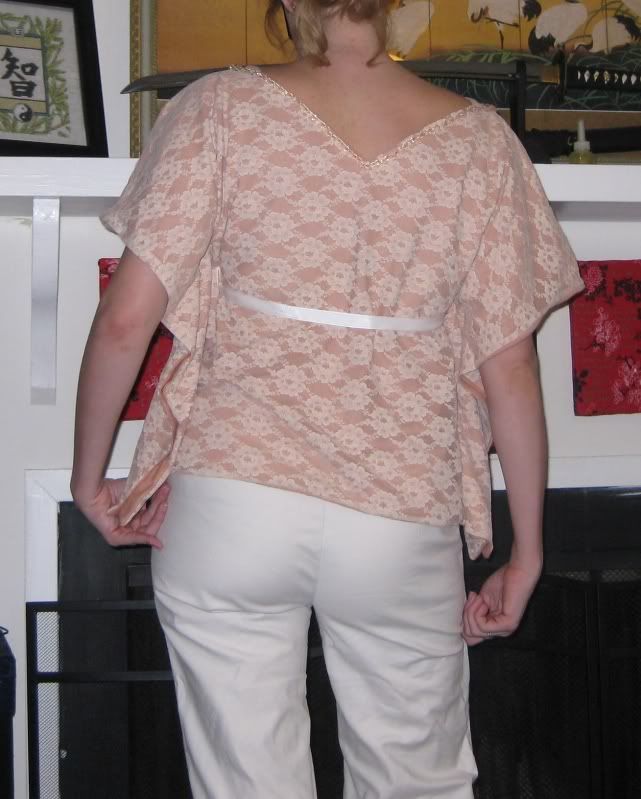
I actually really love the back.
So that is a +2 for fabric points. Guess who is coming to 100? I can't wait to post the 100 mark with my fabric points! I am going to also keep a tally on how many refashions I have done and crafts too and will put it on my side bar soon. I like seeing numbers!
XOXOXOXO,
Lauren
2 comments:
Love this! Brilliant with the button holes and ribbon! Thanks for linking up with DIY under $5!
LOVE, LOVE, LOVE this shirt! I kind of think you're a clothes making genius! Def featuring this idea today! Thanks for linking up to WWWW!!
Post a Comment